How to Tie a Hook on a Fishing Line in 7 Easy Steps
To tie a hook on your fishing line, start with clean, dry line and a suitable hook. Properly tying a hook is essential for secure fishing and ensures your catch stays on. Thread the line through the hook eye, leaving a small tag end.
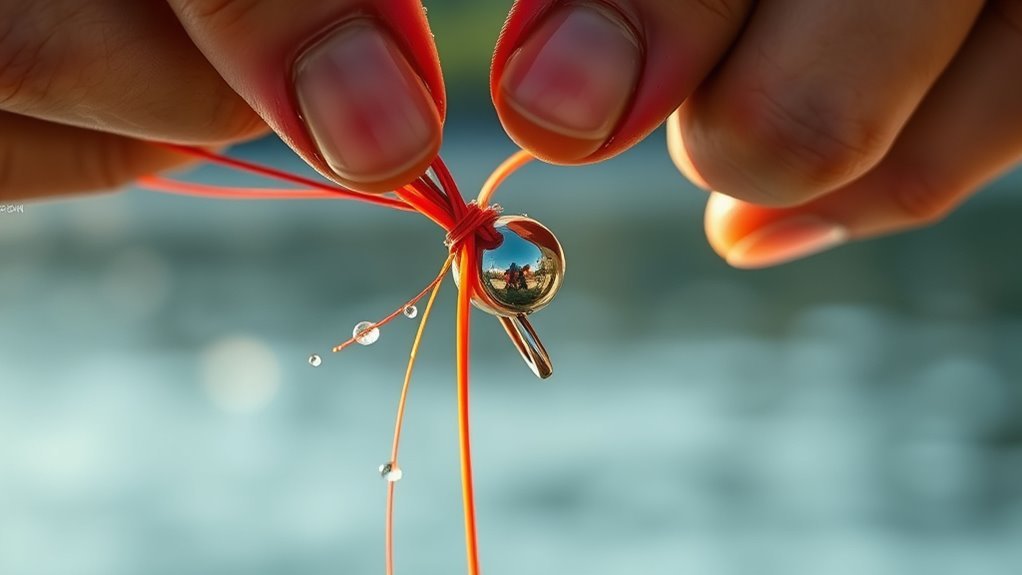
Create a loop above the eye, then wrap the line tightly around the shank several times. Pass the tag end twice through the loop for a secure grip. Moisten the knot to prevent heat damage, then tighten slowly and evenly.
Finally, trim excess line, leaving a small tail to keep the knot firm. Keep following for tips to make your knots even stronger.
Gather Materials for Tying Your Fishing Knot
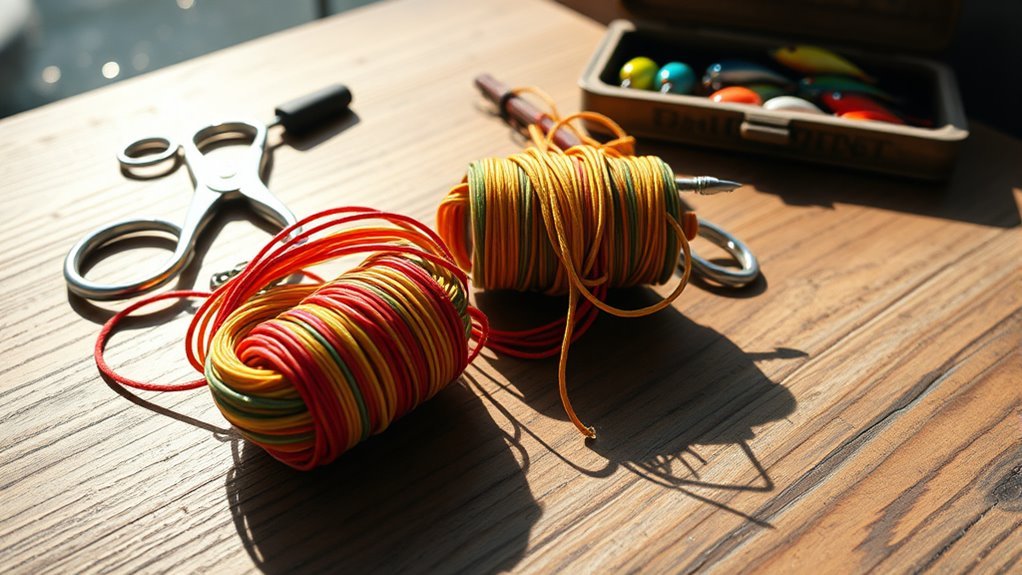
Before you begin tying your fishing knot, make sure you gather all the necessary materials. Start with a clean, dry fishing line suitable for the fish you’re targeting and the conditions you’re fishing in.
Gather all necessary materials and choose a clean, dry fishing line suited to your target fish and conditions.
Choose a hook that matches your bait and environment to guarantee a secure hold.
You’ll also want a pair of fishing pliers or scissors handy for trimming any excess line after tying the knot.
If your setup requires additional tackle like lures or swivels, have those ready to assemble with your line and hook.
Find a well-lit, distraction-free spot to work; this helps you focus and tie a strong, reliable knot.
Proper preparation makes the process smoother before you thread the line through the eye of the hook.
Thread the Line Through the Hook Eye for Knot
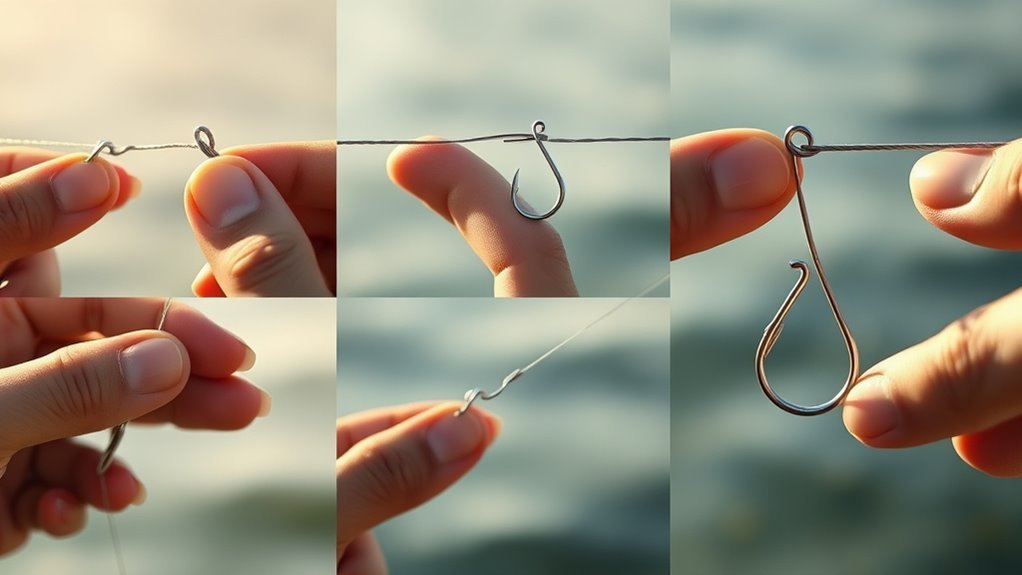
Once you have all your materials ready, start by passing the fishing line through the eye of the hook. Make sure the line is long enough to work with comfortably.
To guarantee a secure knot, you might need to double back and thread the line through the hook eye a second time, depending on the knot you plan to tie.
It’s important to thread the line evenly through the eye to avoid uneven tension when tightening the knot later. Leave a small tail of line extending beyond the eye to make tying and tightening the knot easier.
Hold both the hook and the fishing line firmly to prevent slipping as you prepare to create the knot.
This careful threading sets the foundation for a strong, reliable connection.
Create a Loop and Wrap the Line for Knot Strength

Although threading the line through the hook eye sets the stage, creating a loop in the line is essential for distributing tension evenly and boosting knot strength. Start by forming a loop just above the hook eye—this step helps spread stress along the line, reducing breakage risk.
Next, begin wrapping the line tightly around the hook shank and the loop itself. Wrapping the line multiple times builds a secure grip and prevents slipping. As you wrap, keep the tension consistent, which is key to maximizing knot strength.
Creating a loop also gives you leverage to pull the line to tighten the knot smoothly before finalizing it.
Mastering this technique guarantees your knot stays strong when you’re battling that big catch.
Pass the Tag End Twice Through the Loop to Secure
When you pass the tag end twice through the loop, you considerably increase the knot’s grip and friction, making it much less likely to slip under pressure. This method helps secure the knot by distributing tension evenly across the wraps, which enhances overall strength.
Be careful to pass the tag end twice without twisting or overlapping coils, as that can lead to weakening knot integrity. Proper threading ensures the friction created grips the hook shank firmly, especially important when using heavier lines or targeting larger fish.
After you’ve passed the tag end twice, get ready to moisten the knot before tightening. This step reduces friction heat, protecting your line while helping the knot hold securely.
Following these steps builds a reliable, slip-resistant connection every time.
Moisten the Knot to Prevent Line Damage
To protect your fishing line from damage, always moisten the knot with saliva or water before tightening it. When tying fishing line knots, this simple step reduces friction, preventing the line from burning or weakening during tightening.
Moistening the knot helps heat buildup dissipate, which keeps your line strong and reliable.
By wetting the line, you allow the knots to slide smoothly, creating a more secure connection that holds better under pressure.
Avoid tying knots on dry lines, as increased friction can compromise the integrity of your line.
Taking the time to moisten the knot ensures your fishing setup stays durable and effective, making it easier to catch fish without worrying about line failure or damage.
Tighten the Knot Slowly and Evenly
As you tighten the knot, apply consistent pressure to keep the tension even throughout.
Make sure the line doesn’t twist, so the coils seat properly and hold strong.
Taking your time here helps prevent the knot from slipping or weakening.
Apply Consistent Pressure
Although it might be tempting to tighten your knot quickly, applying consistent pressure and doing it slowly guarantees the coils seat evenly and the knot holds strong.
When you apply consistent pressure during knot tightening, you reduce the risk of slippage and keep the line from weakening due to friction heat.
Steady pressure helps eliminate slack, making your knot secure and reliable.
As you tighten the knot, remember to:
- Use steady pressure to prevent gaps or weak spots.
- Tighten the knot gradually to check and adjust placement.
- Apply consistent pressure to prevent slippage during a fight.
Maintain Even Tension
When you maintain even tension while tightening your knot, all the wraps fit snugly and securely, preventing weak spots that could fail under pressure. You should tighten the knot slowly, using steady pressure to keep it evenly tensioned. Applying consistent tension distributes force across all coils, creating a secure knot that won’t slip.
Avoid rapid tightening, as it generates friction heat that weakens the line. Use your fingers or pliers to pull gradually, ensuring the knot stays centered and evenly tensioned throughout.
| Step | Action | Result |
|---|---|---|
| 1 | Pull slowly | Evenly tensioned wraps |
| 2 | Apply steady pressure | Secure knot |
| 3 | Check alignment | Prevent weak spots |
Prevent Line Twisting
If you tighten the knot too quickly, the line can twist and weaken, compromising your setup. To prevent line twisting, tighten the knot slowly and evenly, gradually applying pressure. This lets the line slide smoothly into place, settling into the knot’s structure without spinning or tangling.
Before you tighten the knot, moisten the line to reduce friction and help create a secure knot.
Keep these tips in mind:
- Use consistent, gentle tension to keep the line straight
- Avoid jerking or pulling too fast during tightening
- Let the line slide naturally as you gradually apply pressure
Trim Excess Line to Finish the Knot
Once your knot is tight and secure, it’s time to trim the excess line carefully.
Leave about 1/8 inch of tag end to prevent the knot from slipping or weakening.
Keeping the trimmed end neat helps avoid snags and keeps your line strong.
Proper Line Trimming
Although tying the knot securely is essential, trimming the excess line properly is just as important to finish the job. Proper line trimming ensures your knot stays strong and avoids snagging.
When you trim excess line, make sure to trim line close to the knot but leave a small tag end—about 1/8 inch—to keep the secure knot intact.
Use sharp line cutters or scissors to make a clean cut without fraying. Always trim line neatly to prevent tangles or catching on guides.
Remember to:
- Trim line close but leave a small tag end
- Use sharp line cutters for precise cuts
- Double-check that the trimmed line is neat and tidy
This careful attention boosts knot strength and improves your fishing setup’s overall performance.
Avoiding Knot Slippage
Because trimming the excess line properly finishes your knot, you’ll prevent slippage and keep your hook secure during every catch. After you’ve achieved proper tightening, trim excess line close to the knot—but leave a small tail about 1/8 inch long.
This small tail helps maintain a secure knot and prevents unraveling.
Use sharp scissors or line cutters for clean cutting line, ensuring the knot stays snug and less prone to slipping. Avoid trimming too much line, as cutting too close can weaken the knot’s hold and increase the risk of knot slippage.
Frequently Asked Questions
How to Tie a Hook on a Fishing Line Easily?
You thread the line through the hook eye, wrap the tag end around the standing line 5-7 times, pass it through the loop, moisten, tighten firmly, and trim the excess.
This makes a strong, secure knot easily.
What Are the 7 Basic Knots?
The seven basic knots you should learn are the Improved Clinch, Palomar, Uni, Blood, Double Surgeons Loop, Tucked Sheet Bend, and Snell.
Master these to secure your line, hooks, and connections confidently.
What Knot Is Easiest to Tie on a Hook?
The Palomar Knot is your golden ticket—it’s the easiest knot to tie on a hook. You’ll just double the line, pass it through the eye once, and pull tight.
It’s quick, simple, and perfect for beginners.
How to Tie a Fishing Hook for Kids?
You’ll want to use the simple overhand or improved clinch knot. Thread the line through the hook eye, wrap it several times, moisten, then pull tight.
Trim excess line, and your hook’s ready for fishing!
Conclusion
Now that you know the steps, you’re almost ready to cast your line. But here’s the twist: mastering this knot isn’t just about technique—it’s about patience and practice. One slip, and your catch could get away.
So, take your time, follow each step carefully, and watch your confidence grow. Soon, tying that hook will feel effortless, and the thrill of landing your next big fish will be just within reach.
Ready to try tying a hook on a fishing line and improve your fishing skills? With practice, this knot will become second nature, helping you secure your catch every time.