How to Set Up a Fishing Pole in 10 Easy Steps
To set up your fishing pole, start by choosing the right fishing line based on your target fish and environment. Selecting the proper fishing line is essential for a successful fishing experience. Tie the line securely to the reel spool using an arbor knot, then thread the line through a pot lid’s air hole to keep tension.
Next, guide the line through each rod eyelet, open the bail, and reel it evenly onto the spool. Finish by adjusting the tension and setting the drag. Keep going, and you’ll see how each step guarantees smooth casting and fishing success.
Gather Your Fishing Supplies and Tools

Before you begin setting up your fishing pole, gather the essential supplies: a fishing pole, the right fishing line for your target species, and a pot lid with an air hole or grommet to maintain line tension.
Start by selecting a rod that suits the type of fishing you plan to do.
Choose a fishing rod that matches your fishing style and target species for the best results.
Next, choose a fishing line that complements your rod and target fish, ensuring durability and proper strength.
Use the pot lid with a grommet to hold the line securely during setup—thread the line through the grommet before placing the spool beneath the lid.
This method keeps the line tight and makes your setup quick and efficient.
Having these tools ready will streamline your fishing experience and improve your chances of success.
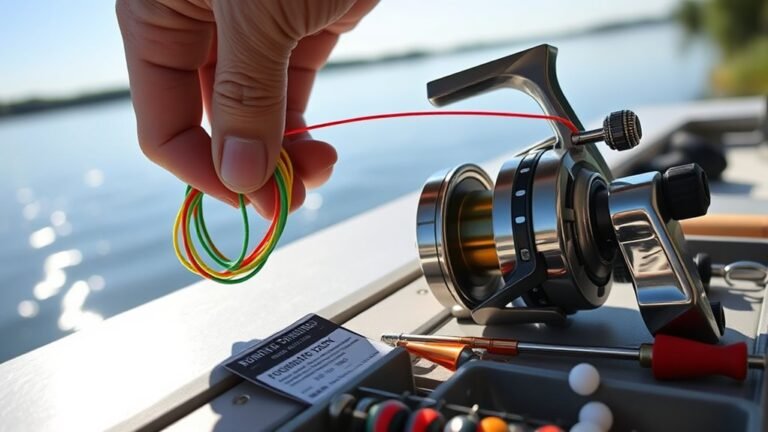
Choose the Right Fishing Line by Fish Species and Environment

You’ll want to pick your fishing line based on the fish species and the environment you’re fishing in. Braided lines offer durability in rocky or snag-prone waters.
While monofilament lines provide some stretch but can break more easily.
Adjust the line strength to match the size and teeth of your target fish for the best results.
Line Strength Selection
How do you choose the right fishing line for your setup? Start by matching line strength to your target fish and environment.
For smaller fish, a lighter line strength of 6-8 lb works well, while larger or more aggressive species demand heavier lines around 12-15 lb.
If you’re fishing in lakes with snags or rocks, an 8-10 lb braided line is ideal because it offers superior durability and abrasion resistance.
Braided line also stands up to toothy fish like northern pike, preventing damage from their sharp teeth.
While monofilament line is an option, it breaks more easily and wears down faster in tough conditions.
Selecting the proper line strength and type ensures your fishing line won’t fail when you’re reeling in a big catch.
Braided Vs Monofilament
Although both braided and monofilament lines serve important roles in fishing, choosing the right one depends on the species you’re targeting and the environment you’re fishing in.
Braided line offers superior strength and abrasion resistance, making it perfect for fishing around rocks, snags, or toothy fish like northern pike. Its smaller diameter lets you cast farther and hold more line on your reel, ideal for deep or long-distance fishing.
On the other hand, monofilament stretches more, providing better shock absorption and easier knot tying—great for beginners or clear water where stealth matters less. Monofilament’s visibility also calls for using a leader in some cases.
Understanding these differences helps you match the line type to your fishing technique and target species efficiently.
Environmental Considerations
When fishing in South Dakota lakes, you’ll want to choose an 8-10 lb braided line for its toughness against rocks, snags, and aggressive species like northern pike. Braided fishing line stands up well to abrasive environments, making it ideal when setting up a fishing pole for rough conditions.
If you’re fishing in clearer, calmer waters, consider adding a fluorocarbon leader for low visibility and abrasion resistance.
Monofilament lines work fine for general freshwater fishing but may break more easily around snags or rocky bottoms.
Match your line strength and type to the species you’re targeting and the environment you’re in—heavier lines for larger fish, lighter lines for delicate presentations.
This approach maximizes your success and helps protect your gear during every fishing trip.
Tie the Line to the Reel Spool Using an Arbor Knot

Before you can start casting, you’ll need to tie the fishing line securely to the reel spool using an arbor knot. Start by wrapping the fishing line around the reel’s arbor, leaving extra line for tying. Tie an overhand knot around the standing line to create a loop, then pass the tag end through this loop.
Tighten the knot firmly against the arbor. For added security, repeat the overhand knot with the tag end around the standing line. Finally, trim any excess line close to the knot to prevent slipping.
| Step | Purpose |
|---|---|
| Wrap line around arbor | Position line for knot |
| Tie overhand knot | Secure initial loop |
| Repeat knot & trim excess | Ensure knot strength & neatness |
Get the Pot Lid Ready to Hold Your Fishing Line Tight
Choose a pot lid with an air hole or grommet to help keep your fishing line tight.
Thread the end of your line through the grommet before placing the lid over the spool.
This setup keeps the line under consistent tension and prevents tangles as you spool.
Pot Lid Selection
Although it might seem simple, picking the right pot lid is essential to keep your fishing line tight during setup. Choose a pot lid that has a secure air hole or, better yet, a grommet to hold the line firmly in place.
Before placing the lid on the spool, thread the end of your fishing line through the grommet.
This setup helps maintain tension and prevents slack as you work. Make sure the lid fits snugly over the spool and that the grommet is properly sealed to stop the line from slipping while you apply pressure.
A well-chosen pot lid with a reliable grommet ensures consistent tension, making your fishing pole setup smoother and more effective.
Threading Line Through
Once you’ve threaded the end of your fishing line through the grommet or air hole in the pot lid, you’ll be ready to secure it properly.
Position the spool of fishing line underneath the lid to keep tension and prevent slack.
As you thread the line, use the pot lid to apply gentle pressure, holding the line tight while you wind it onto the reel or spool.
Make sure the fishing line runs smoothly through the grommet without twists or kinks, which could affect casting performance.
The pot lid’s air hole is essential — it grips the line firmly, making it easier to maintain consistent tension during setup.
This simple step guarantees your line stays secure and ready for effective fishing.
Thread the Fishing Line Through the Lid’s Air Hole
Before placing the spool on the reel, thread the end of your fishing line through the air hole or grommet in the pot lid carefully. Make sure the line passes smoothly without twisting or snagging to maintain proper tension.
The grommet keeps the line secure and helps evenly distribute pressure during setup. Use a steady hand to guide the fishing line through to avoid kinks or tangles. Once threaded, position the lid to keep the line tight while winding.
| Step | Tip |
|---|---|
| Thread line | Avoid twisting or snagging |
| Use grommet | Holds line securely |
| Guide carefully | Prevent kinks and tangles |
| Position lid | Keep line tight during winding |
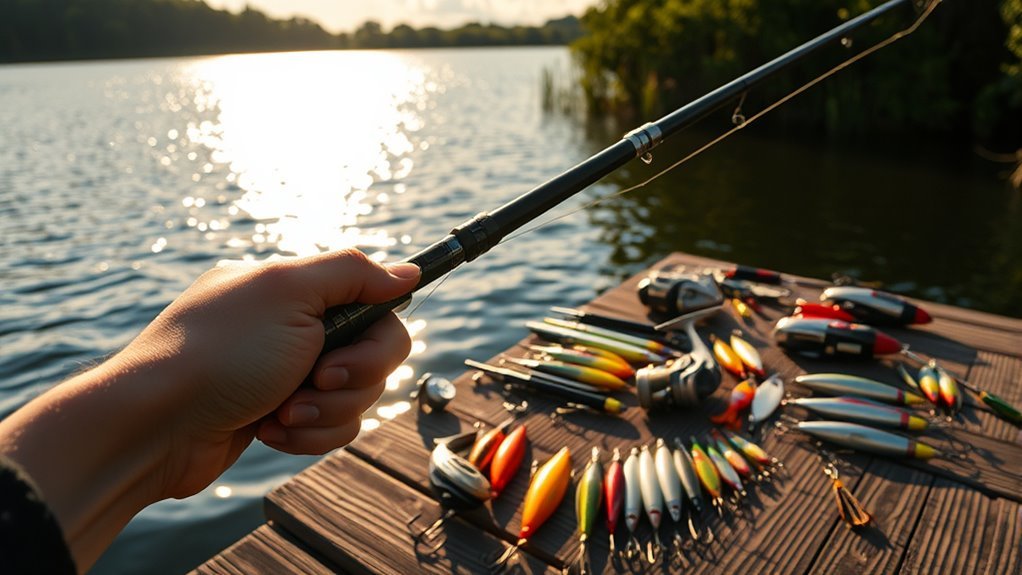
Assemble the Fishing Rod and Align the Guides
Start by sliding the rod sections together carefully, making sure the guides line up perfectly.
Check that each connection feels snug to avoid any loose spots that could cause problems.
Properly aligned guides help your line flow smoothly and improve your casting accuracy.
Align Rod Sections
How do you guarantee your fishing rod performs smoothly during casting? Properly aligning the rod sections is key. When you assemble your fishing rod, follow these steps:
- Slide the rod sections together from tip to handle, ensuring a snug fit without forcing.
- Twist the sections slightly to align the guides in a straight line, preventing misalignment.
- Check that each ferrule connection is secure and flush to avoid wobbling or gaps.
- Apply a small amount of wax or lubricant on ferrules for smooth assembly and to prevent sticking.
Check Guide Placement
After aligning the rod sections, focus on checking the guide placement to guarantee smooth line flow. Slide each section into the next with a slight twist to keep the guides perfectly aligned. Verify the guide rings are properly seated and track in a straight line along the rod blank.
Misaligned guides can cause your line onto the reel to tangle or snag, affecting casting and retrieval. Applying a small amount of wax on the ferrules helps the sections slide together smoothly and prevents damage.
Before attaching the reel, double-check that all guides line up perfectly from the tip to the handle. This careful attention to guide placement ensures your fishing line moves freely, making casting easier and your fishing experience more enjoyable.
Thread the Fishing Line Through the Rod’s Eyelets
Once you’ve secured your reel, thread the fishing line through the smallest eyelet at the rod’s tip first, then guide it down toward the reel. To do this effectively:
Start threading the line through the rod’s tip eyelet first, then guide it smoothly toward the reel.
- Create a small loop at the end of the fishing line for easier threading.
- Gently feed the line through each eyelet, avoiding twists or tangles.
- Use a gentle pull to guide the line smoothly, preventing damage to both the rod’s guides and the line.
- Confirm the fishing line sits properly in each guide ring, aligned straight along the rod for maximum casting efficiency.
Following these steps helps maintain smooth line flow and improves your casting performance.
Take your time to keep the line untangled and seated correctly through each eyelet.
Open the Bail and Reel the Line Onto the Spool
Before you start reeling the line onto the spool, flip open the bail by lifting its small lever or handle; this action lets the line move freely as you spool it.
After threading the line through the rod’s eyelets, secure it to the reel spool with a reliable knot like an arbor knot to prevent slipping.
Once tied, hold the line tight with your fingers to maintain constant tension.
Now, carefully reel the line onto the spool by turning the reel handle steadily. Keeping tension ensures the line winds evenly without tangles or slack.
As you reel, watch the line distribute smoothly across the spool’s width.
When you’ve spooled enough line, you’ll be ready to move on to the next step.
Tie the Fishing Line End to the Rod
With the line securely spooled onto the reel, the next step is to tie its end to the rod. You’ll want to use a secure knot, like the improved clinch knot, to make certain your fishing line stays firmly attached.
Follow these steps:
- Thread the fishing line through the rod’s eyelets from tip to reel, making sure it moves smoothly without snagging.
- Tie the line end to the rod’s lower eyelet or reel spool using the secure improved clinch knot or an arbor knot to prevent slippage.
- Leave about 1/8 inch of line below the spool rim to allow proper casting.
- Keep the line taut but avoid overstressing it while tying to guarantee casting accuracy.
This setup guarantees your fishing line stays strong and ready for action.
Adjust Line Tension and Complete Your Fishing Pole Setup
Although you’ve tied the line securely, you’ll need to maintain consistent tension while spooling to guarantee the line lays evenly and avoids tangles. Use your finger or a line tension device to apply gentle, steady pressure as you wind the line onto the reel.
Regularly check the line tension by gently pulling to make sure it isn’t too loose or too tight.
Adjust the reel’s drag setting to about 25-30% of your line’s pound test; this helps control tension when you’re fishing.
After spooling, confirm the line is tight and free of slack before attaching hooks or lures.
Proper line tension and careful spooling ensure your fishing pole performs smoothly and prevents frustrating tangles on the water.
Frequently Asked Questions
How to Assemble a Fishing Pole for Beginners?
You’ll start by connecting the rod sections, aligning guides carefully. Then, attach the reel tightly, thread the line through guides, and spool it evenly.
Finally, tie a secure knot to keep everything steady and ready.
What Is the Simplest Fishing Setup?
The simplest fishing setup uses a basic rod, reel, and 6-10 lb line. You’ll tie a hook or lure directly with an improved clinch knot.
Keep it lightweight and straightforward for easy, quick fishing.
How to Cast a Fishing Rod for Beginners Step by Step?
Like a skilled archer, you’ll grip the rod firmly, pull it back smoothly, then flick forward, releasing the line at the peak.
Practice your timing to cast farther and hit your target with precision.
How to Line a Fishing Pole Step by Step?
Start by threading the line through the guides from tip to reel. Tie it securely to the spool, open the bail, and wind the line evenly with tension.
Stop filling when the line’s just below the spool’s rim.
Conclusion
Now that you’ve set up your fishing pole step by step, you’re ready to conquer any fishing adventure that comes your way. With your line tied tight and tension just right, you’ll feel like a fishing legend in no time.
Remember, practice makes perfect, and every cast brings you closer to that epic catch. So grab your pole, head out, and enjoy the thrill—because with the right fishing pole setup, fishing becomes as easy as breathing!