How to Load a Caulk Gun in 5 Simple Steps
To load a caulk gun, start by cutting the tube’s tip at a 45° angle and puncture the inner seal. This step is crucial because it ensures the caulk flows smoothly without any blockages.
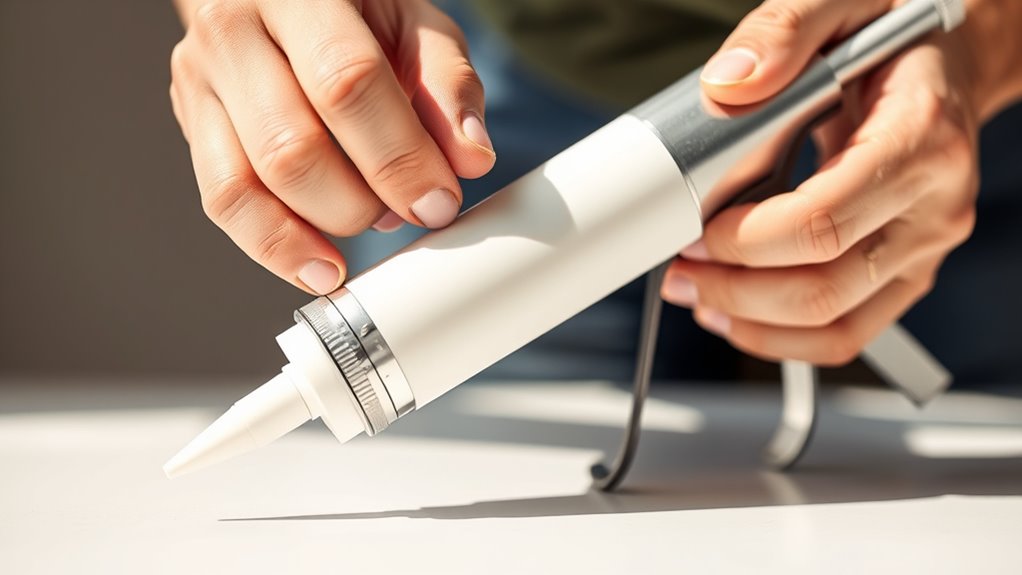
Next, insert the tube with the nozzle pointing down. Make sure it’s positioned correctly before you move on. Then, firmly secure it in the gun housing by locking the release lever. This keeps the tube stable while you work.
Now, test the caulk flow by squeezing the trigger gently. This helps confirm the caulk comes out smoothly and is ready for application.
Once you’re set, you can apply caulk evenly with steady pressure.
Keep following for tips on application and cleanup for best results. It’s easier than you think once you get the hang of loading your caulk gun right!
Key Takeaways
- Cut the tube’s tip at a 45° angle and puncture the inner seal before loading.
- Insert the caulk tube into the gun with the nozzle angled downward.
- Press the tube firmly into the gun’s housing to fully seat it.
- Push the release lever or bar back to lock the tube in place securely.
- Confirm the tube is stable and the nozzle is properly positioned for use.
That’s it! Now you’re ready to start caulking.
Prepare the Caulk Tube for Easy Loading
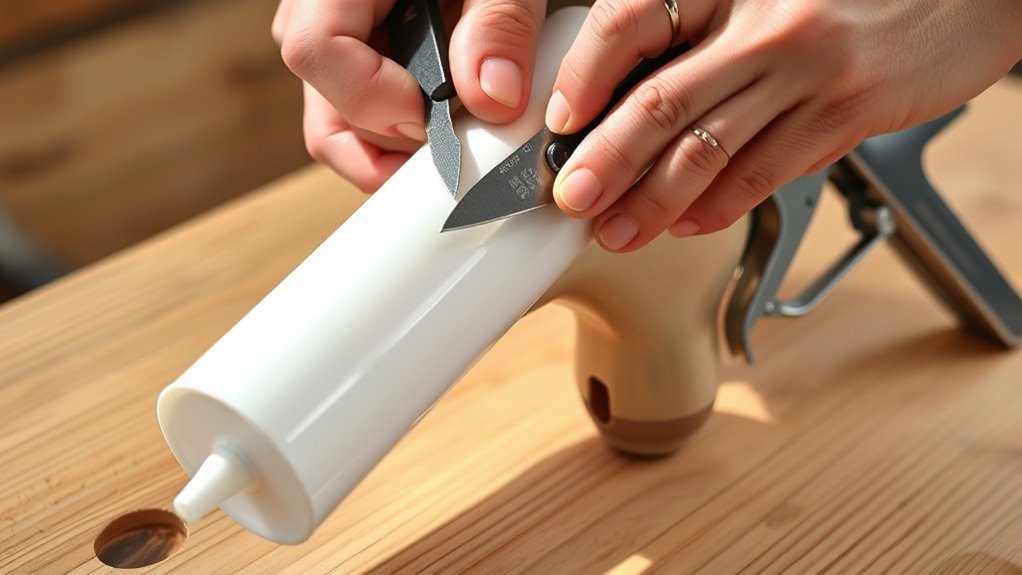
How do you get your caulk tube ready for smooth application? Start by cutting the tube’s tip at about a 45° angle. This controls the bead size and helps you apply the caulk evenly.
Make sure the cut is clean and smooth to avoid any interruptions in flow. Next, use a pen or a similar tool to puncture the inner seal inside the nozzle tip. This step is crucial because it lets the caulk flow out when you squeeze the trigger.
Before you move on, check that the nozzle opening is clear of any debris or blockages that could cause clogs. Finally, orient the tube so the nozzle points downward. This makes loading it into the gun easier and more efficient.
Insert and Secure the Tube in the Caulk Gun
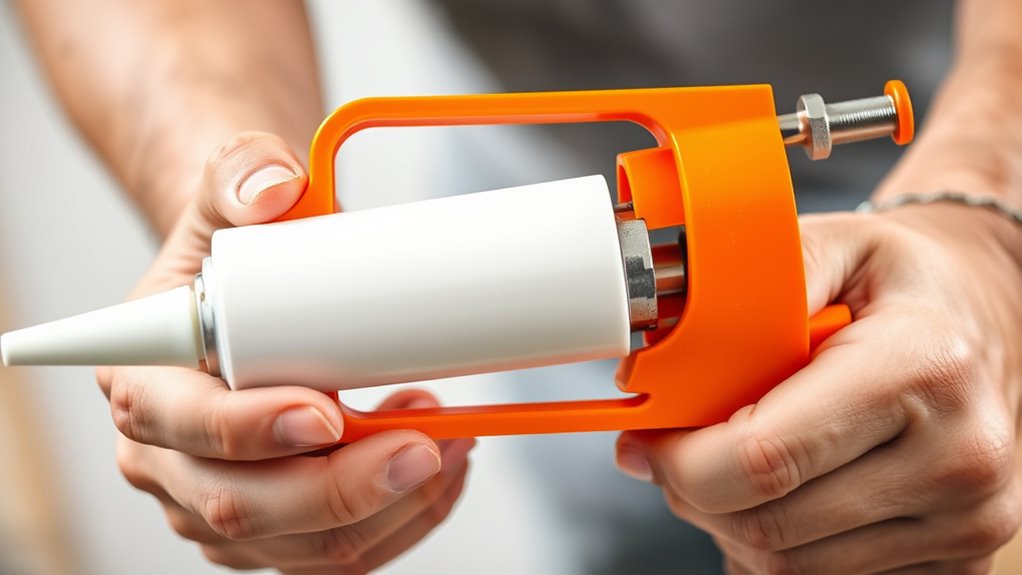
Once you’ve prepared the caulk tube, insert it into the gun with the nozzle angled downward at about 45°. Make sure the tube is fully seated by pressing it firmly into the gun’s housing.
Next, push the release lever or bar back until it rests tightly against the bottom of the tube. This locks the tube in place and prevents any movement.
Push the release lever back to secure the tube firmly, preventing any unwanted movement during use.
Double-check that the tube doesn’t wobble or shift when you gently shake the gun. Finally, confirm the nozzle end is properly positioned and ready for application.
Securing the tube correctly assures smooth, controlled caulk flow and prevents leaks or jams while you work. Taking these steps will help you get the best results from your caulk gun.
Test Caulk Flow From the Gun Before Applying
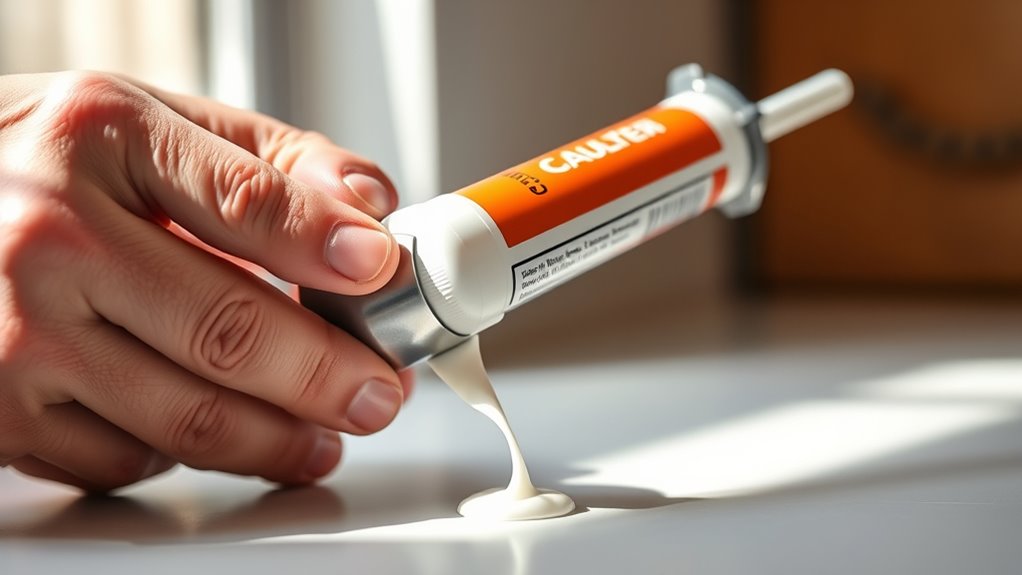
After securing the tube in the caulk gun, it’s important to test the flow before you start applying. Gently squeeze the trigger to dispense a small amount of caulk and check how it flows.
You want a steady, consistent stream without gaps or interruptions. If the flow feels too slow or too fast, adjust your pressure on the trigger accordingly.
Make sure the caulk exits the nozzle cleanly and steadily to avoid uneven application later. Test the flow on a scrap surface or edge to confirm the bead thickness matches what you need.
This step helps guarantee a smooth, controlled application and prevents waste or mess during your project. Taking this moment makes your work much easier and more precise.
Apply Caulk Smoothly and Adjust Gun Pressure
While applying caulk, keep a steady hand and maintain a consistent speed to produce an even bead. Adjust the pressure on the trigger to control the flow—squeeze gently and continuously instead of in bursts.
Keep the gun perpendicular to the surface to guarantee even pressure and a clean line. Practicing a smooth, steady pace helps avoid uneven or wavy lines.
| Tip | Reason |
|---|---|
| Steady hand | Prevents uneven caulk flow |
| Consistent speed | Creates uniform bead thickness |
| Gentle trigger squeeze | Avoids excess caulk release |
| Perpendicular angle | Ensures even pressure distribution |
| Practice regularly | Improves control and finish |
Clean and Maintain the Caulk Gun After Use
Maintaining control during application sets you up for easier cleanup. Once you finish, don’t wait—wipe down the caulk gun immediately with a clean cloth to remove excess caulk and prevent buildup.
Keeping control during use makes cleanup simpler—wipe the caulk gun right away to avoid buildup.
Next, release the trigger and slide out the spent tube carefully. To keep your gun in top shape, clean the nozzle and any leftover caulk with a damp cloth or a solvent that suits your caulk type.
Finally, store your gun in a dry, cool spot to avoid rust. Check the moving parts regularly for lubrication to guarantee smooth operation.
Here’s a quick checklist to clean and maintain your caulk gun:
- Wipe down the gun right after use.
- Remove the empty caulk tube carefully.
- Clean the nozzle and residual caulk.
- Store properly and lubricate moving parts.
Frequently Asked Questions
How to Load a Caulk Gun Properly?
To load a caulk gun properly, insert the tube nozzle-down at a 45° angle, push it fully in, pull the trigger to retract the plunger, then secure the bar tightly against the tube before starting your project.
How to Caulk Step by Step?
You’ll clean the surface, cut the nozzle at a 45° angle, apply steady pressure while moving the gun along the joint, then smooth the bead with a damp finger or tool for a neat finish.
How to Insert a Tube in a Caulking Gun?
Think of inserting a tube as fitting the heart into its chamber. You’ll slide the caulk tube into the gun’s frame at a 45° angle, push it fully in, then pull back and release the plunger to secure it.
Is There an Easy to Use Caulk Gun?
Yes, you’ll find lightweight, ergonomic caulk guns with dripless features and pistol-grip designs easy to use. They reduce hand fatigue and offer adjustable pressure control, making your caulking tasks smoother and more precise every time.
Conclusion
Now that you’ve mastered loading your caulk gun in just five simple steps, you’re ready to tackle any sealing job with ease. Like a knight preparing his trusty steed, you’ve prepped, loaded, tested, applied, and cleaned your tool for peak performance.
Keep practicing these steps, and you’ll always have smooth, precise caulk flow at your fingertips. With your caulk gun ready, your projects will look sharp, neat, and professional every time.
Remember, mastering how to load a caulk gun not only saves time but also ensures a clean, even application. Whether you’re sealing gaps or finishing trim, a properly loaded caulk gun makes the job easier and the results better. So keep your caulk gun in top shape, and enjoy flawless, professional-looking finishes on all your DIY projects!