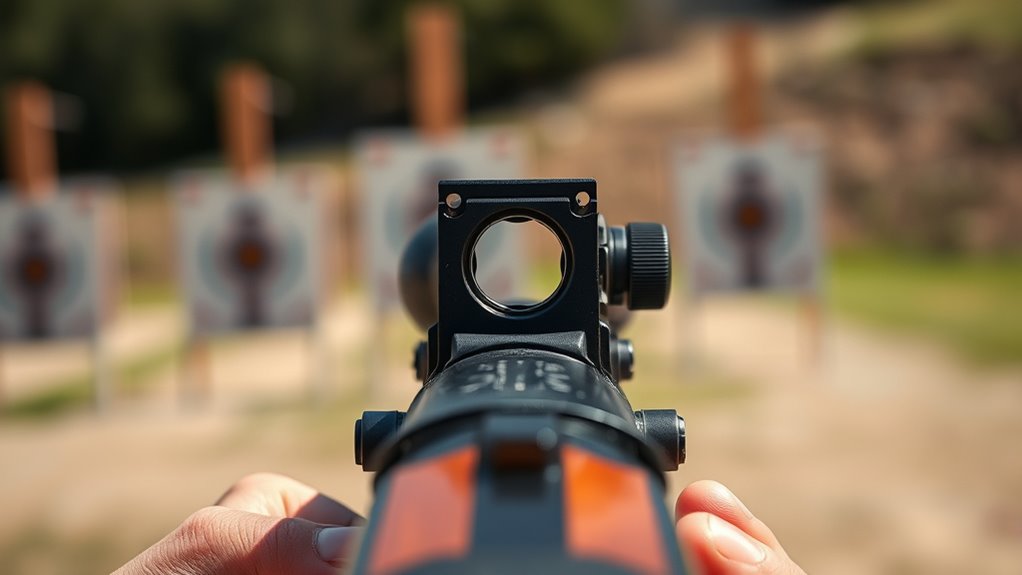
10 Steps to Properly Line Up Iron Sights on a Rifle
To properly line up iron sights on your rifle, start by identifying your front and rear sights. Next, figure out your dominant eye—this helps you aim more accurately and confidently.
Set your stance so you’re comfortable and steady, then hold the rifle firmly against your shoulder. Focus sharply on the front sight, while letting the rear sight and target appear a bit blurred. This focus trick is key to lining up your shot perfectly.
Make sure the front sight is centered in the rear notch. Begin by making initial zero adjustments at a close range to get on target quickly.
After that, fine-tune your windage and elevation until your shots consistently group where you want them.
Keep practicing these steps, and you’ll soon master the skill of precise sight alignment with your iron sights. It’s all about patience and steady improvement!
Key Takeaways
- Identify your dominant eye to ensure proper sight alignment and consistent aiming with the rifle’s iron sights. This step is key to getting your shots on target.
- Achieve correct sight alignment by centering the front sight within the rear sight notch and leveling the top edges. It might take a bit of practice to get it just right.
- Focus sharply on the front sight while keeping the rear sight and target slightly blurred to maintain a clear sight picture. This helps you aim more precisely.
- Set the sights to the manufacturer’s recommended zero and fire groups to adjust windage and elevation as needed. Don’t be afraid to make small tweaks until it feels right.
- Maintain a stable shooting stance with controlled breathing and firm rifle positioning against the shoulder for accuracy. Staying steady really makes a difference when lining up your sights.
Identify Your Iron Sight Components
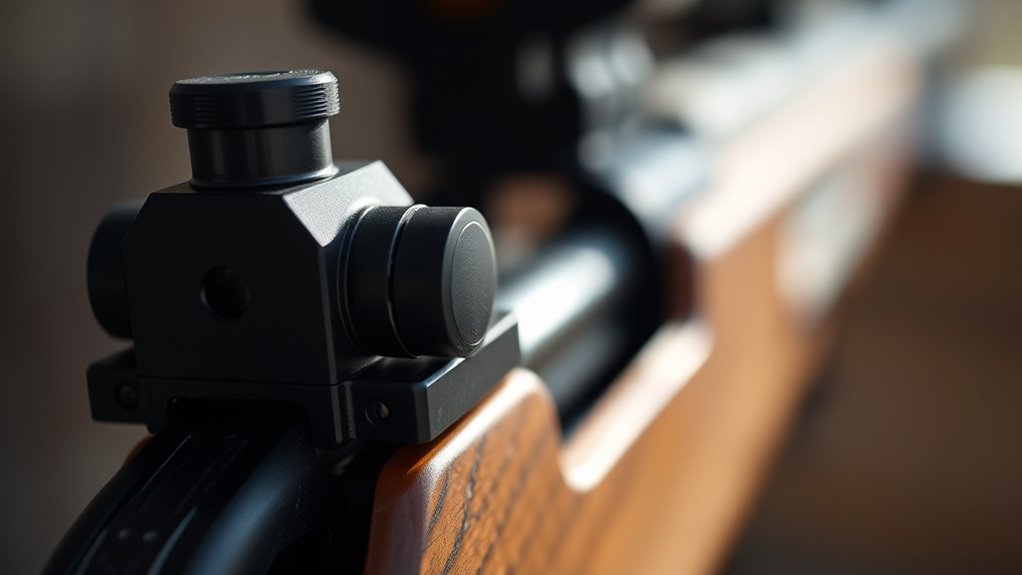
Before you begin lining up your iron sights, you need to identify their key components. The front sight is usually a blade, bead, or post positioned at the barrel’s end, serving as your primary aiming point.
Opposite it, the rear sight often features a notch, U-shape, V-shape, or aperture. The most common and straightforward type for alignment is the notch of the rear sight. When aiming, you’ll align the front sight within this rear notch to guarantee accuracy.
The distance between these two, called the sight radius, plays a big role in precision—the longer it is, the easier it is to aim accurately. Some sights let you adjust for windage and elevation, but others are fixed, so knowing your sights well is essential before you start aiming.
Determine Your Eye Dominance for Accurate Aiming
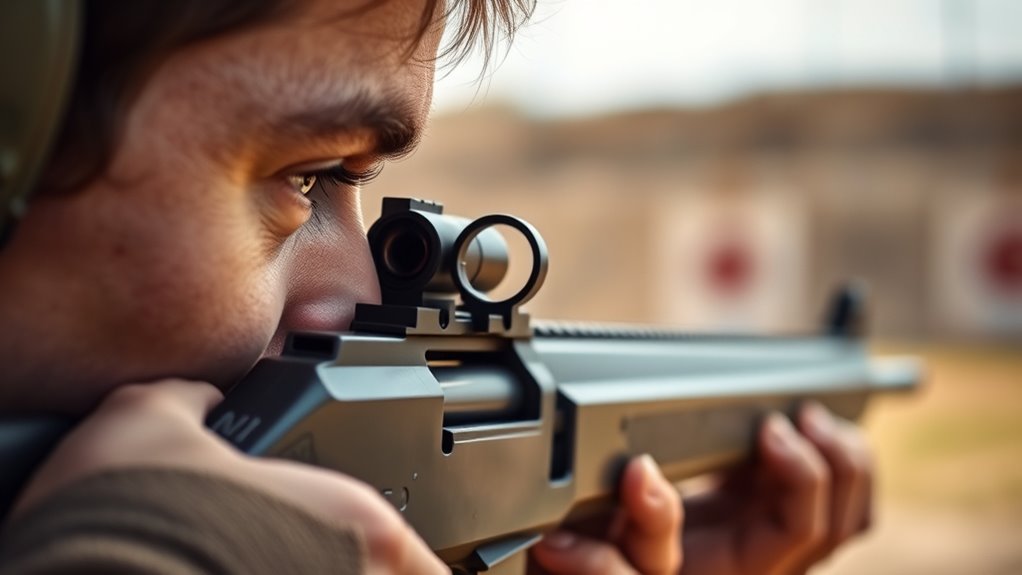
To line up your iron sights accurately, you need to figure out which eye is dominant by testing how each eye aligns with a target.
If you notice the target shifts when closing one eye, you might have cross dominance. This can affect how you position yourself when aiming.
Knowing this helps you adjust your technique for better precision and more consistent shots. It’s a simple step that can make a big difference!
Eye Dominance Test
Because your dominant eye plays a crucial role in accurate aiming, you need to identify which one it is before lining up your iron sights. To test your eye dominance, extend your arms and form a small triangle with your hands around a distant object.
Close one eye at a time; the eye that keeps the object centered is your dominant eye. Another method is to point at a target with your index finger and close each eye in turn.
The eye that maintains alignment between your finger and the target indicates dominance. Knowing your eye dominance ensures more natural and consistent sight alignment, improving your shooting accuracy.
This simple test helps you use the correct eye for aiming, setting the foundation for proper iron sight use. It’s quick and easy, but makes a big difference!
Cross Dominance Effects
Although most shooters use their dominant eye and hand on the same side, you might experience cross dominance, where your dominant eye is opposite your dominant hand. This can cause issues with sight alignment, leading to inaccurate shots if uncorrected.
Understanding your eye dominance helps you adapt your technique to maintain proper sight alignment and improve accuracy.
Consider these key points about cross dominance:
- Determine your dominant eye by focusing on a distant object through a hand-formed triangle, closing each eye in turn.
- Cross dominance affects about 2-3% of shooters and can cause misalignment.
- Adjustments like changing your stance or using an eye patch can help compensate.
- Correctly accounting for eye dominance reduces parallax errors and improves precision.
Knowing this guarantees you aim accurately every time.
Adjusting Aim Technique
How do you guarantee your aim stays true every time you look down the sights? Start by determining your dominant eye. Extend your arm, form a triangle with your hands, and focus on a distant object through it.
Close one eye at a time to see which eye keeps the object centered. That’s your dominant eye—the one you should use for sight alignment and creating a clear sight picture.
If your dominant eye is opposite your shooting hand, called cross dominance, try techniques like eye patching or adjusting your head position. Consistently aligning your dominant eye with the rifle’s sights improves accuracy and reduces parallax errors.
Regularly practicing eye dominance tests ensures you maintain proper sight alignment and a precise sight picture for every shot. It really makes a difference when you keep at it.
Set Up Your Rifle and Body for a Stable Shot
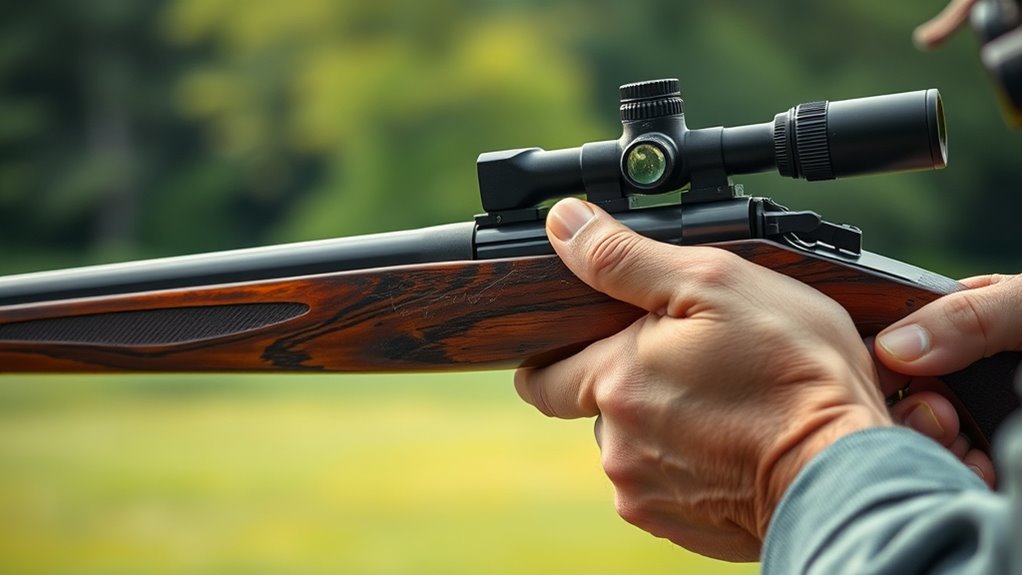
To set up for a stable shot, start by positioning your rifle firmly against your shoulder and keeping your elbows close to your body. Stand with your feet shoulder-width apart and maintain a relaxed, balanced stance to minimize movement.
Don’t forget to control your breathing—steady breaths help keep your aim consistent and sharp. It really makes a difference when you’re trying to stay steady. Just keep it calm and natural.
Proper Rifle Position
When you set up your rifle and body properly, you create a stable foundation that greatly improves your shot accuracy. Achieving the proper rifle position is key to effective sight alignment. This ensures your eye naturally lines up with the iron sights without any strain.
Focus on these essentials: Securely support your rifle on a stable surface or your body to minimize movement. Adopt a consistent stance with your body aligned behind the rifle for maximum stability.
Grip the rifle firmly but relaxed, placing your support hand just behind the forend. Position your cheek comfortably against the stock to naturally align your eye with the sights. It’s all about finding that comfortable, steady setup.
Steady Body Stance
Although lining up your iron sights is essential, your body stance plays an equally important role in achieving a stable shot. Start by standing with your feet shoulder-width apart, distributing your weight evenly to create a balanced stance.
Keep your elbows tucked close to your body; this reduces unnecessary movement and helps steady the rifle. Position the rifle firmly against your shoulder, maintaining a consistent cheek weld to assure proper alignment with the sights.
Try to adopt a relaxed, natural posture to minimize muscle fatigue. This way, you can hold steady for longer.
Controlled Breathing Techniques
Since steady hands start with steady breaths, mastering controlled breathing is essential for lining up your iron sights effectively. Controlled breathing helps relax your body, reducing movement and improving sight alignment.
You want to establish a consistent rhythm that supports a stable shot.
Keep these tips in mind:
- Inhale slowly for about 4 seconds, then exhale gently over 6 seconds.
- Pause briefly at the bottom of your exhale to minimize chest movement.
Shoot during this natural respiratory pause for maximum stability. It really makes a difference.
Also, maintain a relaxed posture to prevent muscle tension and unwanted rifle movement. Staying loose helps keep everything steady.
Focus on the Front Sight for Clear Alignment
To achieve accurate shot placement, you need to focus your eyes squarely on the front sight, making sure it remains sharp and clear while the rear sight and target blur slightly. Your eye can’t focus clearly on the front sight, rear sight, and target all at once, so prioritizing the front sight is essential.
This focus helps you maintain the proper sight picture, which is critical for consistent accuracy. When the front sight is crisp, you’ll notice the rear sight and target are a bit blurry—that’s a sign you’re doing it right.
Consistently keeping your attention on the front sight during each shot ensures you stay aligned correctly and improves your overall shooting precision. Don’t shift your focus away—it’s the key to clear alignment.
Align Your Iron Sights Correctly on the Target
When you align your iron sights correctly on the target, you guarantee every shot hits where you intend. Proper sight alignment means centering the front sight perfectly within the rear sight notch, ensuring equal light on both sides.
Focus sharply on the front sight, not the target, to maintain accuracy. Keep the top of the front sight level with the rear sight’s top, and make sure it isn’t tilted or canted, as that throws off your aim.
To align your iron sights correctly on the target:
- Center the front sight in the rear sight notch
- Keep equal light on both sides of the front sight
- Level the top of the front sight with the rear sight
- Focus on the front sight, not the target
This precise sight alignment ensures consistent, accurate shots. It really makes a difference every time you take a shot.
Establish the Proper Sight Picture for Zeroing
To establish the proper sight picture for zeroing, start by aligning your sights precisely with the target. Focus sharply on the front sight while keeping the target and rear sight slightly blurred.
Make sure to use the manufacturer’s recommended hold, like a six o’clock or center hold, for consistent results. This helps you get on target every time.
Align Sights With Target
Although aligning your sights with the target might seem straightforward, it requires careful attention to detail to establish a proper sight picture for zeroing. You need to guarantee perfect sight alignment by keeping the rear sight level and centered over the front sight.
Then, place the top of the front sight post exactly in the center of the rear sight notch, with equal light on both sides. Keep your focus on the front sight while the target remains slightly blurry, which helps maintain accuracy.
Remember to:
- Verify the front sight stays level and centered
- Align the front sight precisely with the target
- Maintain consistent sight picture at your zero distance
- Avoid shifting your focus away from the front sight during alignment
This precision ensures your shots hit where you expect.
Focus On Front Sight
Even after aligning your sights correctly, you’ll want to focus sharply on the front sight to establish the proper sight picture for zeroing. Make certain the front sight appears crisp and clear, while allowing the target and rear sight to remain slightly blurry.
This deliberate focus helps you maintain consistent sight alignment as you prepare to fire. The sharpness of the front sight should be your primary reference point; when it’s perfectly in focus, you know your sight picture is accurate.
Avoid the temptation to focus on the target or rear sight, as this will disrupt your aim and reduce precision. By concentrating on the front sight, you ensure a consistent, reliable sight picture that’s essential for precise zeroing of your rifle’s iron sights.
Choose Manufacturer Hold
Maintaining a sharp focus on the front sight sets the stage for choosing the manufacturer’s recommended hold when zeroing your rifle. This guarantees you establish the proper sight picture and sight alignment for consistent accuracy.
Follow the manufacturer’s sight picture instructions, such as the “Z” notch or specific hold points, to match your firearm’s design. Make sure your rifle is stable and aimed at the target set at the intended zero distance, commonly 25 or 50 yards.
Confirm your front and rear sights align both horizontally and vertically before firing. Use the correct hold: six o’clock or dead-on, depending on conditions.
Keep the sight alignment steady with each shot. Adjust based on your manufacturer’s guidance.
And don’t forget to practice to maintain a consistent proper sight picture for reliable zeroing. It really makes all the difference.
Make Initial Zero Adjustments at Close Range
Before making any adjustments, set your rifle’s sights to the manufacturer’s recommended zero as a baseline. This initial zero gives you a starting point for proper sight alignment.
Secure your rifle in a stable position to minimize movement, then fire a group of five shots at a close range, like 25 yards. Watch where your shots land compared to the target’s center.
Stabilize your rifle and fire five shots at 25 yards to observe shot placement.
Use the rear sight’s elevation and windage controls to adjust the sights in the direction you want the point of impact to move. Keep firing and adjusting until your shot group consistently hits the center.
This process makes sure your rifle’s iron sights are roughly aligned before you move on to fine-tuning for precision at longer distances. It’s a simple way to get things close before dialing it in perfectly.
Fine-Tune Windage and Elevation for Precision
Once you’ve established a rough zero, you’ll want to fine-tune windage and elevation for precise shot placement. Focus on sight alignment by adjusting the rear sight left or right to correct windage, and move it up or down to refine elevation.
Use the manufacturer’s increments, usually MOA or MIL, for consistent adjustment. After each change, fire a group to verify impact and keep adjusting until your shots center perfectly.
- Adjust rear sight horizontally for windage accuracy
- Move rear sight vertically to control elevation
- Use precise increments for consistent sight alignment adjustments
- Record clicks or movement for future reference and reliability
Fine-tuning guarantees your rifle delivers pinpoint accuracy at any range. It’s all about those small tweaks that make a big difference.
Avoid Common Zeroing Mistakes and Errors
After fine-tuning your windage and elevation, it’s easy to overlook common zeroing mistakes that can throw off your accuracy. First, make certain your rifle is securely supported to prevent movement during adjustments and shooting.
Confirm your sights are set to the correct zero distance and that sight adjustments are properly calibrated. When adjusting, move the rear sight in the same direction you want the impact point to shift, and the front sight in the opposite direction.
Always focus on the front sight, keeping it centered in the rear notch to ensure proper sight alignment. Don’t rely on just one shot; fire multiple rounds to establish a consistent group before making further changes.
Following these steps helps keep your sights properly aligned and your zero precise. It’s all about being patient and methodical to get the best results.
Practice Regularly to Maintain Your Zero
Though zeroing your rifle is essential, practicing regularly is what truly maintains your accuracy over time. Consistent practice reinforces proper sight alignment and sight picture, helping you keep your shots on target.
By zeroing at the same distance repeatedly, you guarantee reliable shot placement. Frequent sessions also help you spot any shifts in alignment caused by equipment or conditions.
To maintain your zero effectively:
- Practice at consistent distances like 25 or 100 yards
- Use the same ammo and firearm settings each time
- Perform regular zeroing drills to build muscle memory
- Check for and correct any sight alignment deviations promptly
Staying disciplined with these habits keeps your iron sights ready and your accuracy sharp. It really pays off in the long run!
Frequently Asked Questions
What Is the Correct Sight Alignment?
The correct sight alignment means you center the front sight in the rear notch, level the tops evenly, and guarantee equal gaps on both sides. This creates a straight line, helping you focus accurately on your target.
How to Properly Look Down Iron Sights?
You look down iron sights by focusing your eye sharply on the front sight while keeping the target slightly blurry. Keep your head steady, maintain a natural cheek weld, and align the sights consistently for accurate aiming.
How to Set up Iron Sights?
Setting up iron sights is like tuning a guitar—get the rear sight level and centered, align the front sight in its notch, then adjust both until the top edges form a straight line. You’ll nail your aim perfectly.
Is a Red Dot Supposed to Line up With Iron Sights?
No, your red dot doesn’t have to line up with iron sights. You use the red dot as your main aiming point, zeroing it separately, while iron sights act as a backup or for specific shooting needs.
Conclusion
Now that you’ve mastered lining up your iron sights, remember: practice makes perfect. Like a skilled musketeer of old, you’ve got to keep your focus sharp and your stance steady.
Don’t rush the zeroing process—take your time adjusting windage and elevation. Keep at it regularly, and soon your shots will be as precise as a well-oiled clock.
Stick with these steps, and your rifle will serve you true every time you take aim. Consistent practice with your iron sights is key to improving accuracy and confidence. Keep honing your skills, and you’ll notice your shot grouping tighten up, making every shot count. Whether you’re on the range or out in the field, proper alignment and steady zeroing will make all the difference in your shooting success.