How to Adjust a Rifle Scope in 5 Easy Steps
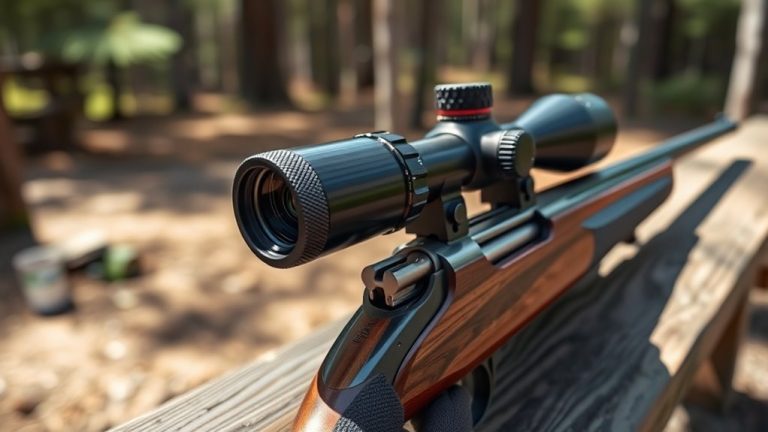
To adjust your rifle scope in five easy steps, start by securing your rifle on a stable rest and leveling it to prevent any movement. This is crucial for accuracy and consistency when making adjustments.
Next, set your eye relief so the reticle is clear and free from shadows. Proper eye relief helps you see the target clearly without straining your eyes.
Then, level the scope within the rings and tighten them evenly to keep everything aligned properly. This step is important to maintain the accuracy of your shots.
After that, focus the reticle sharply to reduce eye strain and improve your shooting comfort.
Finally, fire test shots to fine-tune your zero. Adjust as needed until your point of impact matches your point of aim.
Keep practicing if you want to master each step with precision and confidence.
Key Takeaways
- Secure the rifle on a stable surface and ensure it is perfectly level before mounting the scope. This helps keep everything steady and accurate.
- Adjust the scope position for proper eye relief and achieve a clear, shadow-free sight picture. It might take a little moving around to get it just right.
- Level the scope reticle vertically using a bubble level and secure mounting rings evenly with recommended torque. This keeps your aim true and consistent.
- Focus the eyepiece diopter until the reticle is sharp and clear against a bright background. A crisp reticle makes a big difference when lining up your shots.
- Fire test shots, measure impact deviations, and make precise turret adjustments to zero the scope accurately. Keep adjusting until your point of aim matches the point of impact.
Prepare and Position Your Rifle for Scope Adjustment
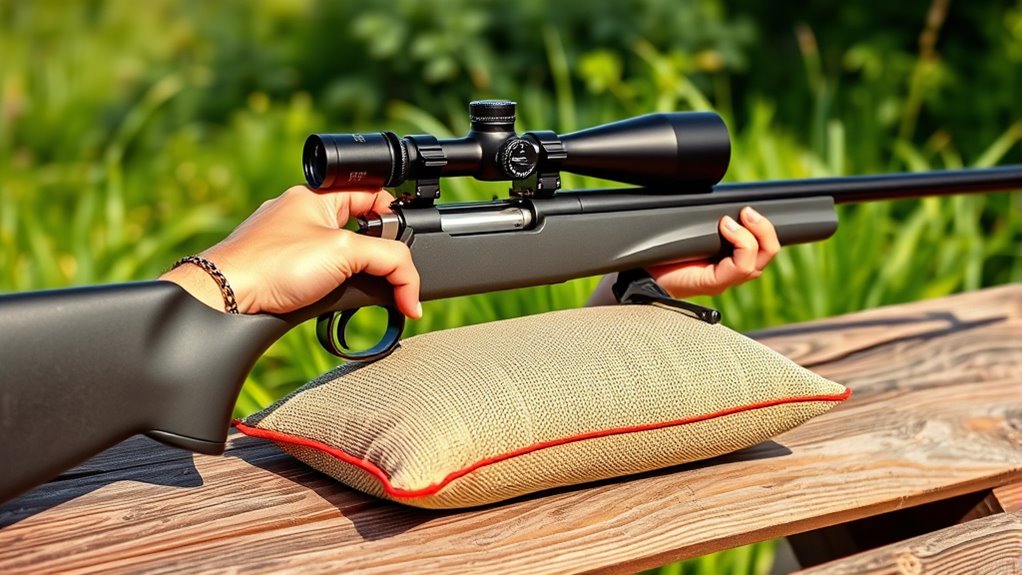
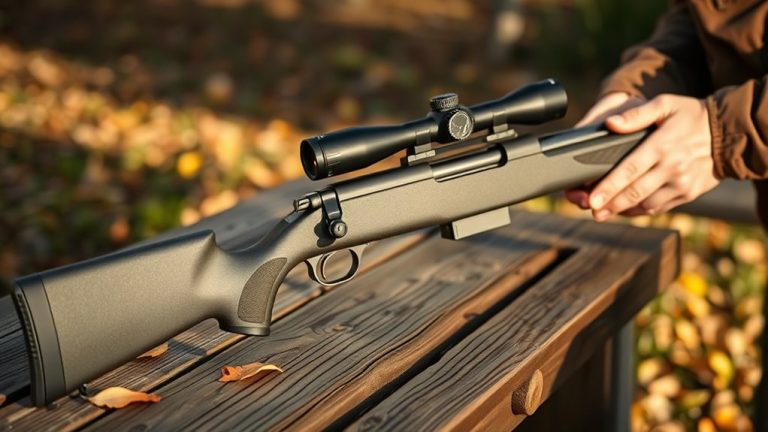
How do you guarantee your rifle is perfectly stable for scope adjustment? First, securely mount your rifle on a stable surface like a bench rest, bipod, or rear bag. This stable setup prevents unwanted movement while you adjust.
Next, use a bubble level placed on the rail or stock to level the rifle, avoiding any cant that could throw off your zero. When installing the scope rings, adjust them so the scope’s vertical crosshair aligns precisely with a plumb line or bubble level.
Use a bubble level to ensure your rifle and scope are perfectly aligned for accurate zeroing.
Position the scope carefully, ensuring proper eye relief without moving it prematurely. Finally, tighten the scope rings to the manufacturer’s recommended torque to keep the scope securely in place.
This preparation helps you adjust your rifle scope accurately and confidently.
Set Eye Relief and Achieve a Clear Sight Picture
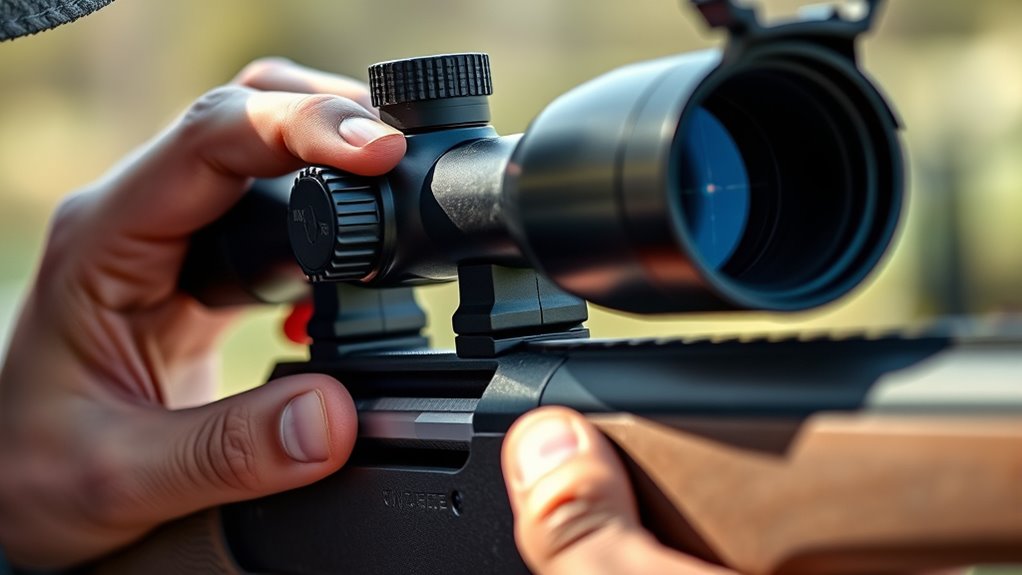
Once your rifle is securely positioned and leveled, the next step is to set your eye relief to guarantee a clear, full sight picture. Start by mounting the scope so your eye sits about 2.5 to 3.5 inches from the ocular lens when shouldering the rifle.
Slide the scope forward or backward within the rings, making small adjustments until the reticle looks crisp and sharp without black edges or shadowing. Position your eye directly behind the eyepiece to eliminate any scope shadow and improve clarity.
After tightening the mounting rings, recheck your eye relief and scope position, as slight shifts can affect the sight picture. This careful adjustment ensures you’ll have a clear, shadow-free view every time you aim.
Level the Scope and Secure Mounting Rings
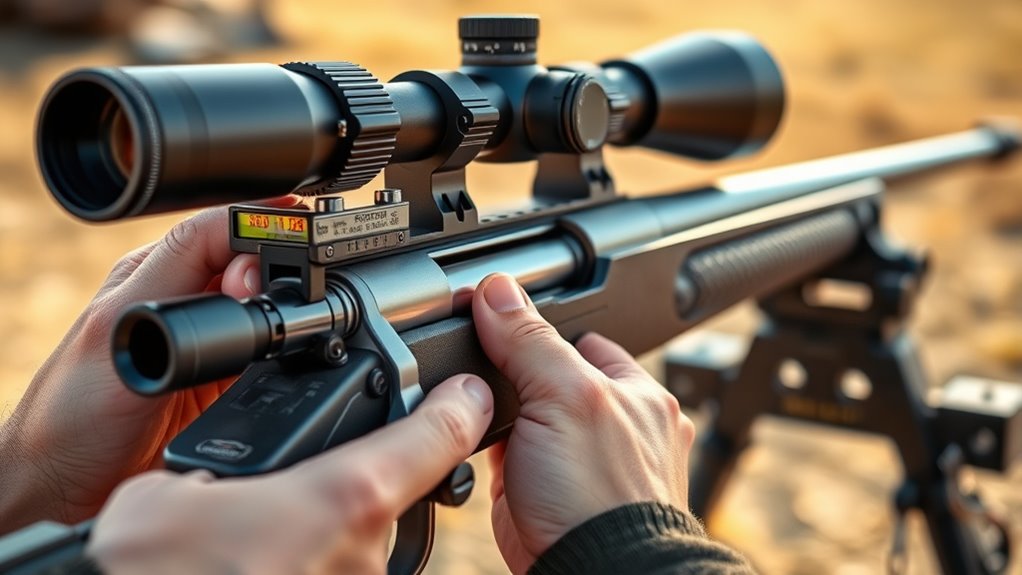
Before tightening the mounting rings, you’ll want to make sure the scope is perfectly level to avoid any canting that could impact your accuracy. Start by leveling the rifle action itself. Use a bubble level or a specialized leveling kit placed on the scope or mount to check that your scope sits horizontally.
Carefully rotate the scope in the rings to align the reticle vertically with a plumb line or level. When securing the mounting rings, tighten them gradually in a star pattern to distribute torque evenly, usually around 20-26 in-lb.
Continuously check the scope’s level throughout this process. After fully tightening, recheck to ensure nothing shifted. Taking these steps guarantees your scope is level and securely mounted, setting you up for precise and consistent shooting.
Focus the Reticle for Crisp Targeting
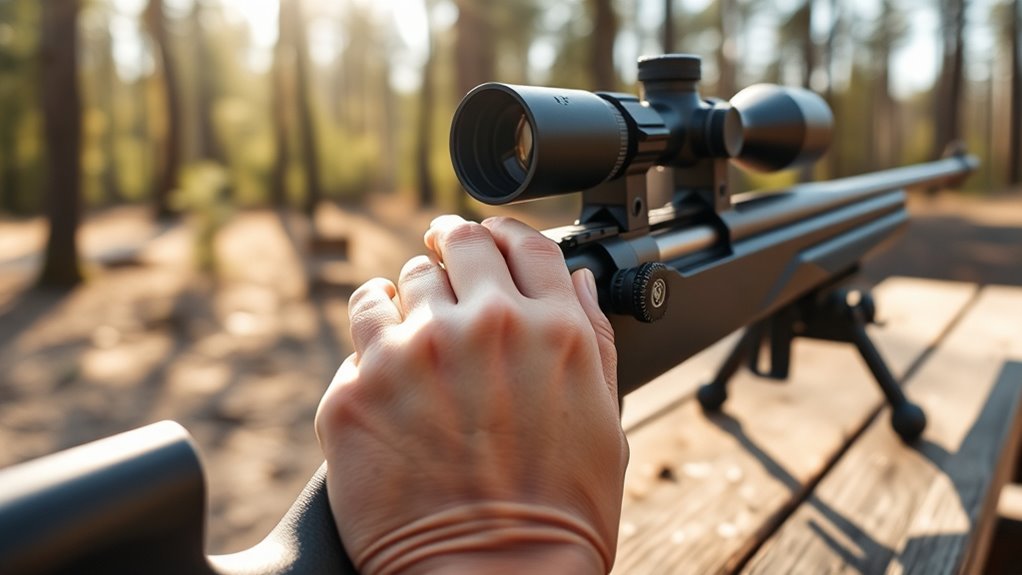
Although mounting your scope correctly is essential, focusing the reticle is just as important to guarantee clear, sharp targeting. To focus the reticle, turn the eyepiece diopter adjustment until the reticle appears crisp and free of double images.
Use a bright, high-contrast background—like a white wall or paper—to improve reticle visibility and sharpness during this process. Adjust the eyepiece focus at your typical shooting distance to maintain reticle clarity when you’re aiming.
Once you achieve a crisp reticle, lock or mark the diopter adjustment to prevent it from shifting during use. Proper reticle focus reduces eye strain and enhances aiming accuracy, ensuring your shots are precise and your reticle stays sharp throughout your shooting session.
Check and Adjust Your Scope for Accuracy
To guarantee your shots hit their mark, you need to regularly check and adjust your scope for accuracy by firing test groups at your intended zero distance and carefully measuring where the rounds land.
Use a stable shooting position to ensure consistent sight picture and reticle alignment. Based on impact measurements, make precise turret adjustments—typically ¼ MOA or 0.1 MIL per click—to fine-tune your scope zeroing.
Be sure to recheck after transportation or ammo changes to keep your accuracy on point. It also helps to record your zero settings and conditions for future reference.
| Step | Action | Purpose |
|---|---|---|
| 1 | Set stable shooting position | Minimize human error |
| 2 | Fire test groups | Assess impact point |
| 3 | Measure deviation | Impact measurement |
| 4 | Adjust turret precisely | Precise adjustments |
| 5 | Confirm zero & document | Consistent reticle alignment |
Frequently Asked Questions
What Way to Adjust a Rifle Scope?
You adjust your rifle scope by turning the elevation turret to move the point of impact up or down and the windage turret to shift it left or right. Use small clicks for precise alignment based on your target.
What Is the Basic Rule for Sight Adjustment?
You’d think turning knobs randomly would work, but nope—the basic rule is simple: turn the turret so the bullet hits where you want. If the shot’s left, turn right; if it’s low, turn up. Easy!
How Many Clicks to Adjust Scope at 25 Yards?
You’ll need about 16 to 17 clicks on a 1/4 MOA scope to adjust one inch at 25 yards. Each click moves your point of impact roughly 0.06 inches, so count carefully for precision.
How to Adjust Left and Right on a Rifle Scope?
Turn the windage turret clockwise to move shots right, counterclockwise to move them left. Make small adjustments, fire test shots, and repeat until your point of impact matches your target precisely.
Conclusion
Now that you’ve adjusted your rifle scope, you’re ready for precision shooting. Did you know that even a 1/4 inch misalignment at 100 yards can cause a missed shot? That really shows just how important these steps are.
By preparing your rifle, setting eye relief, and leveling the scope, you set a solid foundation for accuracy. Then, by focusing the reticle and fine-tuning your adjustments, you’ll improve your aim and confidence.
Take your time with each step. Properly adjusting a rifle scope not only enhances your shooting precision but also boosts your overall shooting experience. Following these five easy steps ensures every shot counts, making your practice and hunting more successful and enjoyable.