How to Load a Grease Gun in 5 Easy Steps
To load a grease gun in five easy steps, start by removing the old cartridge. Just unscrew the end cap and clean out any residue inside. This prep work is key for a smooth reload.
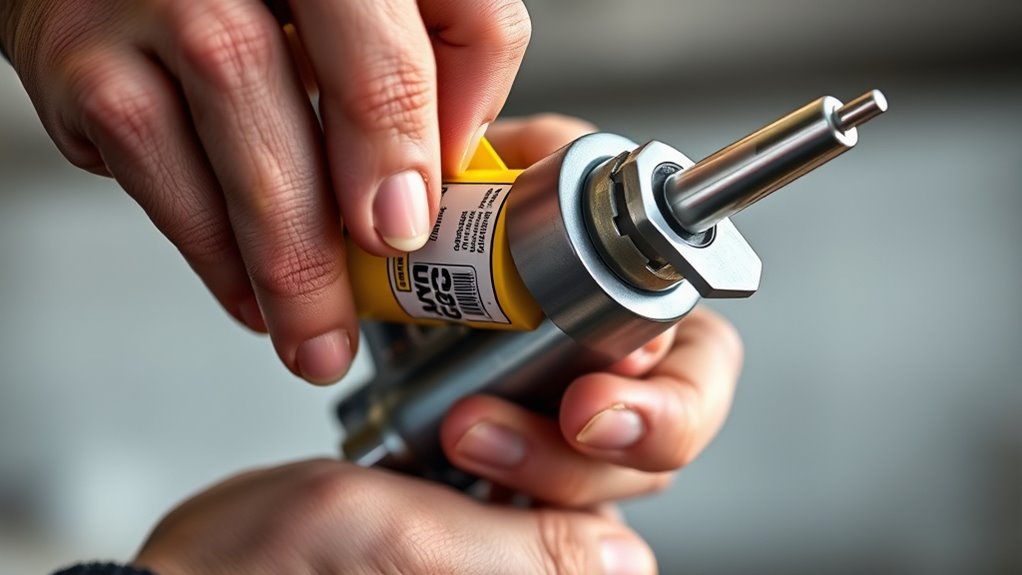
Next, grab your new grease cartridge. Peel off the foil seal carefully, then insert it open end first into the gun body. It fits snugly, so you’ll know when it’s in place.
Now, securely reassemble the gun and lock the plunger-rod handle. This step helps prevent any leaks while you’re working.
Finally, push the inner rod to prime the gun. Keep going until grease flows steadily from the nozzle.
Follow these simple steps, and you’ll keep your grease gun running reliably every time you need it. It’s quick, easy, and keeps your equipment well-lubricated!
Key Takeaways
- Remove the old cartridge by unscrewing the end cap. Then, clean out any grease residue inside the gun.
- Next, unscrew the gun body. Take off the plastic cap and foil seal from the new cartridge.
- Now, insert the new cartridge open end first. Give it a slight twist to seat it fully inside the gun body.
- After that, reattach the gun body to the grease gun head securely. Don’t forget to lock the plunger-rod handle.
- Finally, prime the grease gun by pumping the handle. Keep going until grease flows steadily from the nozzle.
Safely Removing the Old Grease Cartridge
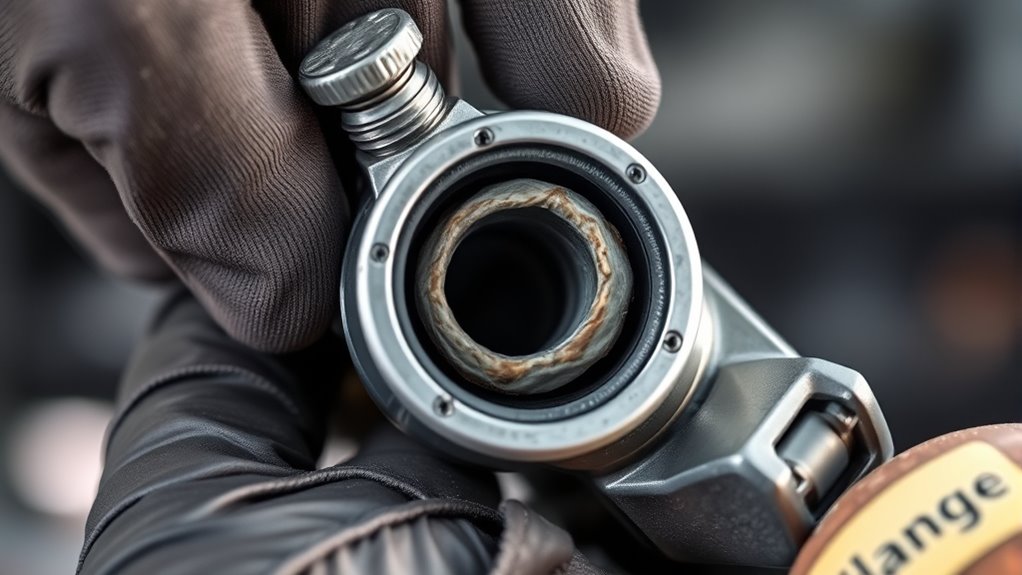
Before loading a new cartridge, you’ll need to safely remove the old one by unscrewing the grease gun’s end cap and carefully pulling out the empty cartridge.
Once the cartridge is out, take time to remove any old grease residue inside the gun and on the cartridge itself using a clean rag or cloth. This step is vital to prevent contamination and guarantee smooth operation.
Remove old grease residue thoroughly to avoid contamination and ensure your grease gun operates smoothly.
After cleaning, retract the plunger-rod handle fully and twist it to lock, preparing the grease gun for the next steps. Don’t forget to check for any seal remnants from the old cartridge and remove them completely.
Properly removing the old grease cartridge sets the foundation for a reliable and efficient grease gun refill. It’s a simple step, but it makes all the difference!
Preparing and Inserting the New Grease Cartridge
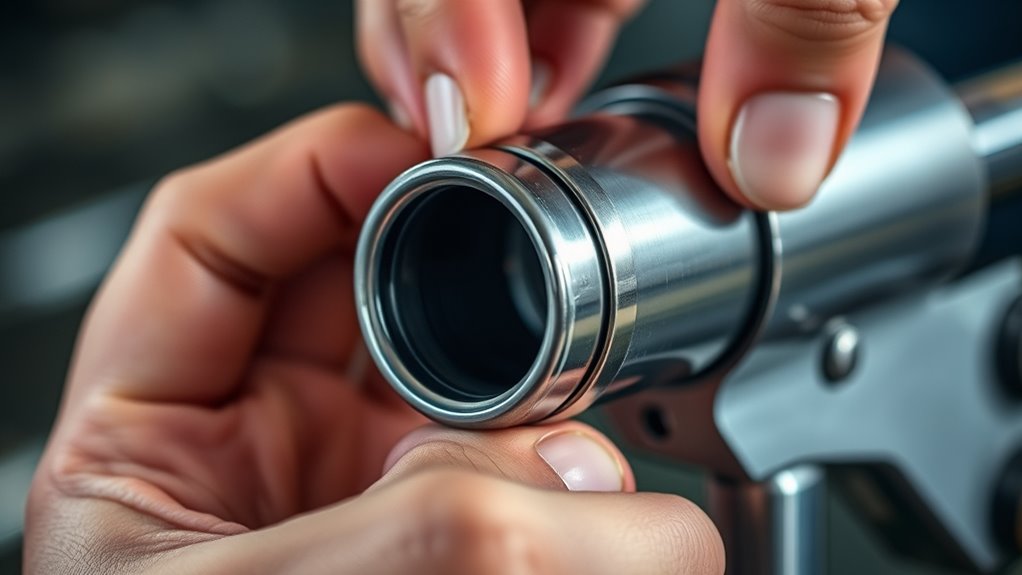
Once you’ve removed the old cartridge and cleaned the grease gun, you’re ready to prepare the new cartridge for insertion. First, unscrew the grease gun body to access the interior chamber.
Take your new grease cartridge and remove the plastic cap, then peel off the aluminum or foil seal to expose the grease. Now, insert the cartridge into the gun body, making sure the open end goes in first.
Give it a slight twist to confirm it seats fully inside the chamber. Finally, reattach the gun body to the grease gun head, catching a few threads to secure it properly.
With the new grease cartridge inserted correctly, you’re all set for the next step. Easy, right?
Sealing and Assembling Your Grease Gun
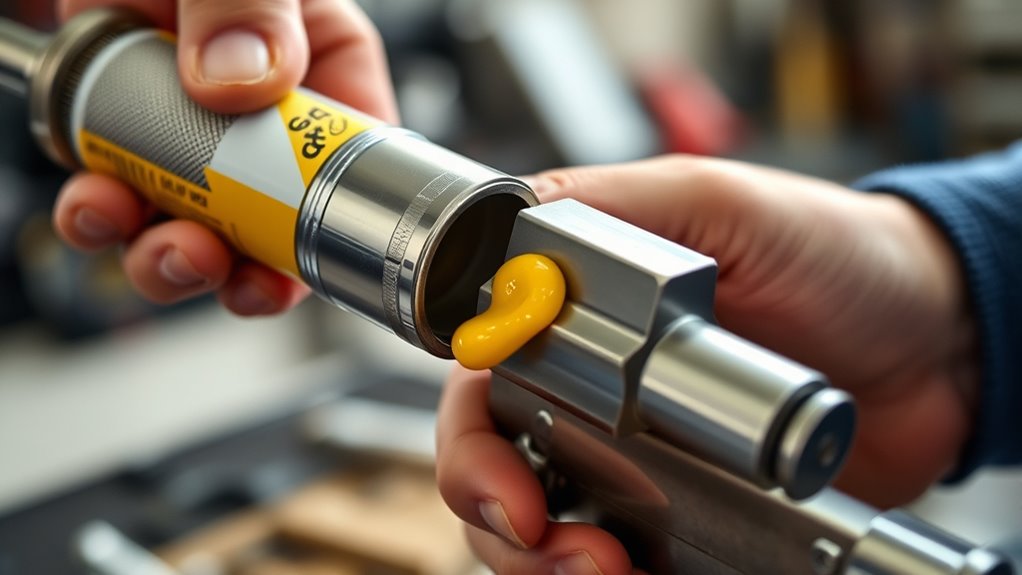
Although you’ve inserted the new grease cartridge, you still need to seal and assemble the grease gun properly to guarantee it functions without leaks.
First, remove the aluminum or foil seal from the cartridge’s open end before inserting it into the gun body. Next, screw the loaded cartridge into place, aligning the open end with the inlet and twisting it slightly to seat it fully.
Remove the cartridge’s foil seal before inserting and securely screwing it into the grease gun body.
Then, reattach the grease gun head by securely threading it onto the gun body. Make sure all seals are tight and properly positioned to prevent any grease leakage.
Finally, twist and lock the plunger-rod handle to retract and secure the spring inside. By carefully sealing and assembling your grease gun, you confirm reliable, leak-free operation.
Priming the Grease Gun for Smooth Operation
How do you guarantee your grease gun delivers smooth, consistent lubrication? After you load a grease gun, you need to prime the grease gun to remove any air from the gun that can interrupt grease flow.
Start by pushing the inner rod into the cylinder if you’re using a cartridge, forcing grease into the head and clearing air pockets. Wipe the fittings clean with a rag to prevent debris from blocking grease.
Then, pump the handle repeatedly until grease begins flowing steadily from the nozzle. If your gun has an air bleeder valve, depress it to release trapped air and improve lubrication flow.
Keep pumping until you see a steady stream of grease, confirming the gun is fully primed and ready for smooth operation.
Tips for Using and Maintaining Your Grease Gun
To get the best performance from your grease gun, you need to handle and maintain it carefully. Always guarantee the grease gun is properly assembled, and the nozzle is securely attached before you load it.
Use the grease gun handle smoothly to avoid damage. Regularly inspect seals, couplers, the spring, and plunger for wear, replacing parts as needed to prevent leaks and maintain pressure.
Keep your grease gun clean, free of debris, and store it in a dry place. After each use, release any pressure to prolong its lifespan.
Also, don’t forget to lubricate moving parts during maintenance to ensure smooth operation. By following these tips, you’ll keep your grease gun reliable and efficient for every job.
Frequently Asked Questions
Do You Push the Rod in on a Grease Gun?
Yes, you push the rod in on a grease gun after loading a cartridge to expel air and prime it. This guarantees grease flows smoothly and the gun functions properly during use, preventing clogs or interruptions.
Which Way to Put a Grease Tube in a Grease Gun?
You don’t just shove it in any which way—insert the grease tube with the open end facing down, like it’s parachuting gracefully into the gun. Twist gently to seat it, or you’ll regret leaks later!
How Does a Manual Grease Gun Work?
You pump the handle to push the piston inside, creating pressure that forces grease through the nozzle. When you pull the trigger, grease flows out, letting you precisely lubricate fittings with controlled bursts.
How Do You Prime a Grease Gun for the First Time?
Think of priming your grease gun like waking a sleeping dragon. Push the inner rod to force grease out, pump until it flows steadily, loosen the cap if needed, then tighten and release any trapped air.
Conclusion
Now that you’ve mastered loading your grease gun in just five easy steps, you’re officially the grease guru everyone envies. Who knew such a simple tool could demand this much attention?
But hey, with your newfound skills, you’ll keep those machines running smoother than your morning coffee. Just remember, next time you’re covered in grease, it’s proof you’re doing something right—because every expert has to get a little dirty!
Loading a grease gun might seem tricky at first, but once you get the hang of it, it’s a game changer. Properly loading your grease gun ensures efficient lubrication, which keeps your equipment in top shape and prevents costly repairs. So, stick with these easy steps, and you’ll be the go-to pro for all things grease gun related. Keep those bearings and joints well-lubricated, and your machines will thank you!