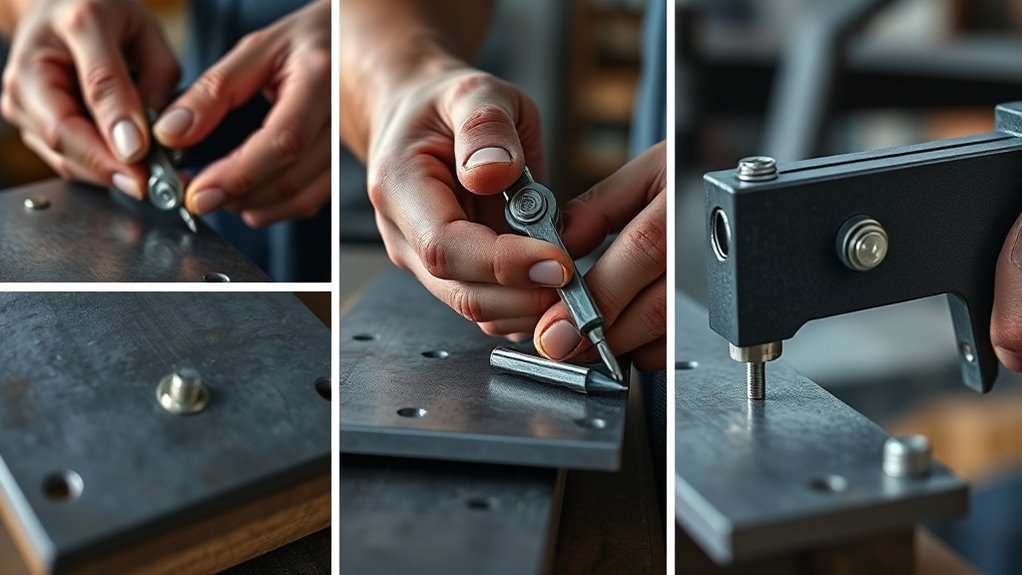
How to Use a Rivet Gun in 3 Easy Steps
To use a rivet gun in three easy steps, start by measuring and drilling a hole that matches your rivet size. This ensures a perfect fit for a secure hold.
Then, position the rivet through the materials you want to join.
Next, hold the rivet gun squarely against the rivet head. Squeeze the trigger steadily until the mandrel snaps off, which locks the rivet in place and creates a strong bond.
Finally, inspect the rivet closely. Make sure it’s flush against the surface and that the joint feels tight without any gaps.
Follow these simple steps, and you’ll quickly master a strong, reliable fastening technique with your rivet gun.
Key Takeaways
- Measure the material thickness and drill a hole that matches the rivet diameter before inserting the rivet.
- Insert the rivet with the mandrel sticking out on the side where you’ll use the rivet gun.
- Hold the rivet gun squarely against the rivet head and squeeze the trigger steadily.
- Keep squeezing until you hear the mandrel snap off. That means the rivet is securely set.
- Finally, check the rivet head to make sure it’s flush with the surface.
- Don’t forget to remove any broken mandrel pieces from the gun before you finish.
Measure, Drill, and Position the Rivet
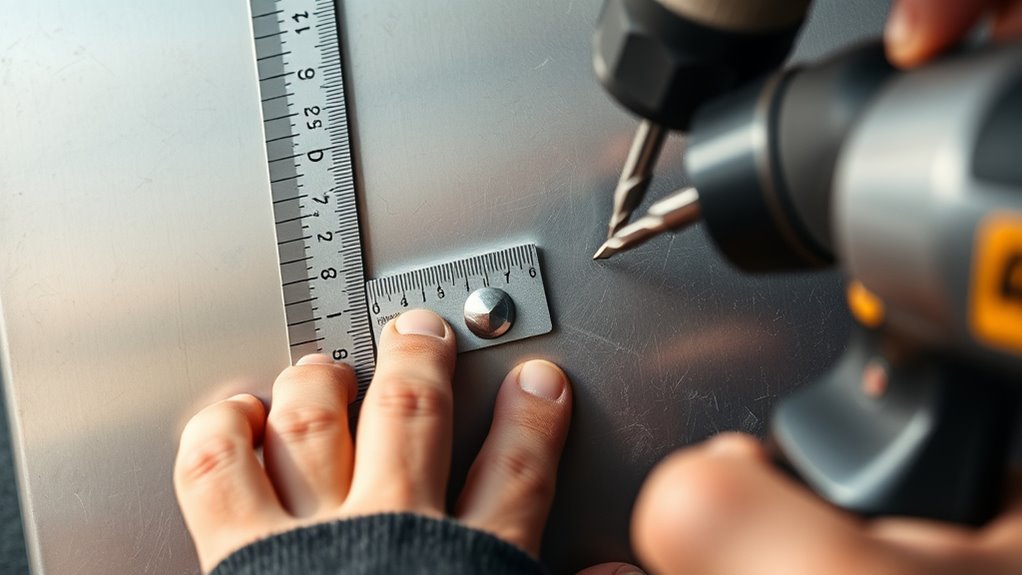
Before you begin, measure the combined thickness of the materials you want to join and choose a rivet with the right diameter and length. This guarantees a proper fit and secure hold.
Start by measuring material thickness to select the perfect rivet size for a secure fit.
Next, clamp the materials firmly to keep them from shifting. Use a drill with a bit that matches the rivet’s diameter to create a clean hole. Accuracy here is vital for good alignment and easy insertion.
Once drilled, position the rivet by inserting it into the hole, making sure the mandrel sticks out on the side where you’ll use the rivet gun. Double-check that the rivet is fully inserted and aligned correctly before moving on.
Proper measurement, drilling, and positioning set the foundation for a strong, reliable joint. You’ll thank yourself later when everything holds tight.
Set the Rivet Using the Rivet Gun
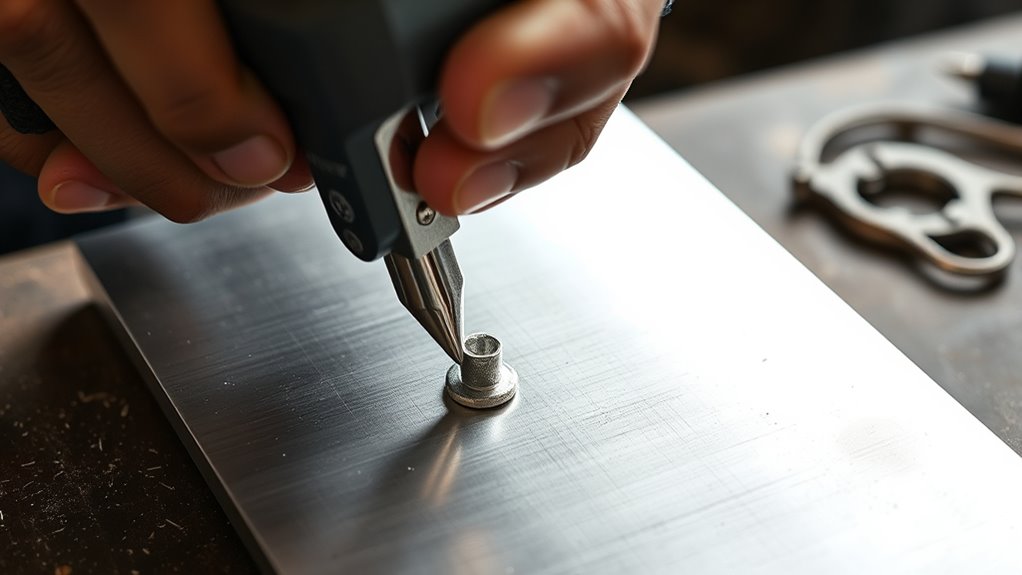
Once you’ve positioned the rivet properly, hold the rivet gun firmly and squarely against the rivet head. This guarantees you’ll set the rivet without misalignment or bouncing.
Keep consistent pressure while you squeeze the trigger, and don’t release it prematurely. Continue until you hear the mandrel snap off—that’s your sign the rivet is securely set.
Check that the rivet head is flush with the surface for a neat, strong joint. After setting the proper rivet, remove any broken mandrel pieces from the rivet gun to keep it working smoothly for your next use.
Following these steps will help you use the rivet gun effectively and achieve a reliable, clean fastening every time.
Inspect the Rivet and Ensure a Secure Joint
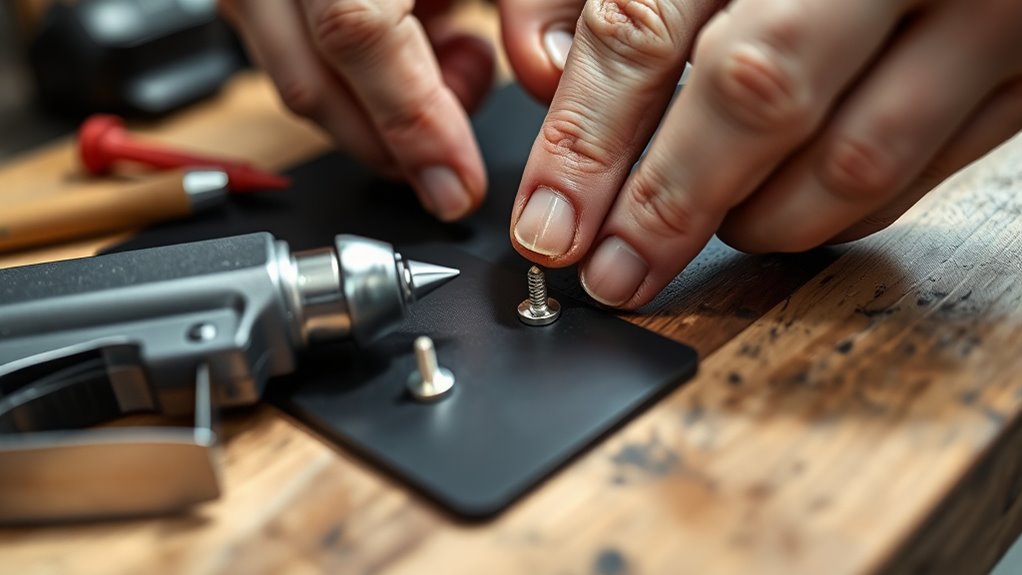
After you hear the mandrel snap off and remove any debris from the rivet gun, take a close look at the rivet head to make sure it sits flush and snug against the materials. You want to visually inspect the rivet head to confirm it’s properly seated with even compression, creating a flush rivet.
Next, follow these three key steps to confirm a secure fit:
- Verify the rivet shank fully expands and fills the hole without gaps.
- Use a small mirror and flashlight to check the underside for a properly formed shophead.
- Ensure there’s no movement or play between the joined materials.
Doing this guarantees a strong, secure joint free from cracks or deformation. It’s a simple check that can save you from future headaches!
Frequently Asked Questions
How to Use a Basic Rivet Gun?
You load the right rivet into the gun, clamp materials tightly, and insert the rivet into the hole. Then, squeeze the handles firmly until the mandrel snaps, securing the rivet. Check it’s tight before releasing.
How to Rivet Step by Step?
You start by drilling a hole, then insert the rivet. Hold the rivet gun perpendicular, squeeze the trigger until the mandrel snaps. Finally, check the rivet’s tightness and flush fit for a strong joint.
What Is the Easiest Rivet Gun to Use?
You’ll find cordless rivet guns the easiest to use—they’re about 30% lighter than air-powered models, making them super portable and beginner-friendly. You’ll appreciate their no-fuss setup and comfortable grip for quick, efficient riveting.
What Are Common Rivet Gun Mistakes?
You’ll often mistake using the wrong rivet size, misaligning the gun, or not holding it firmly against the rivet head. Avoid rushing or ignoring inspection afterward, or your joints might end up weak and unreliable.
Conclusion
Now that you’ve mastered the rivet gun, imagine the satisfying snap as the rivet locks tightly, holding your project firmly in place. Feel the steady grip in your hand and the confident rhythm of each press.
With every rivet set, you’re not just joining materials—you’re building strength and durability that lasts. Trust your skills, and watch your work transform from loose parts into a solid, dependable creation you can be proud of.
Using a rivet gun correctly makes a huge difference in your projects. It ensures strong, lasting joins that keep everything secure. So keep practicing, and soon using a rivet gun will feel second nature, turning your ideas into reliable, professional results every time.