How to Make a Rubber Band Gun in 5 Easy Steps
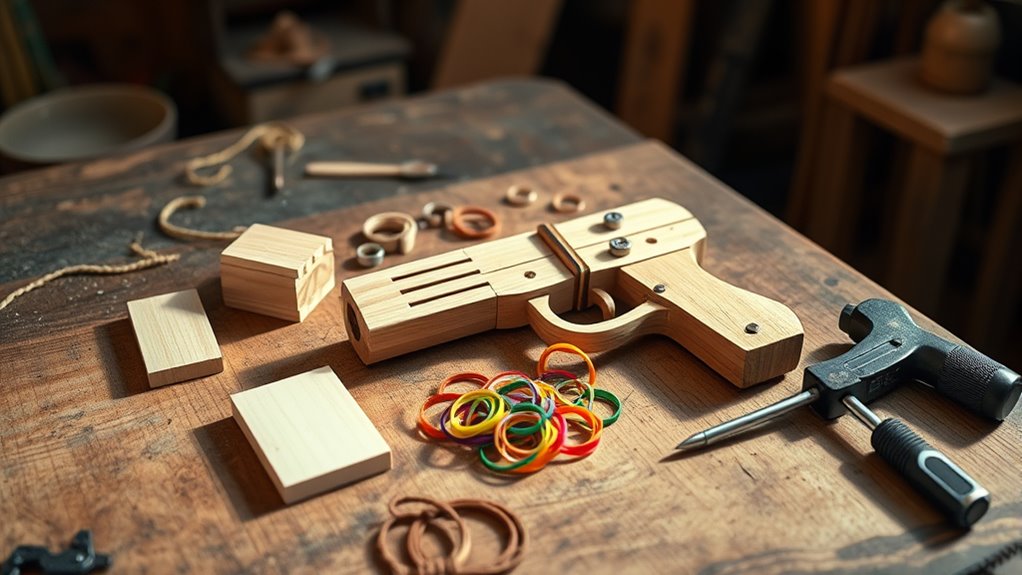
To make a rubber band gun in five easy steps, start by gathering craft sticks, rubber bands, scissors, and a glue gun. These basic materials will help you create a fun and simple toy that shoots rubber bands safely. Building your own rubber band gun is a great craft project for all ages and a cool way to learn some basic mechanics.
First, build the body by gluing sticks together and adding a comfortable handle. Then, create a pivoting trigger using popsicle sticks and a rubber band for tension. This trigger mechanism is what makes your rubber band gun work smoothly.
Next, load a rubber band on the barrel notch, hold it with the trigger, and press to fire. It’s really satisfying to see your homemade gun in action!
Plus, you’ll find simple tips to customize and improve your gun further down the line. Have fun experimenting and making it your own!
Key Takeaways
– Gather craft sticks, rubber bands, scissors, and hot glue for building the rubber band gun.
These are the basics you’ll need to get started.
– Construct the gun body and handle by cutting and gluing craft sticks securely.
Take your time to make sure everything is sturdy.
– Create a trigger mechanism using small popsicle sticks and a rubber band for tension.
This part gives your gun that cool firing action.
– Load a rubber band onto the barrel notch and secure it with the trigger to prepare for firing.
You’re almost ready to test it out!
– Customize the gun with decorations and adjust for comfort, accuracy, and power.
Make it your own and have fun with it!
Gather Supplies for Your Rubber Band Gun
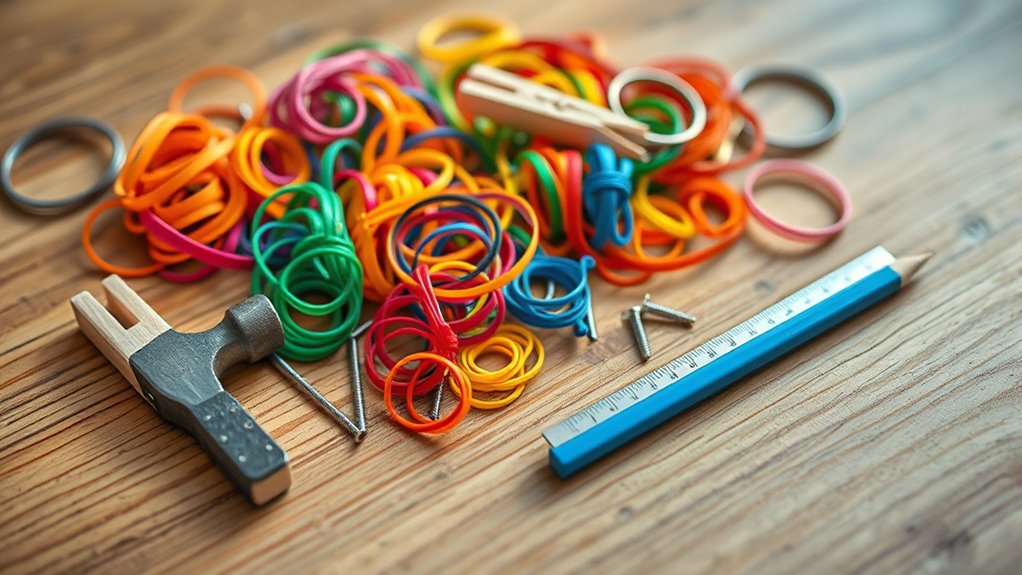
Before you start building, gather all the supplies you’ll need for your rubber band gun. You’ll want four craft sticks and three small popsicle sticks for the main structure and trigger.
Start by collecting four craft sticks and three small popsicle sticks for your rubber band gun’s frame and trigger.
Collect several rubber bands—they’ll serve as your ammunition and help attach the trigger mechanism. Grab a pair of scissors or a utility knife to trim the sticks as needed.
A hot glue gun, preferably low-temp, will make assembling the pieces easier and safer. Make sure you have a clean, flat workspace to keep everything organized and avoid accidents.
Having all these materials ready before you begin will make your building process smooth and efficient, so you can focus on crafting a sturdy and fun rubber band gun.
Build the Rubber Band Gun Body and Handle
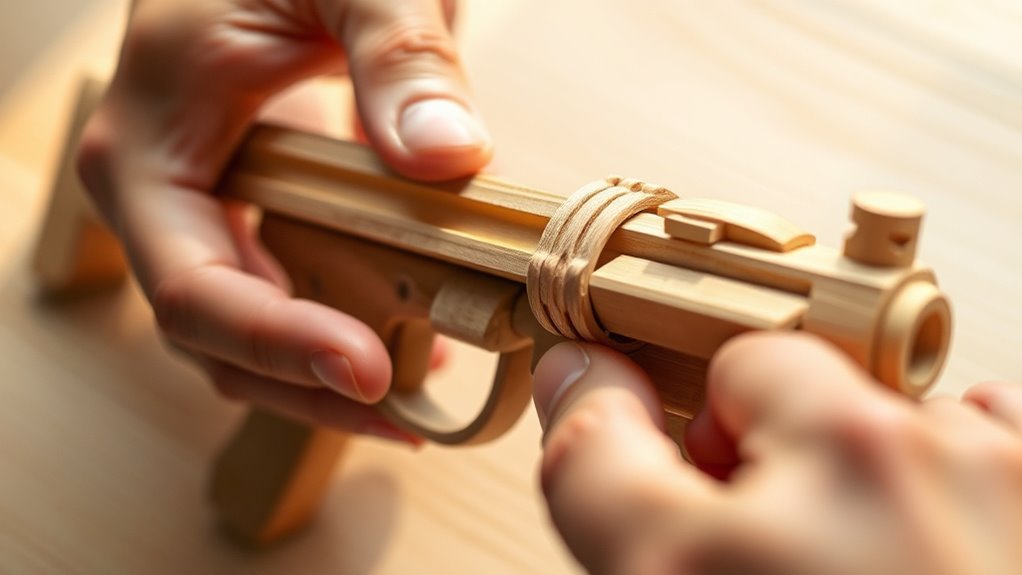
As you begin building the rubber band gun, cut a craft stick to your preferred length for the main body and glue it flat on your workspace.
Next, trim two craft sticks to form the handle, shaping them to fit your hand comfortably. Attach the handle securely to the bottom of the main body with hot glue.
Reinforce the connection with extra glue if needed to guarantee your rubber band gun is sturdy. Avoid attaching the trigger just yet; that comes later.
| Part | Action |
|---|---|
| Main Body | Cut and glue flat |
| Handle Sticks | Trim and shape |
| Handle | Attach with hot glue |
| Reinforcement | Add extra glue if needed |
Create and Attach the Pivoting Trigger Mechanism
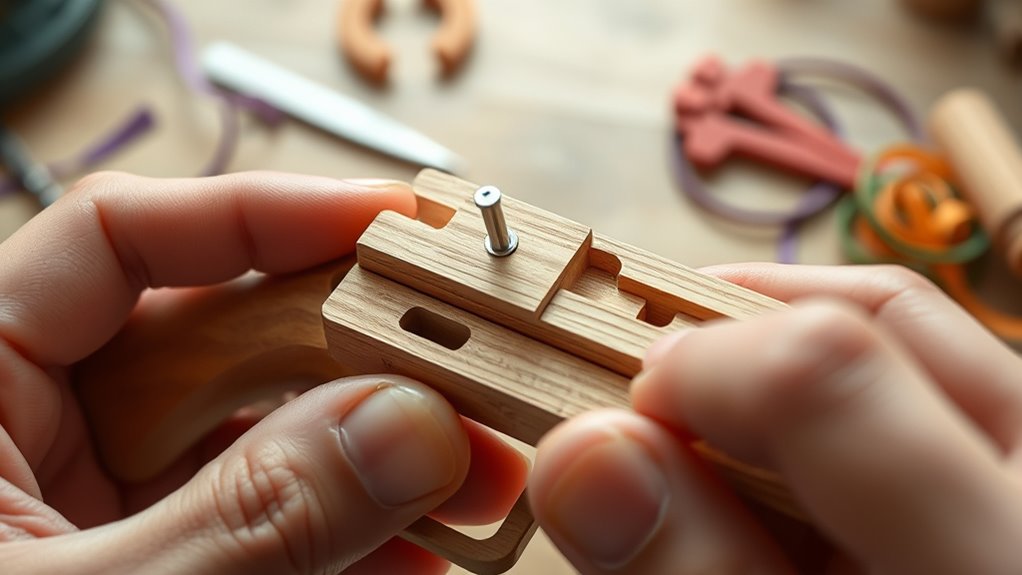
Although building the trigger might seem tricky, you’ll find it straightforward once you cut two small popsicle sticks in half and glue them together to form a pivot point. This pivoting trigger is key to your rubber band gun’s function, allowing smooth movement without being glued directly to the gun.
Here’s how to create and attach it:
- Cut two small popsicle sticks in half and glue them together at one end to form the pivot.
- Attach the trigger to the gun body using a rubber band, which provides the necessary tension.
- Position the trigger so it can pivot freely without obstruction.
- Guarantee the trigger slips the rubber band over the notched area when pulled, releasing the band to shoot.
Proper trigger placement guarantees reliable and safe operation. Just take your time to make sure everything moves smoothly!
Load and Fire Your Rubber Band Gun
Once you’ve assembled the trigger, you can load your rubber band gun by stretching a rubber band over the notch at the barrel tip. Make sure it stays securely in place.
Next, open the clothespin trigger by pressing down or pulling back to release tension. Then carefully position the rubber band within the notch. Close the trigger to hold the band firmly.
When you’re ready to fire, simply press down on the clothespin trigger to release the rubber band, propelling it forward.
Always aim at safe targets and double-check that your rubber band is properly loaded to prevent misfires or damage. Following these steps *assures* your rubber band gun works smoothly every time you want to shoot.
Customize Your Rubber Band Gun With Simple Variations
If you want your rubber band gun to stand out, try customizing it with colorful craft sticks or popsicle sticks for a unique look. You can make your rubber band gun truly yours by adding simple variations that boost both style and function.
Here are some ideas to get you started:
- Decorate with tape, stickers, or paint to give your gun a personal touch.
- Attach a paper or foam target holder for extra play options.
- Modify the handle or barrel size to improve comfort and accuracy.
- Experiment with different rubber band thicknesses to change shooting distance and power.
These tweaks will make your rubber band gun not only more fun but also better suited to your preferences. Give them a try and see how much cooler your creation can be!
Frequently Asked Questions
What Are Rubber Band Guns Made Of?
Rubber band guns are usually made of lightweight materials like wood or craft sticks. You’ll use popsicle sticks for triggers and clothespins or hooks to hold rubber bands, which act as the firing mechanism for fun and safe play.
What Is the Best Rubber Band Gun?
The best rubber band gun? Obviously, the one that never misses—because in your world, you’re a sharpshooter legend. Just pick a smooth, pivoting trigger design, and you’ll dominate playground battles with style and safety.
What Is the Ideal Age for a Rubber Band Gun?
The ideal age for a rubber band gun is around 6 and up. You’ll want to supervise kids under 8 to guarantee safety, while older children can handle aiming and enjoy more complex play responsibly.
How to Make a Rubber Band Shoot Far?
You can boost your rubber band gun’s range by using longer bands, which can increase shooting distance by up to 30%. Make sure to stretch the band fully and keep the barrel straight for consistent, far-reaching shots.
Conclusion
Now that you’ve made your rubber band gun, you’re ready to have some fun! With each shot, it feels like a tiny arrow flying swiftly through the air. Remember, practice makes perfect, so keep loading and firing to improve your aim.
Don’t forget to customize your gun to make it truly yours—whether with colors, decorations, or tweaks to the design. Adding your own personal touch not only makes it unique but also more fun to use.
Enjoy your creation and happy shooting! Making a rubber band gun is a great way to get creative and have some playful competition. So keep practicing, customizing, and firing away for the best rubber band gun experience!