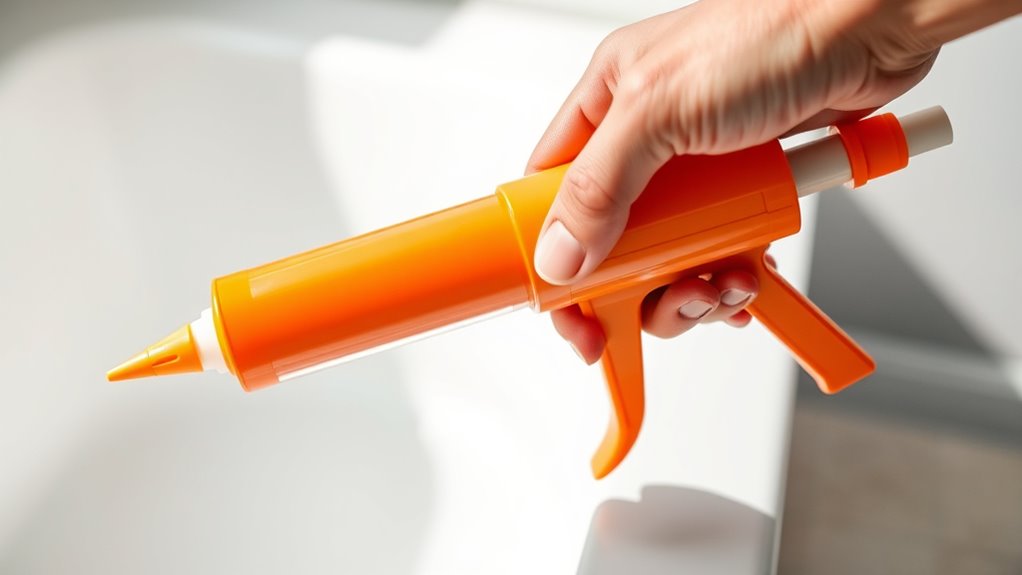
How to Use a Caulk Gun in 10 Easy Steps
To use a caulk gun in 10 easy steps, start by choosing the right caulk for your project and cleaning the surface thoroughly. Picking the correct type of caulk is key to getting a strong, lasting seal. Make sure the area is free from dust and old caulk for the best results.
Next, cut and puncture the caulk cartridge tip at a 45-degree angle, then load it securely into the gun. This angle helps control the flow of caulk better.
Once loaded, test the flow on scrap material to get a feel for the pressure needed.
Apply the caulk with steady pressure and speed to create a smooth, even bead. Don’t rush it—steady movement makes a huge difference.
After applying, smooth the caulk with a finger or tool to blend it nicely with the surface.
Using painter’s tape before you apply can help create clean edges and prevent mess.
Finally, properly seal and store any leftover caulk to keep it fresh for your next project.
You’ll find detailed tips to perfect every step ahead, making sealing jobs easier than ever!
Key Takeaways
- Choose the appropriate caulk type based on the application area and surface for optimal adhesion and durability. It really makes a difference in how well your job holds up.
- Cut the cartridge tip at a 45-degree angle and puncture the inner seal to control caulk flow effectively. This helps you get just the right amount coming out.
- Load the cartridge into the caulk gun securely, ensuring the nozzle faces outward and the plunger is fully retracted. That way, you’re all set to start without any mess.
- Practice squeezing the trigger steadily on scrap material for consistent bead flow and smooth application. It’s a good way to get comfortable before you move to the actual surface.
- Apply the caulk with a steady hand and speed, then smooth the bead promptly for a professional finish. Doing it right away keeps everything looking neat and clean.
Choose the Right Caulk for Your Project
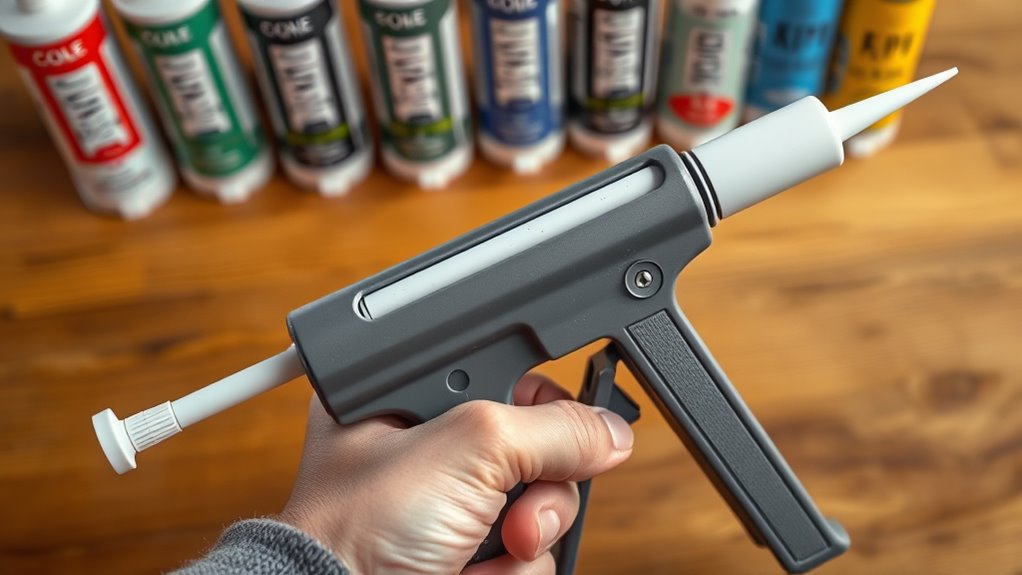
How do you choose the right caulk for your project? First, think about where you’ll use it. For moisture-prone areas like bathrooms or kitchens, silicone-based caulk is your best bet because it resists water well.
If you’re working indoors and paintability matters, latex-based caulk works great and dries quickly. Also, match the caulk to your surface—acrylic suits drywall, while polyurethane is ideal for outdoor sealing.
Keep flexibility and curing time in mind, especially if the area moves or expands. And always check the manufacturer’s label for compatibility and recommended surfaces before loading your caulk gun.
Picking the right type means your caulk gun applies smoothly and the seal lasts, saving you time and frustration down the road. It’s all about making your project easier and more durable!
Prepare and Clean the Surface Thoroughly
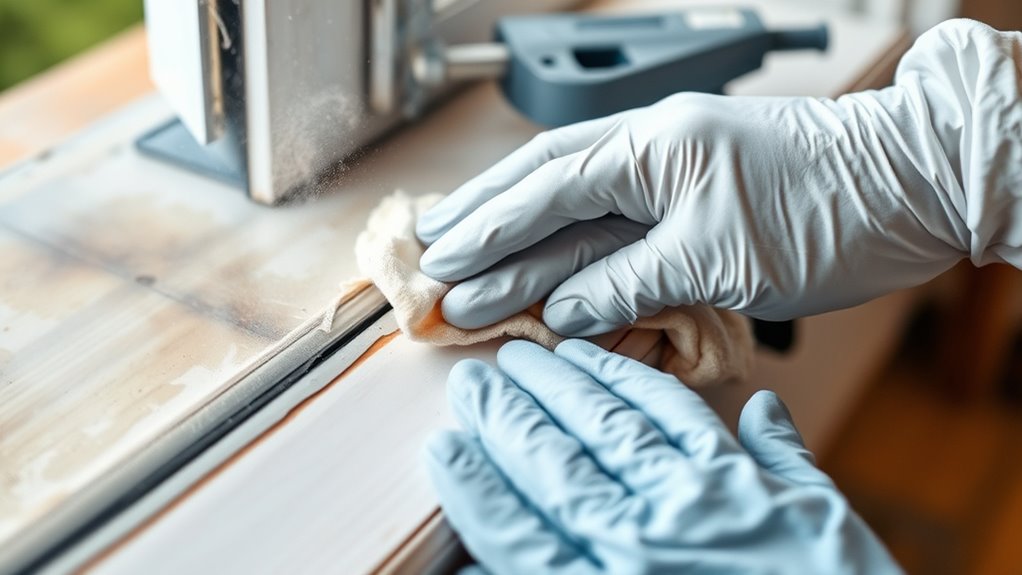
Start by removing any old caulk completely using a scraper or caulk remover to guarantee a clean base. Then, clean the surface with rubbing alcohol or a bleach solution to eliminate residue and mold.
After that, rinse thoroughly and dry the area completely before applying new caulk. This step is super important to make sure the new caulk sticks well and lasts longer.
Remove Old Caulk
Before applying new caulk, you’ll need to remove the old caulk completely to guarantee proper adhesion. Start by using a scraping tool or putty knife to carefully push the blade at the base of the old caulk, avoiding damage to the surface.
If the caulk is stubborn, try applying a caulk remover or debonding spray to loosen it up before scraping. Once you’ve removed it, clean the area thoroughly with rubbing alcohol to get rid of any residue, grease, or oils that could mess with the new caulk’s bond.
Next, wipe the surface with warm water mixed with diluted bleach to remove grime, mildew, or mold. Finally, rinse well and dry completely so the surface is ready before you load your caulk gun for the next step.
Clean And Dry Surface
Why is it essential to have a clean and dry surface before applying caulk? Proper adhesion depends on it.
Start by removing any old caulk with a scraping tool, pushing steadily at the base. For stubborn caulk, apply a caulk remover or debonding spray first.
Next, focus on cleaning the surface thoroughly—use rubbing alcohol to wipe away residue and oils that can weaken bonding.
Then, wash the area with warm water mixed with diluted bleach to eliminate grime, mold, or mildew. Rinse well to remove any cleaning agents.
Finally, make sure the surface is completely dry by wiping it with a clean cloth or towel. Skipping these cleaning and drying steps risks poor caulk adhesion and premature failure.
How to Cut and Puncture Your Caulk Cartridge
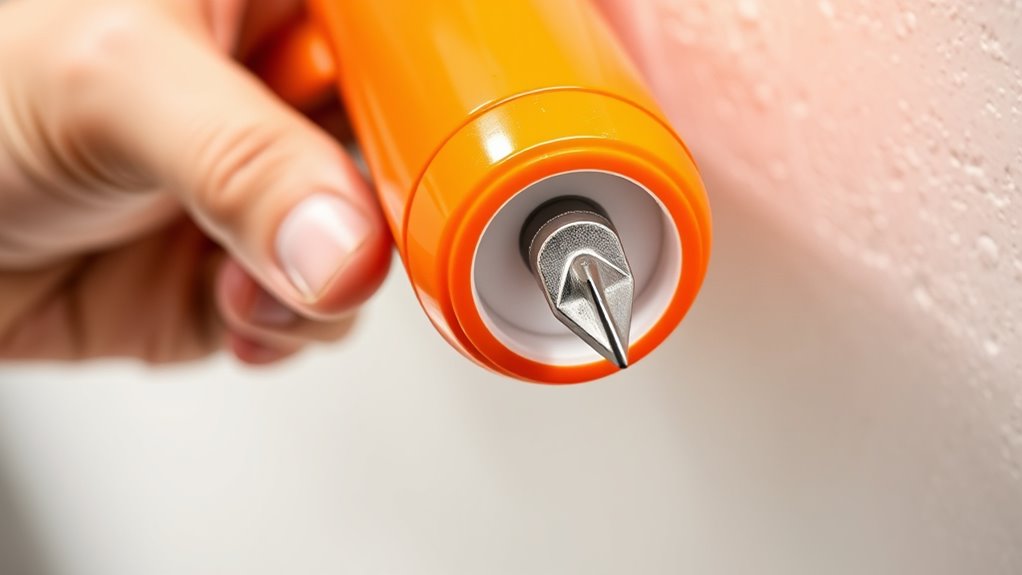
First, grab a sharp utility knife or scissors and cut the cartridge tip at a 45-degree angle. Make sure the size matches your gap.
Next, puncture the inner seal using the built-in tool or a long nail. This helps the caulk flow smoothly.
Try to keep the puncture centered—it prevents air leaks and makes for an even application. Easy, right?
Cutting The Cartridge Tip
When you cut the tip of your caulk cartridge at a 45-degree angle, you gain better control over the flow and size of the bead. Use sharp scissors or a utility knife to make a clean, precise cut on the caulk tube.
Start with a small opening, so you don’t waste material or make a mess. You can always enlarge the cut if the joint or crack you’re filling requires a wider bead.
Make sure the opening matches the job to avoid excess caulk or uneven application. Cutting the cartridge tip carefully guarantees a smoother, more professional finish when you apply the caulk.
Puncturing The Inner Seal
After cutting the cartridge tip, you’ll need to puncture the inner seal to let the caulk flow freely. Use a utility knife or sharp scissors to cut through the plastic seal at the nozzle’s base if needed.
Many cartridges come with a built-in puncture tool—just remove the cap and press the tool firmly to pierce the seal. If your caulk gun lacks this feature, use a pin or nail to puncture the inner seal carefully.
Make sure to puncture the seal cleanly to avoid clogging. Once puncturing is done, squeeze the trigger gently to check the flow. If the caulk flows smoothly, you’re ready to apply it evenly and accurately to your surface.
Load the Caulk Cartridge Securely Into the Gun
Although loading the caulk cartridge might seem straightforward, doing it correctly guarantees smooth application and prevents messes. Proper caulking depends on securely placing the cartridge in the gun to avoid slips or uneven flow.
Follow these steps to load the cartridge effectively:
- Fully retract the plunger rod by pressing the release catch to make room.
- Remove the old seal at the nozzle base with a utility knife or scissors, leaving enough tip for attachment.
- Screw the new nozzle onto the cartridge’s threaded end tightly.
- Insert the cartridge into the gun frame with the nozzle facing outward.
- Push the cartridge firmly until it sits securely in place.
That’s it! Once the cartridge is loaded securely, you’re ready to start caulking without any hiccups.
Test the Caulk Flow on Scrap Material
Before applying caulk to your project, squeeze the trigger on scrap material to practice consistent pressure and check the bead’s smoothness.
Adjust the nozzle opening as needed to control the flow and avoid gaps or excess caulk.
This step helps you find the right speed and angle for a clean, even line. Give it a try until it feels just right!
Practice Consistent Pressure
How do you guarantee a smooth, even bead when using a caulk gun? The answer lies in practicing consistent pressure.
Before working on your project, test the caulk flow on scrap material. Gently squeeze the trigger and adjust your grip until the caulk flows steadily without bursts or pauses.
This practice helps you control the caulk flow with gentle, consistent pressure and prevent excess caulk from oozing out.
It also helps you develop a steady hand for cleaner lines and observe the speed and amount of caulk released.
Plus, you’ll reduce cleanup by improving your technique.
Adjust Nozzle Opening
When you cut the caulk nozzle at a 45-degree angle, you gain better control over the flow rate and can match the bead size to your joint. After cutting, test the caulk flow on scrap material like cardboard or wood.
Squeeze the trigger gently and steadily to see how the caulk dispenses from the nozzle. If the bead comes out too thick or too thin, adjust the nozzle opening by trimming more or less of the tip.
This testing helps you gauge the pressure needed and assure a consistent flow. Making these adjustments before you start on the actual surface prevents uneven application and saves time.
In the end, it gives you a smooth, professional finish every time.
Check Bead Smoothness
After adjusting the nozzle opening, it’s important to test the caulk flow on a scrap piece of cardboard or paper. This helps you create a smooth, consistent caulk line before applying it to your project.
To check bead smoothness, follow these steps:
- Squeeze the trigger gently to dispense caulk onto the scrap surface.
- Observe the bead’s shape and thickness for even flow without gaps or spurts.
- Adjust the nozzle angle or trigger pressure if the bead is too thick, thin, or uneven.
- Practice moving the gun steadily to maintain a uniform caulk line.
- Use the test bead to refine your technique for a professional finish.
Testing this way guarantees your final caulk line looks clean and smooth. Easy, right? Just a bit of practice and you’ll get it perfect every time!
Squeeze the Trigger Steadily as You Move the Gun
Because a steady trigger squeeze controls the flow, you’ll get a smooth, even bead of caulk without gaps or blobs. As you move the gun along the joint, maintain consistent pressure on the trigger.
Avoid jerking or stopping suddenly, which causes uneven application. If the flow slows, gradually increase pressure instead of pressing the release trigger abruptly.
Practicing this controlled squeeze helps you gain precision and prevents over-application. It’s all about keeping things smooth and steady for the best results.
Keep a Steady Speed for a Smooth Caulk Bead
Although you might be tempted to speed up, keeping a steady pace while applying caulk guarantees a smooth, even bead without gaps or mess. When you use a caulking gun, it’s important to maintain a steady speed to control how much caulk flows out.
Maintaining a steady pace with a caulking gun ensures a smooth, even bead and prevents gaps or mess.
This helps you apply the caulk neatly and efficiently during manual caulking.
Follow these tips for the best results:
- Move the caulking gun at a consistent pace, not too fast or slow.
- Practice on scrap material to perfect your motion.
- Keep your bead width uniform throughout.
- Allow the caulk to fill joints evenly.
- Avoid stopping mid-line to prevent lumps or gaps.
A steady speed ensures a professional, durable finish with minimal cleanup. It really makes the whole job easier and the results way better.
Smooth the Caulk With Your Finger or a Finishing Tool
Once you apply the caulk, dampen your finger or finishing tool to prevent sticking and gently smooth the bead, pressing it into the joint for a clean, professional look. Using caulk guns makes applying caulk easier, but smoothing it requires attention.
Press and drag along the fresh bead to eliminate excess caulk and shape it evenly. A finishing tool with various edges or a rounded finger helps you create a neat line.
Work quickly before the caulk starts to skin over, ensuring a seamless finish. Don’t forget to clean your finger or tool frequently during the process to maintain consistency.
This step is key to achieving a polished, professional appearance every time you use caulk guns.
Mask Edges With Painter’s Tape for a Clean Finish
To guarantee sharp, clean edges when applying caulk, apply painter’s tape along both sides of the joint before you start. This creates a barrier that keeps excess caulk off surrounding surfaces, making your work look professional.
When using painter’s tape, keep these tips in mind: Press the tape firmly to prevent gaps and caulk bleed-through. Apply tape just before caulking for best adhesion.
Smooth your caulk bead carefully after application. Remove the painter’s tape before the caulk fully cures to avoid pulling dried caulk.
Using tape on both sides ensures clean, straight edges and less cleanup. Following these steps with painter’s tape will give you a crisp, neat finish every time you caulk.
Seal and Store Leftover Caulk Properly for Future Use
After you remove the painter’s tape and finish smoothing your caulk, take a moment to properly seal and store any leftover caulk. This helps keep it usable for your next project.
Seal the tip of the caulk tube right away with a nail, wire nut, or plastic cap to stop it from drying out. For extra protection, cover the nozzle opening with plastic wrap or foil before putting the cap back on.
Store leftover caulk in a cool, dry place and make sure the tube is tightly sealed. This keeps moisture in and avoids any contamination.
Also, label the tube with the date you used it so you can keep track of its freshness. Before you reuse it, check the consistency and appearance, and cut the nozzle at a new angle if you need a smooth application.
Frequently Asked Questions
How to Use a Caulk Gun for Beginners?
You’ll load the cartridge, cut the nozzle at an angle, and puncture the seal. Then, squeeze the trigger steadily while moving along the joint, smoothing the bead right after to get a clean, professional finish.
How to Make a Caulk Gun Easier to Squeeze?
Making your caulk gun easier to squeeze is like greasing a rusty hinge—lubricate the trigger with silicone spray, adjust the thrust ratio, or switch to a powered model. Plus, practice steady pressure to avoid hand fatigue.
Do You Push or Pull a Caulk Gun?
You push a caulk gun forward while squeezing the trigger to apply caulk smoothly. Pulling it backward doesn’t dispense sealant but helps reposition the gun if needed. Keep your movement steady for the best results.
How to Caulk Step by Step?
Want a perfect seal? First, cut the nozzle and puncture the tube. Load it, then squeeze the trigger steadily while moving along the joint. Smooth the bead immediately, and release the trigger to stop the flow.
Conclusion
Now that you’ve mastered using a caulk gun, you’re basically a home improvement superhero. No crack or gap stands a chance against your newfound skills!
With just a little practice, your walls will look so flawless, neighbors might start asking *you* for advice. Remember, patience and steady hands are your secret weapons.
So grab that caulk gun, and get ready to conquer every crevice like a pro—your space will thank you, big time! Using a caulk gun correctly not only improves your home’s appearance but also helps with insulation and prevents damage.
Keep practicing these easy steps, and soon caulking will feel like second nature. You’ve got this!