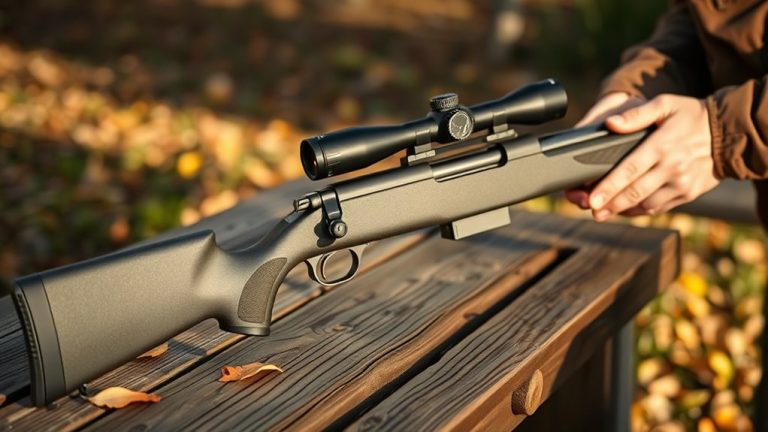
How to Paint a Rifle in 3 Easy Steps
First, make sure your rifle is completely unloaded and protected by masking off sensitive parts. This step is crucial for safety and to keep areas like the trigger and sights free from paint.
Then, clean its surface thoroughly so the paint will stick well and last longer.
Next, apply a light base coat and let it dry completely. After that, add darker camouflage patterns using natural textures to give your rifle depth and better concealment.
This layering technique really makes the paint job stand out and perform in the field.
Finally, let the paint cure fully before sealing it with a clear coat.
Once sealed, reassemble your rifle and double-check that all functions work smoothly.
Keep going to discover detailed tips that will help you perfect your rifle’s finish and maintain safety throughout the process.
Key Takeaways
– Safely unload and disassemble the rifle, masking sensitive parts to protect them during painting.
This step is really important to keep everything safe and clean.
– Apply a light base coat spray paint evenly, allowing each layer to dry fully before adding more.
Take your time here; patience makes the paint job look way better.
– Use darker shades and textures with vertical strokes to create a multi-layered camouflage pattern.
It’s all about layering and texture to get that cool camo effect.
– Let the paint cure for 48 hours, then carefully remove masking tape to avoid peeling.
You don’t want to rush this part, or the paint might come off.
– Seal the paint with a clear coat, let it dry, and reassemble the rifle for safe use.
Once that’s done, your rifle will look great and be ready to go!
Prepare Your Rifle Safely for Painting

Before you begin painting your rifle, make sure it’s completely unloaded by removing the magazine and checking the chamber. This essential first step guarantees your safety as you proceed.
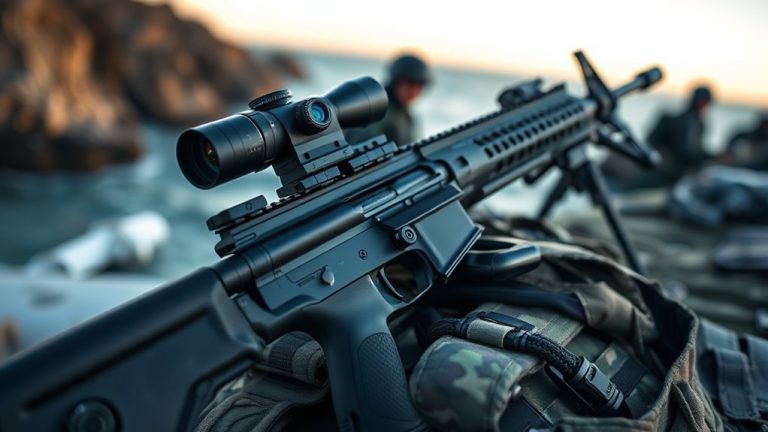
Next, disassemble the rifle or remove accessories like optics, lights, and sights to protect them during painting. Use masking tape to tape off these parts and other sensitive areas such as the trigger, bolt, stock, and barrel.
Cover delicate parts like scope lenses with cotton balls secured with painter’s tape to prevent paint contact. Clean the entire surface thoroughly with alcohol wipes to remove oils, dirt, and residues, creating a clean surface for better paint adhesion.
This prep work lays the foundation for a smooth, professional finish, so take your time to tape off and cover parts carefully before moving forward.
Apply Base Coats and Camouflage Patterns

Once you’ve prepped your rifle, start by applying a thin, even base coat using the lightest camouflage color, like Khaki. Use spray paint for a smooth surface and let it dry completely.
Make sure to protect areas like optics and controls with masking tape to guarantee clean lines. Next, create your camouflage pattern by layering darker colors.
Follow these steps:
- Apply the base coat evenly, letting each layer dry 20-30 minutes.
- Use natural objects or mesh to add texture while spraying darker colors in vertical strokes.
- Layer multiple shades, building depth and breaking up the outline for better concealment.
This layering technique not only enhances the camouflage pattern but also assures durable protection for your rifle’s surface.
It’s a simple way to get a professional look and keep your gear in great shape.
Seal the Paint and Test Rifle Function

After letting your rifle’s paint cure for at least 48 hours, carefully remove all masking tape to avoid peeling the finish. Make sure the paint is fully dry and hardened before handling.
Next, apply a clear sealant to protect your work and enhance durability; let this seal coat dry completely.
Once sealed, reassemble your rifle, verifying all parts are properly secured. Conduct a thorough safety check by verifying the rifle is unloaded and no live ammunition is nearby.
Finally, perform a function test by checking the safety switch and trigger in various positions to confirm everything operates smoothly. Taking these steps guarantees your paint job stays intact and your rifle remains safe and functional after painting.
Frequently Asked Questions
What Is the Process of 3 Stage Paint?
The three-stage paint process involves applying a base coat, adding camouflage patterns with stencils or masking, then finishing with a clear matte coat. You’ll need to let each layer dry properly for a durable, effective finish.
What Kind of Paint to Use on a Rifle?
You’ll want to use matte finish spray paints like Krylon or Rustoleum designed for metal. They won’t reflect light, stick well, and hold up outdoors. Avoid glossy paints since they’ll give away your position.
What Is the Trick to Spray Painting?
The trick to spray painting is applying thin, even coats while holding the spray can about a foot away. You’ll want to use light, overlapping strokes and let each layer dry fully to avoid drips and uneven coverage.
Should I Sand My Gun Before Painting?
You don’t have to sand your gun before painting, but light sanding with fine-grit paper can help if the surface is glossy. Just avoid over-sanding to prevent damage and preserve the original finish.
Conclusion
Now that you’ve learned how to paint your rifle in just three easy steps, you’re ready to customize it safely and effectively.
Did you know that properly camouflaged rifles can improve hunter success rates by up to 30%? Sealing your paint not only protects your work but also guarantees your rifle functions flawlessly.
With these tips, you’ll have a durable, personalized rifle that stands out in the field—painted by you, for you. Painting your rifle is a great way to add your own style and improve performance. Just remember, taking the time to seal your paint is key to making sure your rifle stays protected and works perfectly. So, go ahead and give your rifle that unique look while enhancing its durability and functionality.