How to Mount a Red Dot Sight on a Pistol in 5 Easy Steps
To mount a red dot sight on your pistol, start by prepping your workspace and making sure the sight is compatible with your pistol model. This step is crucial because not all red dot sights fit every pistol. Taking the time here will save you headaches later.
Next, remove the factory cover plate carefully and clean the mounting surface thoroughly. You want a clean, debris-free area to ensure a solid connection.
Then, install the adapter plate if your setup requires one. Tighten the screws to the recommended torque specifications—this keeps everything secure without damaging your pistol or sight.
After that, securely mount the red dot sight onto the adapter or directly onto the pistol. Apply a threadlocker on the screws, tighten them again, and mark the fasteners to keep track of their stability over time.
Finally, zero your sight at varying distances for accuracy. This step is key to making sure your shots hit where you aim. Keep reading for detailed tips to achieve a flawless setup every time!
Key Takeaways
- Confirm pistol compatibility and gather necessary tools before starting the installation process. This step is crucial to ensure everything fits perfectly.
- Remove the factory coverplate and clean the mounting surface thoroughly. A clean surface helps the sight stay securely in place.
- Attach the appropriate adapter plate and secure it with screws tightened to 15-18 in.-lbs. Make sure the screws are snug but not over-tightened.
- Apply blue threadlocker on screws, then reassemble and torque fasteners properly. This prevents the screws from loosening over time.
- Zero the red dot sight at close range, then verify accuracy at longer distances. Taking your time here really pays off for better shooting precision.
Prepare Your Pistol, Workspace, and Confirm Red Dot Sight Compatibility
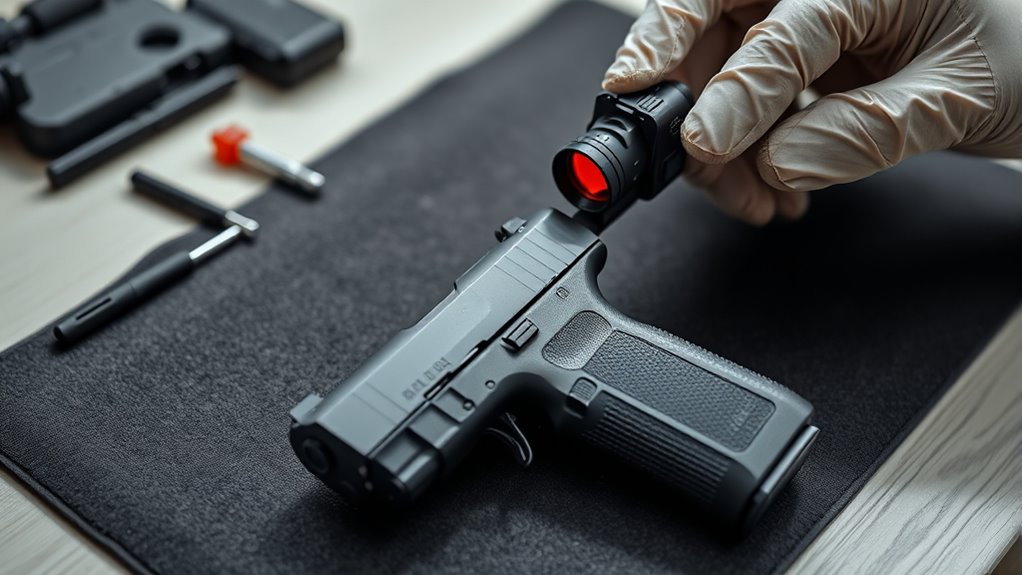
Before you begin mounting your red dot sight, make sure you confirm its compatibility with your pistol and prepare your workspace properly. Start by checking if your pistol requires an adapter plate or a direct-mount solution for the red dot sight.
Verify that the sight’s footprint matches the mounting plate or interface on your firearm. For Glock pistols, consider aftermarket plates or mill work to improve durability and fit.
Next, organize your workspace by clearing the area and gathering all necessary tools, including a degreaser and a torque driver. Finally, thoroughly clean and degrease the contact surfaces on both the pistol and mounting components.
Taking these steps will guarantee a smooth mounting process and a secure installation of your red dot sight. It’s worth the effort to do it right the first time!
Remove the Factory Coverplate and Inspect Mounting Surface
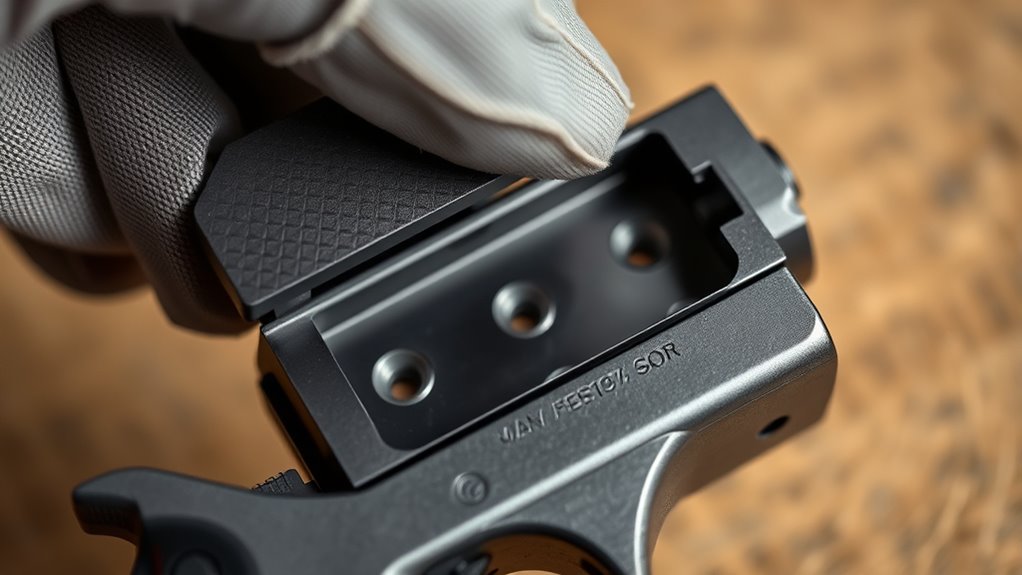
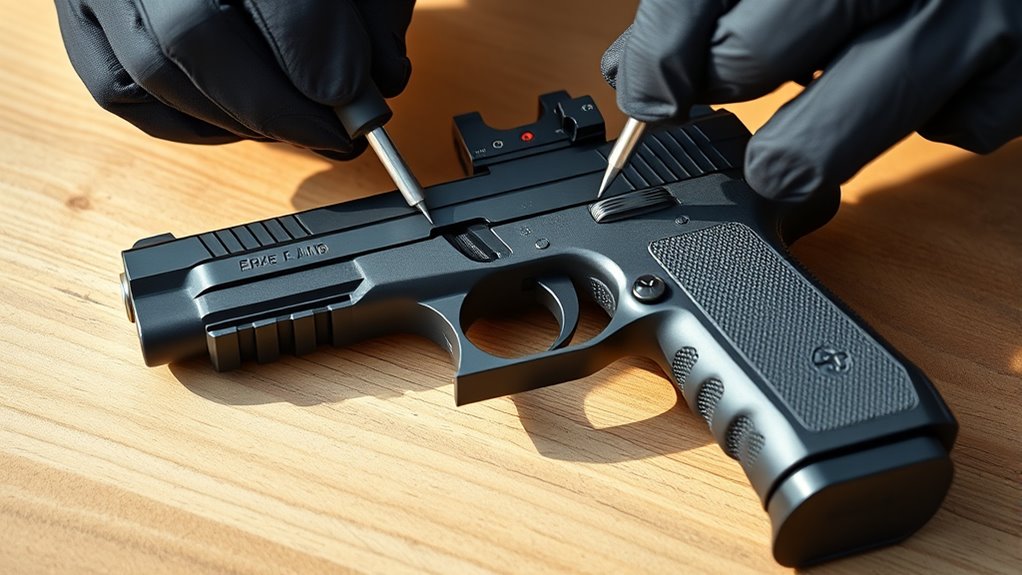
Once you’ve confirmed your red dot sight fits your pistol and prepared your workspace, start by removing the factory coverplate. Use the appropriate tool—usually a hex wrench or screwdriver depending on your pistol model—to carefully remove the coverplate screws.
After removal, take a good look at the mounting surface. Check for any debris, burrs, or damage that could mess with your red dot’s stability. It’s a good idea to clean the area with a degreaser or solvent to make sure everything fits just right.
Also, keep an eye out for warping, corrosion, or any imperfections that might affect how secure the mount will be. You want the contact surface to be flat and smooth, so your sight has a solid, gap-free connection.
Doing all this helps make sure your red dot sight will mount firmly and work reliably every time.
Install the Adapter Plate, Check Screws, and Mount the Red Dot Sight
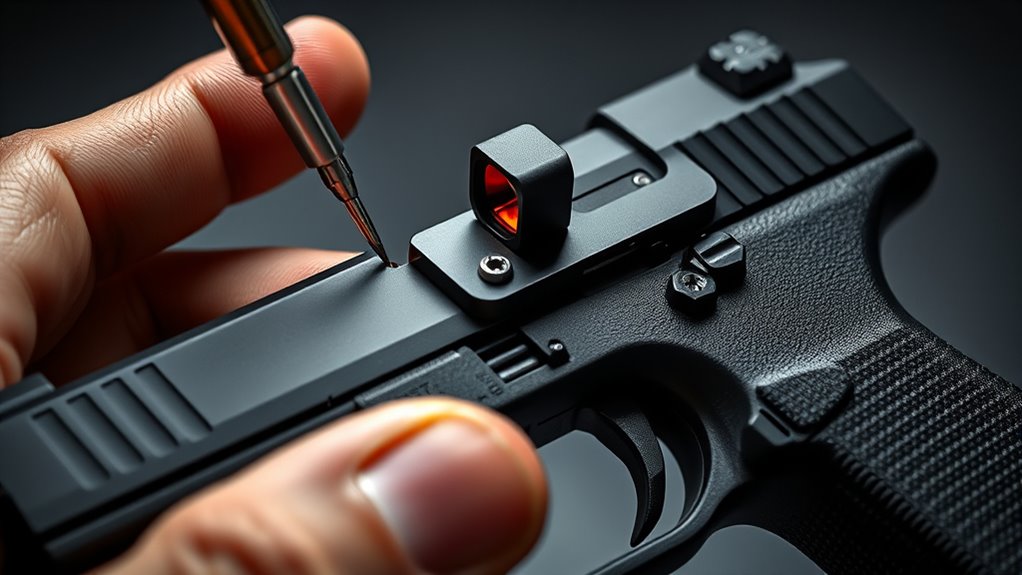
How do you guarantee a secure and stable connection when installing your red dot sight? Start by selecting the adapter plate that matches both your pistol’s mounting footprint and the red dot sight.
Remove the factory coverplate and clean the contact surfaces thoroughly to assure a flush fit. Attach the adapter plate to the slide, tightening screws to the specified torque, usually 15-18 in.-lbs. Make sure there’s no movement or gaps.
Remove the coverplate, clean surfaces, and securely attach the adapter plate with properly torqued screws for a tight fit.
Next, mount the red dot sight onto the adapter plate, making sure it aligns correctly and seats fully without forcing or cross-threading. Finally, check that all screws are tightened to the recommended torque.
You can mark them with paint or nail polish to track any loosening over time. This way, your mount stays reliable and secure.
Apply Threadlocker, Torque Screws, and Mark Fasteners for Stability
To guarantee your red dot sight stays firmly attached, apply a small amount of blue threadlocker to each screw before tightening. First, remove the optic and fasteners after the initial installation to do this correctly.
Then, reassemble and use a torque driver to tighten each screw to the recommended 15-18 in.-lbs., ensuring secure and consistent fastening. After tightening, mark the fasteners with paint or nail polish so you can easily spot any movement over time.
Finally, allow the threadlocker to cure for at least 12 hours before firing your pistol. By following these steps and applying threadlocker properly, you’ll maintain stability and prevent loosening caused by recoil or vibration during use.
Zero Your Red Dot Sight for Accurate Shooting at Various Distances
Although mounting your red dot sight securely is essential, zeroing it accurately guarantees your shots hit the intended target. Start zeroing at close range (3-10 yards) to quickly verify alignment, then move to longer distances like 25 yards for precision.
Use a stable rest such as a bench with sandbags to maintain consistency during shooting. This helps keep your shots steady and your adjustments reliable.
To zero your red dot sight effectively, focus on aligning the reticle with the point of impact using elevation and windage adjustments. Make small, incremental adjustments—roughly 1 MOA per click—to dial it in just right.
Then, confirm your zero by shooting multiple five-round groups. This way, you can be sure your sight is consistently accurate and ready for action.
Frequently Asked Questions
What’s the Best Way to Sight in a Red Dot on a Pistol?
You should start by shooting from a stable rest at 10 yards, aligning the dot with a known point. Make small, precise windage and elevation adjustments, then confirm zero with multiple groups at various distances.
What Distance Should I Sight in My Red Dot on My Pistol?
You should sight in your red dot at 3 to 10 yards for quick target acquisition, then confirm zero at 25 yards for accuracy. Choose the distance that matches your typical shooting scenarios for the best performance.
How Should a Red Dot Look on a Pistol?
Your red dot should shine sharply, sitting securely, shining steadily. It’s a small, solid, centered circle, clear and concise, never clouded or colossal. You’ll adjust brightness, balancing between bold visibility and subtle sighting.
Where Should the Red Dot Sight Be Mounted?
You should mount the red dot sight as far forward on the slide as possible without hindering movement, aligning it with your natural eye position for quick target acquisition and a clear sight picture.
Conclusion
Now that you’ve skillfully mounted your red dot sight, you’re all set to enhance your shooting experience with a touch of finesse. Enjoy the smoother, more confident aim that comes with your new setup.
Remember, a little patience and care keep everything humming perfectly. This turns your pistol into a precision tool that feels just right in your hands.
Here’s to hitting your mark with ease and style every time you take a shot! Mounting a red dot sight on a pistol isn’t just about attaching a device—it’s about improving accuracy and making every shot count. With your red dot sight properly mounted, you’ll notice quicker target acquisition and better control, making your shooting experience safer and more enjoyable. So, take your time, follow the steps carefully, and enjoy the benefits of a perfectly mounted red dot sight.