How to Draw a Pistol in 7 Easy Steps
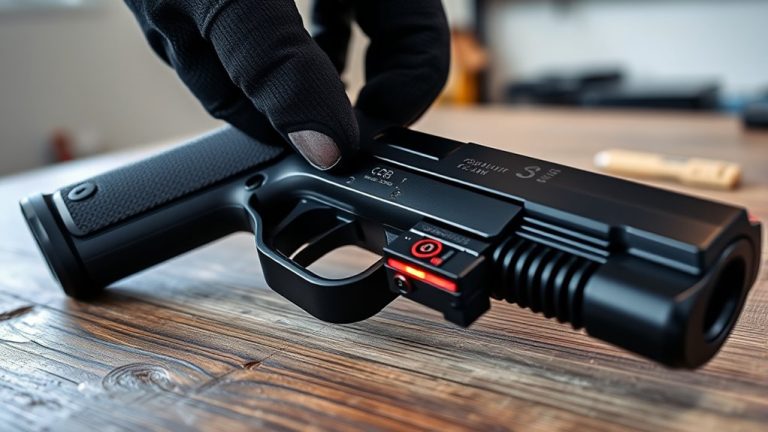
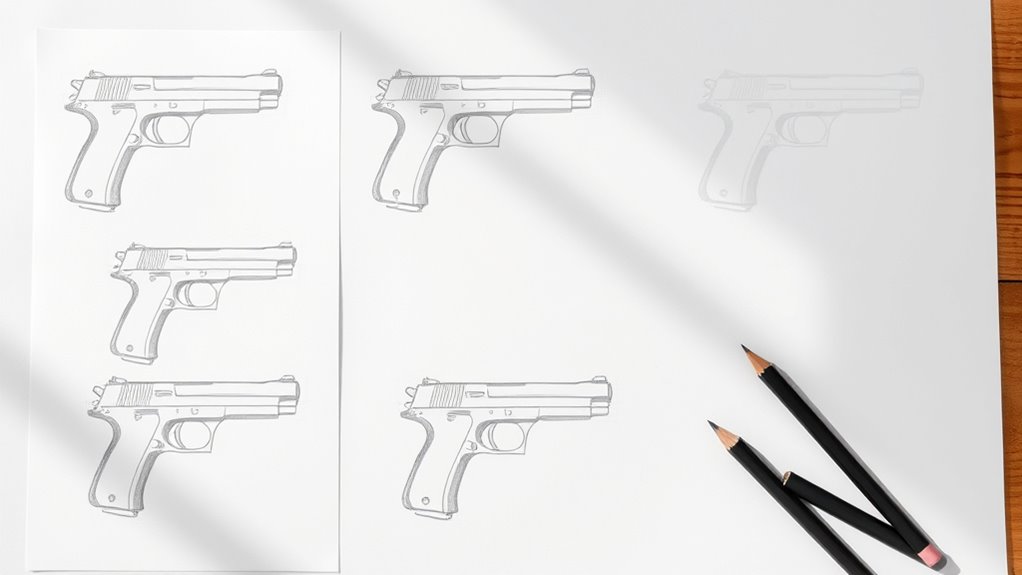
Start by sketching the pistol’s basic shape with an oval or rectangle for the body. Then add a curved handle underneath to give it that classic look.
Next, extend the barrel from the front, making sure it stays proportionate to the body. After that, draw the trigger guard and trigger details to bring more character.
Outline the slide and sight on top, focusing on smooth lines that match the pistol’s design. Don’t worry about perfection just yet—this is all about getting the shape right.
Refine your drawing by erasing the sketch guidelines for clarity.
Finally, add shading and texture to really bring your pistol to life.
Keep going to discover detailed tips for perfecting your drawing and making it look even more realistic!
Key Takeaways
– Start by sketching the pistol’s basic shape using simple ovals and rectangles to outline the body, barrel, and handle proportions.
It’s a good way to get the general idea down without worrying about details just yet.
– Add detailed shapes for the handle grip, trigger guard, and slide, ensuring smooth curves and correct placement.
Take your time with this part to make sure everything looks just right.
– Refine the drawing by tracing over initial lines, erasing guidelines, and emphasizing accurate, clean outlines.
This step really cleans things up and makes your drawing look polished.
– Enhance the drawing with precise surface details, textures, and sharp outlines before shading.
Adding these details will bring your pistol to life and make it more interesting to look at.
– Apply shading and cross-hatching to create depth, highlight metallic surfaces, and give the pistol a realistic, three-dimensional look.
Shading is where your drawing really pops and starts to feel real.
Sketch the Basic Shape of the Pistol Body
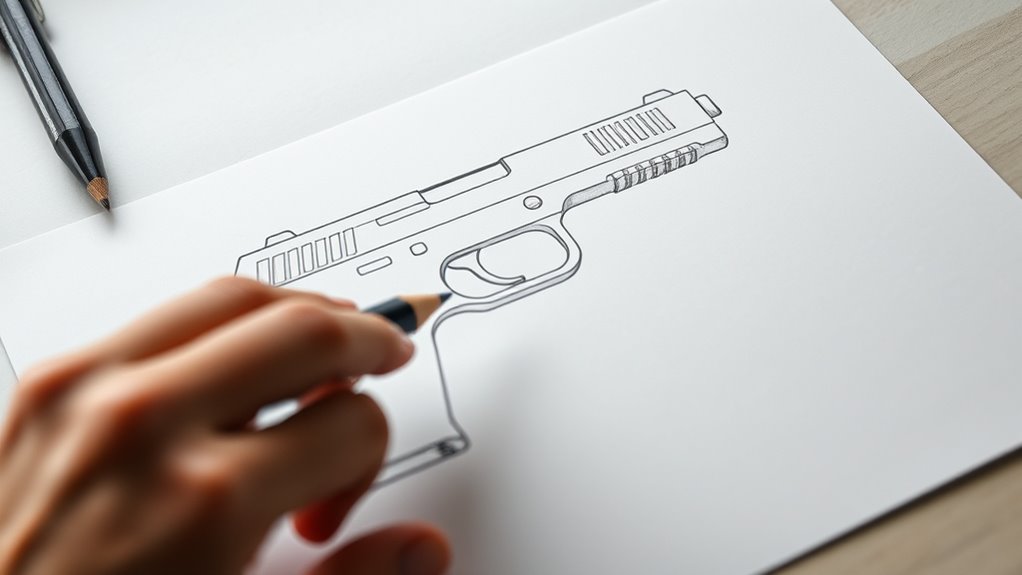
When you begin drawing the pistol, start by sketching a horizontal oval or rectangle to form the main body. This shape sets the foundation for the rest of your drawing.
Next, add a smaller rectangular shape at the front of the main body to represent the barrel. To outline the trigger area, draw a small, curved line beneath the rear part of the main body.
Use straight lines to extend the handle downward from the main body, shaping it with slight curves to give a realistic grip. As you work, focus on keeping the proportions balanced by refining these shapes.
This will help you create a cohesive silhouette of the pistol’s basic form, making it easier to add details later on.
Draw the Curved Handle Underneath the Pistol
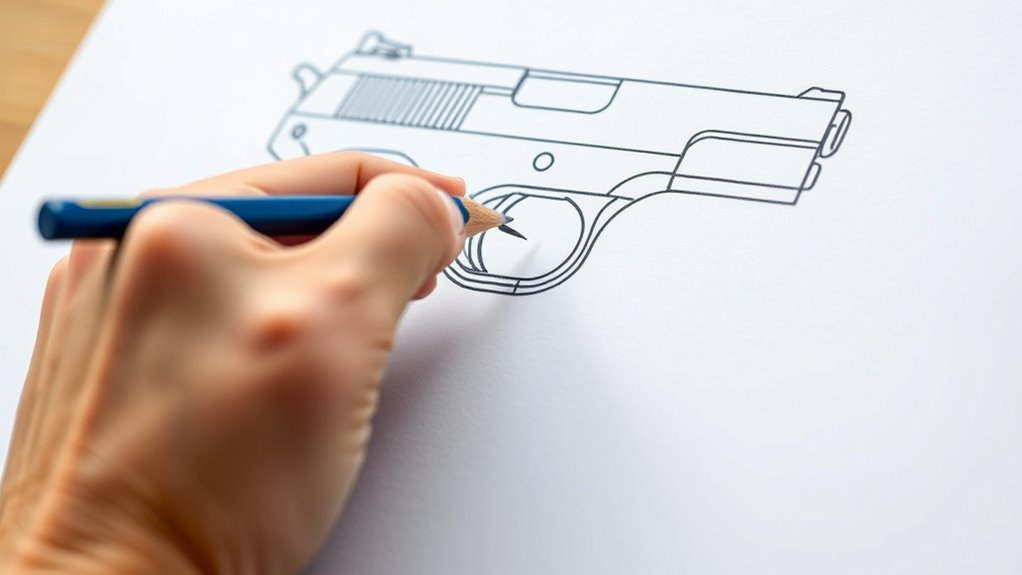
Now, focus on drawing the curved handle beneath the pistol’s body. Make sure your curve is smooth and fits well with the pistol’s size for proper proportion.
Pay attention to where the handle connects to the main frame to keep everything balanced. It really helps to look closely at that connection point so your drawing feels solid.
Handle Shape Basics
Although the handle sits underneath the pistol, you’ll want to start by sketching a curved, elongated shape that tapers slightly toward the bottom for a realistic grip. Add a small, rounded top section to connect the handle smoothly to the pistol’s main body.
Use light guidelines to outline this shape before darkening your lines. Incorporate vertical lines inside the handle to suggest grip texture or grooves, enhancing detail.
Keep the handle proportionate to the barrel and other parts to maintain balance.
| Step | Detail | Tip |
|---|---|---|
| Sketch shape | Curved, elongated, tapered | Use light guidelines first |
| Connect handle | Rounded top section | Smooth transition |
| Add texture | Vertical grip lines | Suggest grooves |
| Check proportion | Relative to barrel size | Keep balanced |
| Finalize lines | Darken outlines | Refine shape |
Drawing Smooth Curves
Since the handle forms the foundation of your pistol’s grip, you’ll want to start by sketching a gentle, curved line that’s wider at the top and tapers smoothly toward the bottom. Use smooth, continuous strokes to shape the handle’s outline, avoiding sharp angles to keep the look sleek and rounded.
Incorporate subtle curves to connect the handle seamlessly to the pistol’s body, ensuring a fluid progression. Practice drawing consistent, flowing curves to achieve a natural, ergonomic feel.
Use light, confident lines to refine your handle’s contour, adjusting as needed to maintain smoothness and symmetry. Taking your time here will help your pistol’s handle look polished and comfortable in your drawing.
Proportion And Placement
When you draw the curved handle underneath the pistol, make sure it’s proportionate to the slide and barrel to keep the overall design balanced. Position the handle so it aligns centrally with the pistol’s frame, maintaining proper balance and realistic proportions.
Use smooth, curved lines to shape the handle, capturing the ergonomic design typical of pistol grips. Keep the handle’s width consistent, fitting naturally beneath the slide without making it too thick or too thin.
Place the handle slightly below the barrel and slide, leaving enough space to accurately show the pistol’s structure. By carefully considering proportion and placement, your pistol drawing will look both realistic and well-composed.
This sets a solid foundation for adding further details in the next steps.
Extend the Barrel From the Front of the Pistol
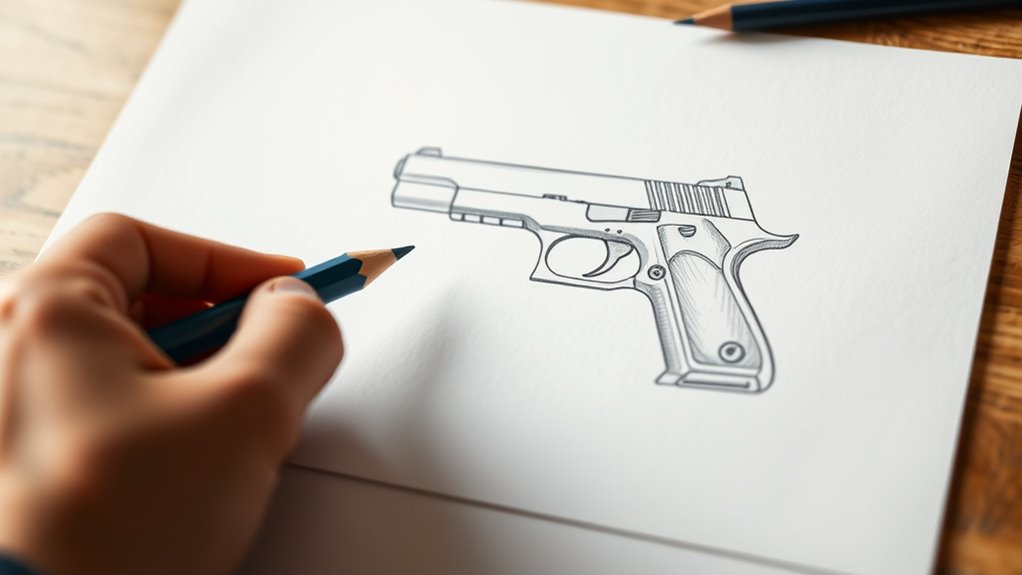
Now that you’ve drawn the handle, it’s time to extend the barrel from the front of the pistol. Keep the barrel’s length proportionate to the main body, and use smooth, light lines to maintain consistent width.
Make sure it aligns properly with the handle for a balanced, realistic look. This will help your drawing look more polished and true to form. Just take your time with it!
Barrel Length Proportions
Although it might seem simple, extending the barrel from the front of the pistol requires careful attention to its length and alignment. You’ll want to extend the barrel straight out from the pistol frame, keeping it proportional to the slide and grip.
Typically, the barrel length matches or slightly exceeds the slide’s length, depending on the pistol design you’re drawing. Use construction lines to maintain proper alignment and perspective, ensuring the barrel stays straight and consistent in width.
This consistency helps capture the barrel’s cylindrical shape accurately. Remember to adjust the barrel length based on the specific pistol model, so your drawing looks realistic.
Getting these proportions right enhances the overall balance and authenticity of your pistol sketch. It really makes a difference in how your drawing comes together.
Extending Barrel Guidelines
How exactly do you extend the barrel from the front of the pistol while keeping it proportional? Start by extending the main barrel line forward from the pistol’s body, carefully matching the length to the pistol’s overall size. This keeps your drawing realistic.
Use straight, clean lines and maintain a consistent width to make the barrel look uniform. Don’t forget to smoothly connect this extension to the existing outline so the transition feels natural, not abrupt.
At the barrel’s end, add small details like a muzzle or barrel tip to enhance realism. These subtle touches bring your pistol to life without complicating your drawing.
Add the Trigger Guard and Trigger Details
When you add the trigger guard, draw a smooth curved line below the slide area that connects both sides of the pistol frame seamlessly. Next, sketch a small rounded rectangle or oval inside the guard to represent the trigger.
Use precise lines to capture the trigger’s natural curve and keep it proportionate to the pistol’s size. Add slight shading or detail lines around the trigger to enhance depth and realism.
Make sure the trigger and guard align perfectly with the pistol’s overall shape for an accurate look.
| Step | Detail |
|---|---|
| Trigger Guard | Smooth, curved line below slide |
| Connection | Connects both frame sides |
| Trigger Shape | Small rounded rectangle/oval |
| Curvature | Precise, natural curves |
| Shading | Adds depth and realism |
Outline the Slide and Sight on Top of the Pistol
To outline the slide and sight on top of the pistol, start by drawing a horizontal line that runs across the top, extending slightly beyond the barrel to capture the slide’s length. Next, add a small rectangular shape near the rear of this line to represent the slide’s back portion.
Then, sketch a rounded or slightly tapered sight toward the front of the slide, aligning it carefully with the barrel. To show the aiming point clearly, include a small vertical line or notch on the sight.
Make sure the slide and sight connect smoothly to the pistol’s main body and stay proportionate to maintain a realistic appearance. This step helps define the pistol’s top structure and prepares your drawing for further detailing.
Refine Lines and Erase Sketch Guidelines
Although your initial sketch forms the foundation, you’ll want to refine the lines by carefully tracing over them with a darker pencil or pen. Focus on smooth curves and accurate shapes, paying close attention to small details like the trigger guard and grip.
Refine your initial sketch with darker lines, emphasizing smooth curves and key details like the trigger guard and grip.
Use a kneaded or fine eraser to gently remove unnecessary sketch lines without smudging your drawing. Erase construction lines that clutter the image to enhance clarity.
Regularly step back to check proportions and line accuracy before finalizing your refined lines. This process sharpens your drawing, making the pistol’s outline clean and polished, setting the stage for the next steps in your artwork.
Taking your time here guarantees your pistol looks precise and well-defined.
Shade and Add Texture for Realistic Pistol Drawing
As you begin shading, focus on using light, curved strokes along the pistol’s edges to suggest its rounded surfaces and depth. Next, add fine cross-hatched lines to textured areas like the grip and metal parts to simulate realistic surface details.
Vary your shading intensity to distinguish reflective metal surfaces from matte sections, making the drawing more lifelike. Use directional shading that follows the pistol’s contours—it enhances the form and emphasizes texture.
Don’t forget to incorporate subtle shadows underneath and around the pistol to ground it and add a three-dimensional feel. These combined shading techniques bring your pistol drawing to life, giving it depth, realism, and a tactile quality that makes your artwork stand out.
Frequently Asked Questions
How to Draw a Pistol Quickly?
You can draw a pistol quickly by sketching a simple barrel shape, adding a basic handle and trigger, then outlining the slide and sights. Keep details minimal and use shading sparingly to give it depth without overcomplicating.
How to Draw a Simple Hand Step by Step?
To draw a simple hand, start by sketching an oval for the palm, then add five fingers like the branches of a tree. Don’t forget knuckles and thumb placement before refining with nails and creases.
How Do You Draw a 7?
To draw a 7, start with a horizontal line at the top. Then, draw a diagonal line downward from the right end. Optionally, add a vertical line on the left for style. Keep your lines clean and balanced.
How to Draw in 3 Easy Steps?
You don’t need a magic wand—just grab a pencil, sketch basic shapes, and add details step-by-step. If you mess up, no worries; even masterpieces start as scribbles. Keep it simple, and you’ll nail it!
Conclusion
Now that you’ve learned how to draw a pistol in just seven easy steps, you can really start to appreciate the details that make it look realistic. Did you know the average handgun is made up of over 30 individual parts? That’s pretty fascinating!
This complexity is what gives each pistol its unique character. By practicing these steps, you’re not just drawing—you’re getting to understand the design behind the firearm.
Keep refining your skills, and you’ll be able to create even more detailed and accurate pistol drawings. Drawing a pistol isn’t just about sketching shapes; it’s about capturing the essence of the firearm’s structure. So stick with it, and soon you’ll master the art of pistol drawing!