How to Adjust a Rifle Scope in 10 Easy Steps
To adjust your rifle scope in 10 easy steps, start by choosing sturdy mounts and rings to ensure your scope stays in place. Then, level the scope carefully to avoid canting, which can throw off your accuracy. These foundational steps are crucial for a reliable setup.
Next, set your eye relief and position the scope so you get a clear sight picture every time you look through it. Focus the reticle and eliminate parallax, which helps keep your target sharp and steady. This makes a big difference when aiming.
Bore sight your rifle to get on target quickly, then fine-tune the elevation and windage turrets for precision. Confirm your zero by shooting tight groups, then reset the turrets and use zero stops to lock your settings in place.
Finally, adjust your scope for environmental conditions like wind and elevation changes, and maintain your zero regularly to keep your shots consistent. Keep following these steps to master rifle scope adjustments with confidence and improve your shooting skills.
Key Takeaways
- Mount and level the scope precisely using compatible rings and a bubble level to ensure proper alignment and prevent canting. This step is crucial because a crooked scope can seriously mess with your accuracy.
- Adjust eye relief and focus the eyepiece and side focus to achieve a sharp, parallax-free reticle image at your shooting distance. Take your time here to make sure everything looks clear and comfortable.
- Bore sight the rifle with a laser or visually to align the scope roughly before firing test groups for zeroing accuracy. It’s a great way to save ammo and get on paper quickly.
- Make incremental windage and elevation turret adjustments based on shot group impacts, verifying direction and click values for precision. Small tweaks go a long way, so don’t rush it.
- Maintain zero by regularly checking environmental effects, tightening mounts, cleaning lenses, and using zero stops for consistent shot placement. Keeping your gear in top shape means you’ll stay on target every time.
Choose the Right Mounts and Rings for Stability
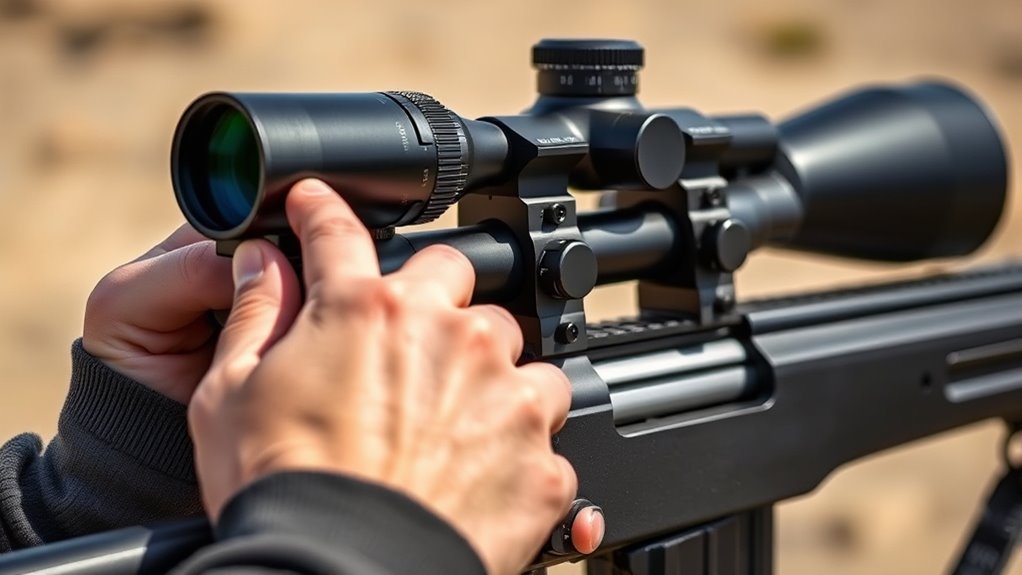
How do you guarantee your rifle scope stays stable and accurate? Start by choosing mounts and rings compatible with your rifle’s base system—whether it’s Weaver, Picatinny, or dovetail—to assure a secure fit.
Select rings with the right height so your scope’s centerline aligns naturally with your eye, usually 1 to 1.5 inches above the barrel. Before tightening, make sure the scope is perfectly centered and aligned within the rings to avoid any canting that could harm accuracy.
Choose rings that position your scope’s centerline 1 to 1.5 inches above the barrel for natural alignment.
Clean the mounting surfaces thoroughly; debris can compromise stability. Use high-quality tools with the proper torque rating and follow manufacturer specs when tightening screws.
This careful attention to mounts, rings, alignment, and torque guarantees your scope remains stable and your shots stay true.
Level Your Rifle Scope to Prevent Canting
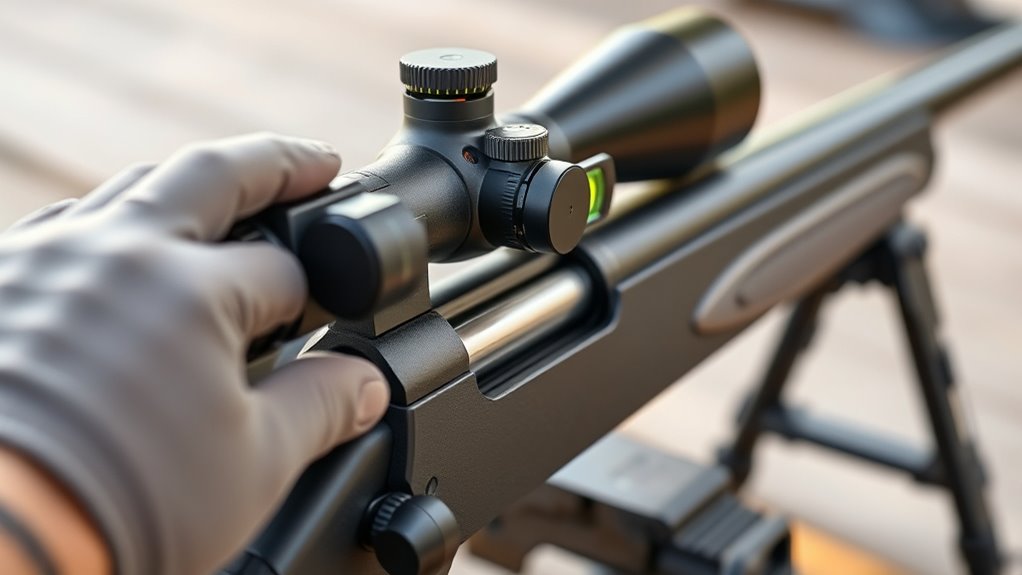
After securing your scope with the right mounts and rings, the next step is making certain it’s perfectly level to prevent canting. Use a bubble level on the scope tube during scope mounting to achieve precise reticle alignment.
First, level the rifle with a plumb line or vertical reference. Then, rotate the scope in its rings, checking the bubble level until the reticle is perfectly horizontal. Tighten the rings gradually in a crisscross pattern.
Confirm the entire rifle setup by placing a level on the rail or receiver. Always recheck the level after tightening, as shifts may occur. Using proper leveling tools ensures accurate scope adjustment and effective canting prevention.
Set Eye Relief and Position the Scope Correctly
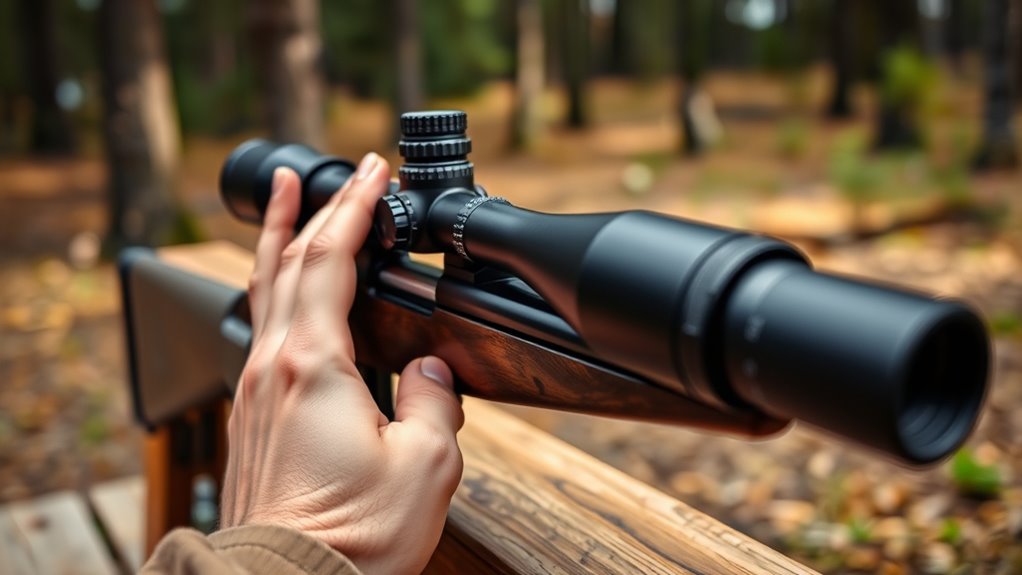
Although securing your scope firmly is essential, you’ll need to adjust its position forward or backward in the scope rings to find the right eye relief. This positioning guarantees you get a full, shadow-free sight picture at the highest magnification, with the reticle clearly visible.
Aim for an eye relief distance of 2 to 4 inches to maintain both comfort and recoil safety. If your eye is too close or too far, you’ll notice black rings or shadowing around the reticle, which hampers visual clarity.
Always recheck your eye relief and reticle visibility when changing shooting positions or magnification. Proper positioning not only makes aiming easier but also prevents scope bite, keeping your shooting safe and accurate every time.
Eliminate Parallax and Focus the Reticle for Sharp Aim
To achieve a sharp aim, you’ll need to eliminate parallax and focus the reticle precisely. Start by adjusting the eyepiece diopter until the reticle appears razor-sharp and clear against a bright background.
Next, focus the scope’s objective lens or use the side focus adjustment if your scope has one. Set the parallax adjustment to your intended shooting distance by turning the side focus knob until the target appears crisp and the reticle stays steady.
Move your head side to side while looking through the scope; if the reticle shifts relative to the target, keep adjusting the parallax focus. Keep going until both the reticle and target form a sharp image with no apparent movement.
This guarantees accurate aiming by eliminating parallax error and achieving perfect reticle focus. It’s a simple step that makes a big difference!
Bore Sight Your Rifle Before Shooting
Before you take your first shot, bore sighting your rifle helps you align the scope’s reticle with the barrel’s bore quickly and accurately. Start by inserting a laser bore sighter into the chamber or attaching it to the muzzle.
Turn on the laser to project a beam onto a target positioned 25 to 50 yards away. Then, adjust the scope’s windage and elevation turrets to center the reticle over the laser point. Keep the rifle stable and level to ensure precise alignment.
This initial bore sight saves time and ammo by getting you close to zero before firing. Confirm your adjustments later by shooting groups and fine-tuning.
Fire Initial Groups and Measure Your Point of Impact
Now that you’ve bore sighted your rifle, it’s time to fire a few consistent groups at your chosen distance. Carefully measure how far your shots land from the bullseye, noting both horizontal and vertical deviations.
This data will guide you in making precise adjustments to your scope. Taking your time here really pays off!
Shoot Consistent Groups
Although adjusting your rifle scope requires patience, firing a three- to five-shot group at your chosen zero distance lets you see exactly where your shots land. This initial shot group reveals your current point of impact, which is essential for effective zeroing.
Use your reticle or a ruler to measure the distance between the group’s center and the bullseye in inches or MOA. These measurements guide your scope adjustments, helping you fine-tune elevation and windage turrets.
After each adjustment, fire another consistent shot group to confirm changes. Repeating this process ensures your scope zeroes precisely where you want it, improving accuracy.
Consistent shot groups make it easier to identify necessary corrections and make your zeroing more efficient and dependable. It really helps to keep things simple and straightforward.
Measure Impact Deviations
Once you’ve fired consistent shot groups, the next step is to measure exactly how far your impacts have shifted from your aiming point.
Fire an initial group of 3 to 5 shots from a stable position to get an accurate point of impact (POI). Use a ruler, target grid, or reticle markings to measure the vertical and horizontal deviations of your group’s center relative to your aiming point.
Record the exact distance between the impact and your target to know how much adjustment is needed. Then, convert these measurements into scope adjustments by calculating clicks based on your scope’s MOA or MRAD per click.
Keep repeating this process—fire groups and measure—until your impact consistently aligns with your aiming point. This way, your zeroing will be precise, and your accuracy will improve.
Interpret Groupings and Adjust Elevation and Windage Turrets
Now that you’ve measured your shot groupings, it’s time to adjust the elevation and windage turrets.
Turn the elevation turret clockwise to lower the impact or counterclockwise to raise it. Then, adjust the windage turret to move shots left or right.
Make small, precise clicks while testing your shots. This way, you can zero in accurately without over-adjusting.
Elevation Turret Adjustment
When you notice your shot group is consistently off from the target center, you’ll need to adjust the elevation turret. This helps bring your point of impact closer to where you’re aiming. The elevation turret controls vertical adjustments, which means it compensates for bullet drop.
To adjust effectively, start by confirming the turret direction markings. Usually, turning it clockwise lowers the impact point. Next, measure how far your shot group deviates in MOA; each click typically moves the impact point about 1/4 MOA.
Then, adjust the turret in the opposite direction of the deviation to center your shots. If your scope has a zero stop, use it to avoid over-adjusting past your zero.
Also, always remember to record your clicks and the changes in the impact point. This helps keep your scope adjustments consistent in the future.
Windage Turret Correction
Although adjusting the elevation turret handles vertical alignment, correcting horizontal deviation requires you to focus on the windage turret. To begin zeroing, fire a group at a known distance and measure the horizontal deviation from your target center.
Turning the windage turret clockwise usually shifts the bullet impact right; counterclockwise moves it left, but always verify turret direction markings first. Each click corresponds to a precise angular change—commonly 1/4 MOA or 0.1 mil—translating to about 0.26 inches at 100 yards.
Make scope adjustments incrementally, rechecking impact after each turn to avoid overshooting your zero point. This careful correction process guarantees your scope aligns accurately, minimizing horizontal deviation and optimizing your shot placement.
Confirm Your Rifle Scope Zero With 10-Shot Groups
How can you be sure your rifle scope is truly zeroed? Shooting a 10-shot group at your zero distance lets you check your scope’s accuracy and consistency.
Here’s how to confirm your zero precisely:
- Use a stable rest and proper shooting position to minimize movement. This helps keep your shots steady and reliable.
- Fire a 10-shot group aiming for tight, overlapping shots on the target. The goal is to see a compact cluster.
- Record the point of impact (POI) relative to the bullseye, noting any elevation or windage deviations. This tells you how off your zero might be.
- Adjust your scope based on the measured POI and then shoot another 10-shot group to verify improved accuracy.
This method ensures your scope zero is accurate and reliable. It helps you achieve consistent shot placement every time.
Reset Turrets and Use Zero Stops for Consistency
To maintain consistent accuracy, you should reset your rifle scope turrets to their zero positions after sighting in. After scope zeroing at your chosen distance, turn the turrets back to zero and set your zero stop to lock in this position.
A zero stop prevents dial movement below zero, so you always return to your baseline for consistent shot placement. To set it, loosen the turret, align it to zero, then tighten the locking turret screw or screw the stop into place so it contacts the turret precisely at zero.
Make it a habit to regularly check and reset your turrets and zero stop, especially after transport or adjustments. This helps maintain reliable zero adjustment and scope calibration.
That way, you can quickly recover your zero without any guesswork.
Adjust for Environment and Maintain Your Zero Over Time
You’ll need to adjust your scope to account for environmental factors like wind, temperature, and humidity. These can all shift your bullet’s trajectory.
Make sure to regularly check and maintain your zero, especially after moving your rifle or when conditions change. Staying proactive with these adjustments keeps your shots accurate over time.
Environmental Factors Impact
Although environmental factors like wind, temperature, humidity, and pressure constantly affect your bullet’s trajectory, you can adjust your scope to maintain accuracy. When your scope is zeroed at 100 yards, these variables may still shift your point of impact, requiring careful scope adjustments.
Here’s what to consider:
- Windage adjustments are essential—wind can push your bullet several MOA off target at long distances.
- Temperature and pressure changes alter air density, affecting bullet speed and trajectory, so tweak your scope settings accordingly.
- Parallax errors can increase under varying light and mirage conditions, so check your parallax adjustment to keep the reticle sharp.
- Regularly verify your zero under different environmental factors to guarantee consistent shot placement.
Zero Maintenance Practices
Since environmental conditions constantly change, maintaining your rifle scope’s zero requires regular checks and adjustments. You should regularly re-zero your scope after temperature, humidity, or altitude shifts, as these impact shot placement.
Always guarantee scope mounting screws are properly set and tightened to avoid zero shifts. Use a zero stop or turret lock if available, and verify zero after transportation or rough handling.
Clean and inspect the scope lenses to keep visibility clear and adjustments accurate. Recording wind, light, and weather during zeroing helps track zero stability over time.
| Task | Tip |
|---|---|
| Re-zero scope | After environmental changes |
| Scope mounting | Tighten screws to manufacturer specs |
| Lens maintenance | Clean regularly |
| Zero stop use | Engage for consistent zero |
| Record conditions | Note wind, light, weather |
Frequently Asked Questions
Which Way Do I Adjust My Rifle Scope?
You adjust your rifle scope by turning the elevation turret up to raise impact and down to lower it, while the windage turret moves the point left or right. Always follow your scope’s markings for accurate adjustments.
What Is the Basic Rule for Sight Adjustment?
Imagine steering a boat toward a lighthouse; the basic rule for sight adjustment is to turn your scope’s turrets so the bullet’s impact moves toward your target, adjusting elevation and windage carefully until you hit the mark.
What Distance Should You Sight in a Rifle Scope?
You should sight in your rifle scope at 100 yards for most general purposes, but start at 25 or 50 yards to fine-tune. This helps you make easier, precise adjustments before confirming your zero at the final distance.
What Are the Three Adjustments on a Scope?
Think of your scope as a compass guiding your aim: the three adjustments are elevation, windage, and magnification. Elevation lifts or drops your sight, windage shifts it sideways, and magnification zooms your target closer or farther.
Conclusion
Now that you’ve mastered these 10 easy steps, adjusting your rifle scope will feel like second nature—almost as if you’ve got laser-guided precision built into your eyes!
Remember, a perfectly zeroed scope isn’t just about accuracy; it’s about confidence every time you take a shot. Keep practicing, stay patient, and maintain your setup.
With these tips, you’re not just aiming; you’re aiming to dominate every target that crosses your path! Adjusting your rifle scope properly ensures consistent performance and improved shooting accuracy, making every shot count. So, keep honing your skills, and soon, adjusting your rifle scope will be a quick and seamless part of your shooting routine.