How to Draw a Pistol Easily in 3 Simple Steps
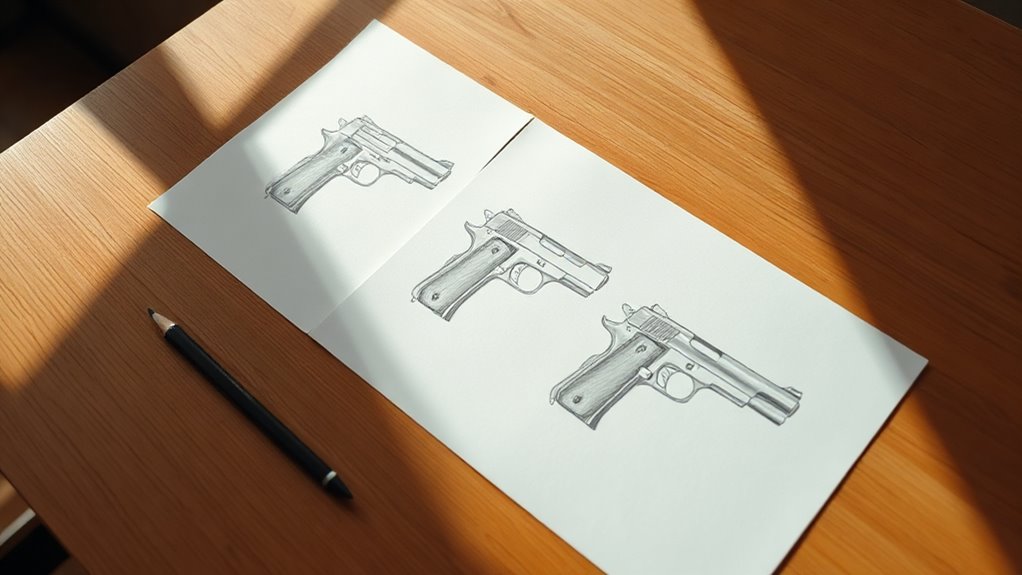
To draw a pistol easily, start by sketching basic shapes—a long rectangle for the slide and a rounded block for the grip. Keep the proportions balanced as you lay down these foundational shapes. This simple approach helps you capture the overall form quickly and sets you up for adding details later.
Next, add key features like the slide’s ejection port, trigger guard, trigger, and front and rear sights. These elements really help define the pistol’s look and give your drawing more character. Don’t worry about perfection yet; just focus on placing everything in the right spot.
Finally, use shading to create depth in your sketch. Darken the recessed areas and add highlights along the metal edges to make your pistol drawing pop. Stick with these straightforward steps, and you’ll quickly gain confidence before exploring finer details and textures. Drawing a pistol doesn’t have to be intimidating!
Key Takeaways
- Start with basic shapes: draw a long rectangle for the slide and a rounded block for the grip to form the pistol’s silhouette.
- Add key features like the trigger guard, trigger inside it, and sights on top of the slide for realistic detail.
- Keep the barrel, slide, and grip aligned straight, marking seams and curves lightly for consistent proportions.
- Shade recessed areas such as under the slide and around the trigger guard to create depth and dimension.
- Finish with highlights on metal edges and smooth gradients for painted surfaces to enhance realism and texture.
Sketch Basic Pistol Shapes and Key Proportions
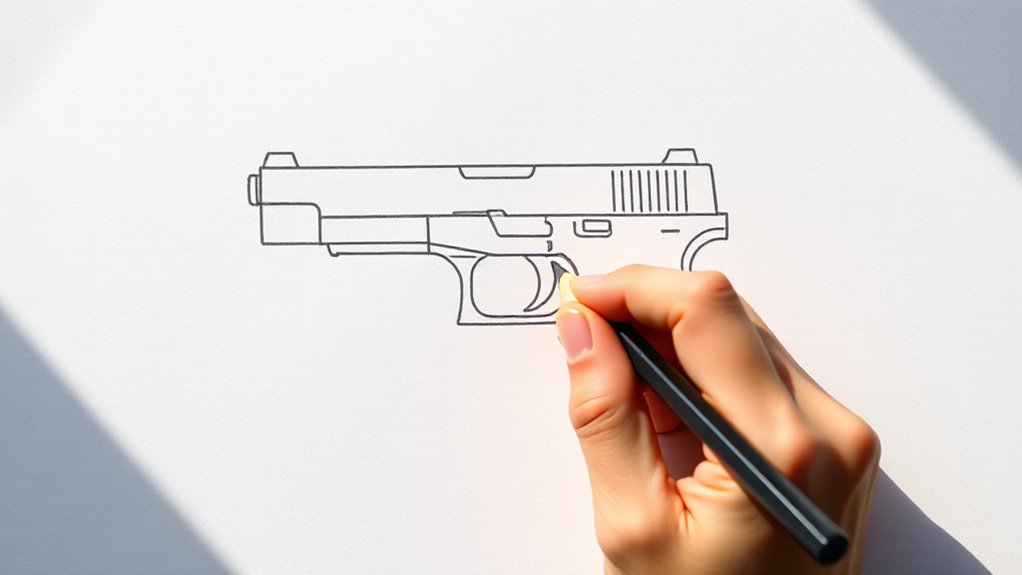
Understanding the pistol’s basic shapes and proportions is key to drawing it accurately. Start by sketching the main silhouette using light lines: draw a long rectangle for the barrel or slide, then add a rounded block beneath for the grip.
In the United States, understanding the basics of these shapes helps beginners capture the iconic profile. Make sure the slide’s length matches the distance between the front and rear sight areas, with the grip covering about one-third to one-half of that length.
Keep the barrel and slide aligned straight, and outline the frame’s thickness lightly to show depth. Mark landmarks like the slide-to-grip seam early on to maintain consistent curves and angles.
This approach sets a solid foundation before moving on to finer details. It’s a simple way to get your drawing looking right from the start.
Add Essential Pistol Features: Slide, Trigger, and Sights
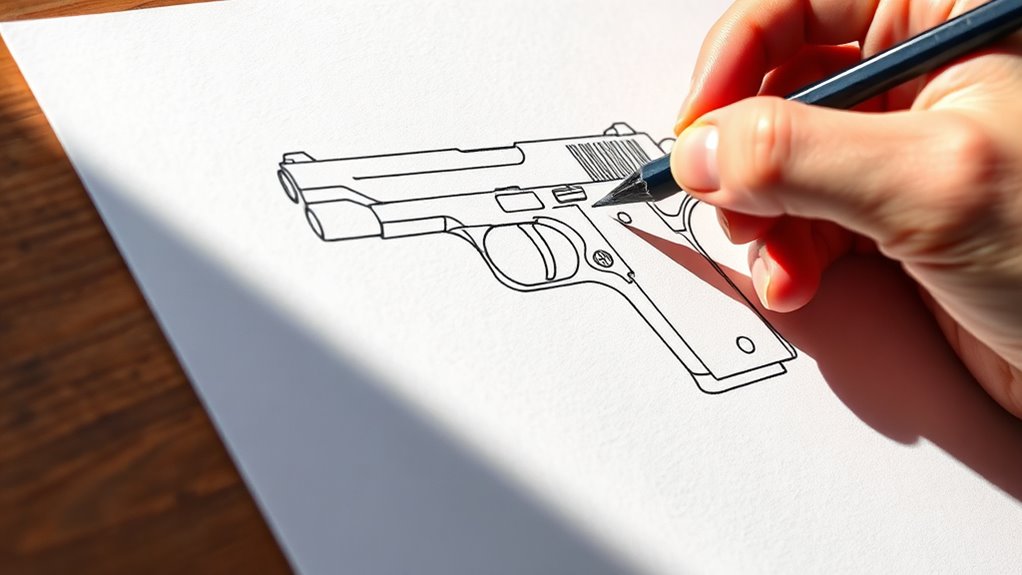
With the basic pistol shapes and proportions in place, you can now start defining its key features to bring your drawing to life. Focus on these three essential parts:
With basic shapes set, begin adding key features to bring your pistol drawing to life.
1. Slide: Draw a long, rounded rectangle aligned with the barrel. Add a clear ejection port on top for realism—this detail is common in pistols used in the United States.
It really adds that authentic touch to your drawing.
2. Trigger and Trigger Guard: Sketch a U-shaped trigger guard beneath the slide, centered over the grip. Position the trigger inside, making sure it pivots at the pin and leaves a small gap from the guard to show depth.
This little gap helps give your pistol some dimension.
3. Sights: Add a small, upright front sight and a rear notch on the slide’s top. Keep the front sight thinner and taller for a balanced sight picture.
These steps will make your pistol drawing more authentic. Just take your time with each part!
Use Shading and Highlights to Create Realistic Pistol Depth
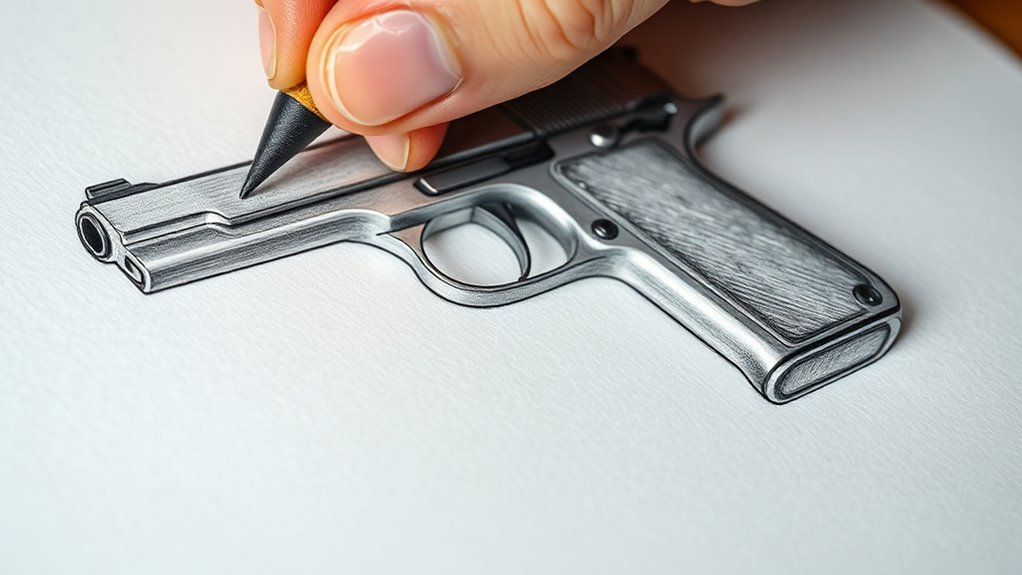
Start by lightly sketching the main forms of your pistol. Then shade the underside and recessed areas like under the slide rails and around the trigger guard to create clear shadow planes.
Place highlights on metal edges catching light—front barrel, slide top, sharp bevels—to suggest curved steel. Use smooth gradients for painted surfaces, darker shades where parts meet, and add small shadows near the rear sight and ejection port for depth.
Alternate pencil grades from 2B to HB for varied tones. Finish textures with subtle cross-hatching.
For more techniques, check out online resources offering a wide range of shading examples.
| Area | Shading Type | Highlight Focus |
|---|---|---|
| Slide rails | Dark, firm shading | Top edges |
| Trigger guard | Smooth gradient | Inner bevels |
| Barrel front | Sharp contrast | Front metal edge |
| Grip-frame joint | Deep shadows | Texture highlights |
| Rear sight | Tight shadows | Silhouette edges |
Frequently Asked Questions
What Materials Work Best for Drawing Pistols?
You’ll want graphite pencils for sketching, fine liners for clean outlines, and erasers for corrections. Using smooth paper helps your lines stay crisp.
Colored pencils or markers work well if you want to add shading or color. They make your drawings pop and bring them to life.
How Do I Correct Mistakes Without Ruining the Sketch?
You’ll find that about 90% of sketches have minor errors. To fix them, gently erase with a soft rubber and redraw lightly.
Avoid heavy pressure to keep your paper smooth and your sketch intact. It really helps to take your time with this part.
That way, you don’t end up damaging your work while making corrections. Just be patient and careful!
Can I Use Digital Tools for Pistol Drawing?
Yes, you can definitely use digital tools for pistol drawing. They let you easily correct mistakes, add layers, and experiment with details without ruining your sketch.
Digital tools make the process flexible and efficient for you. It’s a great way to explore your creativity without worrying about messing up.
What Pistol Models Are Easiest for Beginners?
You’ll find that pistols like the Glock 17, M1911, and Walther PPK are easiest for beginners to draw. Their simple shapes and clear lines make capturing their form straightforward.
This helps you build confidence quickly. Plus, once you get the hang of these, drawing other pistols becomes a lot less intimidating.
How Long Does It Typically Take to Draw a Pistol?
It typically takes you about 0.5 to 1.5 seconds to draw a pistol, depending on your skill and practice.
With consistent training, you’ll naturally speed up and improve your reaction time considerably over time.
Keep at it, and you’ll see noticeable progress before you know it!
Conclusion
Now that you’ve sketched the pistol’s bones, added its heartbeat with details, and breathed life through shading, your drawing stands ready like a silent guardian. Each line and shadow you’ve placed is a step closer to mastery, turning simple shapes into a vivid story.
Keep practicing, and soon your hand will dance effortlessly, crafting pistols with the precision of a craftsman wielding a timeless tool. Drawing a pistol easily comes down to patience and practice. Your art has truly taken aim, and with these simple steps, you’re well on your way to mastering the craft.