How to Draw a Gun Easily in 7 Simple Steps
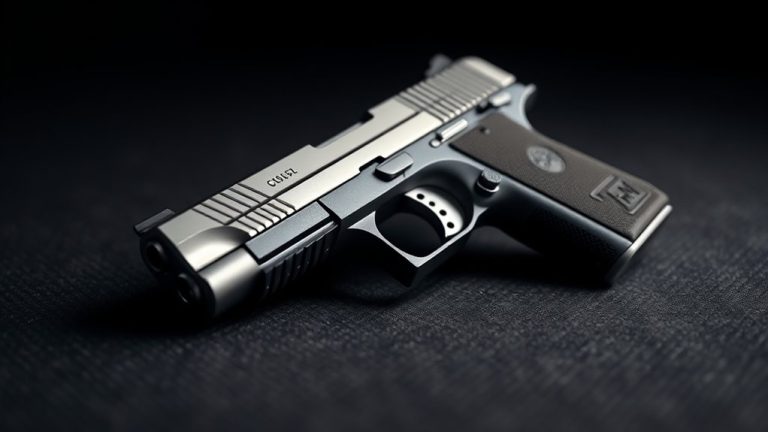
You can draw a gun easily in seven simple steps by starting with basic shapes like rectangles and ovals to outline the slide, frame, and grip. These simple shapes help you build the foundation without getting overwhelmed.
Focus on natural proportions early on to keep your drawing realistic and balanced.
Next, add key details like the barrel, sights, trigger, and magazine. These parts bring your sketch to life and make it recognizable as a gun.
Use bold outlines to define the shape clearly, and don’t forget to add shading to create depth and realism.
Keep your lines smooth and intentional throughout the process.
Including small parts like pins and serrations adds extra detail and makes your drawing stand out.
Follow these steps closely, and you’ll soon capture the full design with confidence and ease.
Key Takeaways
- Start by sketching the gun’s basic shape using simple geometric forms like rectangles and ovals for the slide, frame, and grip.
- Draw the slide as a flat horizontal shape with serrations at the rear and add the barrel and muzzle with rounded edges.
- Create the grip with a slight backward tilt, wider at the bottom, and connect it smoothly to the lower frame.
- Add small details such as the trigger, trigger guard, hammer, sights, pins, and screws for realism.
- Shade the slide, magazine, and recessed areas with flat tones and contrasts to give depth and a three-dimensional effect.
Sketch the Basic Gun Shape and Proportions
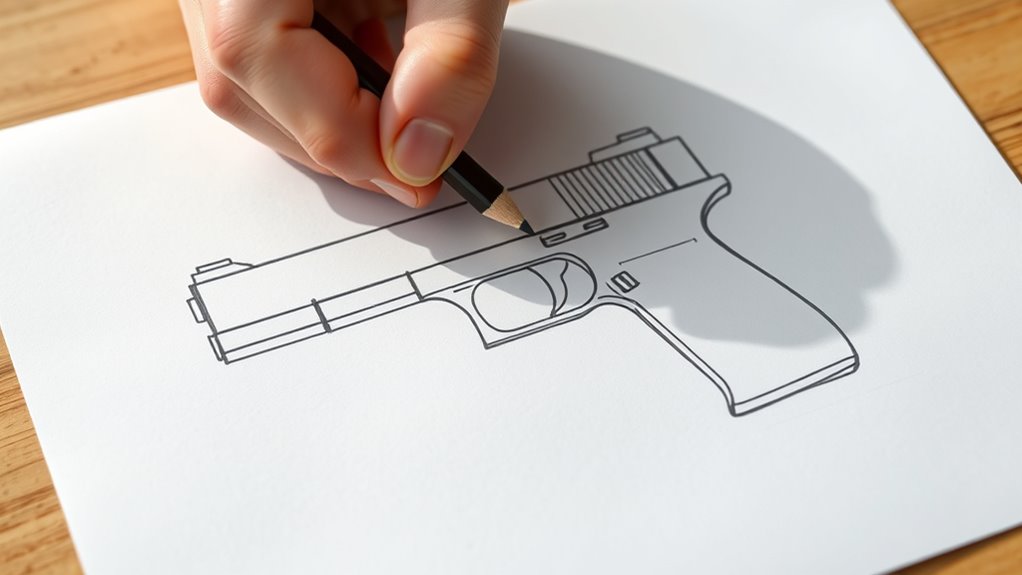
How do you begin capturing the essence of a gun on paper? Start by sketching a rough outline focusing on the overall shape and proportions. Use simple geometric shapes like rectangles and ovals to define the slide, frame, and grip.
Begin by sketching a rough outline using simple shapes to capture the gun’s overall form and proportions.
Pay attention to how the upper back of the gun aligns with the rest of the structure, making sure the proportions feel natural. Keep your lines light at first so you can easily adjust the shape.
It really helps to reference images of actual handguns to keep the size relations between the slide, barrel, and handle realistic. As you refine the sketch, make your lines cleaner and bolder, clearly separating key parts.
This strong outline sets a solid foundation for shading and detailing in the next steps.
Add Gun Slide and Barrel Details
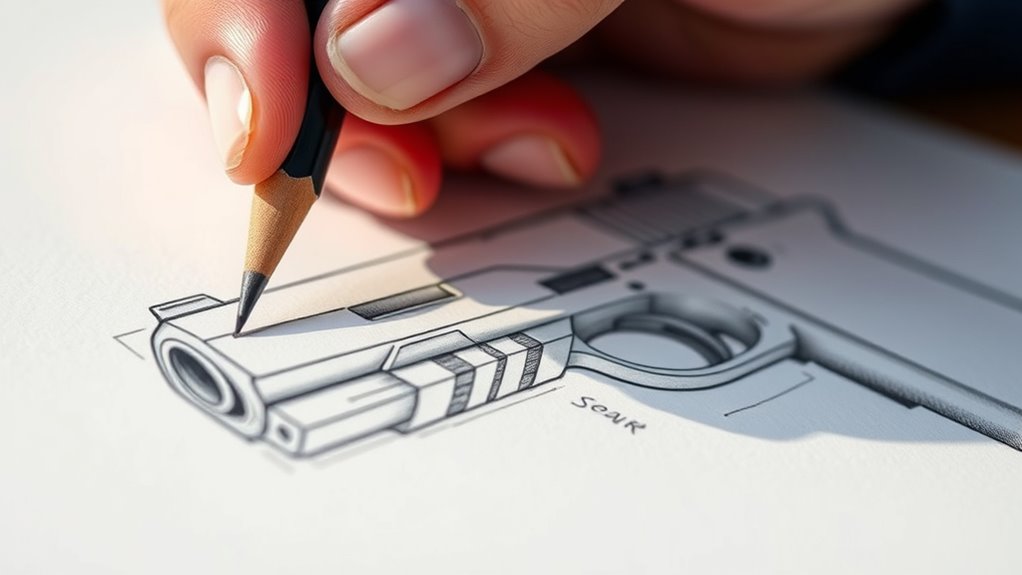
Once you have a clean outline of the gun’s basic shape, you can start adding details to the slide and barrel. Draw the slide by creating a flat, horizontal top line with a slightly sloped back edge.
Add serrations along the rear portion of the slide to give it texture and improve the grip’s visual appeal. This little detail really makes the slide stand out.
Next, extend the barrel from the front of the slide, making it shorter and thinner with rounded edges to form a realistic muzzle. Don’t forget to add a small rectangle at the front of the slide to represent the muzzle’s opening.
Make sure it stays proportional to the barrel so it looks just right. Finally, shade the slide and muzzle area with flat tones to clearly distinguish these parts from the rest of the gun. This helps enhance depth and detail in your drawing, bringing it to life.
Add Gun Frame and Grip Proportions
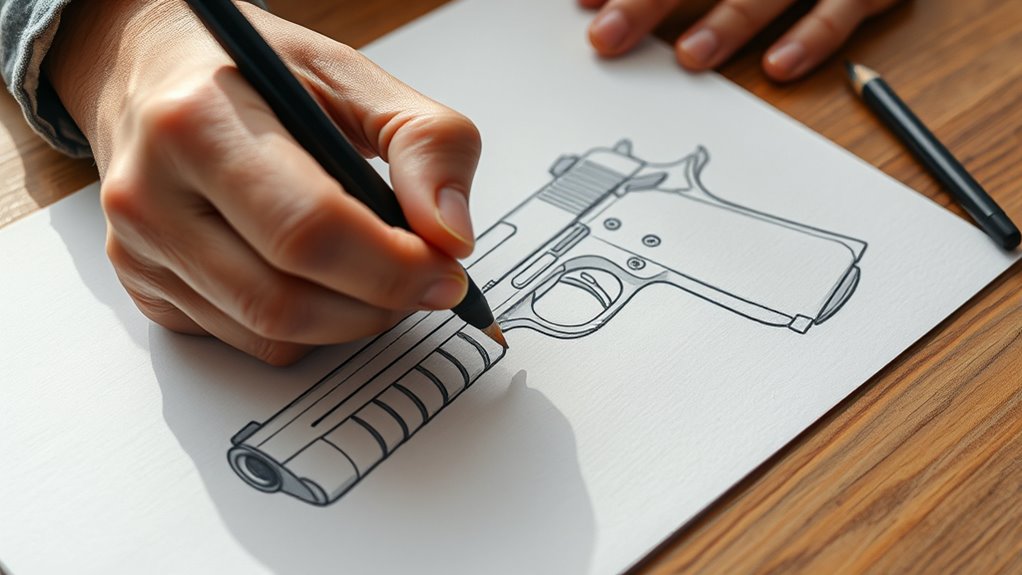
Now, focus on shaping the gun frame with a wider base that tapers upward to meet the slide. Pay attention to the grip’s angle, letting it tilt naturally downward from the frame.
Keeping these proportions balanced will make your drawing look more realistic and sturdy. It’s all about getting that right shape and flow.
Take your time with this part—you’ll see how much it improves the overall look!
Frame Shape Basics
Although the gun frame usually takes on a rectangular shape with rounded edges, you’ll want to pay close attention to how the grip extends downward with a slight backward tilt.
Start by sketching the main body with smooth, rounded corners both front and back to keep the shape natural. Then, draw the grip extending down from the frame, ensuring it’s slightly wider at the bottom for stability.
Connect the lower part of the frame to the grip with a straight or gently curved line to maintain a cohesive flow. Don’t forget to mark the trigger area clearly, including the small bump near it, as these features help define the overall structure.
Balancing these proportions will give your gun drawing a realistic foundation to build on. It really sets the stage for everything else.
Grip Angle Details
Pay close attention to how the grip angles backward from the frame, typically between 30 to 45 degrees, to match the natural hold of a hand on the firearm. When adding the gun frame, make sure the lower part aligns smoothly with the grip, keeping a consistent width and angle.
The grip should be wider at the bottom than at the top to create a stable, realistic look. This subtle slope not only reflects ergonomic design but also enhances the overall balance of your drawing.
Proper proportions between the frame and grip are essential—they bring clarity and realism to your gun sketch, making it feel both functional and visually appealing. So, keep these details precise for the best results.
Draw the Gun Trigger and Trigger Guard
Now, focus on drawing the trigger and its guard with care. You’ll want to sketch a smooth, U-shaped trigger guard that encloses the curved trigger tapering downward.
Don’t forget to add shading inside both to give your drawing depth and realism. This little detail really brings your sketch to life. Just take it slow, and you’ll nail it!
Trigger Guard Shape
When you draw the trigger guard, start by sketching a rounded, curved shape beneath the slide and just ahead of the grip. This shape should look like a semi-oval or rounded rectangle.
Next, outline it with a smooth, continuous line that connects seamlessly to the gun’s frame. Inside this guard, draw the trigger as a small, curved line tapering downward, matching the guard’s shape.
Adding detail, include a tiny circular pin or screw above the guard to represent hardware. Finally, shade the upper part of both the trigger guard and trigger to add depth and volume.
- Sketch a rounded shape below the slide and in front of the grip
- Outline with a smooth, connected line forming a semi-oval
- Draw a tapered, curved trigger inside the guard
- Add a small circular pin above and shade for depth
Trigger Positioning Tips
Although drawing the trigger and trigger guard might seem straightforward, positioning them correctly is essential for a realistic look. Start by placing the trigger centrally within the trigger guard, making sure it curves to match the guard’s rounded shape.
Position it slightly below the midpoint of the guard to capture accurate firearm anatomy. Keep the trigger proportionally sized—wide enough to be clear but not too large—to maintain balance.
The trigger guard should fully enclose the trigger with a smooth, rounded outline, leaving a slight gap at the bottom for a natural appearance. For added detail, include a small pin or screw above the guard where it connects to the frame.
Following these tips will give your drawing a polished and authentic feel. Just take your time with placement, and your trigger will look spot on!
Shading The Trigger
After positioning the trigger and trigger guard accurately, you’ll want to bring them to life through shading. Start by drawing the trigger as a curved, narrow shape tapering downward within the trigger guard. Outline the guard with a smooth, rounded rectangular shape that fully encircles the trigger.
Next, focus on shading to add depth. Shade the upper part of both trigger and guard darker on the sides, lighter in the center. Add shadows along the guard’s inner curve to emphasize its rounded volume.
Use flat shading or soft gradients to separate these parts visually from the gun body. Keep shading consistent to maintain a stylized, comic look. This approach will make your trigger and guard appear more realistic and dynamic.
Add the Gun Magazine and Grip Panel
Since the magazine and grip panel add essential detail and depth to your gun drawing, you’ll want to start by sketching the magazine as a rounded rectangle extending downward from the grip’s bottom. Make sure the corners are smoothly curved to keep that stylized, comic-inspired look.
Begin by sketching the magazine as a rounded rectangle with smooth corners for a comic-inspired style.
Shade the magazine with a dark tone to create contrast against the gun body, giving it depth. Next, position the grip panel on the side of the grip, slightly smaller than the grip itself.
Add a small pair of screws to secure it, then shade around the screws and the edges facing downward. This shading adds realism and dimension.
Keep the magazine and grip panel proportionate and well-aligned to maintain your drawing’s balanced, polished appearance. It really helps tie everything together nicely.
Draw the Gun Sights, Hammer, and Small Parts
With the magazine and grip panel in place, you can now focus on the smaller elements that bring your gun drawing to life. These details add realism and help your drawing stand out.
Start by drawing the front sight on top of the slide with a forward slope. Then, add the rear sight, which should be slightly sloped on both ends for proper aiming.
Next, position the hammer at the back of the slide. Give it a flat top and a smoothly curved end that connects into the slide.
Don’t forget to add serrations with rounded corners and textured lines on the slide lock and takedown lever. This suggests grip and adds nice detail.
Finally, place a small round pin above the trigger guard. This represents the safety or locking mechanism.
Keep the proportions accurate, so these parts complement your stylized gun design perfectly. It’s all about those little touches!
Finish Gun Drawing With Bold Outlines and Shading
As you finalize your gun drawing, start by applying bold, thick outlines to define the main shapes and separate each part clearly. This technique gives your sketch a sharp, comic-style look that stands out.
Next, add flat shading inside these outlined areas to boost contrast while keeping the design simple and stylized. Darken the edges and recessed sections like the magazine and serrations to add depth and make your drawing pop.
Use lighter tones or minimal shading on surfaces facing the light to create volume and realism. Don’t forget to outline and shade details such as screws, the trigger, and serrations with precision.
Keeping these elements consistent enhances clarity and brings your gun drawing to a polished, dynamic finish.
Frequently Asked Questions
What Are the Basics of Gun Drawing?
You focus on the gun’s overall shape and proportions first. You sketch main parts like the slide and grip with simple lines, keep perspective accurate, then add details, outlines, and shading to bring depth and realism to your drawing.
How to Draw a Simple Easy Step by Step?
You’ll start like building blocks, sketching rectangles and circles to form the gun’s shape. Then, add details like the slide and trigger with light strokes, refining as you go. Finish with bold lines or shading.
How to Draw a Pistol Quickly?
You start by sketching a rectangle for the slide, add a grip below, then draw the barrel’s rounded end. Quickly include the trigger and guard, then shade key parts to bring your pistol sketch to life fast.
Is It Normal for Boys to Draw Guns?
Yes, it’s normal for boys—around 70% enjoy drawing guns during play. You’re exploring adventure and heroism, influenced by media. Just remember, it’s important to separate imagination from real-life violence as you grow.
Conclusion
Now that you’ve learned to draw a gun step-by-step, you hold the power to create with precision and confidence. Like a carpenter shaping wood, each line you draw builds strength and detail.
Keep practicing these simple steps, and soon your sketches will come alive with realism and depth. Remember, every great artist starts with a single stroke—so keep your hand steady and your creativity sharp!
Drawing a gun easily is all about patience and practice. Follow these 7 simple steps, and you’ll be able to create detailed, realistic gun drawings in no time. So grab your pencil, stay focused, and enjoy the process of bringing your art to life!