How to Use a Grease Gun in 10 Essential Steps
Start by wearing safety gear and gathering your grease gun along with all the necessary materials. It’s important to have everything ready before you begin to make the process smooth and safe.
Next, disassemble the grease gun so you can load it with either a cartridge or bulk grease. Once loaded, prime the gun to remove any air pockets that might cause issues during lubrication.
Securely attach the coupler onto the Zerk fitting and adjust it properly. This ensures a tight connection and prevents grease from leaking out.
Pump steadily while keeping an eye on the pressure to avoid over-greasing. When you’re done, loosen and carefully remove the coupler.
Finally, clean your grease gun thoroughly to keep it in good working condition. Store it properly until the next use.
Follow these steps, and you’ll master effective lubrication with ease!
Key Takeaways
- Wear safety glasses and gloves, and prepare a clean work area with all necessary tools before starting. Safety first, right? It’s always best to be ready and protected.
- Load the grease gun by removing the gun head, inserting a fresh cartridge or bulk grease, and priming to remove air. This step gets your gun ready to go without any air pockets.
- Attach the coupler securely to the Zerk fitting, using extensions if needed, ensuring a tight seal to prevent leaks. Make sure it’s snug so nothing slips or leaks while you’re pumping.
- Pump the handle steadily, monitor pressure, and stop when grease flows or resistance is felt, then release pressure smoothly. Keep an eye on how it feels—you’ll know when you’re done.
- Disconnect the coupler carefully, clean the gun and fittings, and store the grease gun properly to maintain functionality. Taking care of your tools means they’ll last longer and work better next time.
Gather Safety Gear and Grease Gun Materials
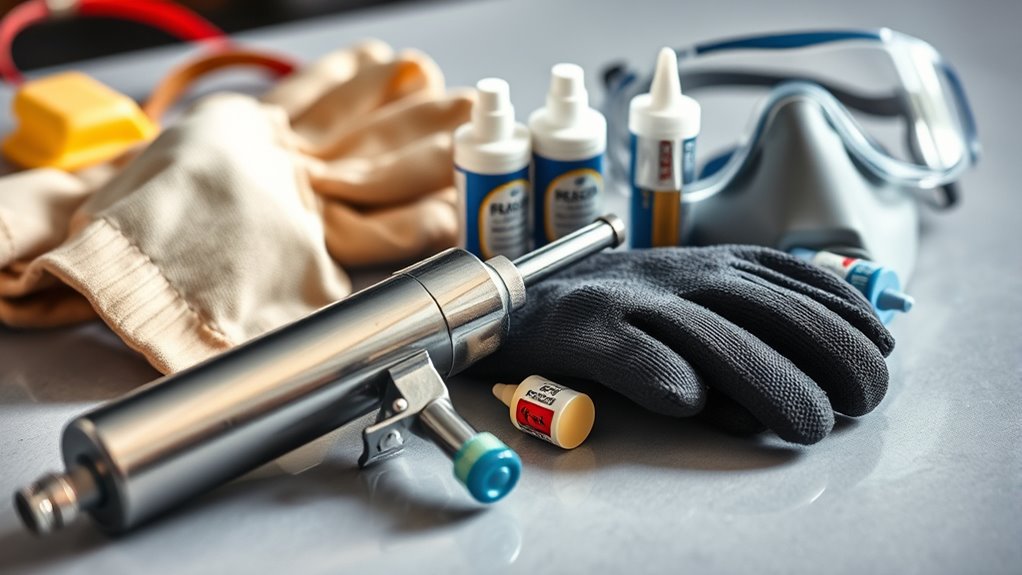
Before you begin using a grease gun, always wear safety glasses and nitrile gloves to protect yourself from grease splashes and debris. Start by setting up a clean, organized work area free of obstructions to guarantee safety and efficiency.
Gather all necessary tools, including the grease gun, grease cartridges or containers, shop towels, and any required fittings or couplers. Take a moment to inspect the grease gun and accessories for any signs of damage or wear that could affect performance or safety.
Keeping a supply of clean rags or shop towels nearby helps you quickly wipe away excess grease, maintaining a tidy work environment. By preparing properly with the right safety gear and tools, you’ll make your grease gun operation smoother and safer.
Take Apart Your Grease Gun to Load Grease
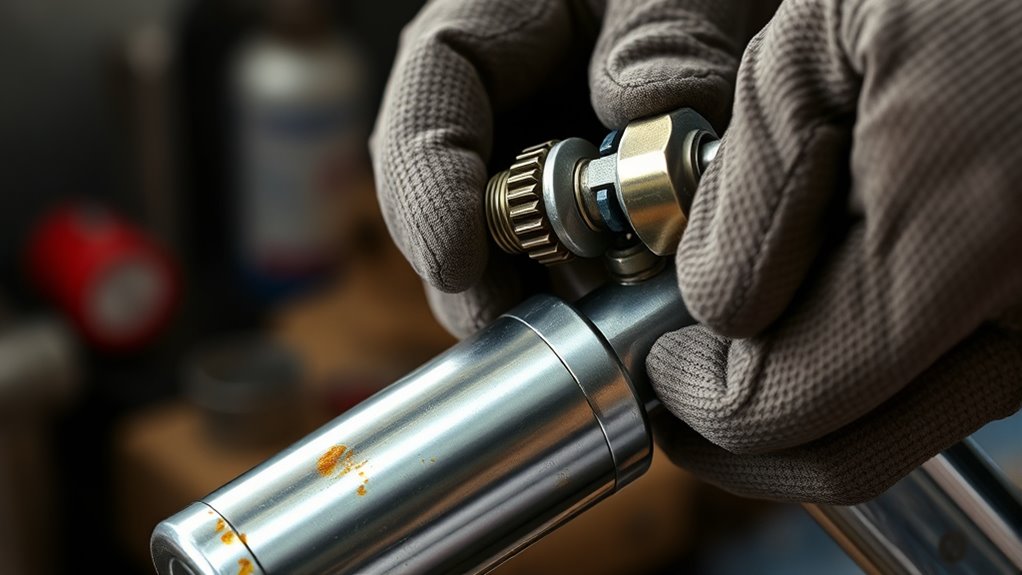
Start by unscrewing the gun head from the barrel to expose the internal parts. Fully extend and lock the piston rod handle to get ready for loading or removing the grease cartridge.
Once you’ve removed the old cartridge or opened your new grease, you’re set to reassemble and prime the gun. It’s pretty straightforward from here, so you’ll have it ready to go in no time.
Disassemble Gun Components
How do you take apart your grease gun to load new grease? First, disassemble the main components by unscrewing the barrel from the gun head. This gives you access to the internal parts.
Next, remove the plunger or piston assembly if it’s present to make cleaning and loading easier. Don’t forget to detach the nozzle or coupler for inspection or replacement.
If your grease gun has an extension pipe or fittings, carefully disconnect those as well. Taking apart these components allows you to inspect and clean each part thoroughly.
Prepare For Cartridge Loading
Where do you begin when preparing your grease gun for a new cartridge? Start by unscrewing the gun head from the barrel and placing it on a clean surface.
Next, lock the piston rod by extending it fully and securing it with the friction lock or through the slotted hole. Carefully remove the spent cartridge, taking care to avoid cuts from foil or plastic ends.
Now, insert a new grease cartridge into the barrel with the open end facing down. Once the cartridge is properly seated, remove the pull-tab foil to expose the grease.
Finally, reassemble the gun by loosely screwing the head back onto the barrel, then release the piston rod. This prepares your grease gun to load grease smoothly and efficiently.
Load a Grease Cartridge Into the Gun Barrel
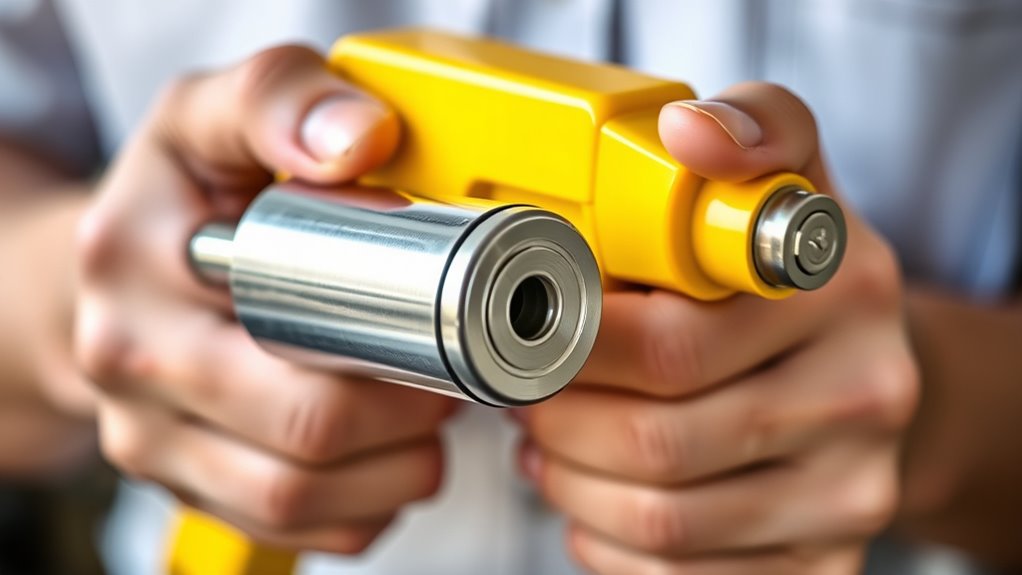
Start by removing the gun head from the barrel so you can insert the new grease cartridge. Make sure to lock the plunger rod fully extended before placing the cartridge inside with the plastic end down.
Once the cartridge is seated, reattach the gun head loosely and release the rod to secure everything in place. It’s pretty straightforward once you get the hang of it!
Remove Gun Head
Why should you unscrew the gun head from the barrel before loading a new grease cartridge? Unscrewing the gun head gives you direct access to the barrel’s internal chamber. This way, you can safely remove the old or empty grease cartridge without any trouble.
First, lock the piston rod fully extended to push out the spent cartridge easily. Carefully remove it, and watch out for any sharp metal edges.
After that, insert the new grease cartridge into the barrel with the plastic end cap facing downward. When you put the gun head back onto the barrel, don’t tighten it all the way.
Leave it loosened by one turn. This little gap is important for priming—it helps grease flow smoothly when you start using the gun again.
Insert Grease Cartridge
How do you properly insert a grease cartridge into the gun barrel? First, remove the gun head from the barrel and make sure the rod handle is fully extended and locked.
Take off the cartridge lid from your new grease cartridge. Insert the cartridge into the barrel with the plastic end cap facing downward.
Next, carefully remove the pull-tab foil from the cartridge, making sure the rim seats firmly against the cylinder inside the barrel. Once the cartridge is in place, reinstall the gun head onto the barrel loosely.
Then, release the rod handle by turning it out of its groove. This setup gets you ready to prime the gun and check the grease flow before you tighten everything up.
Secure And Lock Rod
Once the grease cartridge sits properly in the barrel, you need to secure and lock the piston rod to assure smooth operation. Start by fully extending the piston rod handle all the way out.
Then, lock the rod in place using the built-in friction lock or by fitting the handle into the slotted hole designed for locking. This guarantees the piston stays extended and ready for use.
After locking the rod, carefully remove the pull-tab foil from the cartridge, making sure the cartridge is seated firmly against the cylinder rim.
Finally, reinstall the gun head onto the barrel loosely, then release the piston rod from its groove to prepare the grease gun for priming and smooth grease flow.
Load Bulk Grease Into the Gun
Where do you start when loading bulk grease into your grease gun? First, fully extend and secure the plunger handle to prepare for the loading process.
Next, submerge the grease gun’s cylinder about two inches into the bulk grease container to guarantee proper contact. Then, draw back the plunger handle completely, creating suction that pulls the grease into the cylinder.
Once loaded, wipe off any excess grease from the gun and handle to keep your workspace clean and avoid contamination. Finally, securely reattach the gun head to the cylinder and release the handle.
This step completes the load of bulk grease into your grease gun, setting you up perfectly for the next step in using your tool.
Prime the Grease Gun to Remove Air Pockets
After loading bulk grease into your gun and securing the head, you’ll need to prime it to clear out any trapped air. Start by pushing the inner rod into the cylinder to expel trapped air and force grease into the head.
Then, pump the handle until grease appears at the hose opening. Wipe it clean with a shop towel. Tighten the cap securely and depress the bleeder valve to release any residual air.
If your grease gun lacks a bleeder valve, leave the cap loose and pump the handle until grease flow is steady before tightening. Keep priming until no air pockets remain and grease flows consistently.
- Use the pump handle to push trapped air out
- Depress the bleeder valve for residual air release
- Confirm a steady grease flow before proceeding
Attach Grease Gun Extensions and Coupler
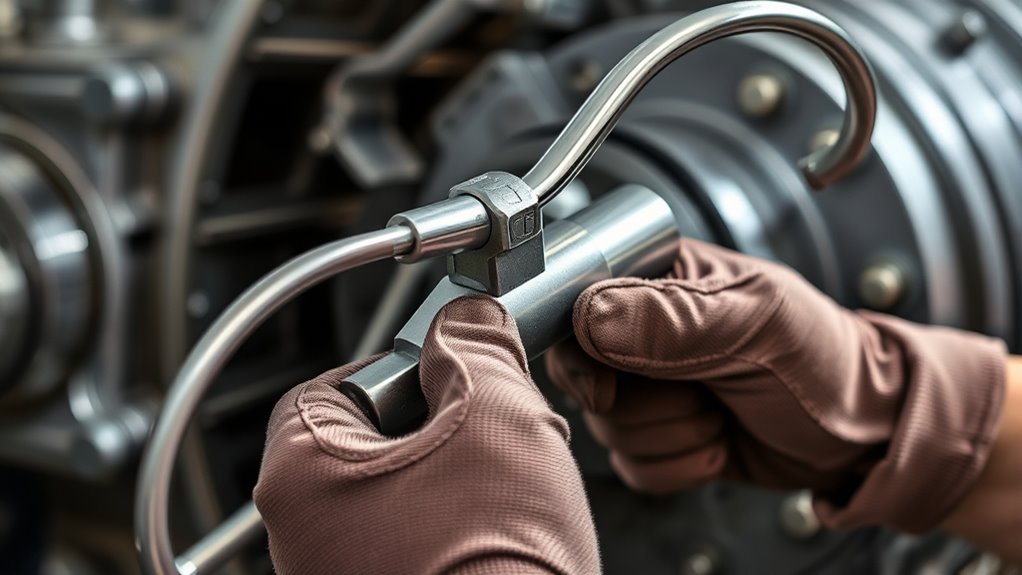
To reach tight spots, you’ll attach either a rigid or flexible extension to your grease gun. Make certain the coupler is clean and properly adjusted so it locks securely onto the Zerk fitting.
This guarantees a tight seal and prevents grease leaks during use. It’s a simple step but makes a big difference when you’re working in tricky areas.
Types of Extensions
How do you reach grease fittings tucked away in tight or awkward spots? You use the right type of extension to access those lubrication points easily.
There are two main types of extensions you’ll encounter:
- Rigid extension: Offers straight-line access, perfect for grease fittings in narrow, direct spots.
- Flexible extension: Provides excellent maneuverability around obstacles or inside confined spaces.
- Coupler: Attaches securely to either extension, ensuring a tight connection to the grease fitting and preventing leaks.
Coupler Attachment Techniques
Once you’ve chosen the right extension for tight spots, attaching the coupler properly guarantees a secure connection to the grease fitting. Start by rotating the coupler counterclockwise to open the seal. Then press it firmly onto the Zerk fitting until you hear a click, confirming the attachment is secure.
Use flexible or rigid extensions as needed, making sure both ends connect tightly. After greasing, turn the coupler clockwise to close the seal before detaching it carefully to avoid twisting. Always inspect connections for leaks or damage to maintain a proper seal and prevent contamination.
| Step | Action | Purpose |
|---|---|---|
| Open Seal | Rotate coupler counterclockwise | Prepare for attachment |
| Secure Attachment | Press coupler onto Zerk fitting | Ensure tight, leak-free seal |
| Close Seal | Rotate coupler clockwise | Prevent grease leakage |
Adjusting for Zerk Fittings
When you encounter a Zerk fitting tucked away in a tight spot, attaching a flexible or rigid extension to your grease gun makes the job much easier. Start by connecting the extension pipe to your grease gun, allowing you to reach confined areas.
Next, rotate the coupler counterclockwise to open it, then securely connect it onto the Zerk fitting. Make certain the coupler is fully seated to prevent grease leaks during lubrication.
After applying grease, rotate the coupler clockwise to seal the connection and avoid messes. Using the extension pipe and coupler together ensures precise lubrication without damaging surrounding parts.
- Attach the right extension pipe for hard-to-reach Zerk fittings
- Connect and fully seat the coupler to prevent leaks
- Seal the coupler properly after lubrication to maintain cleanliness
Adjust Coupler to Securely Fit Zerk Fittings
Before you start pumping grease, make sure to adjust the coupler so it fits securely onto the Zerk fitting. Rotate the coupler counterclockwise to open it and slip it snugly onto the Zerk fitting.
Once in place, turn the coupler clockwise to tighten it, ensuring a proper seal. This step is crucial to lock the coupler firmly in position and prevent any grease leaks during lubrication.
Check that the coupler is fully engaged—if it feels loose or slips off, adjust it again until it locks securely. A properly seated coupler guarantees smooth grease flow and protects the fitting.
When you’re done, simply rotate the coupler counterclockwise to release it safely from the Zerk fitting.
Pump Grease Into the Fitting While Monitoring Pressure
After securing the coupler onto the Zerk fitting, start pumping the grease gun handle steadily to push grease into the fitting. As you pump, monitor the pressure by feeling the resistance on the handle.
Apply steady force without overdoing it—too much pressure can damage seals or fittings. Watch the grease flow carefully; stop pumping once you feel resistance or see grease seeping from the fitting. This guarantees you’ve applied the right amount of grease without over-lubricating.
Remember to release the handle smoothly to prevent sudden pressure spikes that could harm the component. Keep these tips in mind:
- Pump steadily and feel for handle resistance
- Monitor grease flow at the fitting to avoid excess
- Stop immediately once proper pressure and lubrication are achieved
Loosen and Remove the Coupler When Finished
Once you’ve finished pumping grease, loosen the coupler by turning it counterclockwise to disconnect it from the fitting. Before you remove the grease fitting, make sure there’s no residual pressure in the gun to avoid grease spills.
Always turn the coupler counterclockwise and release pressure before removing to prevent grease spills.
Carefully loosen the coupler and detach it without forcing. This helps prevent damage to the fitting or coupler threads.
After removal, wipe the coupler and fitting with a clean shop towel to clear away excess grease and dirt. This step helps maintain the equipment’s condition and prevents contamination.
When not in use, store the coupler in a clean, dry place or cover it to keep dirt and debris out. Taking these precautions guarantees your grease gun stays ready and functioning properly for the next job.
Clean and Store Your Grease Gun Properly
Although you’ve finished using the grease gun, you’ll want to clean it thoroughly with a lint-free rag to remove any dirt, grease, and debris. Proper cleaning prevents contamination and extends the life of your tool.
When you store the grease gun, keep it unpressurized to protect the seals from unnecessary wear. Always cover couplers and fittings with protective caps to block dirt and debris from entering.
To clean and store your grease gun properly:
- Store it in a clean, dry, horizontal position to avoid damage and contamination.
- Use clamps or holders to keep it organized and secure.
- Keep it unpressurized and covered with protective caps to maintain seals and prevent contamination.
Following these steps will keep your grease gun reliable and ready for the next use.
Frequently Asked Questions
How to Properly Use a Grease Gun?
You’ll attach the coupler securely, pump steadily until grease appears, then stop to avoid over-lubrication. Carefully release the coupler, use the right grease amount, and clean everything afterward to keep your grease gun working smoothly.
What Are Common Grease Gun Mistakes?
You’ll often overfill the gun, skip bleeding air, or use the wrong grease. Neglecting maintenance and applying grease incorrectly also cause problems. Avoid these mistakes to keep your equipment running smoothly and prevent damage.
Are You Supposed to Push the Rod in on a Grease Gun?
Like winding a clock to keep time, you should push the rod fully into the grease gun. This primes it, expels air, and guarantees smooth grease flow, preventing blockages and keeping your equipment running flawlessly.
Which End of the Grease Tube Goes in First?
You insert the plastic end of the grease cartridge into the gun barrel first. This guarantees proper pressure and grease flow. Make sure to remove the foil pull-tab and seat the cartridge rim firmly to prevent leaks.
Conclusion
It’s funny how something as simple as using a grease gun can save you from unexpected breakdowns and costly repairs.
By following these steps, you’re not just maintaining machines—you’re protecting your work, your time, and your peace of mind.
So next time you reach for that grease gun, remember: a little care today keeps things running smoothly tomorrow.
Using a grease gun regularly helps extend the life of your equipment and prevents unnecessary wear and tear.
You’ve got this—ready to tackle whatever comes next with confidence and ease.
Keep your machinery in top shape by mastering the proper use of a grease gun. It’s a small effort that makes a big difference in maintenance and reliability.