How to Use a Rivet Gun in 3 Simple Steps
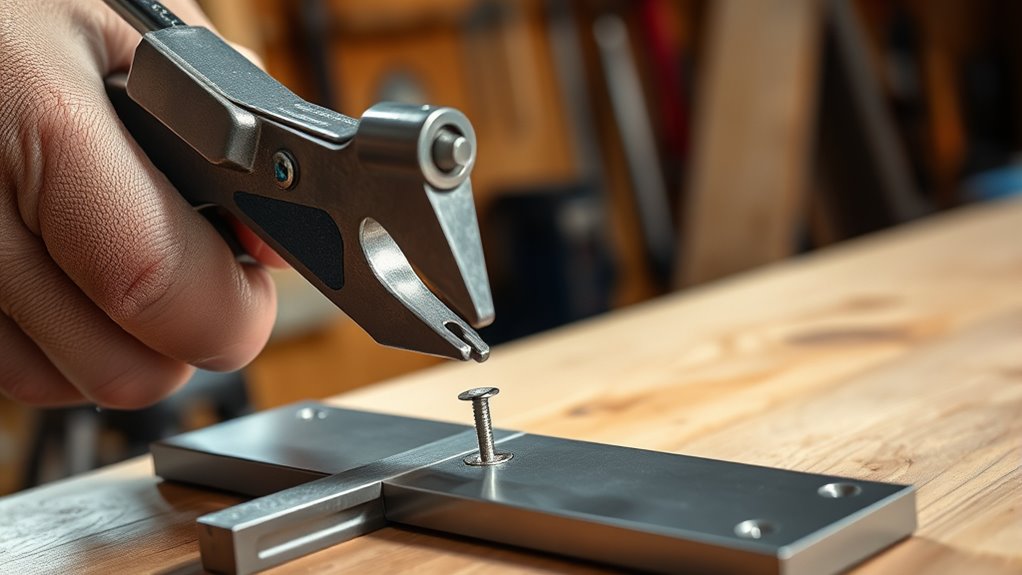
To use a rivet gun in three simple steps, first align and insert the rivet’s shank fully through the materials. Make sure it’s flush and properly positioned for a secure hold.
Next, squeeze the trigger firmly and maintain steady pressure until the rivet snaps securely. Try to avoid releasing the trigger too soon to ensure a strong bond.
Finally, gently release the trigger and remove the tool carefully. Be mindful not to damage the rivet or the materials you’re working with.
If you want to get the best results and extend your tool’s life, there’s more helpful detail ahead. Stick around, and you’ll be a rivet gun pro in no time!
Key Takeaways
- Select the correct rivet size and securely insert it into the rivet gun’s nose.
- Align the rivet shank fully through the materials and ensure it is flush with the surface.
Once everything is in place, firmly squeeze the rivet gun trigger until the rivet pin snaps. This snap means your fastening is secure.
- Gently release the trigger and carefully remove the rivet gun to avoid damage.
- Remove the used mandrel from the gun and store the tool properly for future use.
That’s it! Easy and efficient every time.
Align and Insert the Rivet Into the Hole
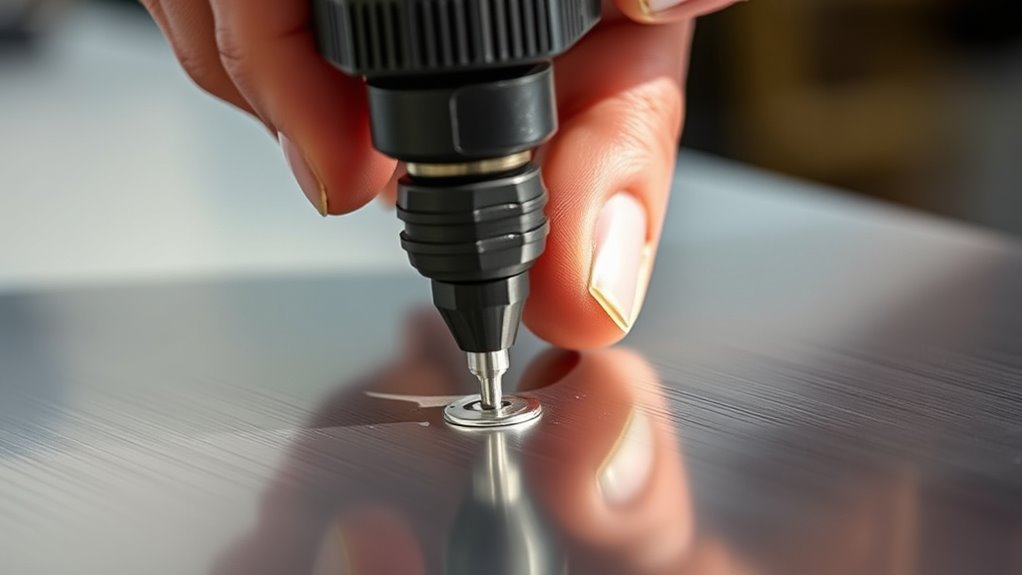
Before you start fastening, make certain you’ve selected the right size rivet that fits both the hole and your rivet gun tip. Next, insert the rivet into the gun’s nose, pushing it fully until it’s securely seated.
Align the rivet carefully with the drilled hole in the materials you want to fasten. Then, insert the rivet’s long shank through the hole, making sure it passes completely through both pieces.
Double-check that the rivet is properly positioned, flush against the surface, and ready for fastening. Taking these steps ensures a secure fit and prepares you for the next action in using the rivet gun effectively.
Squeeze the Rivet Gun Trigger to Secure Materials
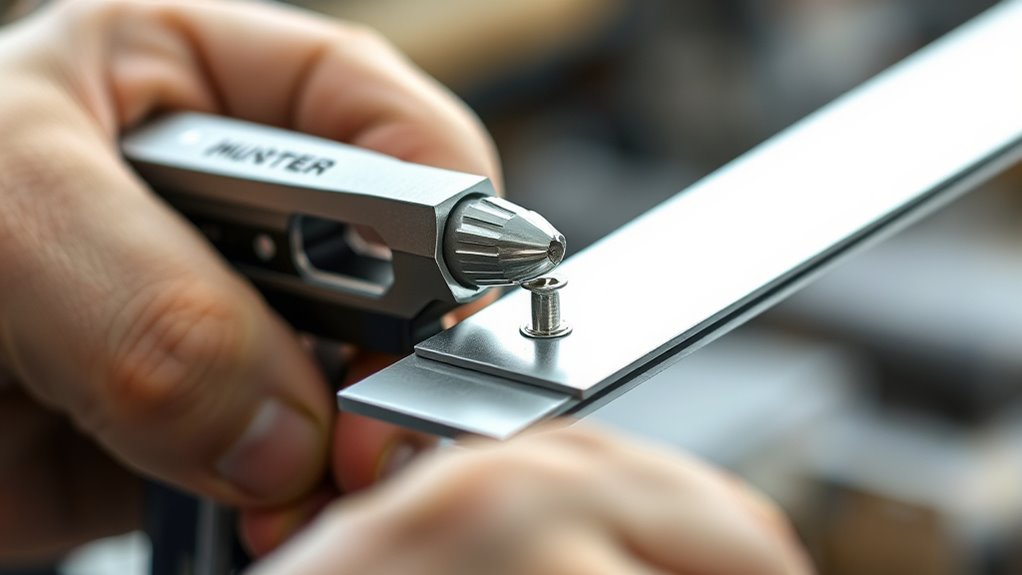
Once the rivet is properly aligned and inserted through the materials, you’re ready to squeeze the rivet gun trigger. Firmly press the trigger to activate the mechanism that pulls the rivet’s pin through its body.
Align the rivet, insert it through materials, then firmly squeeze the trigger to secure it tightly.
Keep steady pressure until the pin snaps, signaling the rivet is securely fastened. Don’t release the trigger too soon though, or you might end up with a weak fastening.
Here are some tips for the best results:
- Apply consistent pressure to ensure proper deformation of the rivet.
- Control the squeeze for a flush, professional finish.
- Don’t rush; premature release weakens the hold.
- Focus on steady, even force throughout the process.
- Practice to avoid damaging the materials while securing.
This controlled action guarantees your materials are tightly and safely joined.
Release the Trigger and Remove the Rivet Gun
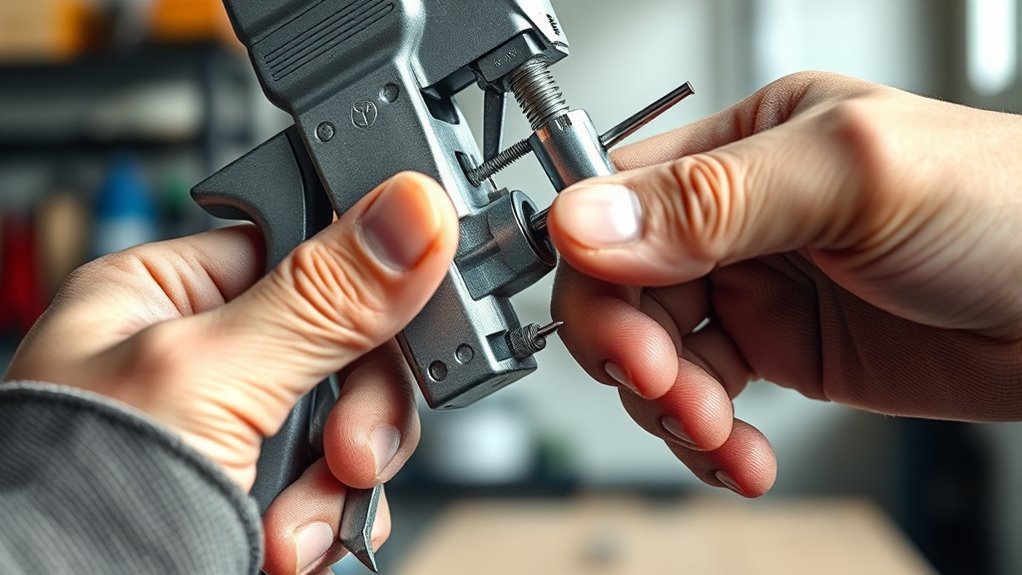
After the rivet snaps into place, gently release the trigger to stop the tool’s mechanism and let it reset. This disengages the internal parts, ensuring the rivet is fully installed and secure.
Carefully lift or pull the rivet gun away from the finished rivet to avoid damaging the materials you just fastened. Next, remove the used rivet by either unscrewing or pulling out the leftover mandrel from the gun.
This step keeps your tool ready for the next use and prevents jams. Finally, store your rivet gun in a safe, dry place to protect it from rust and damage.
Following these steps will help maintain your tool’s functionality and extend its lifespan.
Frequently Asked Questions
How to Use a Basic Rivet Gun?
To use a basic rivet gun, insert the rivet, align it through your materials, then squeeze the trigger until the pin snaps. Release, remove the gun, and check the rivet’s tightness and flush finish.
How to Rivet Step by Step?
Think of riveting like sewing fabric with metal threads. You insert the rivet, align materials, squeeze the handles to pull the pin, snap it tight, then release. Your joint’s as strong as a locked treasure chest.
What Is the Easiest Rivet Gun to Use?
The easiest rivet gun to use is a lightweight, manual one-hand model with ergonomic handles and a simple trigger. Look for interchangeable tips and clear size markings to make your job quicker and less tiring.
What Are Common Rivet Gun Mistakes?
Over 60% of DIYers make common rivet gun mistakes like misaligning rivets, using wrong sizes, or applying too much force. You’ll want to avoid these to guarantee strong, safe fastening and prevent tool damage or injury.
Conclusion
Now that you know how to use a rivet gun in three simple steps, you’re ready to tackle your next project with confidence.
For example, imagine fixing a loose metal panel on your bike—just align the rivet, squeeze the trigger, and release. It’s quick and secure!
With a little practice, you’ll find rivet guns make fastening materials easier and more reliable than ever. They’re perfect for joining metal, plastic, and other materials without the hassle of screws or nails.
Give it a try, and see the difference yourself! Using a rivet gun not only saves you time but also ensures a strong, long-lasting hold every time you fasten. Whether you’re a DIY enthusiast or working on professional projects, mastering a rivet gun is a smart skill that adds efficiency and durability to your work.