How to Use an MOA Dot for Pistol Sights
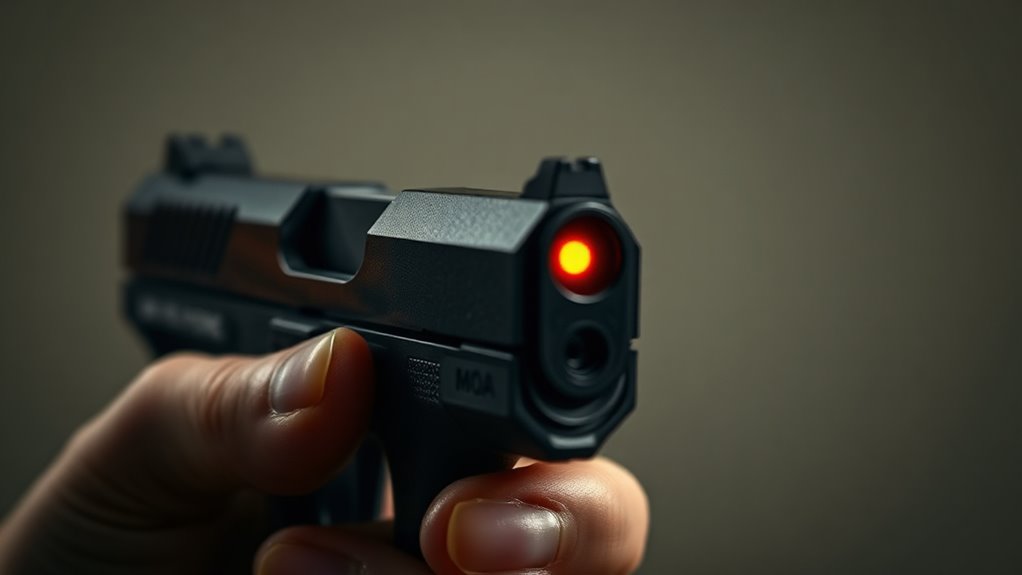
You’ll use an MOA dot on your pistol sight by understanding its size and how it changes with distance. For example, a 3 MOA dot covers 3 inches at 100 yards but just 0.75 inches at 25 yards. This difference is key when aiming at various distances.
Larger dots help you acquire targets quickly but reduce pinpoint accuracy. On the other hand, smaller dots improve precision but can slow you down a bit.
Properly mounting your sight, zeroing it correctly, and adjusting the brightness are all important steps. These ensure a consistent dot for accurate shots every time.
Keep following along to explore ways to optimize your dot use and get the best performance from your pistol sights.
Key Takeaways
- Mount the red-dot sight securely using the correct plate and apply blue Loctite to screws to maintain zero.
- Start zeroing at about 7 yards by aiming at small reference marks. Adjust windage and elevation until the impact matches the point of aim.
- Confirm and fine-tune zero at around 20 yards for accuracy at practical distances.
- Set and maintain consistent dot brightness during zeroing. This helps avoid dot blooming and ensures precise aiming.
- Choose an MOA dot size that balances speed and precision. Use 4–6 MOA for close-range quick acquisition, and 1–2 MOA for longer-range accuracy.
What Is an MOA Dot and How It Works on Pistol Sights
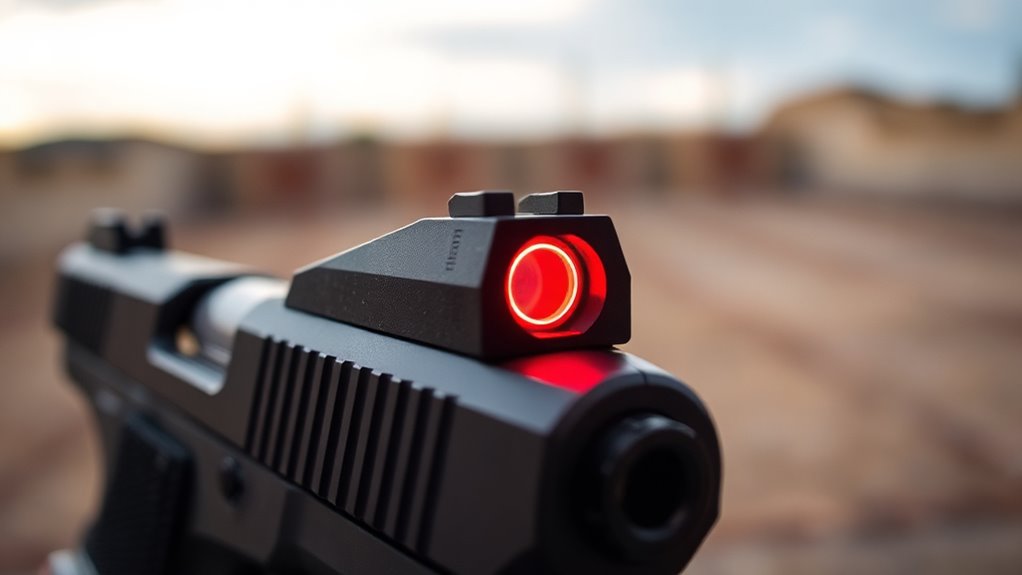
An MOA dot is a measurement that shows how big the red-dot aiming point appears on your target, with one MOA equaling about 1.047 inches at 100 yards. When you look through a pistol sight like the Trijicon RMR, the MOA value tells you the diameter of the projected point on your target.
For example, a 2 MOA dot covers roughly 2 inches at 100 yards but only about 0.5 inches at 25 yards. This scaling helps you understand how much of your target the dot covers at different distances, which is crucial for aiming.
Knowing the MOA dot size lets you choose a sight that fits your shooting needs, balancing precision and quick target acquisition effectively. It’s all about finding the right balance for your style and the distances you plan to shoot.
Why MOA Dot Size Matters for Speed and Accuracy
You’ll notice that the size of your MOA dot impacts how quickly you can acquire your target and how precise your shots will be. Larger dots speed up aiming but can cover more of your target.
On the other hand, smaller dots improve accuracy but may slow you down a bit. It’s all about finding the right balance between speed and precision.
That balance is key to effective shooting, so take some time to figure out what works best for you.
Speed Versus Precision
Although a larger MOA dot makes it easier to quickly spot your aim point, it also covers more of the target. This reduces precision at longer distances.
When using a Red Dot sight, you’ll want to balance speed and accuracy based on your needs. Think about these points:
- Larger dots (4–6 MOA) speed up target acquisition since they’re easier to see. They’re ideal for close-range shooting where speed matters more than pinpoint accuracy.
- Smaller dots (1–2 MOA) improve precision by covering less target area. This is perfect for longer distances but might slow your sight picture acquisition.
- At mid-range, you have to decide what’s more essential: fast target engagement or tight shot placement. The MOA dot size directly affects both.
Choose your Red Dot wisely to match your shooting style and environment. It really makes a difference!
Dot Size Impact
Choosing the right MOA dot size directly influences how quickly and accurately you can engage targets. Larger dots, like 4–6 MOA, are easier to pick up and speed up target acquisition, especially in defensive situations.
However, they cover more of your target, which can clutter your sight picture and reduce pinpoint accuracy. Smaller dots, such as 1–2 MOA, offer a clearer sight picture and better precision since they cover less of the target area at distance.
But these smaller dots can slow you down because they’re harder to locate quickly, especially under stress. For many shooters, a 3–6 MOA dot balances speed and precision, helping you maintain a clear sight picture without sacrificing quick target engagement.
Always check dot clarity at real brightness levels to ensure excellent performance.
Target Acquisition Balance
Balancing speed and accuracy when using an MOA dot comes down to understanding how dot size affects your target acquisition. Choosing the right dot size can make all the difference in how quickly and precisely you engage targets.
Consider these points for effective target acquisition balance:
- Larger dots (like 3 MOA) speed up sight picture pickup but can obscure smaller targets. This reduces pinpoint accuracy.
- Smaller dots (1–2 MOA) improve precision by covering less of the target. But they can slow down your ability to find the dot quickly, especially under stress.
- Mid-size dots (4–6 MOA) offer a practical compromise. They provide decent speed and accuracy for most defensive shooting scenarios.
Also, factor in your vision and brightness settings. Starbursts can affect perceived dot size and target acquisition, so keep that in mind.
How to Choose the Right MOA Dot Size for Your Needs
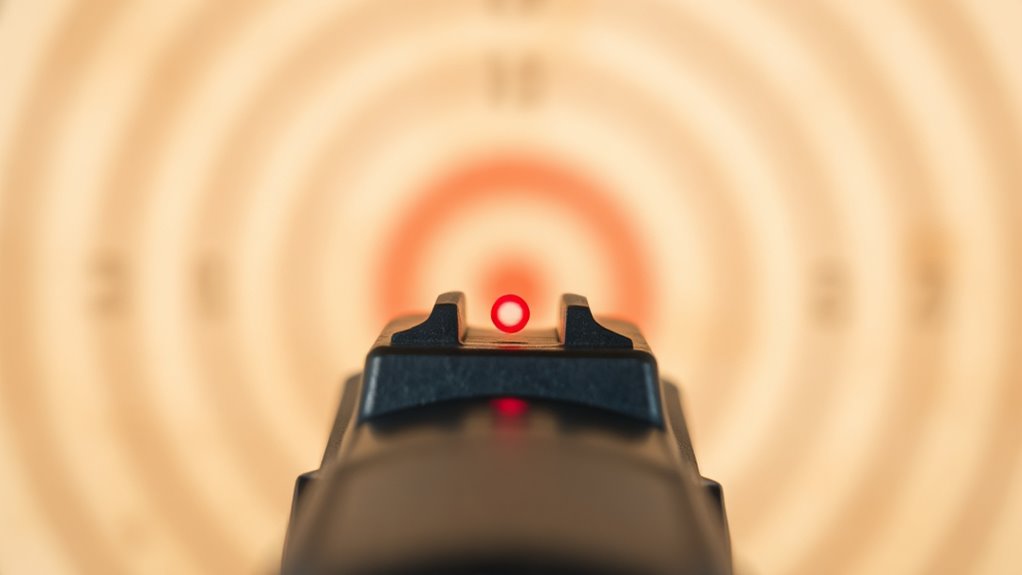
Choosing the right MOA dot size depends on whether you value speed or precision most. Larger dots help you quickly acquire targets at close range, while smaller dots improve accuracy at longer distances.
Think about your typical shooting scenarios and pick a size that matches your needs and optic options. It’s all about what feels right for you and how you plan to use your optic.
Speed Versus Precision
Picking the right MOA dot size means deciding between speed and precision based on your shooting needs. Your point of aim changes with dot size, so consider these factors:
Larger dots (4–6 MOA) help you acquire your point of aim faster, covering more target area. They’re great for close-range defense.
Smaller dots (1–2 MOA) offer tighter coverage and improve precision at longer distances. But they do slow down target acquisition a bit.
Visual quirks like astigmatism can affect dot clarity. So, it’s smart to test different sizes and brightness levels to avoid a smeared reticle.
Ultimately, larger MOA dots get your dot on target quicker. Meanwhile, smaller dots boost accuracy once you’re zeroed in.
Choose based on whether speed or pinpoint accuracy matters most to your shooting style.
Use Case Considerations
When deciding on the right MOA dot size, consider how you’ll use your pistol most often. For self-defense, a 4–6 MOA dot lets you acquire targets quickly, especially in close-range encounters.
If precision matters, like in competition or target shooting, smaller 1–2 MOA dots help you aim more accurately. Remember, dry fire practice can help you get comfortable with your chosen dot size.
| Use Case | Recommended MOA Dot Size |
|---|---|
| Self-defense | 4–6 MOA |
| Competition/Target | 1–2 MOA |
| Close-range speed | Larger dots |
Also, consider your vision—astigmatism can smear small dots, making them harder to see under stress. So, choose a dot size that balances speed, precision, and visibility for your needs.
Popular Red Dot Sights With Adjustable or Fixed MOA Dots
Understanding the size and adjustability of MOA dots can dramatically impact your shooting experience. Choosing the right red dot affects your sight alignment and target acquisition speed.
Here are some popular options:
- Trijicon RMR offers fixed MOA dots in 1, 3.25, and 6.5 sizes, balancing precision and quick sight alignment.
- Aimpoint PRO features a 2 MOA dot, a versatile choice for clear aiming without obscuring the target.
- Vortex Venom comes in 3 or 6 MOA dots, where the larger size speeds up target pickup but may reduce precision.
Additionally, the Holosun 507C combines a 2 MOA dot with a 32 MOA ring, enhancing both rapid visual indexing and precise sight alignment.
Always check specs before buying to match your shooting style. It really makes a difference!
How MOA Dot Size Changes With Distance
How does the size of an MOA dot actually change as you adjust your shooting distance? Since an MOA dot subtends an angle, it appears larger on the target as distance increases.
For example, a 3 MOA dot covers about 0.75 inches at 25 yards, 1.5 inches at 50 yards, and roughly 3 inches at 100 yards. This means up close, the dot covers less of your target, making your point of impact feel more precise.
As you shoot farther, the dot covers more area, widening your effective aiming tolerance and potentially reducing fine precision. Understanding this helps you anticipate how your point of impact might shift relative to the dot size at different ranges.
That way, you can improve your overall accuracy with your pistol sight.
Mounting and Zeroing Your MOA Red Dot Sight
Knowing how your MOA dot size changes with distance sets a solid foundation for properly mounting and zeroing your red dot sight. First, use the correct mounting plate and apply blue Loctite to the screws. This prevents the sight from shifting and losing zero.
Next, cowitness the dot with your iron sights before live fire to confirm consistent placement. It’s a good way to make sure everything lines up right.
When zeroing your sight, start at about 7 yards. Aim at small reference marks, and adjust the elevation and windage knobs based on where your shots land.
After that, verify your zero at a farther distance like 20 yards. Fire small groups and fine-tune as needed.
And don’t forget to set your dot brightness appropriately. Keep it consistent during zeroing for the best results.
Tips for Adjusting Your MOA Dot to Improve Accuracy
Although adjusting your MOA dot might seem straightforward, getting it right requires careful attention to how the dot size changes with distance and how you fine-tune elevation and windage. Remember, a 3 MOA dot covers 3 inches at 100 yards but only 0.75 inches at 25 yards, affecting your aiming precision.
Start from a known zero, then shoot a tight group at about 7 yards to quickly verify your sight alignment. Adjust elevation and windage based on where shots land, repeating until your point of impact matches your point of aim.
Confirm accuracy by testing around 20 yards if you plan to shoot farther. After any MOA setting changes, re-zero your sight to maintain accurate shooting. Consistent dot brightness also helps improve precision.
How Brightness and Eye Health Affect Your MOA Dot Choice
Because your vision directly affects how you perceive the MOA dot, choosing the right brightness and size is essential for accurate aiming. Setting the dot brightness correctly helps you see it quickly and accurately without blooming, which can make the dot look larger than its actual MOA size.
If you have astigmatism, smaller dots may appear smeared, reducing precision. So, keep that in mind when picking your dot size. Consider these tips:
- Use medium-to-large dots (4–6 MOA) if your eyes need higher brightness or you want easier dot acquisition.
- Opt for smaller dots (1–2 MOA) if you have good clarity and want more precise aiming.
- Adjust brightness to ensure the dot stands out against the background without excessive glare.
Finding the right balance helps you acquire the dot quickly and shoot accurately under different conditions. It’s all about making sure your sight works well with your eyes.
Frequently Asked Questions
Can MOA Dots Be Used Effectively in Low-Light or Nighttime Conditions?
Yes, you can use MOA dots effectively in low-light or nighttime conditions since their illuminated design helps you quickly acquire your target.
Just adjust the brightness to avoid glare and keep a clear sight picture while shooting. It’s pretty straightforward and really helps when visibility is low.
How Does Battery Life Impact the Performance of MOA Red Dot Sights?
Think about it—would you trust a sight that dies mid-use? Battery life directly impacts your MOA red dot’s dependability and brightness.
Keeping it charged ensures consistent performance when you need it most. It’s all about having confidence that your sight won’t let you down right when it counts.
Are MOA Dots Compatible With All Types of Pistol Holsters?
MOA dots aren’t compatible with all pistol holsters. You’ll need a holster designed for optics or adjustable ones to fit your pistol with the red dot.
Always check compatibility before buying to avoid fitting issues. It’s better to be safe than sorry when it comes to your gear.
What Maintenance Is Required to Keep an MOA Red Dot Sight Functioning?
You’ll need to make sure the lens is cleaned regularly. Check and replace batteries as needed to keep it powered up.
Also, make sure the sight stays securely mounted at all times. Avoid using harsh chemicals when cleaning.
It’s a good idea to store it in a dry place to prevent any moisture damage. After use, always inspect the sight for any signs of damage or wear.
Can MOA Dots Be Used for Long-Distance Pistol Shooting Competitions?
Like a lighthouse guiding ships, you can use MOA dots for long-distance pistol competitions, but you’ll need to adjust for bullet drop and wind. They’re precise, yet mastering environmental factors is key for success.
It’s not just about aiming; you gotta understand how wind and gravity mess with your shot. Once you get that down, MOA dots become a handy tool for hitting those distant targets.
Conclusion
So, you’ve learned all about MOA dots—from size to brightness—and how they can make or break your pistol sight game. Ironically, the tiniest dot might just be the biggest help, even if it feels like looking for a needle in a haystack.
Remember, it’s not about seeing the dot perfectly, but about hitting your target consistently. The key is to focus on the target, using the MOA dot as a precise reference point.
Now go ahead—pick your dot, zero it, and enjoy the paradox of aiming small to hit big! Using an MOA dot for pistol sights is all about precision and consistency, helping you improve your accuracy every time you shoot. Keep practicing, and you’ll see how this small dot can make a huge difference in your shooting game.