10 Steps to Zero Your Rifle at 25 Yards for 100 Yards
To zero your rifle at 25 yards for a 100-yard zero, start by securing your rifle and target with a marked dot 0.75 inches below the bull’s-eye. This initial setup helps you align your shots more accurately at a shorter distance.
Measure your scope height and muzzle velocity next, as these factors are crucial for precise ballistic calculations.
Use these measurements to predict where your bullet will impact at 25 yards. Fire groups of shots and carefully note any deviations from the target.
Then, adjust your scope elevation using the calculated clicks based on your ballistic data.
Keep refining your adjustments until your shots consistently hit the marked dot.
Once you’ve mastered zeroing at 25 yards, you’ll be ready to confirm your zero at 100 yards. This method ensures precise long-range shots with confidence and accuracy.
Key Takeaways
- Secure the rifle on a stable rest and set a target with a bull’s-eye at 25 yards. Mark 0.75 inches below the bull’s-eye to simulate a 100-yard zero.
- Measure your scope height and muzzle velocity. Then, use ballistic calculators to predict and mark the correct impact point at 25 yards.
- Fire groups at 25 yards and record your shot deviations. Convert the inches off target into MOA for accurate scope adjustments.
- Adjust your scope elevation with the calculated clicks opposite the deviation. This will help align impacts about 0.75 inches low for a 100-yard zero.
- Keep shooting and fine-tuning at 25 yards until your shots consistently hit the marked point. Finally, verify your zero with a shot group at 100 yards.
Why Zero at 25 Yards for a 100-Yard Zero?
Although zeroing your rifle at 100 yards is ideal, starting at 25 yards lets you quickly establish an accurate baseline. When you zero at 25 yards, you can adjust your sights so the bullet hits about 0.75 inches low, which closely simulates a 100-yard zero.
This method saves you time and effort by allowing you to use ballistic calculations to predict your bullet’s point of impact without needing to shoot at long distances immediately. Zeroing at 25 yards is especially convenient for indoor ranges or quick setups.
It helps you avoid the challenges of bullet drop and scope height differences that can complicate longer-range zeroing. By zeroing this way, you set yourself up for precise shots at 100 yards with much less guesswork.
Prepare Your Rifle and Target for Short-Range Zeroing
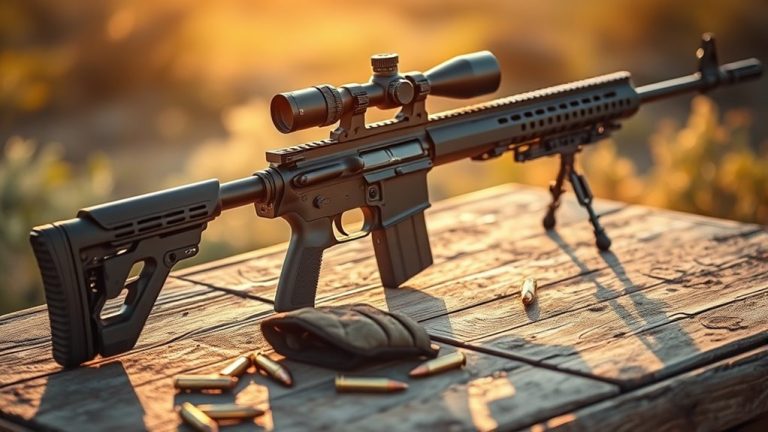
Before you start zeroing, make sure your rifle and scope are securely mounted and supported on a stable rest or sandbags.
Set up a clear target with a visible bull’s-eye at 25 yards to track your shots accurately. Don’t forget to confirm your bore alignment and measure the scope height to guarantee precise adjustments.
Rifle Setup Essentials
When you set up your rifle for short-range zeroing, make sure it’s firmly supported on stable sandbags or a rest to prevent any movement that could throw off your adjustments. Start by removing the bolt and bore-sighting the rifle with a collimator or by looking down the barrel to roughly align the scope with the bore.
Double-check that all scope mounting hardware is tight to maintain consistent zeroing. Also, confirm the scope height from the bore, typically 1.5 to 2.5 inches. This measurement is vital for accurate ballistic calculations.
Using a large, clear target at 25 yards, you’ll draw your impact dot 0.75 inches below the bull’s-eye, but that’s for the next step. This setup ensures your rifle is ready for precise short-range zeroing adjustments.
Target Preparation Tips
How can you guarantee your short-range zeroing is both accurate and reliable? Start with solid target preparation. Use a stable shooting rest or bipod to keep your rifle steady and verify consistent positioning during every shot.
Mark a large target clearly at 25 yards, then draw a dot 0.75 inches below the bull’s-eye to simulate a 100-yard zero. Before shooting, confirm your scope is securely mounted and aligned with the bore.
Remove the bolt or use bore-sighting tools to roughly align the scope with the barrel, setting a solid initial point. Make sure neither the rifle nor the scope shifts between shots—any movement can throw off your zero.
Proper target preparation sets the foundation for precise adjustments and a reliable zero at 100 yards. It’s all about consistency and taking your time.
Measure Your Scope Height and Muzzle Velocity
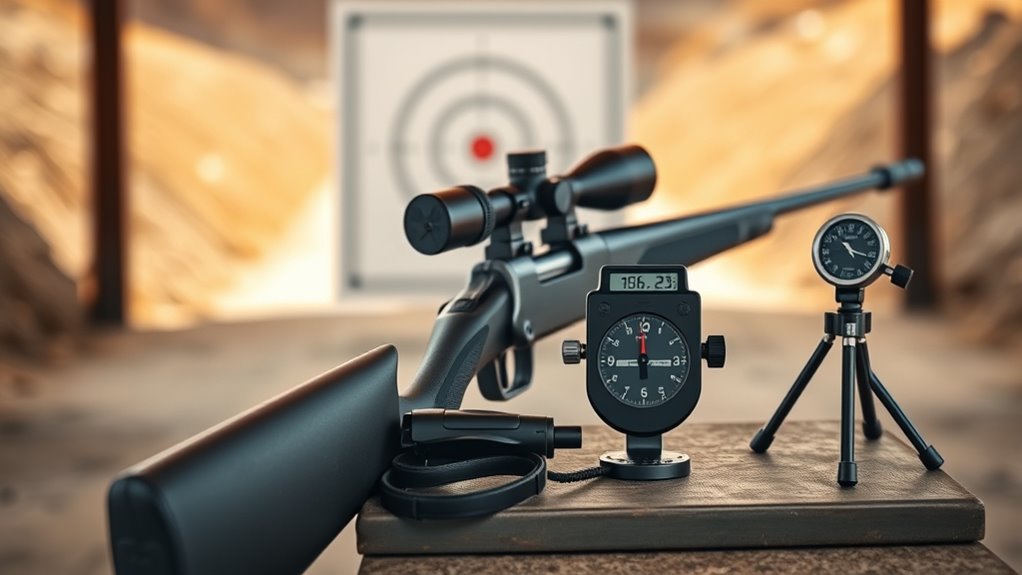
Since accurate ballistic calculations depend on precise inputs, you’ll need to measure your scope height—the distance from the center of your rifle’s barrel to the center of your scope. This is usually between 1.5 and 2.5 inches.
This measurement is vital because it affects how your bullet’s trajectory aligns with your point of aim. Next, obtain your muzzle velocity by checking your ammunition’s load data or using a chronograph for the most accurate reading.
Calculate Bullet Impact at 25 Yards for 100-Yard Zero
Although zeroing your rifle at 25 yards might seem straightforward, you need to calculate where your bullet will impact to simulate a true 100-yard zero accurately. Typically, the bullet impact at 25 yards should be about 0.7 to 0.8 inches low on the target to match a 100-yard zero.
You can use ballistic calculators by inputting data like muzzle velocity, bullet weight, and ballistic coefficient to predict this impact precisely. For example, a 142-grain bullet traveling around 2700 fps usually hits roughly 0.45 inches low at 25 yards, about 1.7 MOA.
Knowing this bullet impact allows you to adjust your scope properly, ensuring your shot aligns with the bullseye at 100 yards despite zeroing closer. It might seem a bit tricky at first, but once you get the hang of it, it makes zeroing way more accurate and reliable.
Mark a Dot 0.75 Inches Below the Bullseye on Your Target
Why mark a dot below the bullseye when zeroing at 25 yards? Because bullet drop affects your shot’s point of impact at different distances.
By drawing a dot approximately 0.75 inches below the bullseye, you simulate where your bullet will strike at 25 yards to achieve a true zero at 100 yards. Use a ballistic calculator to confirm this measurement for your specific rifle and ammo.
Marking a dot 0.75 inches below the bullseye simulates 25-yard impact for a true 100-yard zero.
Set your target firmly at 25 yards, then mark that dot precisely. When you shoot, adjust your scope so the bullet lands on this lower dot, compensating for bullet drop over longer distances.
This step guarantees your rifle is properly zeroed for 100 yards, even though you’re shooting closer. It’s a simple trick that saves you from having to make corrections later on the range.
Fire a Group at 25 Yards and Note Bullet Impacts
Fire a tight group at 25 yards to check how consistent your shots are landing. Pay close attention to whether the impacts are high, low, or centered around your aiming point.
Record these locations carefully to help guide your scope adjustments. This way, you’ll know exactly what needs tweaking to get those shots right on target.
Assess Group Consistency
How closely your shots group together at 25 yards reveals a lot about both your shooting and your rifle’s performance. After firing a group, assess the bullet impacts carefully to gauge consistency.
Focus on these three key points:
- Count the number of shots in the group and observe if the impacts cluster tightly or spread out.
- Check if the impacts maintain a consistent position relative to each other, indicating reliable shooting and equipment.
- Measure how far the impacts deviate from your point of aim (POA) to determine if adjustments are necessary.
Make sure your rifle is stable and properly supported during this process to get an accurate read on your group consistency. This step helps ensure your zeroing is based on solid data.
Record Impact Locations
Once you’ve fired your group at 25 yards, carefully note each bullet’s exact impact point on the target. Observe whether the impact points are high, low, left, or right relative to your aiming point.
Use a ruler or the target’s grid to measure the distance from each impact to your intended point of aim. Pay special attention if the impacts are about 0.75 inches low, which simulates a 100-yard zero.
Recording these details precisely helps you understand how your rifle is shooting at this distance. It’s a good idea to repeat this process to confirm your results are consistent and within the desired zeroing parameters.
Accurately tracking your impact points is essential for making the necessary adjustments to zero your rifle properly at 25 yards for 100 yards. This way, you’ll be confident your rifle is set up just right.
Calculate Scope Click Adjustments Needed
Although zeroing your rifle at 25 yards might seem straightforward, calculating the correct scope click adjustments is essential to replicate a true 100-yard zero. Each MOA click moves the impact about 0.25 inches at 100 yards, but only 0.0625 inches at 25 yards.
To simulate a 100-yard zero, the bullet impact at 25 yards will be roughly 3.1 MOA low, meaning you need to adjust your scope accordingly.
Here’s how to calculate scope adjustments:
- Multiply the MOA difference by the distance ratio (100/25).
- Convert this to clicks, knowing each click moves impact about 0.25 inches at 25 yards.
- Use a ballistics calculator considering bullet weight and ballistic coefficient to confirm adjustments.
Make sure your point of aim matches the adjusted point of impact for accurate long-range shooting.
It might seem like a bit of math, but once you get the hang of it, adjusting your scope becomes second nature.
Adjust Your Scope Elevation Based on Impact Deviation
After measuring where your shot actually hits, you’ll translate that deviation into the number of scope clicks needed to correct it. Remember, at 25 yards, 1 MOA roughly equals 0.25 inches, so use this to convert your impact difference into precise turret adjustments.
Then, make the scope changes carefully. Confirm with follow-up shots until your point of impact matches your aim. It’s all about being patient and precise.
Calculating Impact Adjustment
To accurately adjust your scope elevation, you’ll first need to measure how far your bullet impacts from the point of aim at 25 yards and convert that distance into minutes of angle (MOA).
Here’s how to calculate your impact adjustment:
- Measure the bullet’s deviation from the point of aim in inches at 25 yards.
- Convert this deviation to MOA by dividing the inches by 0.25 (since 1 MOA ≈ 0.25 inches at 25 yards).
- Multiply the MOA correction by 4 to simulate the adjustment needed for 100 yards, because 1 MOA at 100 yards equals about 1 inch.
Use ballistic data to confirm your elevation correction, which is typically around 0.75 inches low at 25 yards. Then, adjust your scope turret accordingly.
This way, you keep your zero accurate for 100 yards without any guesswork.
Translating Inches To Clicks
Once you know how far your bullet lands from the point of aim at 25 yards and have converted that to MOA, the next step is turning those measurements into scope clicks. Each MOA click on your scope moves the impact about 0.25 inches at 100 yards but only 0.063 inches at 25 yards.
Since 25 yards is one-quarter of 100 yards, the impact deviation there is magnified four times when scaled up. To adjust correctly, multiply your 25-yard deviation in inches by 4 to get the MOA correction needed for 100 yards.
For example, a 1-inch shift at 25 yards equals roughly 4 MOA, or 16 clicks on a 1/4 MOA-per-click scope. This ensures your scope adjustments accurately reflect real-world impact shifts.
Making Precise Scope Changes
Although it might seem tricky at first, making precise scope changes comes down to accurately translating your bullet’s impact deviation at 25 yards into the correct number of scope clicks.
Since each MOA click moves impact about 0.0625 inches at 25 yards (compared to 0.25 inches at 100 yards), you’ll need more clicks for the same adjustment.
Here’s how to adjust effectively:
- Measure the vertical deviation of your bullet’s impact at 25 yards in inches.
- Multiply that deviation by four to convert it into MOA clicks (since 1 MOA = 0.25 inches at 100 yards).
- Turn your scope’s elevation turret the calculated number of clicks in the opposite direction of the deviation (e.g., if low, adjust up).
Using these steps ensures your scope is dialed precisely for a 100-yard zero.
Repeat Shooting and Adjusting Until Bullet Holes Align
When you fire a group of shots at 25 yards, pay close attention to where they hit on your target. For a 100-yard zero, your bullets should land about 0.75 inches low at this distance.
Adjust your scope’s elevation to move the bullet holes toward that 0.75-inch low mark, simulating the impact at 100 yards. After each adjustment, fire another group to check your progress.
Use a ballistic calculator to confirm that the 25-yard impact aligns with your specific load and scope height for a true 100-yard zero. Keep repeating this cycle of shooting and modifying until your bullet holes consistently hit the 0.75-inch low point.
This process ensures your rifle is accurately zeroed at 25 yards for reliable 100-yard shooting. Just take your time and adjust little by little.
Verify Your Zero at 100 Yards for Final Confirmation
To make sure your zero is accurate, you need to verify it at 100 yards by shooting a group and checking if the bullet impacts match your aiming point. This final step confirms that your 25-yard adjustments translate perfectly to real-world distances.
Here’s how to nail it:
- Shoot a group at 100 yards aiming precisely at the target’s center.
- Observe the impact points—if they’re off, adjust your scope accordingly.
- Repeat shooting and adjusting until the group centers on your point of aim.
Frequently Asked Questions
Where Should Bullets Hit at 25 Yards if Sighted for 100?
If your rifle’s sighted for 100 yards, your bullets should hit about 0.75 inches low at 25 yards. That slight drop simulates the proper zero, so you’ll be spot-on at the longer distance.
Does a 25 Yard Zero the Same as 100?
You might think zeroing at 25 yards equals 100 yards, but it doesn’t. Your bullet will hit lower at 100 yards, so you’ll need to adjust your scope to truly zero for that longer distance.
How Do I Zero My Rifle at 100 Yards?
To zero your rifle at 100 yards, set up a target, fire groups while aiming center, then adjust your scope based on where bullets hit. Repeat until your shots consistently land on your point of aim.
Is Zeroing at 25 Yards Good?
Zeroing at 25 yards is good for quick, initial setup and indoor ranges. You’ll need to adjust for bullet drop to match 100 yards, though, so don’t rely on it alone for long-distance accuracy.
Conclusion
Zeroing your rifle at 25 yards for a 100-yard zero might sound counterintuitive, but it actually saves time and ammo while ensuring accuracy. Many people think short-range zeroing is less reliable, but testing proves otherwise—it’s a practical method that aligns your point of impact precisely for longer distances.
By following the steps carefully, you’ll see that this approach works just as well as zeroing at longer ranges. It’s a smart way to make your shooting experience more efficient and effective. Give it a try, and you might find zeroing your rifle at 25 yards is a game-changer for getting that perfect 100-yard zero. This technique helps you save resources and get on target faster!