10 Steps to Zero Your Pistol’s Red Dot Sight
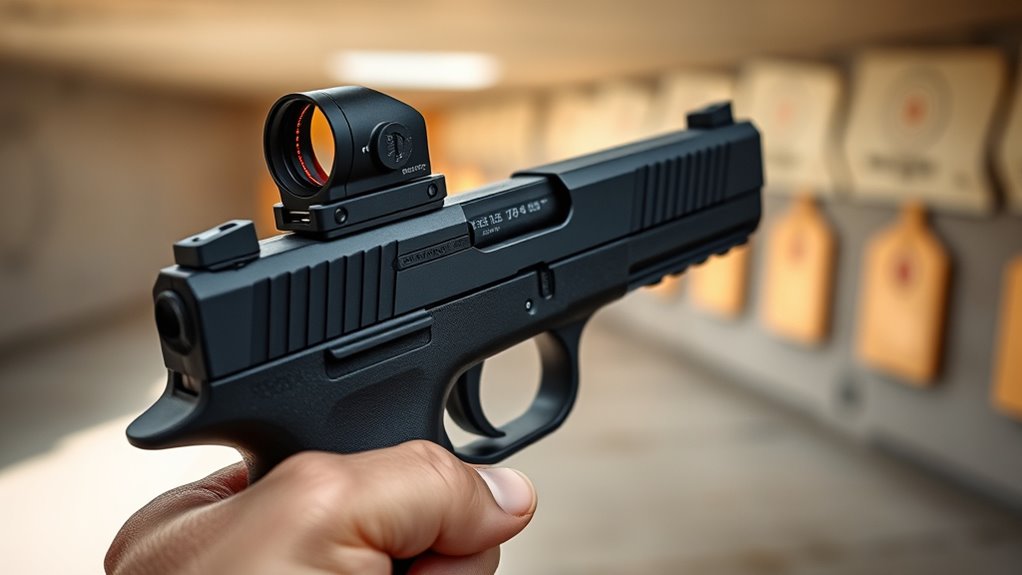
To zero your pistol’s red dot sight, start by securely mounting your pistol and settling on a practical zero distance like 10, 15, or 25 yards.
Zeroing your red dot sight is essential for accuracy and confidence when shooting. It ensures your point of aim matches where your shots actually land.
Fire controlled groups, then measure how far your shots land from your aim. Next, adjust elevation and windage accordingly.
This process helps dial in your sight for consistent accuracy.
Verify zero by firing additional groups and fine-tune as needed. Using the same ammo and stable support throughout will help maintain your accuracy.
Follow these steps, and you’ll quickly get on target with confidence—there’s more to master for perfect precision.
Key Takeaways
- Secure the pistol on a stable rest and ensure the red dot sight is firmly mounted and tightened. This keeps everything steady while you work on zeroing.
- Choose a practical zero distance, commonly 10, 15, or 25 yards. Pick the one that best fits your typical shooting scenarios.
- Fire initial groups and observe bullet impacts. Measure how far they deviate from the red dot’s point of aim.
- Adjust elevation and windage turrets incrementally using MOA calculations. This helps align your bullet impacts with the red dot.
- Verify your zero by firing multiple groups. Make fine adjustments until your shots consistently hit where you want.
What Zeroing Your Pistol Red Dot Sight Really Means
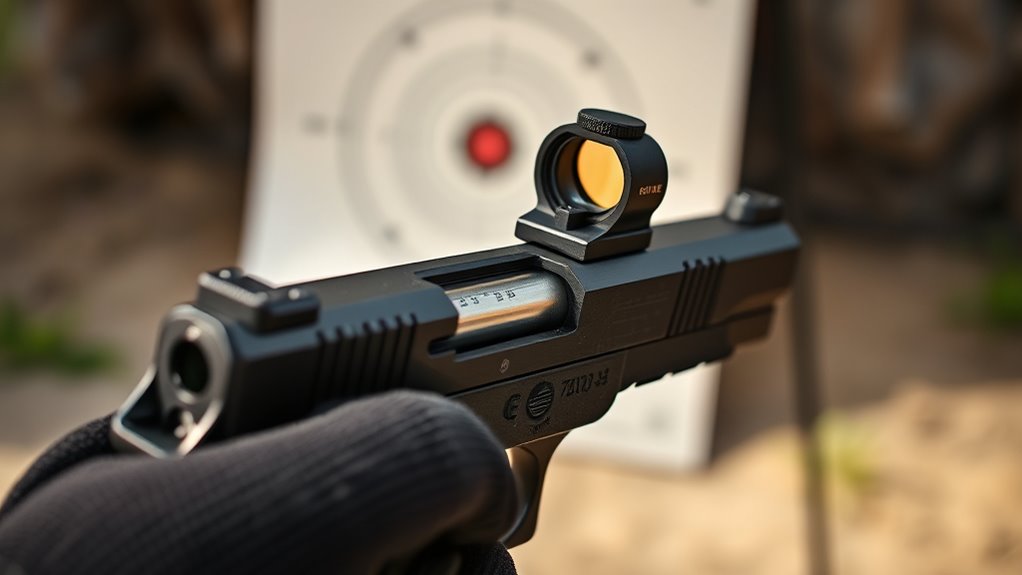
Zeroing your pistol’s red dot sight means adjusting it so the point of aim matches the bullet’s point of impact at a specific distance. When you zero your red dot sight, you’re fine-tuning the reticle’s elevation and windage settings, ensuring the bullet hits exactly where the red dot is placed.
To do this, you’ll fire groups, observe where the bullets land compared to your aim, and make precise adjustments. This process is essential because it guarantees that when the red dot is on your target, your shot placement is accurate.
Proper zeroing builds consistency and confidence, letting you trust your sight and shoot effectively. Whether you’re in self-defense situations or competitive shooting, having a correctly zeroed sight really makes a difference.
Why Choosing the Right Zero Distance Matters
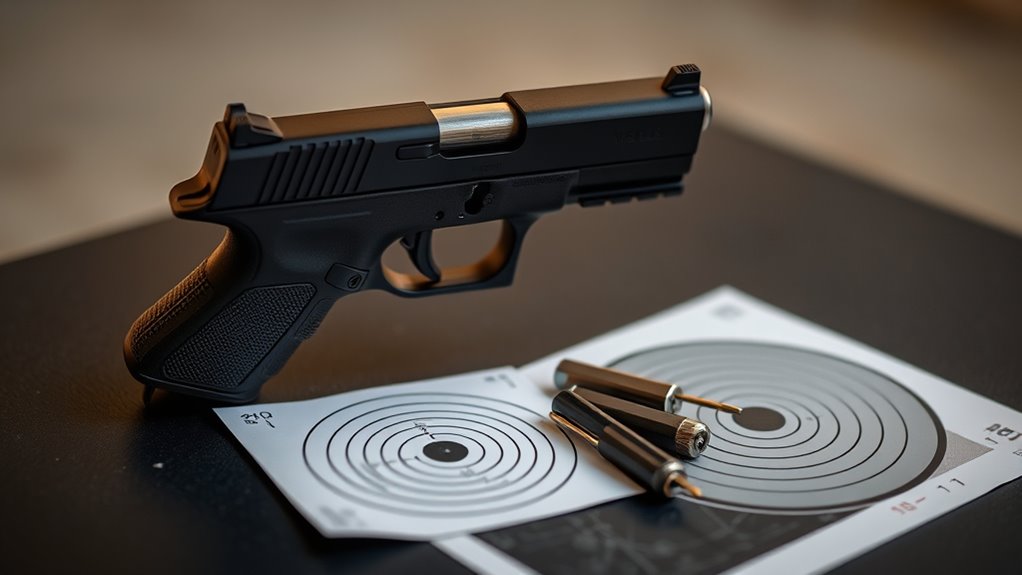
Choosing the right zero distance directly affects where your shots land, making accuracy easier at your typical range. You’ll want to pick a distance that matches how and where you usually shoot to get the best results.
Understanding this helps you zero your red dot sight more effectively for practical use. It’s all about making sure your shots hit where you expect them to.
Zero Distance Impact
Because your red dot sight’s alignment depends on a specific range, the zero distance you select directly affects where your shots land. The zero distance is the range at which your red dot’s point of aim and the bullet’s point of impact perfectly coincide.
Choosing the right zero distance guarantees your shots hit exactly where you aim. It reduces the need for holdovers or adjustments at other distances.
For pistols, common zero distances include 15 and 25 yards. Each influences the impact point differently because of bullet trajectory.
Picking the right zero distance really depends on your typical shooting scenarios. Get this right, and your pistol delivers consistent, accurate hits where you expect them—making your shooting more reliable and efficient.
Selecting Practical Ranges
When you pick the right zero distance for your pistol, you set yourself up for consistent accuracy that matches your shooting style and environment. Selecting practical ranges for zeroing your red dot sight means balancing ease of setup with real-world shooting needs.
Pistols often zero at 10 or 15 yards, offering quick verification and solid close-range accuracy. Longer zero distances reduce adjustments but need precise initial setup.
Use this guide to choose the zero distance that fits your firearm and use case:
| Zero Distance (yards) | Best For |
|---|---|
| 10 | Close quarters, quick zeroing |
| 15 | General pistol use |
| 25 | Rifles, extended range |
| Shorter Distances | Easier zeroing, less trajectory compensation |
| Longer Distances | Stable zero, less frequent adjustments |
Choosing wisely ensures your red dot sight matches your practical ranges perfectly.
Tools You Need to Zero Your Pistol’s Red Dot
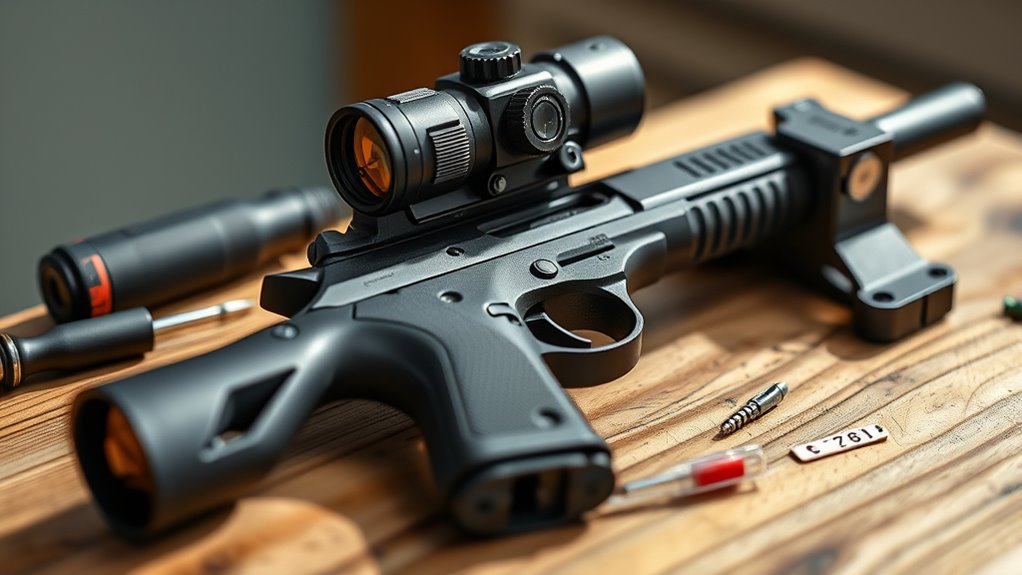
To zero your pistol’s red dot sight effectively, you’ll need a few essential tools that guarantee accuracy and stability throughout the process. Start with a stable mounting platform designed specifically for your pistol’s red dot to maintain consistent zeroing.
Use a bore sight or laser boresighter to align the red dot with the barrel before live firing. Make sure you have quality screwdrivers or wrenches to tighten mounting screws securely without damaging your sight or pistol.
For clear feedback, set up high-visibility targets or paper targets with precise markings to measure shot impacts accurately. Additionally, consistent ammunition or a chronograph helps assure reliable shot groupings, making your zeroing process more precise and efficient.
With these tools, you’ll confidently achieve an accurate zero. It’s really about setting yourself up for success with the right gear and a steady approach.
How to Secure Your Pistol for Accurate Zeroing
Securing your pistol properly is the first critical step to achieving an accurate zero with your red dot sight. You need to mount your pistol firmly on a stable rest, bipod, or sandbags to keep it steady. This prevents any movement that could compromise accuracy.
Always confirm the pistol is unloaded and safe before starting. Position it at your usual eye level and stance to maintain consistency. Double-check the red dot sight is tightly mounted to avoid shifts during the process.
| Step | Action | Purpose |
|---|---|---|
| Secure pistol | Use a stable rest or bipod | Keep pistol steady |
| Confirm safety | Ensure pistol is unloaded | Prevent accidents |
| Check red dot mount | Tighten screws | Maintain sight accuracy |
Step-by-Step: Firing Groups to Establish Your Zero
Before you start firing, make sure your pistol is firmly supported to minimize movement and guarantee consistent shot placement.
Begin the zeroing process by firing a 3-5 shot group at your chosen distance, aiming at a high-contrast target for easy visibility.
After each group, check where your shots hit compared to where you were aiming.
Use that info to adjust the red dot sight’s elevation and windage turrets. Move the reticle toward the impact location to bring your shots on target.
Keep firing groups and making small adjustments until your shots consistently land where you want them.
This step-by-step approach ensures a reliable zero and helps you confidently trust your red dot sight out in the field.
How to Measure Shot Impact and Calculate Adjustments
Once you’ve fired your shots, measure the distance between your point of aim and where the bullet actually hit. This difference is your impact deviation.
To calculate the MOA adjustment needed, use the formula: MOA adjustment = (impact deviation in inches) / (distance in yards / 100). For example, if your shot impact is 2 inches low at 25 yards, divide 2 by (25/100), which equals 8 MOA.
Calculate MOA adjustment by dividing impact deviation in inches by distance in yards divided by 100 for accuracy.
This tells you how many minutes of angle to adjust your red dot sight. By accurately measuring the shot impact relative to your point of aim and converting that to an MOA adjustment, you guarantee precise corrections.
This step is essential before making any elevation or windage changes on your sight.
Adjusting Elevation and Windage on Your Red Dot Sight
When you modify the elevation and windage on your red dot sight, you’ll align the reticle with where your shots actually hit. Elevation adjustment moves the reticle up or down, correcting vertical impact discrepancies.
Windage adjustment shifts it left or right, fixing horizontal deviations. Use the sight’s turrets or buttons, typically marked in MOA or clicks, to make precise zeroing changes.
Always adjust incrementally—usually one click at a time—and take test shots to verify each change. Check your manual to know how many clicks equal one MOA for accurate adjustments.
Confirming Your Zero With Additional Shot Groups
After your initial adjustments, fire a second group to verify your shots stay consistent with the point of aim. Measure each impact carefully and make small adjustments if needed to get on target.
Keep repeating this process until your zero is confirmed and stable. It might take a few tries, but staying patient will pay off.
Once you see your shots grouping where you want, you know your zero is locked in. That’s when you can confidently move on.
Verifying Group Consistency
Although you’ve completed your initial zeroing, you’ll want to fire a second group at the same target to verify that your shots consistently hit your intended point of aim. Carefully observe the impact points of this new group to guarantee they fall within an acceptable accuracy margin, usually 1 MOA or less.
If the group isn’t centered or shows deviation, you’ll need to make precise turret adjustments and fire again to confirm. Repeating this process helps you confirm your zero is stable and not influenced by shooter inconsistency or environmental factors.
When your groups consistently cluster with accurate impacts on target, you can trust that your red dot sight is properly zeroed and reliable for precise shooting every time.
Adjusting Based On Impact
To adjust your red dot sight based on impact, start by measuring how far your shots landed from your intended point of aim. Use these measurements to figure out how many clicks or MOA adjustments you need to make. This will help bring your point of impact closer to zero.
Make small, precise adjustments to your sight, then fire another group to see if the impact shifts accordingly. This process helps you fine-tune your zeroing by confirming whether your adjustments are working.
Keep repeating these steps—shoot additional groups and make incremental adjustments—until your shots consistently hit your intended point of aim. By methodically measuring and modifying based on impact, you ensure your red dot sight is accurately zeroed before moving on to final confirmation.
Confirming Final Zero
Once you’ve made your initial adjustments based on shot impact, it’s important to confirm your zero by firing additional groups at the same distance. Fire a new shot group to verify accuracy, ensuring the point of impact aligns with your point of aim.
Measure how the shots relate to the reticle, and make small tweaks if needed to refine your final zero. Use a stable shooting platform and proper target to produce consistent, repeatable shot groups.
Repeat this process until your shots consistently center around the reticle, confirming your red dot sight is properly zeroed. By confirming your zero with these additional shot groups, you guarantee reliable performance and confidence in your pistol’s red dot sight during actual use.
Fine-Tuning Zero Using Your Carry Ammunition
When you zero your pistol’s red dot sight, using the exact carry ammunition you plan to shoot with is essential. Different loads can alter the point of impact due to variations in bullet weight and velocity.
To zero your red dot accurately, use the same brand, grain weight, and lot number of carry ammunition you’ll rely on in the field. This consistency guarantees your zero remains true during real-world scenarios, maximizing accuracy.
Even slight differences in ammunition can cause minor shifts, so fine-tuning with your specific rounds helps maintain precision. Remember to periodically verify your zero if you switch ammunition types or brands, as this can affect your point of impact and overall shooting performance.
Troubleshooting Common Zeroing Problems and Mistakes
Fine-tuning your zero with the right carry ammunition sets a solid foundation. But you might still run into some common issues that throw off your adjustments.
Zeroing problems often come from unstable firearm support, mismatched ammo, or incorrect turret turns. So, always confirm which way your adjustments move the impact points.
Also, avoid over-tightening turrets. And don’t forget to double-check your measurements to prevent simple human errors.
| Issue | Solution |
|---|---|
| Unstable firearm | Use a stable rest or support |
| Mismatched ammunition | Use the exact ammo for zeroing |
| Incorrect turret turns | Confirm clockwise/counterclockwise |
| Misreading impact points | Double-check and record measurements |
Frequently Asked Questions
How Do I Zero My Pistol Red Dot?
You zero your pistol red dot by securely mounting it, shooting at a set distance, then adjusting the elevation and windage turrets until your shots align with the reticle. Confirm by firing another consistent group.
What Distance Should I Zero My Red Dot Pistol?
Wondering what distance to zero your red dot pistol? You should zero it at 25 yards for balanced accuracy, but if you’re focused on close defense, try 10 or 15 yards to speed up your target acquisition.
Do I Need to Zero a Red Dot Sight?
Yes, you do need to calibrate your red dot sight. Without calibration, your point of aim won’t match the impact, reducing accuracy. Zeroing ensures reliable, consistent shots whether for defense, competition, or casual shooting.
Can I Zero a Red Dot Without Going to a Range?
Yes, you can zero your red dot without a range by using a laser bore sighter and shooting at a close target indoors or in your backyard. Just adjust based on impact points and confirm with live fire when possible.
Conclusion
By following these steps, you’ll get your pistol’s red dot sight zeroed like a pro, ensuring every shot counts when it matters most. Remember, practice makes perfect, and patience is key—don’t rush the process or cut corners.
With the right zero, you’ll be hitting your target dead center every time. Keep refining your skills, and soon you’ll have this down cold, ready for any situation that comes your way.
Zeroing your pistol’s red dot sight is all about consistency and precision. The more you practice, the better your aim becomes, making your shots more reliable. Taking the time to properly zero your red dot sight means you can trust your pistol in critical moments, whether at the range or in the field.
Stay patient, keep practicing, and you’ll master the process of zeroing your pistol’s red dot sight, turning it into a powerful tool for accuracy and confidence every time you shoot.