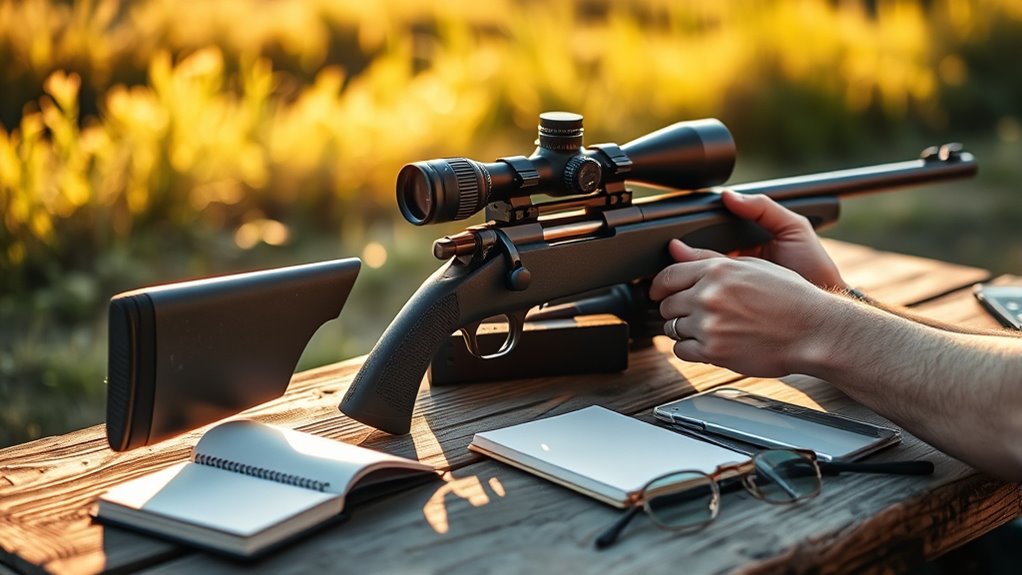
How to Use a Rifle Scope in 7 Easy Steps
Start by securely mounting and leveling your rifle scope using the right rings and applying the correct torque. This step is crucial for consistent accuracy and ensures your scope stays in place during shooting.
Once mounted, bore sight your scope to roughly align the reticle with your target before you begin firing.
Next, fire three-shot groups at 25-50 yards and adjust the turrets in ¼ MOA increments. Keep doing this until your shots are centered on the target. This method helps you get on paper quickly and saves ammo.
Now, find your ideal eye relief and focus by using the diopter adjustment. This gives you a sharp, clear view while maintaining a safe shooting distance.
Always remember to stabilize your rifle during shooting for the best consistency.
Finally, fine-tune your zero at 100 yards to perfect your setup. Keep checking and adjusting your scope regularly—mastering these steps will unlock your scope’s full potential and improve your shooting experience.
Key Takeaways
- Mount the scope securely on compatible rings and bases. Make sure it is level and torqued to the right specifications. This helps keep everything stable when you shoot.
- Adjust the eye relief to about 3-4 inches. Then, use the focus ring to sharpen the reticle so you get a clear sight picture. It’s important to see your target clearly.
- Use a laser bore sighter to roughly align the scope before live firing. Start at 25-50 yards to get on paper quickly. This saves time when you move to actual shooting.
- Fire three-shot groups at 100 yards. Measure where the bullets hit and adjust the turrets in ¼ MOA increments. Keep adjusting until you get a precise zero.
- Always maintain a consistent shooting position. Also, regularly check the scope mounting and zero, especially after handling the rifle or when environmental conditions change. This keeps your accuracy reliable.
Install Your Rifle Scope for Accurate Alignment
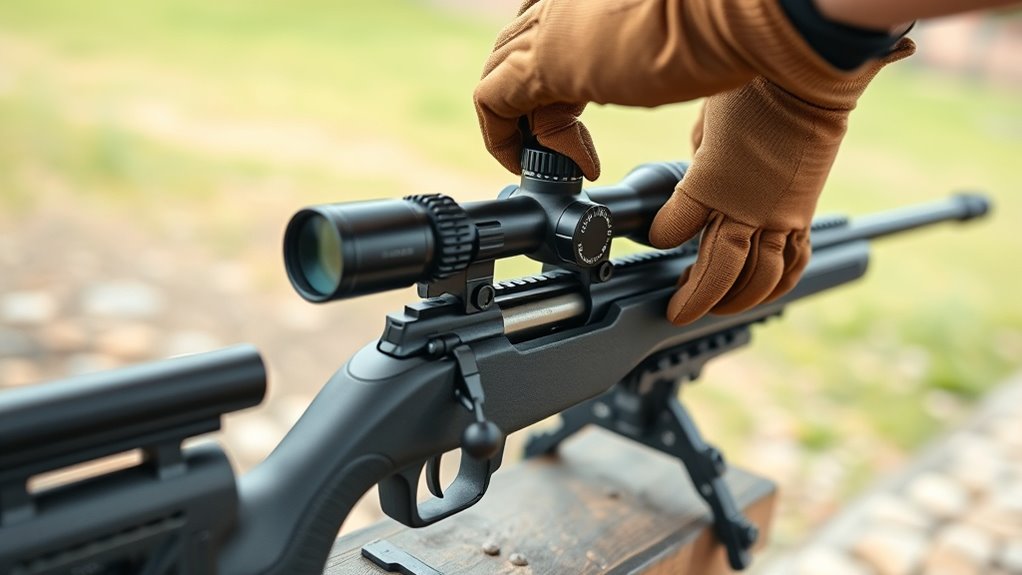
Before you install your rifle scope, make sure the mount and rings match your rifle’s mounting system, like Weaver or Picatinny rails. Start by verifying the compatibility of your scope mount and scope rings with the mounting system to guarantee a secure fit.
Clean the scope base and mounting surfaces thoroughly to prevent misalignment. Position the scope rings so they fit the diameter of your scope tube, minimizing any movement.
When attaching the scope mount and rings, use the correct torque specifications and a torque wrench to tighten screws evenly without over-tightening. Check that the scope is properly aligned and level before fully tightening all screws.
This careful attention to alignment and leveling helps maintain accuracy and a stable zero for your rifle scope. It’s worth taking your time here to get it just right.
Bore Sight Your Rifle Scope Before Shooting
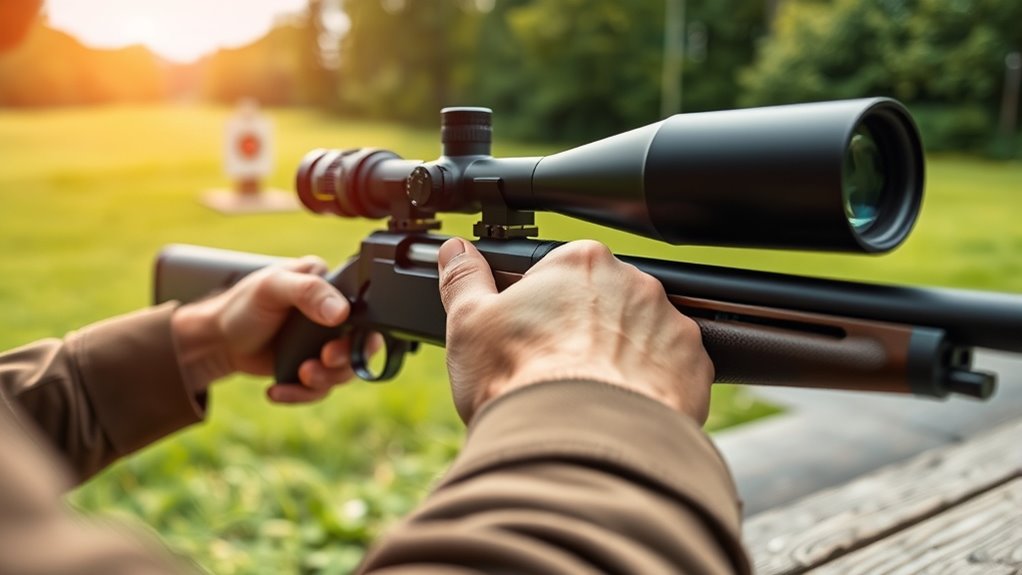
Once your rifle scope is securely mounted and perfectly aligned, the next step is to bore sight your rifle to get an initial zero. Start by inserting a laser bore sighter into the chamber or muzzle, which helps in aligning the scope’s reticle with the barrel’s bore.
Make sure your rifle is stable and properly supported to guarantee accuracy during this process. At a close range, typically 25 to 50 yards, adjust the windage and elevation knobs on your rifle scope so the reticle centers on the laser point.
Also, confirm the scope’s mounting is level to avoid canting errors. Bore sighting saves time by providing a rough zero before heading to the range for precise zeroing adjustments.
This step is vital for efficient and accurate aligning of your rifle scope. It really sets you up for success when you start shooting.
Adjust Eye Relief and Focus for a Clear View
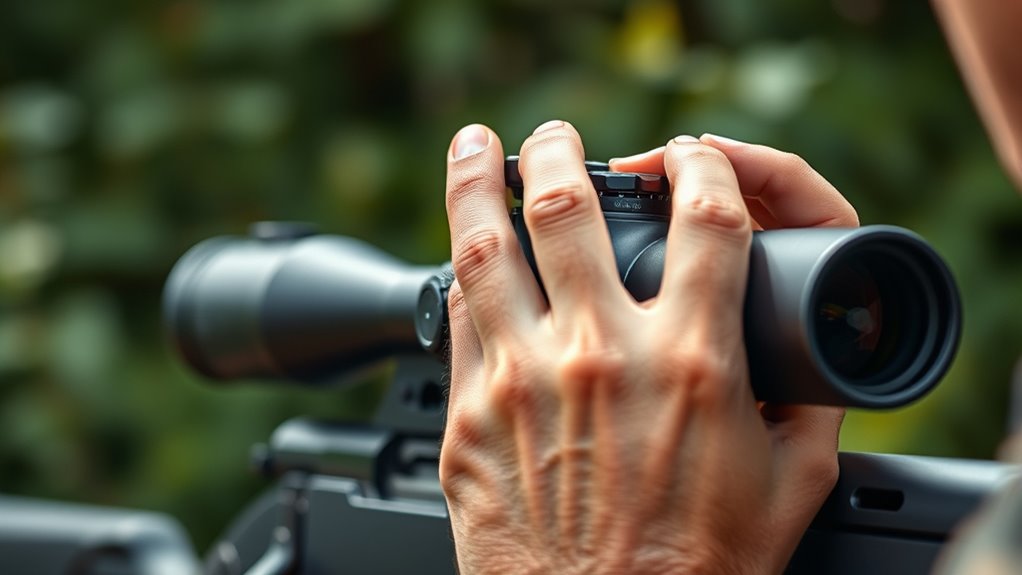
To get a clear view through your rifle scope, start by adjusting the diopter ring until the reticle looks sharp to your eye. Next, find the right eye relief by moving your head closer or farther until you see the full field without any shadowing.
Keeping a consistent eye position helps prevent scope bite and maintains clarity while shooting. It might take a bit of practice, but once you find that sweet spot, your shots will feel much more natural and accurate.
Adjusting Diopter Settings
Although many overlook it, adjusting the diopter on your rifle scope is essential for a sharp reticle and clear sight picture. Diopter adjustment fine-tunes reticle focus to match your individual eyesight, ensuring scope clarity without altering eye relief.
Rotate the diopter ring while looking at a distant target until the reticle sharpness is perfect. This focus adjustment reduces eye strain and delivers a precise sight picture for accurate shooting.
After setting, slightly shift your eye to confirm the reticle remains sharp.
| Step | Action |
|---|---|
| 1 | Look through the scope |
| 2 | Rotate diopter ring slowly |
| 3 | Achieve a sharp image on reticle |
| 4 | Confirm reticle focus is stable |
| 5 | Lock in diopter adjustment |
Optimizing Eye Relief
When you adjust your eye relief properly, you’ll guarantee a full, unobstructed view through your rifle scope while preventing scope bite during recoil. Start by fine-tuning your eye relief to maintain the ideal 3-4 inch distance from your eye, ensuring proper positioning behind the scope.
Use the scope’s focus ring to sharpen the reticle focus independently, enhancing visual clarity. After every scope adjustment or change in shooting position, recheck both eye relief and reticle focus to maintain consistent scope alignment.
Eye relief enhancement not only improves your sight picture but also contributes to recoil safety by keeping your eye at a safe distance. So, staying mindful of these steps ensures clear shots and reliable performance every time you use your rifle scope.
Preventing Scope Bite
Since recoil can cause serious injury if your eye is too close to the scope, you need to adjust your eye relief carefully. Keep a safe distance of about 3-4 inches behind the ocular lens.
To prevent scope bite, follow these key steps:
- Mount the scope securely and set initial eye relief to maintain proper positioning. This helps keep everything steady and safe.
- Position your eye correctly, making sure you have consistent eye placement behind the ocular lens. It makes a big difference for comfort and safety.
- Use the focus ring (diopter adjustment) to sharpen the reticle. This gives you a clear sight picture every time.
- Regularly check and readjust eye relief and focus after any scope adjustment. It’s important to keep things safe and precise.
Stabilize Your Rifle and Scope for Steady Shots
To get steady shots, you need to stabilize both your rifle and scope effectively. Start by choosing a solid shooting position, ideally using a shooting bench or bipod for steady support. These tools help minimize movement and improve aim stability.
Secure the rifle with a stable mount or sandbags to absorb recoil and maintain consistent positioning. Grip your rifle firmly but stay relaxed to reduce sway while aiming.
Consistency in your shooting position and stance is essential to stabilize your shots. Also, control your breathing to avoid involuntary movement.
Fire and Adjust Three-Shot Groups to Zero Your Scope
Start by firing a three-shot group at your target while keeping the rifle steady. Measure how far the shots land from the center.
Then, adjust your scope’s turrets accordingly. It might take a few tries, but keep at it.
Repeat this process until your shots consistently hit the bullseye. You’ll get the hang of it in no time.
Firing Three-Shot Groups
How do you guarantee your rifle scope is accurately zeroed? Begin by firing a three-shot group from a stable shooting position at your target. This initial group helps you assess your current scope zero.
Follow these steps to refine your sighting: Fire a three-shot group aiming at the point of aim. Then, measure the distance between the group’s center and the bullseye to determine scope adjustments.
Next, adjust your scope turrets in precise increments, usually ¼ MOA, based on the measured impact deviation. After that, fire another three-shot group to verify if your shots now hit closer to the target’s center.
Repeat this process until you consistently achieve precision and confirm your scope zero. This method ensures your scope is sighted correctly for reliable target shooting.
Measuring Group Accuracy
When you fire a three-shot group at your target, you’ll get a clear picture of how accurately your rifle is zeroed. Carefully examine the impact points on the target, noting their position relative to the bullseye.
Use a ruler or your scope’s reticle to measure accuracy in MOA or mils, identifying any deviations from the center. This measurement tells you how far off your shots are and in which direction.
To zero your scope, you’ll need to adjust it based on these deviations, aiming to bring the group closer to the bullseye. Then, repeat firing and measuring three-shot groups, making adjustments as needed until your shots consistently hit the target’s center.
It’s a good idea to record your adjustments so you can maintain your zero for future sessions. That way, you won’t have to start from scratch each time you go out shooting.
Adjusting Scope Turrets
Once you’ve measured your group accuracy and identified how far your shots stray from the bullseye, it’s time to modify your scope turrets. Begin zeroing your scope by firing a three-shot group and noting the impact points.
Use these steps for precise scope calibration:
- Turn the elevation turret to move impacts up or down.
- Adjust the windage turret to shift shots left or right.
Make small adjustment increments, usually ¼ MOA per click, to avoid overshooting.
Fire another three-shot group after each adjustment to check if your shots move closer to center.
Repeat fine-tuning until your group consistently hits near the bullseye. This method ensures accurate target shooting and reliable zeroing through careful use of scope turrets.
Fine-Tune Your Scope Zero at 100 Yards
Although zeroing your scope starts with rough adjustments, fine-tuning at 100 yards guarantees your shots land exactly where you want them.
Begin by firing a three-shot group and carefully observe the impact points on your target. Use your scope’s turret adjustments, typically in ¼ MOA increments, to shift the point of impact closer to the bullseye.
Small, consistent scope adjustments—like four clicks—usually move the impact about an inch at 100 yards. After each adjustment, fire another three-shot group to confirm your calibration.
Repeat this sighting process until your shots consistently align with your desired point of aim. This methodical approach to zeroing at 100 yards ensures your scope zero is accurate, improving both precision and confidence in the field.
Maintain Your Zero and Troubleshoot Common Issues
To keep your scope zero reliable, you’ll want to regularly test your groups at the zero distance, especially after transporting your rifle or subjecting it to rough handling. Maintaining scope stability is key to consistent shot groups and accurate scope alignment.
Regularly test your scope zero after transport or rough handling to ensure consistent accuracy and alignment.
For effective troubleshooting, start by checking your scope mounting and scope rings for looseness or damage. Tighten screws to the recommended torque if needed.
Next, cycle the scope adjustments fully to make sure the reticle moves. If there’s no movement, that might mean the scope is damaged.
Be sure to re-zero your scope after any environmental changes or if you notice shifts in shot placement. This helps keep your shots accurate.
Also, inspect for any shifting after rough handling to maintain your zero and prevent accuracy loss.
Frequently Asked Questions
Which Way Do I Turn the Knobs on My Scope?
You turn the elevation knob clockwise to raise your shot and counterclockwise to lower it. For windage, turn clockwise to move right and counterclockwise to move left. Always adjust slowly and verify your impact.
Do You Chase the Bullet When Sighting in a Rifle Scope?
Imagine trying to catch a bouncing ball—you don’t chase every bounce. No, you wait, predict, and move steadily. So, no, you don’t chase the bullet; you make careful, measured adjustments based on groupings instead.
How Do I Dial in a Rifle Scope?
To dial in your rifle scope, shoot groups at a set distance, then adjust the turrets for elevation and windage based on where shots land. Repeat until your point of aim and impact match perfectly.
How Does a Rifle Scope Work?
A rifle scope magnifies your target and uses a reticle for precise aiming. You adjust windage and elevation to align the reticle with your bullet’s impact, helping you shoot accurately over different distances.
Conclusion
Mastering your rifle scope isn’t just about hitting the target—it’s practically a superpower. By installing, bore sighting, adjusting, stabilizing, and fine-tuning your scope with precision, you transform into an unstoppable marksman.
Each step brings you closer to perfection, turning every shot into a masterpiece. Keep maintaining your zero, and you’ll never miss, even if the target was shrinking or dancing.
With these skills, you’re basically a sharpshooting legend in the making! Learning how to use a rifle scope properly makes all the difference in accuracy and consistency. So, follow these steps carefully, and soon you’ll be hitting your target like a pro every single time.