How to Sight a Rifle in 5 Easy Steps
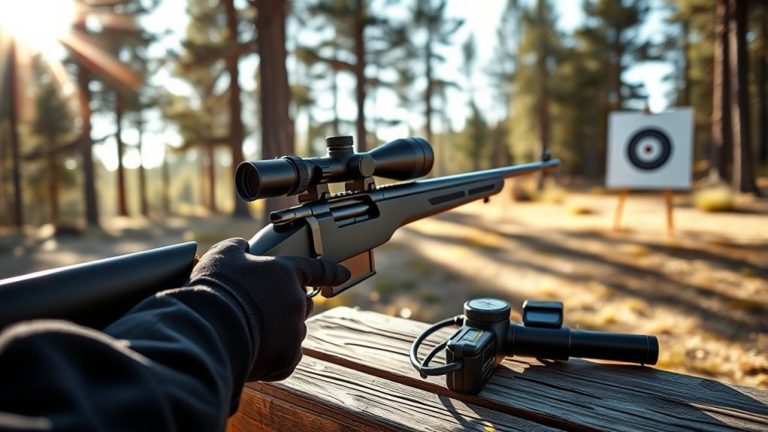
To sight your rifle in five easy steps, start by choosing a safe shooting location with a solid backstop and open lanes. This is crucial for safety and accuracy when sighting in your rifle.
Next, get your rifle and gear ready, making sure your scope is securely mounted and you’re using the ammo you plan to hunt or shoot with.
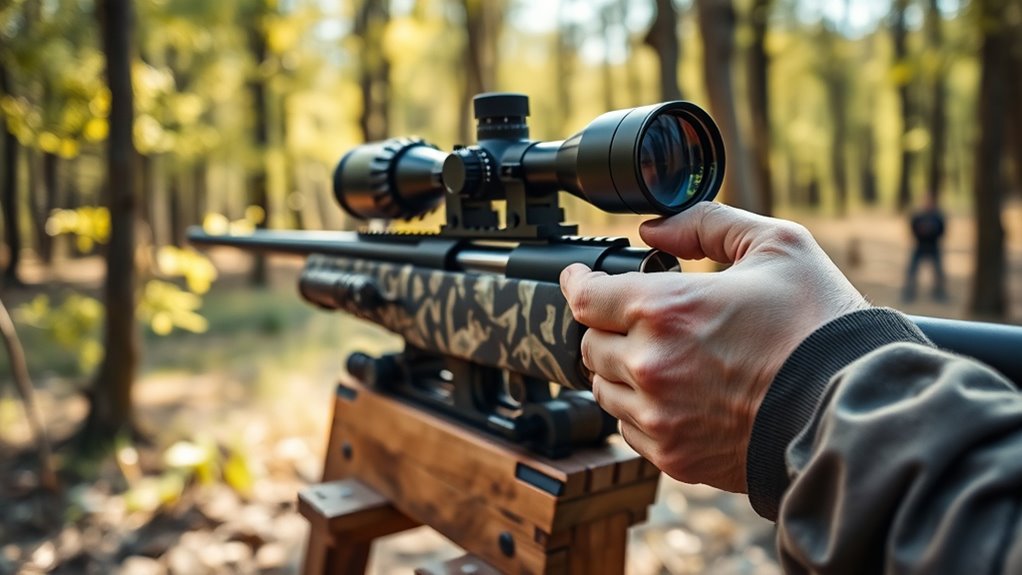
Set up a stable shooting position using rests or sandbags to keep your shots consistent. This helps you get accurate adjustments on your scope without any wobble or movement.
Begin by shooting at 25 yards to make your initial scope adjustments, then move back to 50 yards for further fine-tuning.
Finally, confirm your zero at 100 yards to ensure your rifle is accurately sighted for typical shooting distances.
Master these basics, and you’ll be well on your way to fine-tuning your shooting skills and getting the most out of your rifle.
Key Takeaways
- Choose a safe shooting location with a secure backstop and clear lanes at various distances.
- Secure the rifle on a stable rest and use the same ammunition intended for hunting.
- Position yourself comfortably with a steady stance, firm cheek weld, and controlled breathing.
- Fire three rounds at 25 yards, adjust scope based on group placement, then repeat at 50 yards.
- Confirm zero at 100 yards using a stable rest, and practice shooting from different field positions.
It’s really about taking your time and making sure everything feels steady. Once you get the hang of it, sighting your rifle becomes second nature!
Select a Safe Shooting Location
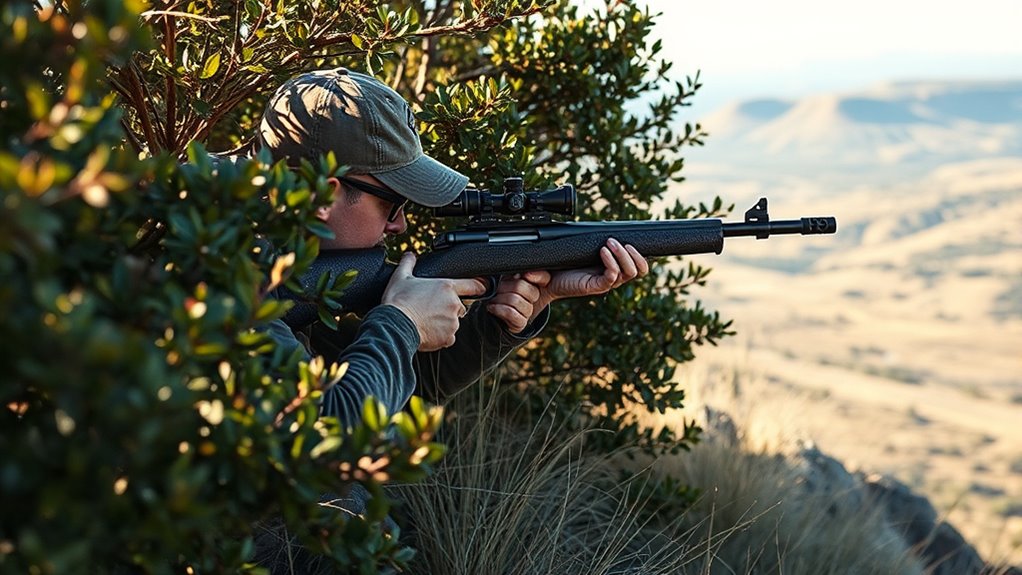
Before you begin sighting your rifle, make sure you choose a shooting range with a secure backstop that can safely stop bullets and prevent ricochets. Prioritize safety by selecting a range that complies with local regulations and offers designated shooting lanes to keep everything organized and controlled.
Check the area to ensure it’s clear of people, animals, and any obstructions that could compromise safety. You want to be sure no one is wandering into your line of fire.
Opt for a location with sufficient space at various distances, like 25, 50, and 100 yards, so you can zero your rifle effectively. For stability, use a flat, stable surface such as a bench or shooting table, and set up a sturdy rest or bipod.
This setup helps maintain consistent aim, making your sighting process safer and more accurate. It really makes a difference when you’re trying to get those precise shots down range.
Prepare Your Rifle and Equipment for Sight-In
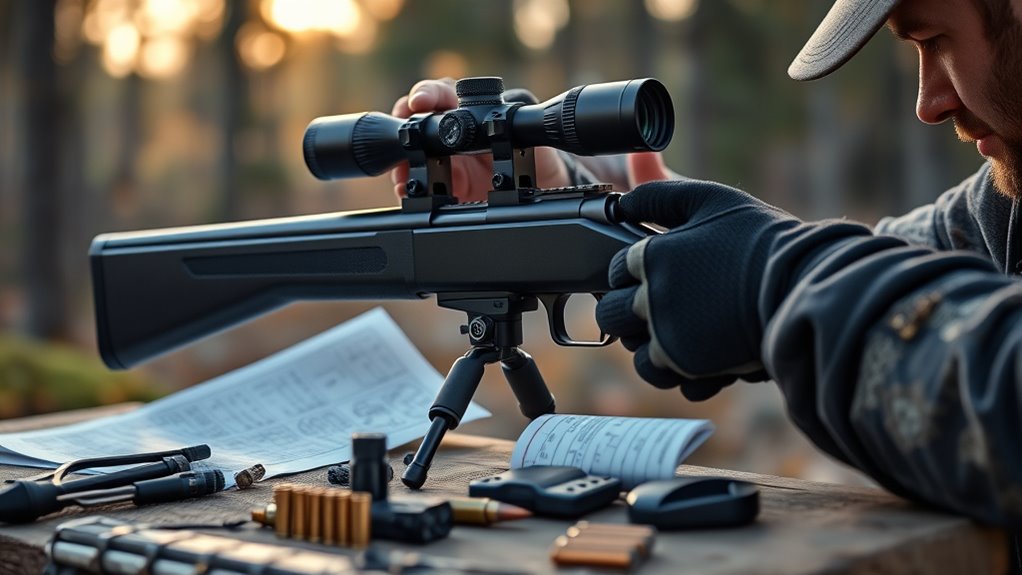
When you prepare your rifle and equipment for sight-in, securing the rifle on a stable rest or sandbags is essential. This helps reduce movement and keeps your aim consistent.
First, make sure your scope is properly mounted. Check that all screws are tightened and the optics are clean for clear visibility.
Use the same ammunition you plan to hunt with to ensure accurate results. It’s also a good idea to bring multiple brands or loads to test for the best consistency.
Don’t forget to wear ear protection and safety glasses before you start shooting. Safety first, always.
Finally, confirm your shooting area has a safe backstop to prevent ricochets. Following these steps guarantees your rifle’s stability and readiness.
This creates the ideal conditions for an effective and precise sight-in process.
Set Up a Stable Shooting Position for Consistent Groups
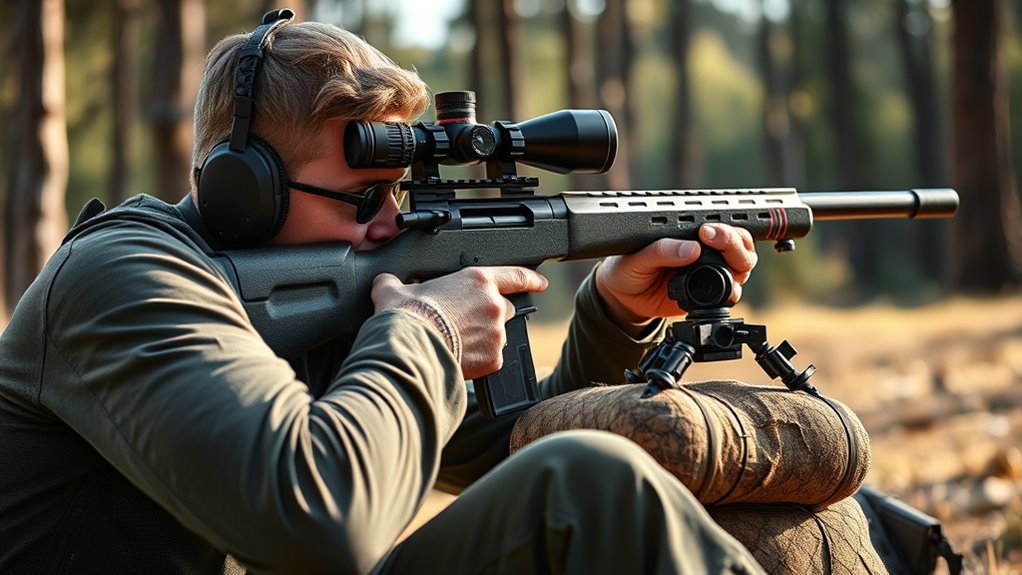
Securing your rifle on a stable rest lays the groundwork, but setting up a solid shooting position guarantees your shots stay consistent. Start by choosing a comfortable, stable stance that aligns your body naturally with the rifle.
Use an adjustable shooting rest like a bipod or sandbags to minimize movement during each shot. Rest your elbows on the bench to steady your upper body and reduce sway.
Keep your cheek firmly against the stock to maintain consistent eye-to-scope alignment, ensuring every shot lines up the same way. Control your breathing and apply a smooth trigger squeeze to avoid disturbing your stance or alignment.
Shoot at 25 and 50 Yards to Make Initial Adjustments
Once you’ve established a stable shooting position, start by firing three rounds at a 25-yard target to get your preliminary zero. Use a rest or bipod to reduce human error and guarantee consistent shots on paper.
After your first shots, remove the scope caps to clearly see your group and assess where the rounds hit relative to your aiming point. Adjust your scope based on the group’s placement, multiplying the correction clicks by four to translate adjustments accurately at this distance.
Once you’re satisfied with your group at 25 yards, move the target out to 50 yards to continue fine-tuning. This step helps you sight in your rifle more precisely before confirming your zero at longer ranges.
Confirm Your Zero at 100 Yards and Practice Field Techniques
Although you’ve made adjustments at shorter distances, confirming your zero at 100 yards ensures your rifle’s impact matches your point of aim under typical shooting conditions. Use a stable rest like a Bog Pod Death Grip to maintain accuracy while adjusting your scope.
Once zeroed, practice field techniques by shooting from seated, prone, and standing positions to simulate real hunting scenarios. Control your breathing and trigger squeeze to improve shot consistency.
Remember to periodically verify your zero during field trips to account for environmental changes and maintain reliable accuracy. It really helps keep your shots true when it matters most.
Frequently Asked Questions
How to Quickly Sight in a Rifle?
You quickly sight in a rifle by bore sighting at 25 yards, firing small groups, and making precise scope adjustments. Then, move to 50 yards, refine your zero, and repeat until your shots hit the bullseye consistently.
What Distance Should You Start Sighting in a Rifle?
Start sighting your rifle at 25 yards, where the target’s details become clear but manageable. You’ll quickly spot major alignment issues, making precise adjustments easier before confidently stretching your aim to longer distances like 100 yards.
How to Shoot a Rifle Properly for Beginners?
You’ll want to grip the rifle steady, keep both eyes open, and focus on your target. Use a proper stance, control your breathing, and gently squeeze the trigger. Always prioritize safety and practice regularly for improvement.
Where Should My Sight Be on My Rifle?
Think of your sight as your eyes’ trusted compass—it should sit right above the barrel, aligned perfectly with your line of sight. This way, you’ll naturally see your target clearly and shoot accurately every time.
Conclusion
Now that you’ve learned how to sight your rifle in just five easy steps, are you ready to hit the mark with confidence?
By choosing a safe location, preparing your gear, and practicing at various distances, you’ll guarantee your shots are accurate and consistent.
Remember, sighting your rifle isn’t just about hitting targets—it’s about mastering your skill and staying safe. So, get out there and make every shot count!
Taking the time to properly sight your rifle ensures better accuracy and helps build your shooting confidence. With these simple steps, you’re well on your way to becoming a more skilled marksman.
Stay patient, stay safe, and keep practicing your rifle sighting techniques to improve your precision. Your dedication will pay off every time you take a shot!