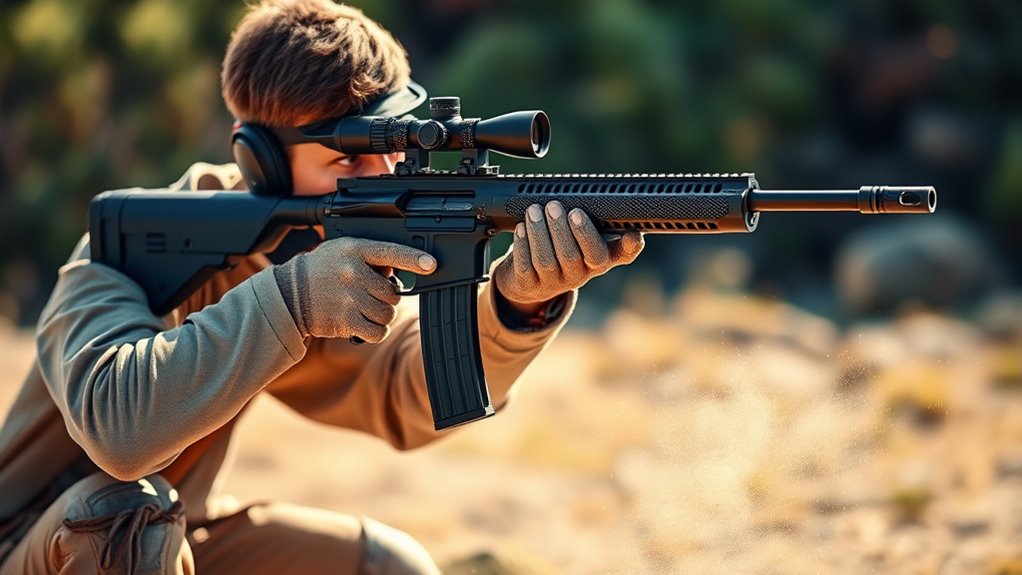
Shoot a Rifle in 7 Essential Steps
To shoot a rifle in seven essential steps, start by ensuring your rifle is safe—clear the chamber and engage the safety. This is the foundation of safe shooting and should never be skipped.
Next, stand with your feet shoulder-width apart for a stable stance.
Grip the rifle securely, and set a consistent cheek weld, making sure your sight alignment is spot on. It’s all about getting comfortable and steady.
Control your breathing before you take the shot; this helps keep your aim steady.
When you’re ready, apply smooth, steady pressure on the trigger without jerking it. Jerking can throw off your shot, so take it slow.
After the shot, hold your position to follow through.
Finally, evaluate your accuracy and make adjustments as needed.
Master these basics, and with practice, you’ll see your shooting skills improve quickly!
Key Takeaways
– Always confirm the rifle is unloaded and safety is engaged before handling.
Safety first, right? Always double-check before you do anything.
– Adopt a stable stance with feet shoulder-width apart and grip the rifle firmly.
This helps you stay steady and in control. A good grip makes all the difference.
– Achieve consistent cheek weld and align sights properly for accurate aiming.
Find that sweet spot where your cheek rests comfortably. Then line up your sights just right.
– Control breathing and apply smooth, steady pressure on the trigger to fire.
Take a deep breath, hold it, and gently squeeze the trigger. No sudden jerks!
– Maintain follow-through by holding the trigger and observing the shot’s impact.
Don’t rush to relax. Keep your aim and watch closely to see where your shot lands.
Check Rifle Safety: Clear Chamber and Engage Safety
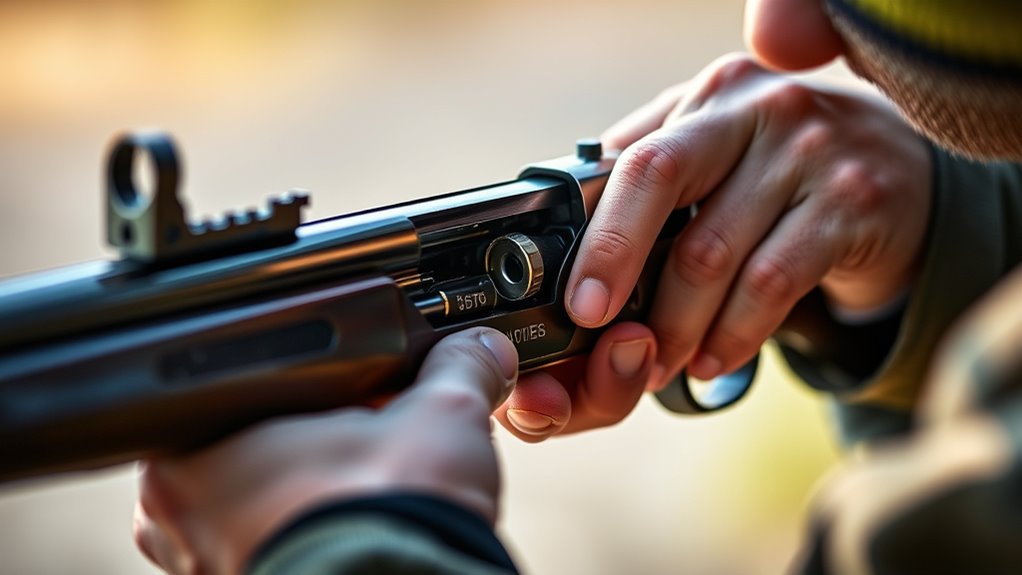
Before you handle your rifle, always point it in a safe direction, ideally downrange, and check that the chamber is empty by opening the bolt or action. During firearm inspection, visually confirm there’s no cartridge in the chamber and physically feel it to guarantee a clear chamber.
Don’t forget to check the magazine too, making sure it’s unloaded and free of rounds. Once you’ve verified the rifle is empty, engage safety to prevent any accidental discharge while handling.
This step is essential before moving forward with any shooting activity. By consistently performing these checks, you maintain control and safety, reducing the risk of mishaps.
Adopt a Stable Shooting Stance and Correct Rifle Grip
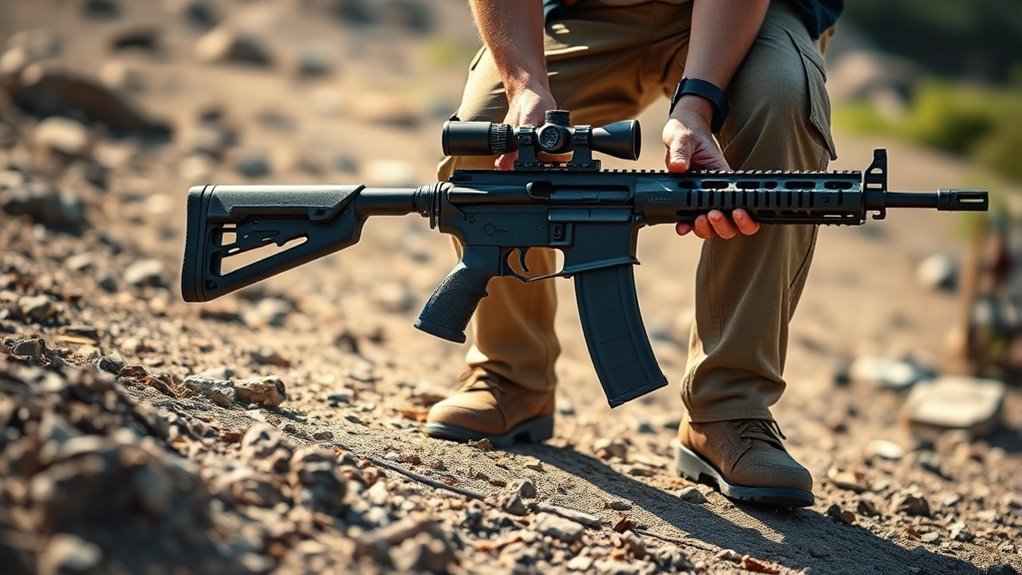
When you adopt a stable shooting stance, you position your feet shoulder-width apart with your strong side foot slightly back. This creates a balanced and athletic posture that supports accuracy.
This stance really enhances your stability, making it easier to manage recoil effectively. Your rifle grip plays a vital role too—grip the rifle high on the back strap if it has a pistol grip, placing your hand centered in the V between your thumb and index finger for maximum control.
Use your non-dominant hand to support the forestock or handguards about midway down the rifle. This boosts overall stability.
Keep your elbows close to your body to maintain control and reduce fatigue. Together, a solid shooting stance and correct rifle grip lay the foundation for consistent, accurate shooting.
Set Cheek Weld and Sight Alignment
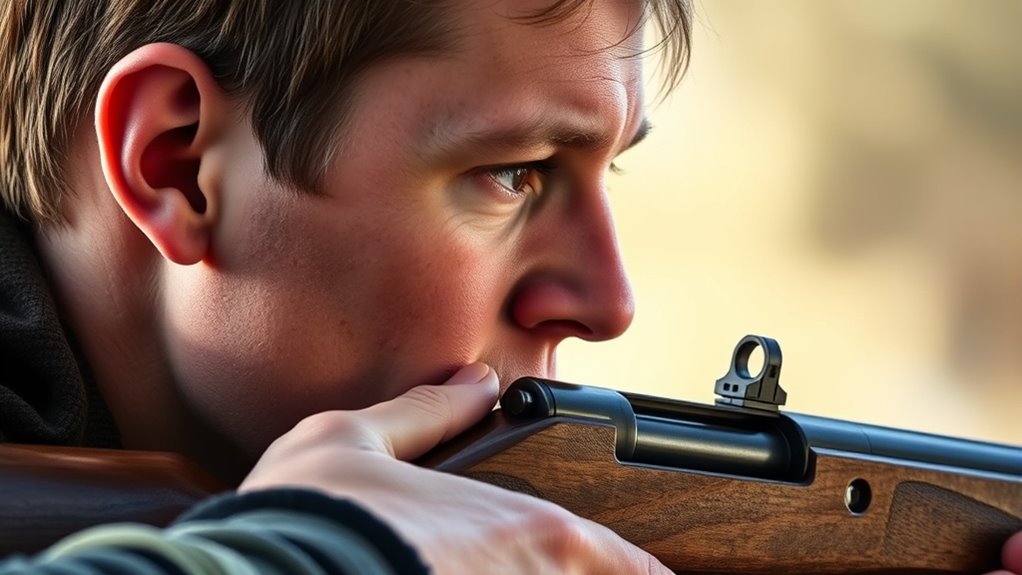
You’ll want to press your cheek firmly against the stock to create a consistent cheek weld. This helps align your eye perfectly with the sights for each shot.
Adjust your position until the front and rear sights are centered and clear without strain. It might take a little practice, but you’ll get the hang of it quickly.
Establish Consistent Cheek Weld
Although it might seem minor, establishing a consistent cheek weld plays a crucial role in your shooting accuracy. By pressing your cheek firmly and consistently against the stock, you create a stable shooting position that allows your eye to naturally line up with the sights or scope.
This consistent cheek weld ensures reliable sight alignment, so you get the same sight picture with every shot without straining or adjusting your head. To maintain this consistency, consider adjusting the stock or adding a raised cheek piece for better comfort and repeatability across sessions.
Align Eye With Sights
Pressing your cheek firmly against the stock sets the foundation for proper eye alignment with the sights. This cheek weld guarantees your eye is directly behind the rear sight, creating a clear sight picture.
Align the front sight centered and level within the rear sight notch for precise aiming. Keep your head natural to avoid strain, helping your eye naturally fall into place consistently.
A steady sight picture shot after shot builds muscle memory and accuracy. It’s all about making these steps feel natural so you can focus on the target, not your form.
| Step | Focus Area | Key Tip |
|---|---|---|
| 1 | Cheek Weld | Firm, consistent contact |
| 2 | Eye Position | Centered, unobstructed |
| 3 | Sight Alignment | Front sight centered & level |
| 4 | Head Position | Natural, relaxed |
| 5 | Sight Picture | Steady, repeatable |
Control Your Breathing and Focus on the Target
When you control your breathing, you steady your body and sharpen your focus on the target. Take slow, deep breaths and pause at the natural respiratory pause before aiming.
This controlled breathing helps relax your muscles, reducing tension that can cause shaky hands or a wandering sight picture. As you exhale gently and steadily, your body stabilizes, allowing for a steady aim.
Try to synchronize your shot with the end of your breath cycle when your body is most composed. Practicing these breathing techniques regularly develops a consistent rhythm, making it easier to focus on the target under pressure.
Press the Trigger Smoothly Without Jerking
Once your sights are aligned and your aim is steady, you want to apply gradual, consistent pressure to the trigger’s front without any sudden jerks or quick pulls. Start pressing the trigger slowly to avoid disturbing your shot, maintaining steady pressure until the shot fires.
This smooth “breaking” of the trigger helps develop a controlled squeeze, reducing shot variability. Keep your finger in contact with the trigger even during recoil to avoid shifting the rifle’s position.
Hold Steady and Follow Through After the Shot
Though the shot has fired, you need to keep your trigger pressed and maintain your cheek firmly on the stock. This helps prevent any movement that could mess up your aim. Proper trigger control during recoil stops your shot from going off course.
Hold steady and keep watching the sights as the rifle naturally settles—don’t drop it or reset the trigger right away. This follow-through builds muscle memory and makes your shots more consistent over time.
Also, remember to call the shot by thinking back to your sight picture when you fired. Doing this sharpens your awareness and helps you stay in control for your next shots.
Evaluate Your Shot and Adjust Accuracy
After each shot, call the shot by noting exactly where your bullet hit compared to your aim point. Factor in environmental conditions like wind and distance that might have shifted your bullet’s path.
Use this info to make precise adjustments and improve your accuracy on the next shot. It’s all about paying attention and tweaking as you go. You’ll get better with every shot!
Call The Shot
How do you know if your shot went exactly where you intended? You need to call the shot by mentally recalling the sight picture at the precise moment the rifle fires. Picture yourself taking a photo at the trigger break, capturing the alignment of your sights and your trigger control.
This mental snapshot helps you evaluate whether your aim and technique were consistent. Practicing calling the shot regularly sharpens your focus and discipline. It makes you more aware of subtle errors.
Adjust For Environment
Why does your shot sometimes stray even when your aim feels perfect? It’s often due to environmental conditions like wind, temperature, and humidity that subtly affect bullet trajectory.
To adjust for environment, start by evaluating these factors before you shoot. Use ballistic data—via charts or software—to predict how your bullet will behave at different ranges under current conditions.
Then, tweak your scope’s elevation and windage settings accordingly. Keep an eye on the target and surroundings; sudden gusts or mirages can shift your shot off target.
Regular practice in varied environments sharpens your ability to instinctively compensate. By understanding and adjusting for wind and other environmental influences, you’ll improve your accuracy and consistently place your shots where you intend.
Frequently Asked Questions
What Type of Rifle Is Best for Beginners?
You’ll want a .22 caliber rifle for beginners because it’s lightweight, has low recoil, and is easy to handle. This helps you build confidence and accuracy before moving on to more powerful rifles.
How Do I Clean and Maintain My Rifle?
You clean your rifle by disassembling it, using a bore brush and solvent to clean the barrel, wiping down parts with a cloth, applying lubricant to moving parts, then reassembling. Regular maintenance keeps it reliable and safe.
What Safety Gear Should I Wear While Shooting?
You should wear safety glasses to protect your eyes and hearing protection like earplugs or earmuffs to prevent damage from noise. Also, wear comfortable clothing that covers your skin, and avoid loose items that could get caught.
Can I Shoot a Rifle Indoors Safely?
You can confidently choose to shoot a rifle indoors safely, but only within controlled conditions, proper ventilation, and certified shooting ranges. Always adhere to strict safety standards, wear the right gear, and never compromise on caution.
How Do Weather Conditions Affect Shooting Accuracy?
Weather conditions affect your shooting accuracy by altering bullet trajectory. Wind can push your shot off target, rain reduces visibility, and temperature changes affect bullet speed. You’ll need to adjust aim and timing accordingly to stay precise.
Conclusion
Shooting a rifle might seem straightforward, but it demands patience and precision—two qualities that often clash. While your heart races, you need calm; while your body wants to move, you must stay still.
Mastering these seven steps isn’t just about hitting a target; it’s about balancing control with instinct.
Remember, every shot is a lesson in focus and discipline, turning raw power into refined skill. Keep practicing, and you’ll find strength in stillness.
When you shoot a rifle, it’s really about more than just pulling the trigger. It’s about developing control, maintaining focus, and applying discipline every time you aim. With patience and practice, these essential steps will help you improve accuracy and confidence. So take your time, stay calm, and let your skills grow with each shot. That’s the key to becoming a better marksman.