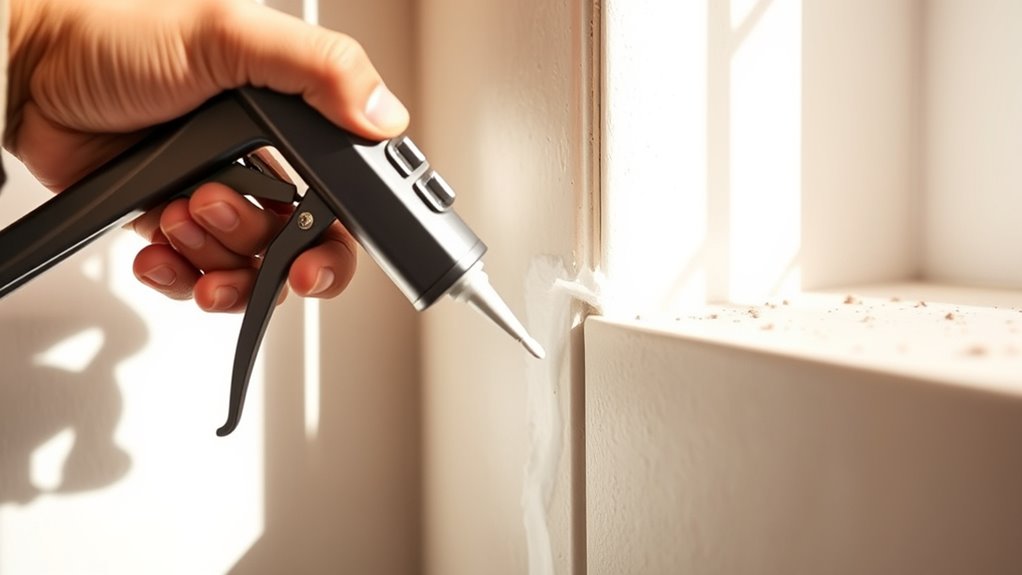
How to Use a Caulk Gun in 10 Easy Steps
Choose the right caulk for your surface to ensure a strong, lasting seal. Before you start, remove any old caulk and clean the area thoroughly so the new caulk sticks well.
Next, cut the caulk tube tip at a 45° angle and pierce the inner seal to prepare it for use. Load the tube into the caulk gun, then test the flow on scrap material to avoid any mess.
When you’re ready, apply the caulk evenly using steady pressure and a smooth motion. Take your time—this helps create a clean, professional look.
Finally, smooth the bead with your finger or a caulk tool for a neat finish. Don’t forget to seal leftover caulk properly for storage, so it stays fresh for next time.
Follow these simple steps, and you’ll master how to use a caulk gun quickly and easily!
Key Takeaways
- Cut the caulk tube tip at a 45-degree angle and pierce the inner seal before loading it into the gun.
- Fully retract the plunger, insert the cartridge, and squeeze the trigger gradually to control caulk flow.
- Test the caulk flow on scrap material to adjust nozzle size and trigger pressure for smooth application.
- Apply caulk steadily at a 45-degree angle, maintaining consistent pressure and a 1/8 inch distance from the surface.
- Smooth the bead immediately with a damp tool or finger, then seal and store leftover caulk properly.
Choose the Right Caulk for Your Project
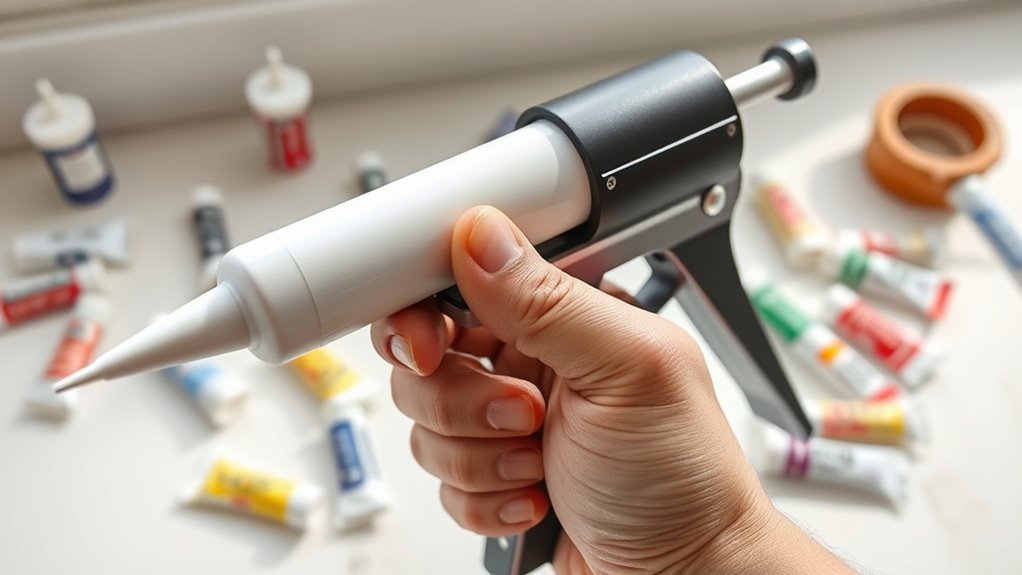
How do you pick the right caulk for your project? Start by thinking about where you’ll be caulking. For moisture-prone areas like bathrooms or kitchens, silicone caulk is your best bet since it resists water and stays flexible longer.
If you’re working on less damp surfaces like baseboards or crown molding, latex caulk works well and is easier to paint over. Match the caulk to the surface too—use acrylic latex for drywall and wood, and silicone for glass or metal.
Also, check the product label to make sure the caulk suits indoor or outdoor use. This is especially important if you need UV resistance or weatherproofing.
Once you’ve chosen, load your caulk gun properly to get a clean, precise bead every time. It makes a big difference in the final look!
Remove Old Caulk and Clean the Surface Thoroughly
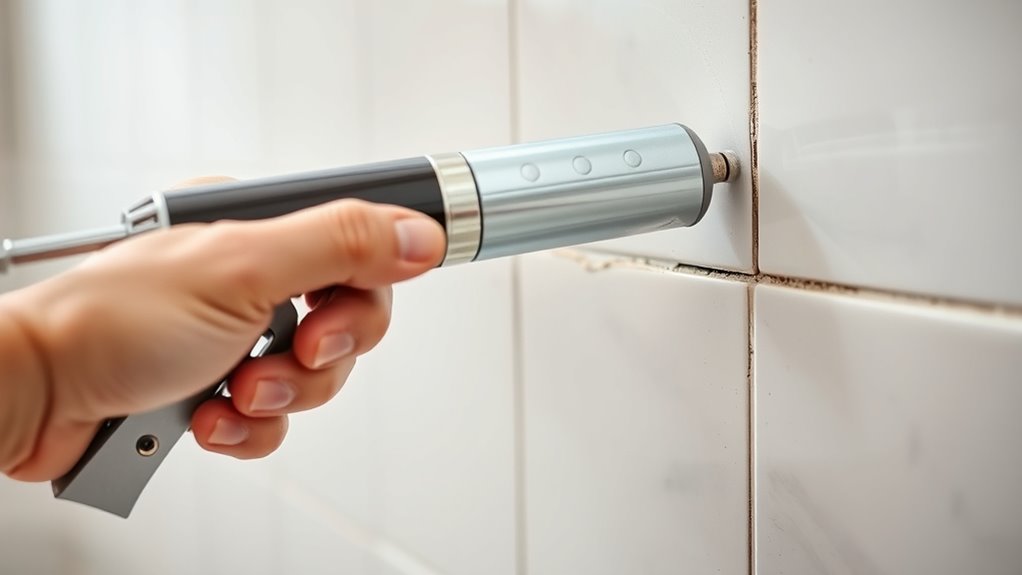
Start by carefully scraping away the old caulk using a scraping tool, applying steady pressure to avoid damaging the surface. If the caulk is stubborn, use a caulk remover or debonding spray to loosen it before scraping.
Once removed, clean the area thoroughly with rubbing alcohol and a bleach solution. Then rinse and dry completely to guarantee proper adhesion for the new caulk.
Old Caulk Removal
Before you apply new caulk, you’ll need to remove the old caulk and clean the surface thoroughly to guarantee proper adhesion. Start by using a utility knife or a caulk removal tool to carefully scrape away the old caulk.
Push the blade steadily at the base to avoid damaging the surface. If the caulk is stubborn, apply a caulk remover and let it sit as directed to loosen it up. Here’s how to get started:
- Score and scrape off old caulk with a utility knife or caulk removal tool.
- Apply caulk remover on tough spots, waiting for it to soften the material.
- Remove all residue before moving on to surface cleaning.
This assures a smooth, clean base for your new caulk to stick perfectly. Easy, right? Just take your time and you’ll have a great result!
Surface Cleaning Methods
Once you’ve removed the old caulk, clean the surface thoroughly to guarantee the new caulk adheres properly. Use a scraping tool or utility knife to push the blade steadily along the joint. For stubborn caulk, apply caulk remover or debonding spray first to loosen it.
Next, clean the surface with rubbing alcohol to eliminate residue. Follow this by washing with warm water mixed with diluted bleach to remove grime, mold, or mildew. Rinse well and dry completely to avoid trapping moisture.
| Step | Purpose |
|---|---|
| Scrape old caulk | Remove loose or thick caulk |
| Apply caulk remover | Loosen stubborn caulk |
| Clean with rubbing alcohol | Remove residue for adhesion |
| Wash with bleach solution | Remove mold and mildew |
Cut the Caulk Gun Tube Tip at a 45° Angle
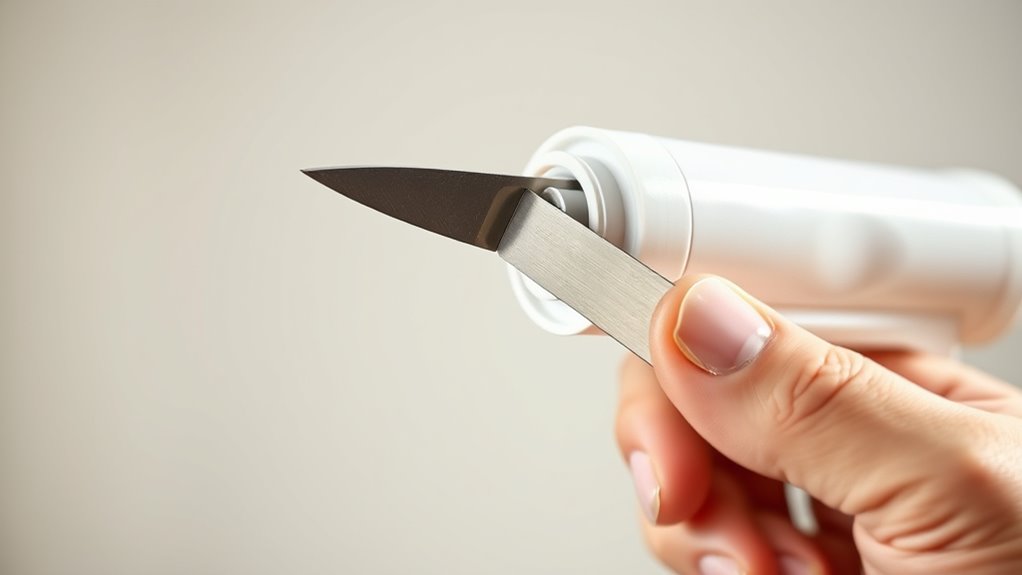
Although it might seem simple, cutting the caulk gun tube tip at a 45° angle gives you much better control over the sealant flow and results in a cleaner, more professional bead.
When using caulking guns, this angled cut lets you apply caulk precisely, especially in narrow or tight joints. Here’s how to do it right:
- Use sharp scissors or a utility knife to trim the caulk tube’s nozzle at a 45° angle before loading it.
- Start with a small cut to maintain control; you can always widen it if needed.
- Make certain the angled tip fits snugly into the joint for smooth, even flow.
This simple step improves application accuracy and helps you achieve a neat finish every time. Give it a try—you’ll see the difference!
Pierce the Inner Seal to Get Started
How do you get the caulk flowing smoothly after cutting the tip? You need to pierce the seal inside the nozzle. Most caulk guns have a built-in puncture tool; if not, use a pin.
Insert the tool into the small hole at the base of the nozzle and apply firm, steady pressure to pierce the seal without damaging the cartridge. Make sure the seal is fully pierced to guarantee an even flow of caulk during application.
After piercing, check the nozzle is clear and ready.
| Step | Tool Needed | Tip |
|---|---|---|
| Locate puncture hole | Built-in tool/pin | Found at nozzle base |
| Insert tool | Puncture tool/pin | Steady pressure, no damage |
| Pierce the seal | Caulk gun puncturer | Fully puncture for flow |
| Check nozzle | Visual inspection | No blockages or debris |
| Ready to apply | Caulk gun | Proceed to next step |
Load the Caulk Tube Into the Caulk Gun Correctly
After piercing the inner seal and confirming the nozzle is clear, you’re ready to load the caulk tube into the gun. To load the caulk tube into the caulk gun correctly, follow these steps:
Once the seal is pierced and nozzle cleared, it’s time to load the caulk tube into the gun properly.
- Press the release trigger to fully retract the plunger rod.
- Insert the caulk cartridge so the flat end rests against the push rod and the nozzle fits snugly at the front.
- Slowly squeeze the trigger to advance the plunger, ensuring the caulk flows smoothly from the nozzle.
Make sure the old caulk is removed and the surface is clean before loading. Also, cutting the tube tip at a 45-degree angle to match the joint size really helps control the flow.
Loading the tube correctly ensures an even application and prevents messes. It makes the whole job easier and cleaner.
Use Painter’s Tape for Clean, Crisp Edges
When you apply painter’s tape along the edges before caulking, you create clean, straight lines and prevent excess caulk from spreading onto nearby surfaces. To get the best results, press the painter’s tape firmly to avoid caulk seeping underneath and causing uneven edges.
Make sure to use painter’s tape designed for delicate surfaces to protect paint or finishes when you remove it. After you apply the caulk and smooth it out, remove the tape immediately while the caulk is still wet.
This step guarantees sharp, professional-looking edges. Using painter’s tape not only helps you apply the caulk precisely but also reduces cleanup time.
In the end, it gives your project a neat, crisp finish with minimal effort. It’s a simple trick that really makes a big difference!
Test Caulk Flow on Scrap Material
Before you start caulking, test the flow on scrap material like cardboard to see how the caulk dispenses. This helps you adjust the nozzle size and trigger pressure for a smooth, even bead.
Practicing on scrap guarantees cleaner results when you move to the actual surface. It’s a simple step that makes a big difference!
Purpose of Testing
Why test caulk flow on scrap material? Testing guarantees your caulk guns deliver the right bead size and pressure before you start the actual job. It helps you avoid mistakes that can waste time and materials.
When you test, you can adjust the nozzle cut and trigger pressure for a smooth, even application.
Here’s what testing accomplishes:
- Confirms consistent caulk flow without clogging or splattering.
- Helps you find the best speed and angle for applying caulk.
- Builds your control and confidence for a professional finish.
Selecting Scrap Material
How do you choose the right scrap material to test your caulk flow? Pick a piece of cardboard or scrap wood since they offer a firm surface to practice on.
Using your caulking gun, gently squeeze the trigger to apply a bead of caulk on the scrap. This test lets you see if the nozzle opening size produces the flow rate you want.
Watch the bead closely to confirm it’s smooth and consistent without excess overflow. Practicing on scrap also helps you feel how much pressure is needed to control the flow.
If the bead looks uneven or too thick, you can adjust the nozzle cut before working on your actual surface. Testing on scrap material ensures you get a clean, controlled application every time.
Adjusting Flow Rate
When should you adjust the flow rate on your caulk gun? You do it when testing the caulk flow on scrap material to ensure smooth application and avoid messes. Start by squeezing the trigger gently and observing the flow.
Next, adjust the cut size of the nozzle to control the amount of caulk dispensed. As you test, practice moving the gun steadily for consistent bead thickness.
Here’s how to fine-tune the flow rate:
- Squeeze the trigger lightly to check the initial flow without excess caulk spilling.
- Change the nozzle opening size—larger for wide joints, smaller for tight cracks.
- Move the gun steadily on scrap, ensuring an even bead and no gaps.
Use these tests to set comfortable trigger pressure and keep control during your project. It makes the job easier and your results neater.
Apply Caulk Evenly With Steady Pressure and Smooth Motion
Although applying caulk may seem straightforward, maintaining steady pressure and a smooth motion is key to achieving a clean, professional finish. After removing old caulk, position the gun at a consistent 45-degree angle.
Apply gentle, continuous pressure on the trigger to control the flow, avoiding over-application. Keep the gun about 1/8 inch from the surface as you move it steadily along the joint without stopping or pausing. This helps prevent uneven beads or gaps when applying caulk.
Smooth the Caulk Bead for a Professional Finish
Once you’ve applied the caulk, dampen your finger or a smoothing tool and gently press it against the bead to shape and seal the joint. Smoothing the caulk line is key to a professional finish, especially when doing manual caulking.
After applying caulk, gently smooth the bead with a damp finger or tool for a clean, professional finish.
Here’s how to perfect it:
- Run your finger or tool steadily along the caulk line, applying consistent pressure to fill gaps evenly.
- Remove excess caulk immediately with a damp cloth to keep edges sharp and clean.
- Work quickly—smooth the bead within 10 minutes before it starts to cure and harden.
Seal and Store Leftover Caulk to Keep It Fresh
To keep your leftover caulk fresh for future use, you need to seal the tube’s tip immediately after application. Use a nail, wire nut, or a compatible plug to seal the tip, preventing the caulk from drying out.
For an extra seal, cover the nozzle with painter’s tape or a plastic cap. Once sealed, store the tube upright in a cool, dry place to maintain moisture and avoid clogs.
Make sure the tube is tightly sealed before storing it to prevent contamination. Also, label the tube with the storage date so you can track its shelf life and know if it’s still usable.
Following these steps will help you keep your leftover caulk fresh and ready for your next project. It’s pretty simple, but it makes a big difference!
Frequently Asked Questions
How to Use a Caulk Gun for Beginners?
You start by loading the caulk tube, cutting the nozzle at an angle, then squeezing the trigger gently. Hold the gun steady at 45 degrees, apply consistent pressure, and smooth the bead for a clean finish.
How to Make a Caulk Gun Easier to Squeeze?
To make your caulk gun easier to squeeze, lubricate the trigger and moving parts, use a smooth or ratchet mechanism, adjust the thrust ratio, and guarantee the nozzle size matches your project. Practice steady, gentle pressure for less fatigue.
Do You Push or Pull a Caulk Gun?
You push a caulk gun forward while squeezing the trigger to apply sealant smoothly. Pulling it backward can cause gaps and uneven application, so keep a steady forward motion for the best, most consistent results.
How to Caulk Step by Step?
Measure twice, cut once. You’ll cut the nozzle, puncture the seal, then hold the gun at 45 degrees. Squeeze steadily, moving smoothly along the joint. Finally, smooth the bead with your finger or a tool.
Conclusion
You’re now officially armed with a caulk gun and the know-how to use it like a pro. Who knew squeezing out a sticky tube could feel so empowering?
Just remember, if your first bead looks more like a wobbly snake than a smooth line, you’re in great company. With practice, you’ll turn those messy blobs into flawless seals.
Because nothing says “adulting” like mastering the art of caulking! Using a caulk gun might seem tricky at first, but with these easy steps and a bit of patience, you’ll create clean, professional-looking results every time. So grab your caulk gun, follow the simple tips, and soon sealing gaps and cracks will become second nature. Trust me, once you get the hang of caulking, you’ll wonder how you ever lived without this handy skill!