How Do You Put Staples in a Staple Gun in 10 Easy Steps?
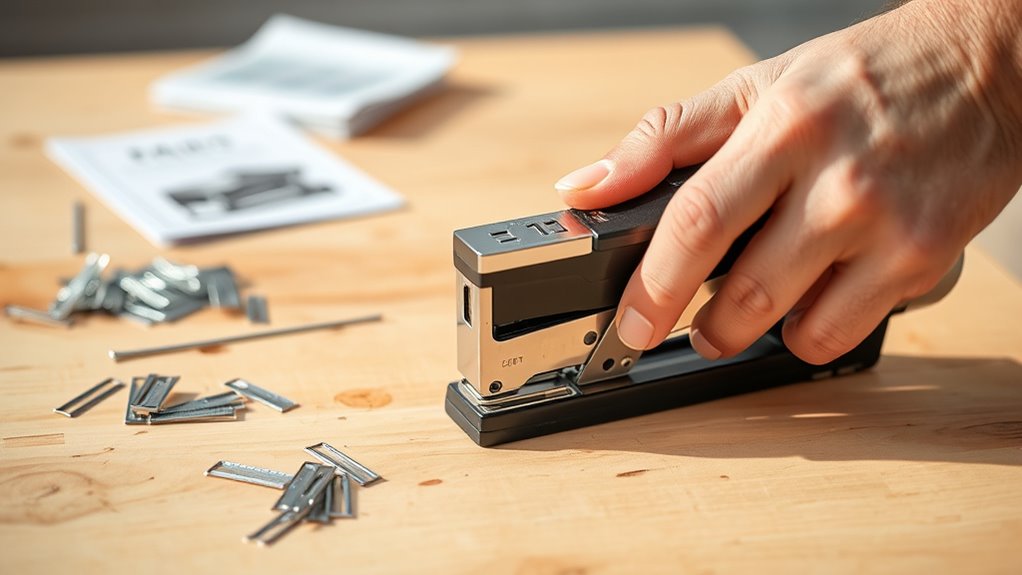
To put staples in your staple gun, first set it to the open loading position. Make sure to choose the correct staples that match your gun’s size for smooth operation.
Next, press and remove the pusher rod carefully. Then place the staples securely on the rail, making sure they’re aligned straight.
Push the rod back in until you feel tension, and then firmly close your staple gun. It’s a good idea to test it on scrap material to verify proper feeding.
Following these simple steps helps guarantee your staple gun works smoothly every time.
Once you’ve got the hang of loading staples, you can explore helpful tips for troubleshooting and safety next.
Key Takeaways
- Unplug the staple gun and open the magazine by pressing the release latch or button.
- Select staples compatible with your staple gun’s model, size, and gauge.
- Slide the staples flush onto the rail, making sure they are straight and fully seated.
- Reinsert the pusher rod aligned with the groove. Push it in until you feel firm tension.
- Close and latch the staple gun securely. Then, test-fire on scrap material to confirm it feeds properly.
Set Your Staple Gun to the Open Loading Position
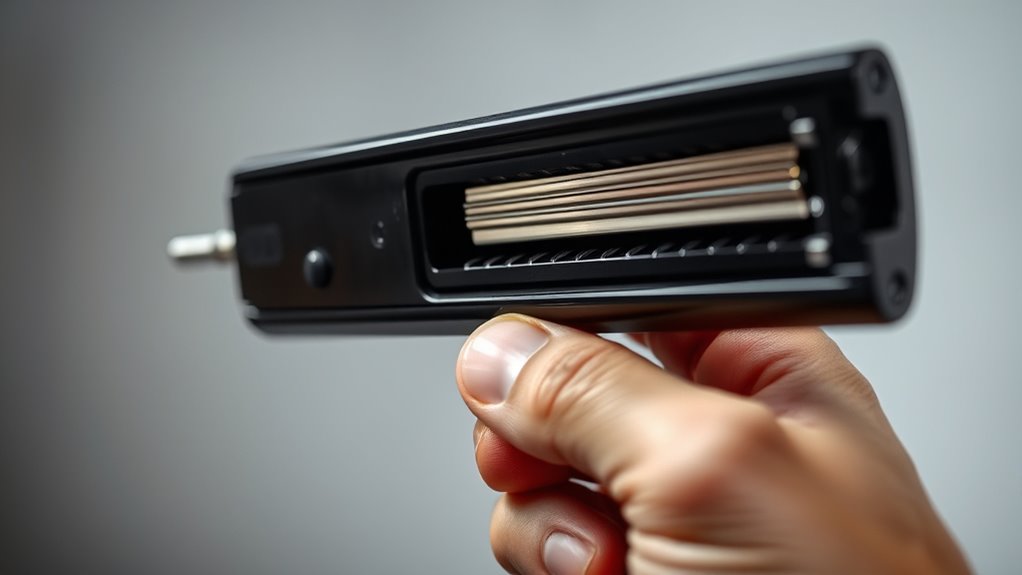
Before you load staples, make sure your staple gun is unplugged or powered off for safety.
Next, turn the staple gun to the back or open position to access the loading area. You need to locate the release latch or button—make sure you find it carefully, as it allows the magazine to open.
Once you’ve pressed or slid the latch, gently pivot or slide the magazine open to expose the staple rail inside. Keep the staple gun in this open position while inserting new staples; it makes the process easier and prevents jamming.
Choose the Correct Staple Type for Your Staple Gun
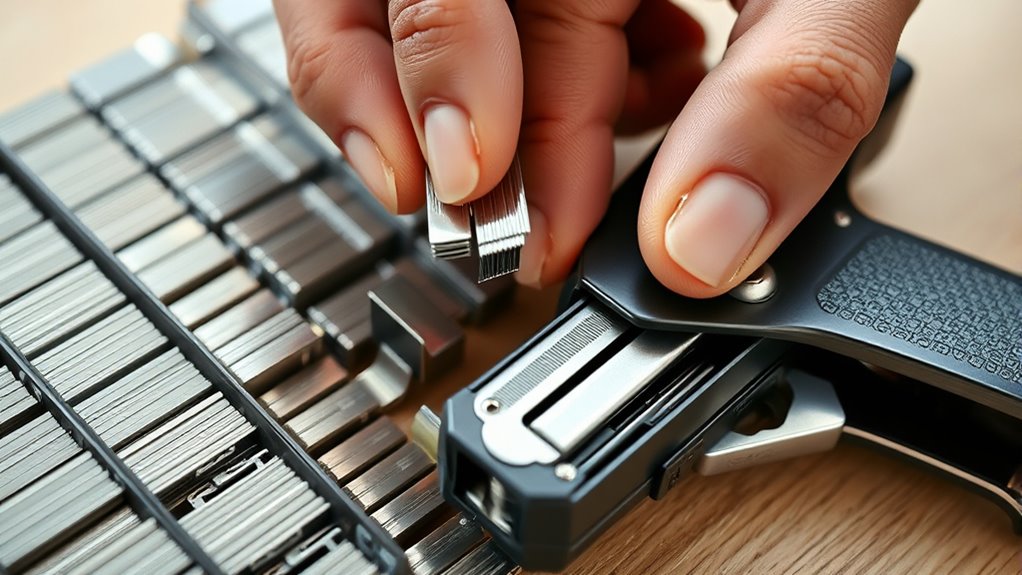
You’ll want to make sure you pick staples that match your staple gun model and size requirements exactly. Using the right staple size is essential for smooth operation and avoiding jams.
Always check your tool’s manual to find the compatible staple types before loading. It really helps to double-check so you don’t run into any issues.
Staple Compatibility Guide
Since choosing the right staples directly affects your staple gun’s performance, you need to guarantee compatibility with your model. Using the wrong staples can lead to jams, misfires, or even damage your tool.
To avoid these issues, always check the user manual or product specifications for the recommended staple gauge, size, and type.
Here’s how to ensure staple compatibility:
- Identify your staple gun model (e.g., GT21) and find the specific staple type it requires (e.g., JT21 staples).
- Verify the staple gauge and size listed in the manual.
- Choose the correct crown width—narrow, wide, or heavy-duty—based on your project and tool.
- Confirm the staples’ packaging clearly matches your gun’s requirements before buying.
Following these steps keeps your staple gun running smoothly. It’s a simple way to avoid frustration and get the best results every time.
Staple Size Importance
Choosing the right staple size goes hand in hand with picking compatible staples for your staple gun. Using the correct size assures a proper fit, preventing jams and misfeeds that can damage your tool or material.
Always check your staple gun’s manufacturer specifications to find staples with the appropriate length and gauge. Larger staples work best for thicker materials, while smaller ones suit delicate or lightweight items.
Before loading, verify the staple size to guarantee compatibility and smooth operation. Skipping this step risks misfeeding staples or harming the surface you’re working on.
Press and Remove the Pusher Rod
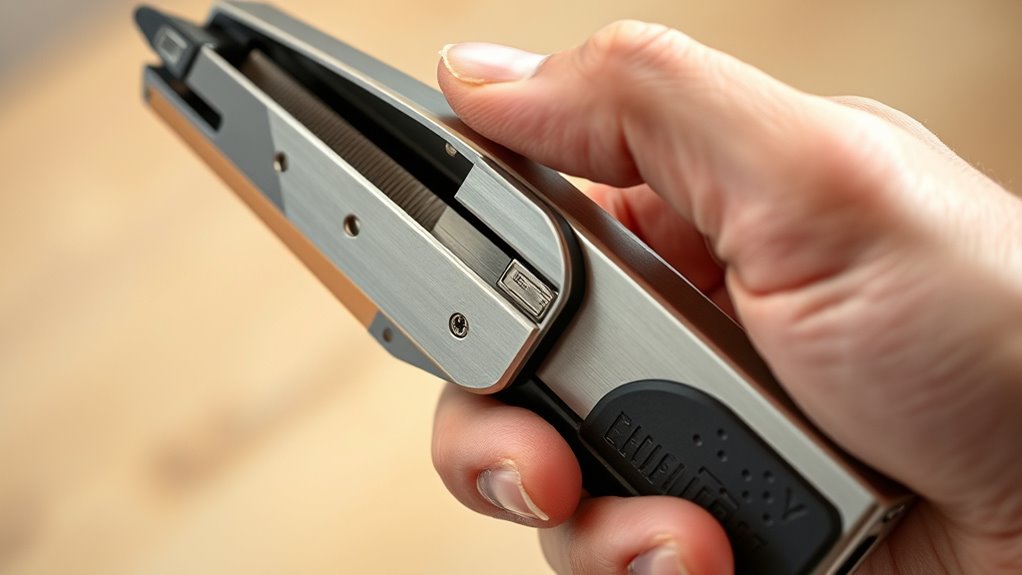
Hold your staple gun firmly and press the pusher rod inward and downward with steady pressure. Make sure the staples are fully released before you pull the rod straight out to avoid damaging any parts.
Once removed, check the rod for debris or damage before reloading your staples. It’s a good idea to keep things clean and in good shape to avoid any jams or issues later on.
Pressing Down Correctly
When you press down the Pusher Rod, make certain to push it inward firmly and then downward until you feel resistance. This guarantees the staples release properly without damaging the mechanism.
To press it down correctly, follow these steps:
- Use your fingers to press both sides of the Pusher Rod simultaneously for even pressure.
- Push inward firmly before pressing downward to engage the mechanism fully.
- Apply consistent, moderate force—avoid excessive pressure that can jam or damage the rod.
- Once pressed down, hold the rod steady before proceeding to load or adjust staples.
Removing The Pusher Rod
Before you can load new staples, you’ll need to remove the Pusher Rod by pressing it in and downward to release its tension. Start by firmly pressing the rod to disengage it from the staple gun’s mechanism.
Once you’ve pressed it down, gently pull the Pusher Rod out. Make sure to handle it carefully to avoid any damage or misalignment.
Removing it fully is essential because it guarantees the staples are completely released and the gun is ready for loading or maintenance. Take your time during this step, as forcing the rod can cause issues with your staple gun’s function.
With the Pusher Rod safely removed, you’re now set to move on to the next steps in loading your staple gun correctly.
Ensuring Staple Release
Although it may seem simple, ensuring the staple release is essential for your staple gun to function smoothly. To do this, you’ll need to properly press and remove the Pusher Rod.
This step prevents jams and guarantees that staples feed correctly.
Follow these steps for a proper staple release:
- Make sure the staple gun is in the open position before you begin.
- Press down on the bottom of the Pusher Rod with your fingers to release it.
- Carefully remove the Pusher Rod from the staple gun.
- Confirm that no staples remain held by the Pusher Rod before loading new staples.
Place Staples Securely on the Rail
Since the staple gun needs to be open, hold the staples onto the rail carefully to guarantee smooth placement. Slide the staples gently into the rail, ensuring they sit flush against it.
With the staple gun open, carefully slide staples onto the rail, making sure they sit flush for smooth operation.
This flush placement is *essential* to prevent jams during use. Make sure the staples fit snugly and are evenly distributed along the rail’s track.
Before moving on, double-check that the staples are fully inserted and securely seated. Proper seating keeps them from shifting when you re-engage the Pusher Rod.
Taking these simple steps helps your staple gun function without a hitch, making your stapling tasks quicker and hassle-free. Once you’re confident the staples are secure, you’ll be ready to move on to the next step.
Ensure Staples Are Properly Aligned on the Rail
Make sure the staples line up perfectly with the rail before sliding them in. You’ll want to slide them smoothly to avoid any jams or misfeeds.
Finally, double-check that the staples are securely in place before moving on. That way, everything works just right!
Align Staples With Rail
Before sliding the staples into the rail, hold them firmly with the staple gun open to guarantee they stay in place. Proper alignment is essential to prevent jams and ensure smooth operation.
Follow these steps to align the staples correctly:
- Position the staples so their legs run parallel to the rail’s grooves.
- Make sure the staples fit snugly without tilting or skewing.
- Push the staples fully against the backstop of the rail to secure them.
- Check that the staples line up evenly along the entire rail length before moving on.
Doing this ensures your staples are perfectly aligned and ready for the next step without causing any malfunctions. It’s a simple step that really makes a difference!
Slide Staples Smoothly In
Although you’ve already aligned the staples, you’ll want to hold them firmly on the rail with the staple gun open as you carefully slide them in. Keep the staples straight and steady, making sure they sit flush against the back of the compartment.
Avoid tilting or skewing them, as this can cause jams later. As you slide the staples fully into place, double-check that they’re properly aligned along the guide rails. Maintaining this alignment is essential for smooth stapling.
Keep a steady grip on the staples during this step to prevent any shifting. Once the staples are seated correctly, you’re ready to proceed to the next step of loading the Pusher Rod, ensuring consistent feed during use.
Confirm Secure Staple Placement
Once you slide the staples into the compartment, double-check that they’re fully seated and aligned flush with the rail to prevent jams during use. Proper alignment guarantees smooth operation and consistent firing.
Here’s how to confirm secure staple placement:
- Verify that the staples sit straight, not tilted, to avoid misfeeds.
- Gently press down on the staples to ensure they’re engaged firmly on the rail.
- Check that the staples fit your staple gun’s size and type for compatibility.
- Make sure the staples are securely held in place before reinserting the Pusher Rod.
Following these steps helps maintain your staple gun’s efficiency and prevents frustrating jams while you work. It’s a quick check that saves time and hassle later on.
Reinsert the Pusher Rod With the Notch Engaged
To reinsert the pusher rod correctly, you’ll need to align its notch with the groove inside the staple gun. This alignment is essential because it guarantees the pusher rod seats securely, allowing staples to feed smoothly.
Once aligned, gently slide the pusher rod back into the staple gun. You should feel or hear a click, indicating that the rod is fully engaged and locked in place.
After reinserting, check that the pusher rod moves freely without obstruction. This movement confirms it’s positioned correctly.
Finally, give the pusher rod a gentle press to verify it applies proper tension against the staples, guaranteeing they feed consistently during use. Taking these steps guarantees your staple gun operates reliably and efficiently.
Push the Pusher Rod Until You Feel Tension
When you push the pusher rod into the staple gun, keep going until you feel firm resistance. This tension shows the rod is pressing against the staples properly and ready to feed them smoothly.
Applying gentle pressure ensures the rod is aligned and pushing firmly. That way, you prevent jams and guarantee consistent staple feeding. If you don’t feel tension, double-check the staples are loaded correctly and the rod is fully inserted.
Follow these steps to get it right:
- Insert the pusher rod with the notch engaged as before.
- Push the rod forward steadily until tension builds.
- Confirm the rod presses firmly against the staples.
- Stop pushing once you feel resistance to avoid over-compression.
Close Your Staple Gun Firmly Before Use
Why should you always close your staple gun firmly before use? Closing it securely ensures the internal components align correctly, preventing jams and misfires.
When the staple gun is fully closed and latched, the Pusher Rod properly engages the staples, allowing smooth, consistent feeding. This step is essential for safe operation and helps avoid accidental discharge, which can happen if the body isn’t tightly shut.
Before you press the trigger or apply pressure, double-check that the staple gun is completely closed. Taking this precaution not only safeguards you but also maintains the tool’s efficiency.
Test the Staple Gun to Confirm Loading
Once you’ve securely closed your staple gun, the next step is to test it and confirm that the staples are loaded properly. This assures your tool works smoothly and prevents jams during use.
Start by pressing the trigger on a scrap piece of material to see if staples feed correctly. Listen for a consistent sound, indicating proper function. Check that staples eject fully and evenly, verifying correct loading.
To confirm proper loading:
- Press the tool’s nose to ensure the Pusher Rod applies tension.
- Test fire on scrap material.
- Listen for a smooth, consistent firing sound.
- Verify staples are fully driven without jams or misfires.
If all these check out, your staple gun is ready to go!
Troubleshoot Common Staple Loading Issues
If your staple gun isn’t feeding staples smoothly, you’ll want to check the alignment and seating of the staples in the rail before reinserting the Pusher Rod. Make sure the staples lie flat and fully seated to prevent jams.
Next, verify the Pusher Rod’s notch is properly engaged and you feel tension when pushing it in; this confirms correct positioning. If staples still misfeed or won’t advance, check that the Pusher Rod is secure and staples aren’t bent or damaged.
Regularly inspect the rail and Pusher Rod for debris or obstructions that could block staple feeding. Finally, confirm you’re using the right staples—like JT21 staples for GT21 tools—to avoid loading errors and keep your staple gun working flawlessly.
Frequently Asked Questions
Which Way to Put Staples in a Staple Gun?
You put staples in a staple gun with the legs facing downward and the crown resting securely on the rail. Make sure they align properly and push them back against the pusher rod before closing the tool.
How to Put Staples in an Easy Shot Stapler?
To load staples in your Easy Shot stapler, slide the staple strip into the magazine with points facing down, push the pusher rod back, then release it to secure the staples. You’re ready to staple!
How Do I Put Staples in a Stapler?
You open the stapler’s loading compartment, place the staples inside aligned properly, then close the compartment securely. Make sure the staples are seated correctly so the stapler can function smoothly when you press it down.
Why Won’t My Staples Go in My Staple Gun?
Your staples won’t go in because they might be misaligned, the pusher rod isn’t engaged properly, or debris’s blocking the rail. Also, using damaged or incompatible staples can cause jams, so check those before loading.
Conclusion
Now that you’ve mastered loading staples like a pro, you’re basically a fastening superhero! No more fumbling, no more jams—just smooth, powerful stapling at your fingertips.
With these simple steps, you’ll conquer any project like it’s a walk in the park. So go ahead, load that staple gun with confidence and release a flurry of perfectly placed staples.
You’re unstoppable, and your projects just got way easier! Knowing how to put staples in a staple gun means less hassle and more efficiency. Whether you’re working on upholstery, crafts, or repairs, this skill saves time and frustration.
So keep your staple gun ready and your projects will always be secured perfectly. Once you know the right way to load staples, nothing can stop you from getting the job done quickly and professionally!