How to Pistol Squat in 10 Simple Steps
Start by warming up your hips, ankles, and hamstrings with dynamic stretches and foam rolling. This helps prepare your body for the pistol squat and reduces the risk of injury.
Use support like a wall or chair to master assisted pistol squats. It’s a great way to build confidence before moving on to more challenging variations.
Next, build single-leg strength with shrimp and peacock squats. These exercises target the muscles needed for balance and power in your pistol squat.
Practice bottom-up roll progressions to improve your balance and control. It might feel tricky at first, but consistency will pay off.
Focus on a slow, controlled descent while engaging your core. Use your arms to help maintain balance throughout the movement.
Pause briefly at the bottom to build strength and improve depth. Incorporate ankle mobility drills to increase flexibility and stability.
Keep progressing step by step, and you’ll soon refine your pistol squat technique even further. With patience and practice, this impressive move will become a natural part of your workout.
Key Takeaways
- Warm up your hips, ankles, and hamstrings with some dynamic stretches and foam rolling. This gets you ready for pistol squats and helps prevent injury.
- Try using support tools like walls, resistance bands, or boxes. They’ll help you keep your balance, and you can slowly rely on them less as you get stronger.
- Build your single-leg strength by doing shrimp and peacock squats. These moves really target your quads, glutes, and help with ankle stability.
- Practice going down slowly and with control. Pausing during the descent will help you build eccentric strength and improve your balance.
- Make sure to engage your core and extend your arms for better balance. Focus on your technique instead of speed—that’s how you’ll really master the pistol squat.
Warm Up and Mobilize Your Hips, Ankles, and Hamstrings
Before you plunge into pistol squats, start by warming up and mobilizing your hips, ankles, and hamstrings to prevent injury and improve your range of motion. Begin with dynamic stretches like leg swings and hip circles to boost hip mobility and increase blood flow.
Next, focus on ankle flexibility with dorsiflexion stretches and heel drops. These moves prepare your ankles for deep squats and help keep you steady.
Don’t neglect your hamstrings—seated forward bends or pike stretches work well to loosen them up. Foam rolling your hips, calves, and hamstrings releases muscle tightness, which further enhances mobility.
Finally, include targeted exercises like the Frogger stretch and deep lunges to fully prepare your joints. This thorough warm-up guarantees you move safely and efficiently during pistol squats.
Master Assisted Pistol Squats for Balance and Control
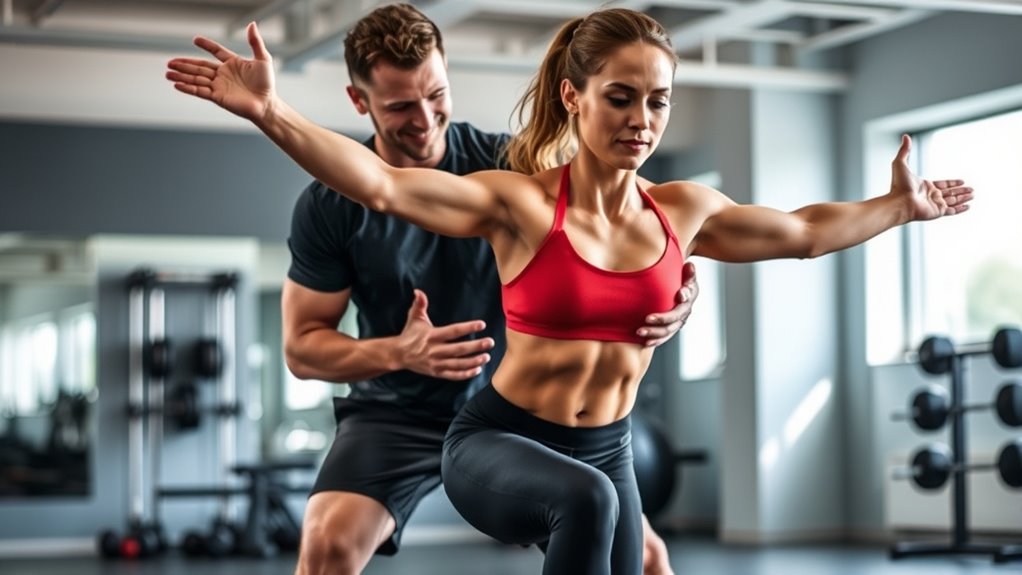
While building the strength and balance needed for pistol squats, using assistance like a chair or rail can help you maintain control and prevent falls. Assisted pistol squats let you focus on form and stability while developing the core and supporting leg strength.
Here’s how to master them:
- Start by holding onto a sturdy support close by to help with balance.
- Slowly lower yourself, controlling the descent, then push back up while keeping your core engaged.
- Gradually reduce your reliance on the support as your strength and balance improve.
- Incorporate variations like box pistol squats to build mobility and confidence.
Using assisted pistol squats helps you build the balance and control necessary for unassisted pistol squats safely and effectively. Give it time, and you’ll see progress!
Build Single-Leg Strength With Shrimp and Peacock Squats
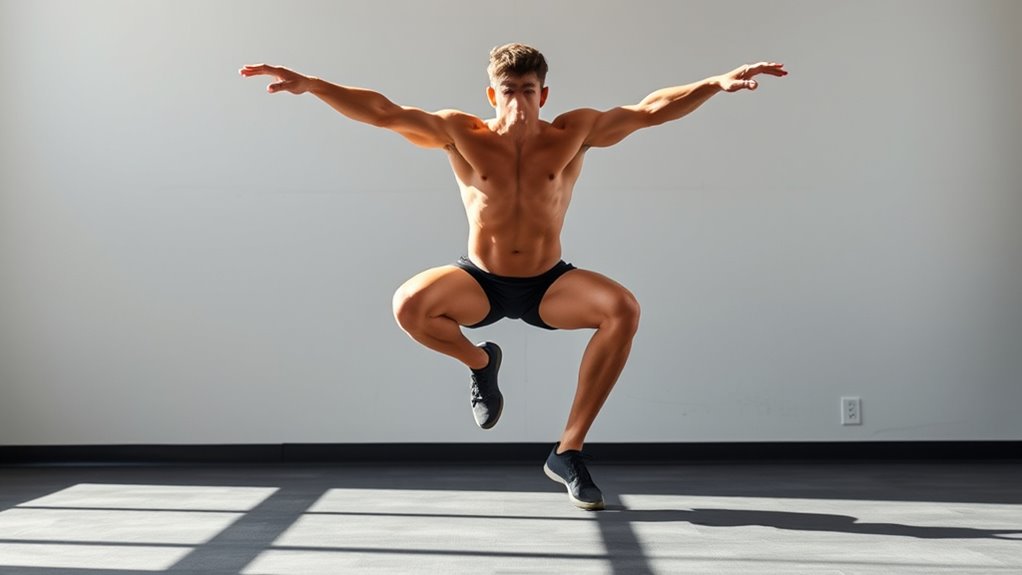
To build single-leg strength, start with shrimp squats to target your quads, glutes, and ankle stability. Then, add peacock squats to improve hip control and strengthen the muscles that keep you balanced.
Together, these exercises boost the hip, knee, and ankle strength you need for pistol squats. They’re a great way to build up your balance and power step by step. Give them a try and feel the difference!
Shrimp Squat Benefits
Mastering just a few key exercises like shrimp squats can dramatically build your single-leg strength and balance. This beginner-friendly move targets your quads and boosts ankle mobility, setting the stage for more advanced exercises.
Here’s how shrimp squats benefit you:
- Enhance single-leg strength by working each leg independently.
- Improve ankle mobility through controlled dorsiflexion during the movement.
- Increase quad endurance, vital for holding positions in pistol squats.
- Promote proper alignment by keeping weight over the midfoot, reducing knee strain.
Incorporate shrimp squats regularly, and you’ll build a solid foundation toward mastering pistol squats with better control and confidence. Give it a try—you’ll notice the difference!
Peacock Squat Mechanics
Because the Peacock Squat challenges your balance and hip stability, it perfectly complements shrimp squats in building single-leg strength. In the peacock squat, you step one leg diagonally behind the other while lowering into a deep, controlled squat.
This movement emphasizes hip stability, rotational control, and engages your glutes and inner thighs through lateral motion. To perform it correctly, keep your torso upright and engage your core muscles throughout the descent.
Incorporating peacock squats into your routine enhances mobility in your hips, knees, and ankles, which are essential for progressing to advanced pistol squats. By mastering this exercise, you develop better balance and joint control, making it a valuable step toward mastering the pistol squat.
Strengthening Hip Control
Building on the balance and hip stability you develop with peacock squats, focusing on strengthening hip control through shrimp and peacock squats will take your single-leg strength to the next level. These exercises target hip mobility and control, which are essential for mastering pistol squats.
Try this approach:
- Perform shrimp squats to improve hip stability while balancing on one leg and lowering your free leg behind you.
- Use peacock squats to enhance lateral hip mobility through controlled rotational movements.
Make sure to maintain proper alignment and engage your core to prevent wobbling and improve balance. Practice regularly to build muscular and neuromuscular control, preparing you safely for full pistol squats.
Incorporate both for effective hip control and improved mobility. It’s a great way to step up your single-leg strength game!
Try Bottom-Up Roll Progressions to Boost Balance and Control
When you start rolling backward from a seated position onto one leg, you develop the stability needed for the bottom phase of a pistol squat. This bottom-up roll progression helps build the balance and control essential at the bottom of the pistol.
Begin by using a wall or rail for support as you practice controlled roll-downs and roll-ups into the deep squat position. Focus on maintaining steady balance throughout to strengthen the muscles involved.
Start with wall support for controlled roll-downs and roll-ups, building balance and muscle strength.
As you improve, gradually reduce your reliance on support, aiming to perform these rolls with minimal assistance. Incorporating explosive roll-ups will also help you generate power and smoothly shift from the bottom of the pistol to standing.
This exercise boosts your overall control and balance, setting a strong foundation for mastering the pistol squat. Give it a try, and you’ll notice the difference in your stability and strength!
Focus on Controlled Descent Before Pushing Back Up
Start by lowering yourself slowly and with control to build eccentric strength, which helps stabilize you at the bottom. Keep your core tight and move deliberately to avoid losing balance or relying on momentum.
Mastering this controlled descent sets a solid foundation before you push back up. It’s all about taking your time and feeling each movement. You’ll notice the difference when you focus on this part first.
Eccentric Strength Development
Why does controlling your descent matter so much in mastering the pistol squat? Developing eccentric strength through a slow, controlled descent builds muscle and improves stability essential for the movement.
When you lower yourself in 3-5 seconds, you train your muscles to handle the eccentric phase effectively.
To boost your eccentric strength, try these steps:
- Lower slowly from a full pistol squat onto a box or the floor.
- Focus on a controlled descent to engage muscles and tendons safely.
- Repeat negative pistol squats consistently to improve balance and proprioception.
- Use this method to prepare your body for the explosive push back up, reducing injury risk.
Mastering controlled descent is key to a strong, stable pistol squat. It really makes a difference in your overall control and strength.
Controlled Movement Techniques
Although pushing back up is the hallmark of a pistol squat, mastering the controlled descent is essential for building strength and balance. Focus on slowly lowering yourself with controlled movement, emphasizing eccentric muscle engagement before propelling yourself back up.
Maintain good form by keeping your core engaged and hips stable throughout the descent to prevent wobbling or loss of balance. Avoid bouncing or rushing; a steady, deliberate descent not only builds strength but also enhances your balance and coordination.
If you’re new to pistol squats, use a wall or rail for support to guide your controlled lowering until you gain confidence and strength. Prioritize smooth, controlled movement over speed to reduce injury risk and ensure proper muscle activation.
This way, your pistol squats become more effective and safe. It’s all about control, not speed!
Use Boxes and Bands to Reduce Assistance Gradually
When you use boxes or bands, you make the pistol squat more manageable by reducing the load on your muscles. This support helps you focus on form and balance without struggling to lift your full body weight.
To reduce assistance gradually, try these steps:
- Start with a high box or bench to sit on as you squat down.
- Use resistance bands looped around your leg or torso for extra stability.
- Lower the box height over time as your strength and balance improve.
- Decrease band assistance by using lighter resistance or adjusting tension.
Using bands and boxes lets you control your assistance level, build confidence, and steadily progress toward performing full pistol squats independently. It’s all about taking it step by step and listening to your body.
Engage Your Core and Use Arm Positioning for Better Balance
To maintain better balance during your pistol squat, engage your core by tightening your abdominal muscles and position your arms thoughtfully. Activating your core stabilizes your spine, which is essential for maintaining control on one leg.
Extend your arms forward or out to the sides to counterbalance your body weight. Moving your arms in sync with your squat enhances your proprioception, helping you stay steady.
Extending your arms forward or sideways improves balance by counteracting body weight and boosting proprioception.
Keep a slight bend in your elbows and relax your shoulders to avoid unnecessary tension that can disrupt your balance. With regular practice, combining core engagement and proper arm positioning will build muscle memory, making your pistol squats smoother and more stable over time.
Prioritize these techniques to improve your overall balance and form effectively. You’ll notice the difference as you get more comfortable and steady with each squat.
Pause Briefly at the Bottom to Build Strength From a Dead Stop
When you pause briefly at the bottom of your pistol squat, you force your muscles to work harder without relying on momentum. This dead stop builds genuine strength and improves your control in the deepest position.
Holding that pause for a couple of seconds also helps you spot and fix any wobbling or imbalance. It’s a simple tweak, but it makes a big difference in your stability and overall technique.
Benefits Of Pausing
Although it might feel challenging at first, pausing briefly at the bottom of your pistol squat forces your muscles to engage fully without relying on momentum. This pause enhances your control, helping you build strength from a dead stop.
Here are four key benefits of pausing:
- Pausing eliminates momentum, making your muscles work harder to stabilize.
- It improves starting strength, so your ascent is more controlled and efficient.
- You develop better proprioception and balance by focusing on control during the hardest part.
- Pausing reduces injury risk by promoting proper form and muscle engagement.
Give pausing a try in your routine. It’ll boost your control and strength, making your pistol squat safer and way more effective.
Building Bottom Strength
Why does pausing briefly at the bottom of your pistol squat make such a difference? When you pause for 1-3 seconds, you eliminate momentum, forcing your muscles to generate strength from a dead stop. This builds bottom strength and improves control over the full range of motion.
The pause also enhances neural activation, helping you spot and correct any wobbling or instability. Over time, increasing pause duration develops muscular endurance and prevents reliance on stretch reflexes. This makes your pistol squat more stable and powerful.
| Pause Duration | Benefit | Focus Area |
|---|---|---|
| 1 second | Stability check | Control |
| 2 seconds | Strength building | Bottom position |
| 3 seconds | Endurance development | Full range control |
| 4+ seconds | Advanced neural focus | Muscle activation |
| Progressive | Gradual strength gain | Movement control |
Improve Ankle Mobility and Shin Strength for Better Depth
To achieve better depth in your pistol squat, you’ll need to improve both ankle mobility and shin strength. Enhancing ankle dorsiflexion and strengthening the shin muscles allows for deeper, more controlled squats.
Improving ankle mobility and shin strength is essential for deeper, more controlled pistol squats.
Here’s how to focus on these areas: Stretch your calves regularly with heel lifts and downward dog to boost ankle mobility. Performing these stretches consistently can really make a difference.
Also, try ankle circles and foam rolling on calves and shins to reduce tightness and improve joint flexibility. These simple moves help keep your ankles feeling loose and ready.
Incorporate Grog squats and close squats to target the anterior tibialis. This will increase shin strength and stability, which are key for better pistol squat depth.
Finally, combine mobility drills with progressive strength exercises. Building endurance in your ankle and shin muscles will help you squat deeper with improved balance and control.
Keep at it consistently, and you’ll notice your pistol squats getting smoother and more stable in no time.
Master the Full Pistol Squat With Slow, Controlled Reps
As you work toward mastering the full pistol squat, focus on performing slow, controlled reps that prioritize balance and stability during both the descent and ascent. Engage your core and keep your torso upright to prevent wobbling and maintain control throughout each movement.
Pause briefly at the bottom position to build strength and reinforce proper form before rising back up. Avoid using momentum by steering clear of bouncing or rushing, making every rep deliberate and precise.
Gradually increase the duration of your pause and reduce any assistance to boost strength and confidence in your full pistol. By emphasizing slow, controlled reps, you’ll develop the balance, stability, and muscle control needed to execute the full pistol squat with precision and safety.
Frequently Asked Questions
How to Do a Pistol Squat Step by Step?
Start on one leg with the other extended. Slowly bend your standing knee, keep balance, chest up, and knees aligned. Lower fully, pause, then push through your heel to rise, keeping control and that leg off the ground.
How Easy Is It to Do a Pistol Squat?
It’s not easy to do a pistol squat at first because it demands strong balance, flexibility, and single-leg strength. You’ll likely need months of practice and progressions before you can perform it smoothly and safely.
Why Is It so Hard to Do a Pistol Squat?
It’s hard because you need serious balance, strength, and flexibility all at once. You’ll struggle if your ankle, hip, or knee mobility is limited, or if your single-leg strength and control aren’t fully developed yet.
How Long Will It Take to Learn a Pistol Squat?
It usually takes you several months to learn a pistol squat, depending on your strength, mobility, and dedication. With consistent practice and patience, you might master it anywhere from 3 to 12 months or more.
Conclusion
By following these steps, you’re not just learning a pistol squat—you’re embracing the challenge like a warrior preparing for battle. Each controlled descent and steady pause builds strength and balance, turning doubt into determination.
Remember, even great athletes started where you are now. Keep pushing and stay focused.
Soon, you’ll master this move with the confidence of a champion. Your journey to strength and control starts here—take that first step boldly. Mastering the pistol squat develops not only your leg muscles but also enhances your balance and coordination.
Stick with it, and you’ll see progress in your overall fitness and mobility. So keep practicing these pistol squat steps, and watch yourself grow stronger every day!