How Do You Clean a Gun in 7 Easy Steps?
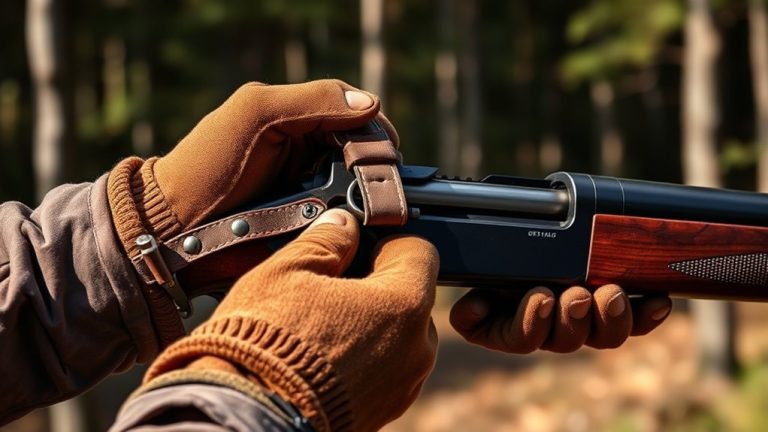
Start by making sure your gun is completely unloaded and pointed in a safe direction. Safety first, always!
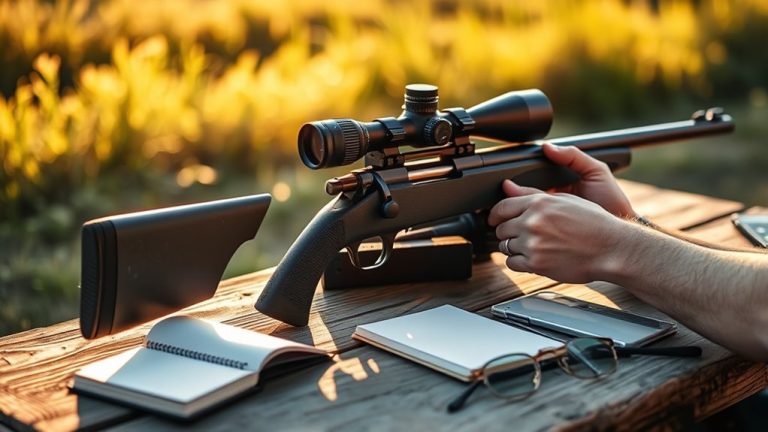
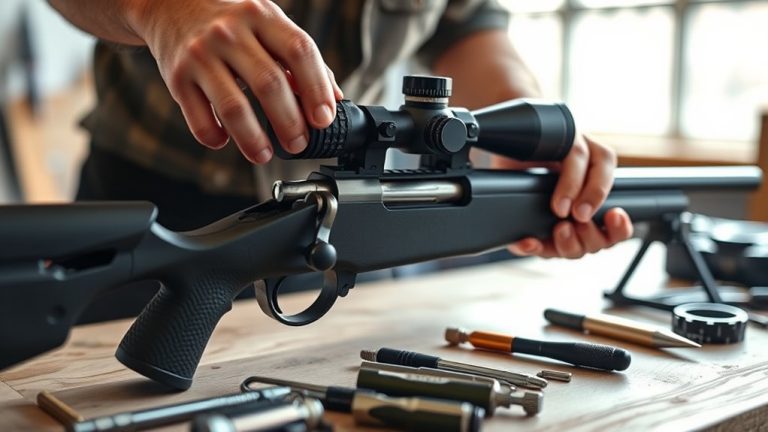
Next, disassemble it carefully using your owner’s manual to guide you through each step.
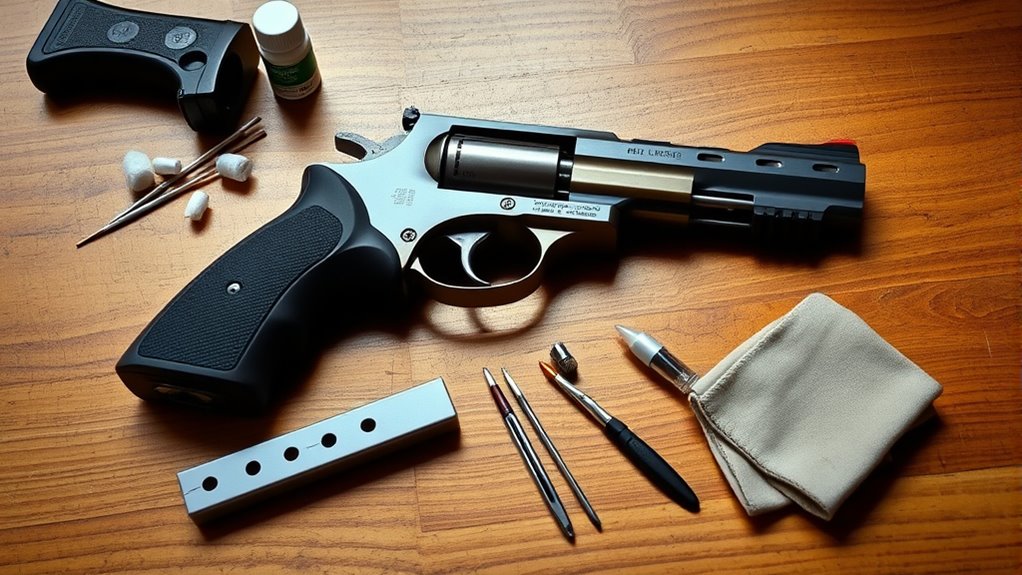
Now, clean the barrel and all parts with solvent-soaked brushes and patches. Focus on any stubborn fouling that’s built up inside.
Take a close look at every piece for wear or damage. It’s important to catch any issues early.
Apply light lubrication to slide rails and the barrel to keep rust at bay. Don’t overdo it—just a little goes a long way.
Reassemble the gun, perform a function check to ensure everything works smoothly, and store it securely in a dry place.
Keep following for detailed tips on how to maintain your firearm safely and effectively. Proper cleaning not only extends your gun’s life but also keeps it reliable when you need it most!
Key Takeaways
– Always make sure the gun is unloaded before you start cleaning. Remove the magazine and check the chamber carefully.
Safety first, right? You don’t want any surprises while handling your firearm.
– Next, disassemble the firearm carefully. Follow the owner’s manual step-by-step to get to important parts like the barrel and slide.
Taking your time here makes the whole process easier and safer.
– Use solvent-soaked brushes and patches to clean out the barrel, chamber, and feed ramp. Keep going until everything looks residue-free.
This part takes a bit of elbow grease, but it’s worth it for a clean gun.
– After cleaning, lightly oil all the metal parts. This helps prevent rust and keeps everything working smoothly.
Just a little oil goes a long way.
– Finally, put your gun back together properly. Do a function and safety check to make sure everything’s working right.
Then, store it unloaded in a secure, dry case. Safe and sound until next time!
Make Sure Your Gun Is Unloaded and Safe
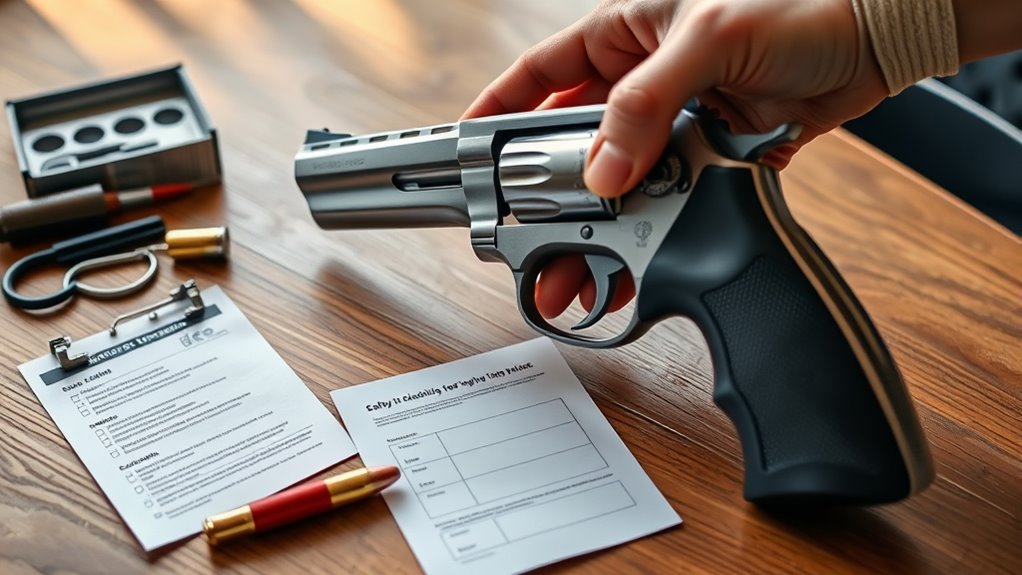
Before you begin cleaning, always double-check that your gun is completely unloaded and safe. Start by performing a thorough safety check: remove the magazine and visually inspect the chamber to confirm no rounds remain.
Use a flashlight to illuminate the chamber and barrel, making sure you don’t miss any live ammunition. Keep your firearm pointed in a safe direction throughout this process, handling it carefully to avoid accidents.
Remove all ammunition from your cleaning area to prevent any chance of accidentally loading the gun while working. By confirming your gun is unloaded, you set the foundation for a safe and effective cleaning session.
Never skip this critical step. It protects you and those around you.
Disassemble the Firearm Properly
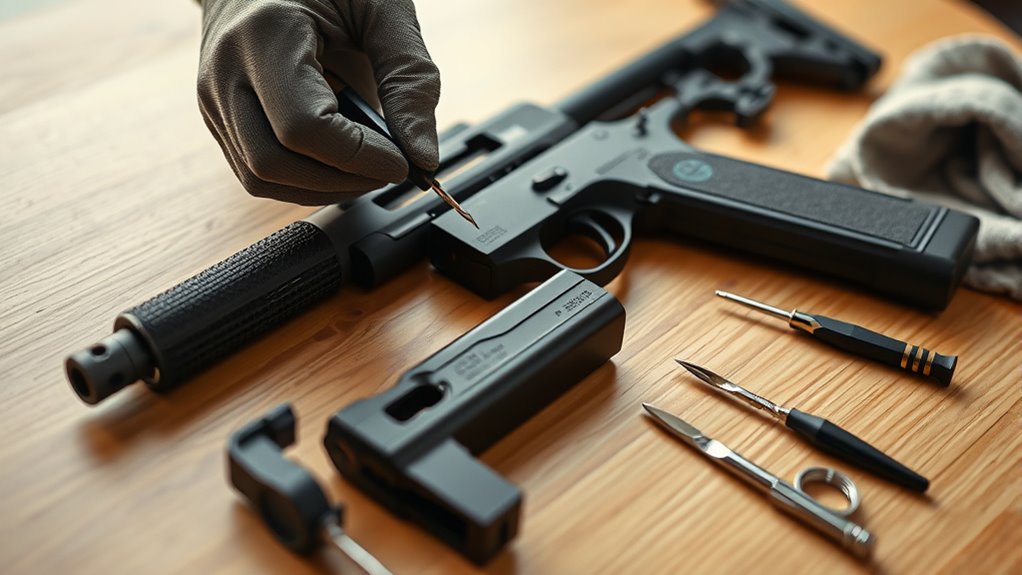
How do you properly disassemble your firearm without causing damage? First, check to make sure your gun is completely unloaded by inspecting the chamber and magazine multiple times. Then, consult your owner’s manual or the manufacturer’s website for model-specific disassembly instructions.
Using your cleaning kit, carefully remove parts like the slide, guide rod, recoil spring, and barrel. Place them on a towel-covered surface to keep everything organized and safe.
For thorough maintenance, consider disassembling additional internal components annually, but make sure to follow the guidelines precisely. Use a clean patch from your kit to wipe down parts as you go, but save deep cleaning for the next step.
Always guarantee all parts are dry and clean before reassembling. And be sure to put them back in the correct order to keep your firearm working safely and efficiently.
Clean the Gun Barrel and All Other Parts
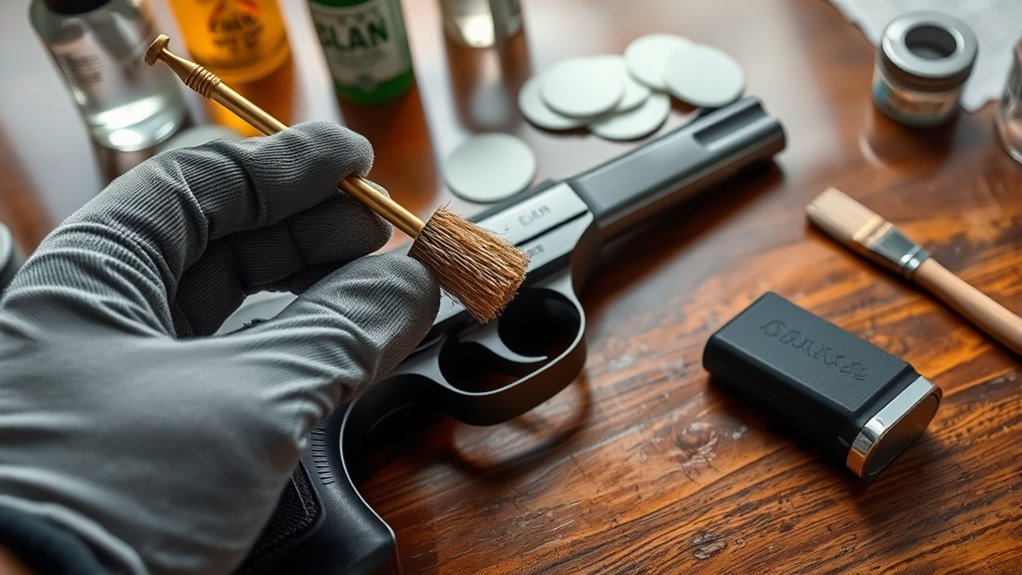
Start by scrubbing the barrel with a bore brush soaked in solvent to loosen any residue. Don’t forget to clean all the small parts and grooves carefully to remove stubborn buildup.
It might take a little patience, but it’s worth it. Finally, wipe everything down thoroughly to prevent rust and keep your gun running smoothly.
Barrel Cleaning Techniques
Although cleaning a gun barrel requires some patience, using the right tools and techniques makes the process straightforward. Start by soaking a bore brush in solvent and scrubbing the barrel from the breech end in one direction to loosen fouling.
Reapply solvent and run clean patches through until they come out dry and residue-free. Make sure to focus on the feed ramp and chamber with cotton swabs or small brushes to clear buildup.
If you come across stubborn fouling, gently use a nylon or brass brush—but be careful not to damage the rifling. Finish up by running a lightly oiled patch through the barrel to prevent rust and ensure smooth operation.
| Step | Description |
|---|---|
| 1. Bore Brush | Scrub barrel interior with solvent from breech |
| 2. Clean Patches | Run patches until dry and clean |
| 3. Feed Ramp & Chamber | Use swabs or small brushes to remove buildup |
| 4. Stubborn Fouling | Gently scrub with nylon/brass brush |
| 5. Oiled Patch | Run lightly oiled patch to protect and smooth |
Cleaning Small Components
Once you’ve thoroughly cleaned the barrel, turn your attention to the small components like springs and pins. These require careful cleaning with solvent-soaked cotton swabs or brushes.
Dip a swab or brush in solvent and gently scrub each part to remove dirt and residue. Be thorough but gentle to avoid damaging delicate pieces.
After cleaning, wipe down all parts with a microfiber cloth to remove any remaining solvent and debris.
Finally, apply a light coat of lubricant to all metal components to prevent rust and ensure smooth operation. This step is vital for maintaining your gun’s reliability and longevity.
Taking the time to clean these small parts properly really keeps your firearm in top condition and ready for use. It’s worth the effort!
Removing Stubborn Residue
When you encounter stubborn residue inside the barrel or on other parts, you’ll need to use a bore brush soaked in solvent to scrub those tough spots thoroughly. Focus on areas with heavy fouling, reapplying solvent as needed.
Run cleaning patches or rods through the barrel repeatedly until they come out clean. For tight spots and intricate parts, use cotton swabs or small brushes dipped in solvent to remove buildup.
If residue remains, spray solvent on a toothbrush or use a brass brush to gently scrub metal surfaces. Once all residue is removed, wipe every part down with a clean, dry microfiber cloth to eliminate any lingering solvent and debris.
This guarantees your gun stays in top condition and functions reliably.
Inspect Parts for Wear, Damage, and Fouling
As you disassemble your firearm, carefully inspect all metal parts—including the slide, barrel, and frame—for signs of wear, cracks, or corrosion. Pay close attention to the feed ramp and chamber area, checking for fouling, carbon buildup, or debris that could impair performance.
Also, take a good look at the recoil spring and guide rod for fatigue, bending, or any damage that might affect safety. It’s easy to overlook smaller components like firing pins, extractors, and ejectors, but don’t skip them.
Look for excessive fouling or residue on these parts and clean them thoroughly. Regularly evaluating your firearm’s overall condition helps you spot early signs of damage or deterioration that may require professional repair.
Taking the time for this careful inspection is key. It ensures your gun remains reliable and safe to use every time.
Apply Lubrication to Slide Rails and Barrel
After thoroughly inspecting your firearm’s parts for wear and fouling, you’ll want to apply lubrication to keep everything moving smoothly. Use a cotton swab or clean cloth to apply a small amount of lubricant to the slide rails, focusing on contact points where the rails touch the frame.
Spread the lubricant evenly across these surfaces to reduce friction. Next, apply a light coat to the barrel’s locking lugs and slide contact areas to ensure smooth operation.
Be careful not to over-lubricate, as excess oil can attract dirt and debris, potentially causing malfunctions. Once you’ve applied the lubricant, cycle the slide several times to distribute the oil evenly and remove any excess.
This step helps guarantee reliable, consistent function during use. Just take your time, and you’ll keep your firearm running smoothly every time.
Reassemble the Gun and Verify Its Function
Now that you’ve lubricated the parts, carefully reassemble the gun by reversing the disassembly steps. Make sure each piece fits correctly as you go.
Once it’s all together, run a function check by dry firing or test firing to confirm everything works smoothly. It’s important to be thorough here.
Finally, double-check the safety features to ensure they’re functioning properly. Also, verify that no tools or debris are left inside before storing or using the firearm.
Correct Part Placement
When you start reassembling your firearm, follow the manufacturer’s manual carefully to place each part in the correct order—beginning with the barrel, guide rod, spring, and slide. Make certain every component is properly aligned and seated to avoid malfunctions during use.
Double-check that all pins, screws, and parts are securely in place, and remove any leftover tools or debris inside the firearm. Proper part placement ensures smooth operation and safety.
Before you finish, visually inspect the firearm to confirm everything fits correctly and functions as intended. Taking these steps guarantees your firearm is ready for use or storage without issues.
Correct part placement is essential to maintain reliability and prevent damage during firing. So, don’t rush—take your time and do it right!
Function Testing Methods
Although reassembling your firearm correctly is essential, you need to verify its function before considering the process complete. Start by performing a function check: pull the trigger to ensure the firing mechanism operates smoothly without obstructions.
Next, conduct a dry fire with the gun unloaded to confirm the firing pin strikes properly and the trigger resets as it should. Manually cycle the slide to check it moves freely and locks back when necessary.
Don’t forget to test the safety features, making sure they engage and disengage correctly. Finally, perform a live or simulated fire in a safe environment to confirm your firearm functions reliably.
These steps guarantee your gun is ready and safe to use after cleaning. Just take your time and double-check everything—it’s worth it!
Final Safety Checks
After reassembling your firearm and confirming its function through initial tests, it’s important to perform final safety checks before putting it to use. These steps ensure your gun operates safely and reliably.
First, verify all parts like the slide, barrel, and magazine are correctly installed and secure. Check for smooth movement and no obstructions. It’s always good to take your time here.
Next, conduct a safety check by pointing the firearm in a safe direction and pulling the trigger to confirm safety mechanisms engage properly. This helps you feel confident everything is working as it should.
Finally, perform a visual and tactile inspection to make sure no cleaning residues, debris, or tools remain inside. A clean gun is a safe gun, so don’t rush this part.
Store the Firearm Correctly for Longevity and Safety
To keep your firearm in ideal condition and guarantee safety, you should store it in a secure, locked case with foam padding that prevents scratches and damage. Make sure the environment is dry and climate-controlled to avoid rust and corrosion.
Use a watertight case with an automatic pressure equalizing valve to block moisture and environmental particles. Always store your firearm unloaded, with the magazine removed and the chamber clear.
Position it horizontally or muzzle-down to prevent accidental damage.
| Storage Tip | Reason |
|---|---|
| Locked, foam-padded case | Prevents scratches and unauthorized access |
| Dry, climate-controlled | Stops rust and corrosion |
| Unloaded, muzzle down | Ensures safety and proper storage |
Follow these steps to extend your firearm’s longevity and maintain safety.
Frequently Asked Questions
What Are the Basic Steps for Gun Cleaning?
You start by safely unloading and disassembling the gun. Then, clean the barrel with solvent and a brush, wipe down parts, lightly lubricate moving components, and finally reassemble everything, ensuring proper function before use.
What Is the Golden Rule When Cleaning Your Firearm?
You wouldn’t want your gun to fire a thousand shots accidentally! The golden rule is to always make sure your firearm is completely unloaded before cleaning. Double-check the chamber and magazine to stay safe every time.
How to Clean a Gun Without Taking It Apart?
You’ll wipe the exterior and accessible parts with a solvent-soaked cloth, run a bore brush through the barrel, use cotton swabs for tight spots, and apply lubricant on slide rails—all without disassembling the gun.
How to Properly Clean a New Gun?
You’ll want to unload your new gun first, then disassemble it carefully. Use solvent and a bore brush to clean the barrel, wipe metal parts, apply lubricant, reassemble, run a function check, and clean the exterior.
Conclusion
Now that you know how to clean your gun in seven easy steps, you’re all set to keep it in top shape.
Remember, a clean firearm is a happy firearm—don’t let dirt and grime throw a wrench in your shooting. Taking these simple steps regularly guarantees your gun works smoothly and safely every time.
Stick to the routine, and you’ll be hitting the mark without a hitch! Regular gun cleaning not only improves performance but also extends the life of your firearm. So, make gun maintenance a priority to ensure reliability and safety whenever you’re out shooting.