
How to Make a Potato Gun in 10 Simple Steps
To make a potato gun in 10 simple steps, you’ll need a few key materials like PVC pipes, fittings, a grill lighter ignitor, and some basic tools. These parts are essential for building a safe and functional spud launcher.
Start by measuring and cutting the barrel and chamber carefully. It’s important to test fit all the parts before you glue and seal them tightly to avoid any leaks or misfits.
Next up, prepare the ignitor by carefully extracting and wiring it so it works reliably.
When loading your potato, make sure it fits snugly in the barrel for the best launch effect.
Spray a small amount of fuel into the chamber, then ignite it safely while following important precautions.
Make sure you’re in a well-ventilated area and always wear eye protection to stay safe.
Keep reading to explore the full step-by-step process and some helpful safety tips you won’t want to miss!
Key Takeaways
- Cut and prepare PVC pipes: 1-foot 1½-inch barrel and 8-inch 2-inch chamber, ensuring clean, accurate cuts.
- Dry fit all components, then prime and cement joints securely, allowing 24 hours to cure.
- Assemble ignitor with piezoelectric spark gap using screws spaced 1/8 to 1/4 inch, insulated with electrical tape.
- Load a snug medium potato into the barrel, push it 2 inches in, and spray 3-4 seconds of hairspray fuel into the chamber.
- Aim safely away, ignite spark, wait 7-10 minutes between shots, and always use safety gear and proper ventilation.
Gather All the Materials You’ll Need for Your Potato Gun
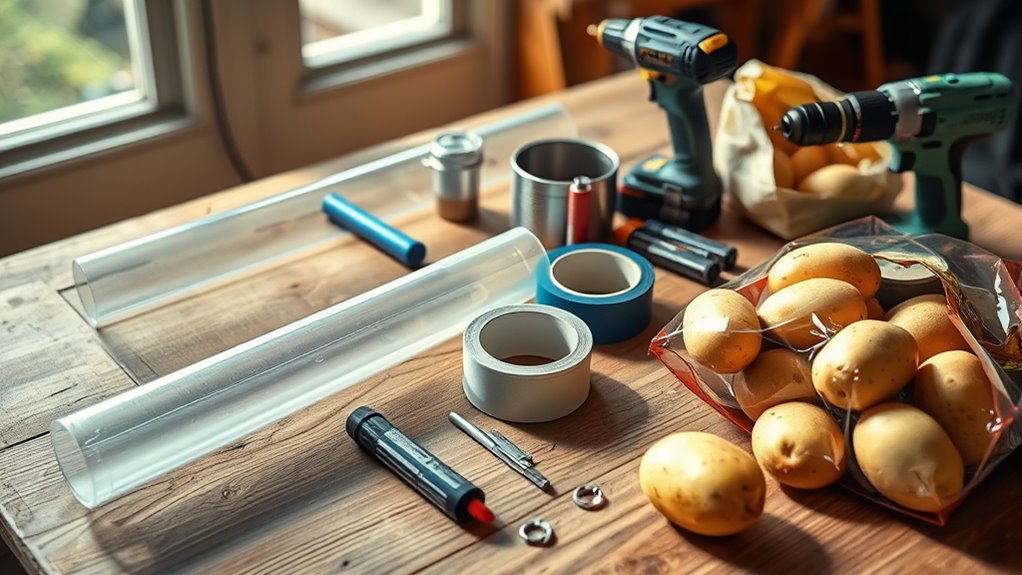
Before you begin building your potato gun, make sure you have all the necessary materials on hand. Start with a 1 1/2 inch PVC pipe cut to 1 foot for the barrel and an 8-inch piece of 2-inch PVC pipe for the chamber.
Gather your materials first: a 1 1/2 inch PVC barrel and an 8-inch 2-inch PVC chamber.
You’ll also need various PVC fittings, including reducers from 2 to 1 1/2 inch, female and male couplings (2 inches), along with PVC primer and cement for secure assembly. Don’t forget small screws and a grill lighter.
If you’re making a combustion launcher, grab a film canister, a hot glue gun, and a Bic longnose lighter. Basic tools like a chop saw or tape measure are essential, too.
And, of course, safety first! Make sure you have gloves and eye protection ready. Having all these on hand will make your building process smooth and efficient.
Measure and Cut the Potato Gun PVC Pipes Precisely
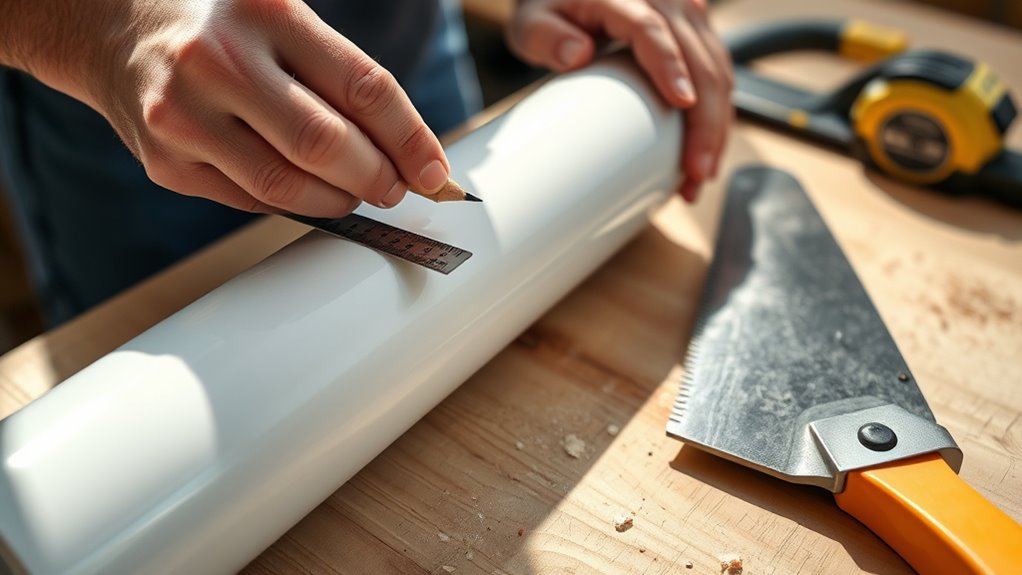
Once you’ve gathered all your materials, it’s time to measure and cut the PVC pipes accurately. Use a tape measure to mark the exact lengths on your pipes—this step is essential to guarantee everything fits together well.
Measure a 1-foot section on the 1 1/2 inch PVC pipe for the barrel and mark it clearly. Then, measure an 8-inch section on the 2-inch PVC pipe to create the combustion chamber.
Double-check your measurements with a pencil mark before cutting to avoid mistakes. When cutting, use a chop saw or a fine-toothed saw to get clean, straight edges on the pipes.
Taking your time to measure and cut precisely will make assembling your potato gun much easier and safer. Trust me, being careful here really pays off!
Test Fit All Pieces Before Gluing Them Together
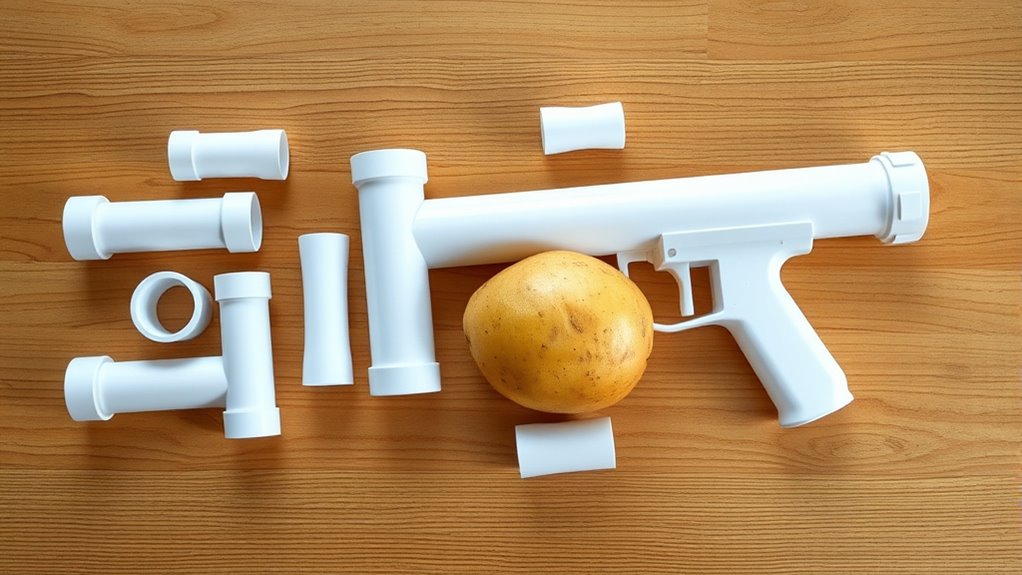
Before you glue anything, dry fit all the PVC pipes, fittings, and screws to make sure they fit together properly. Check that the barrel and chamber line up and that the reducer fits snugly between pipe sections.
Adjust any misaligned parts now to avoid problems once everything is glued. It’s way easier to fix things before the glue is on! Just take your time and double-check everything.
Verify Component Compatibility
Although it might be tempting to start gluing right away, you should always dry fit all the PVC pipes, fittings, and screws first to guarantee everything aligns and fits properly. Take the time to verify that the diameter of each pipe matches the corresponding fittings, like ensuring 1 1/2 inch pipes fit snugly into reducers and couplings.
Test the chamber and barrel connections to confirm they slide together smoothly without gaps or tight spots. Also, check that the screws and ignitor components line up perfectly with drilled holes, and wires comfortably reach the spark gap.
Adjust Fit Before Assembly
After ensuring all components fit together temporarily, you’ll want to adjust each piece for a perfect fit before gluing. This dry fit stage is essential to prevent leaks and guarantee secure connections.
Carefully test the barrel, chamber, and fittings for proper alignment, and verify the length of each part. Mark precise cutting points with a pencil to guide your assembly. Don’t forget to check the insertion of the potato and the fit of the cap—they should slide easily without forcing or being too loose.
Also, confirm that screw holes, fittings, and ignitor placements fit securely. Here’s what to focus on during your dry fit:
- Align barrel, chamber, and fittings perfectly
- Verify length and secure connections
- Test potato insertion and cap fit
- Check screw holes and ignitor placement
Adjust as needed before gluing for a smooth build.
Glue the Barrel and Chamber Securely and Test Seals
Before you glue the barrel and chamber, make sure to apply PVC primer to the pipe ends for a strong bond. You’ll want to connect everything tightly to prevent air leaks once the cement cures.
After waiting a few minutes, test the seals by filling the chamber with water to catch any gaps. It’s a simple step but super important to ensure everything holds up.
Proper Primer Application
When you’re ready to join the barrel and chamber, start by applying PVC primer to the ends of the pipe and fittings. This cleans and prepares the surfaces for bonding. Proper preparation guarantees a strong, lasting joint.
Before gluing, dry fit all components to check alignment and avoid misfits. Once primed, apply PVC cement immediately to connect parts securely and create a waterproof seal.
Hold the joint firmly for 2-3 minutes to let the cement set. After gluing, test the seal by gently applying pressure or water to catch leaks early.
- Clean, primed surfaces ready for gluing
- Components dry-fitted for perfect alignment
- Cement applied quickly after primer
- Joints held tight until fully set
Ensuring Airtight Connections
You’ve primed and dry-fitted the barrel and chamber components, so now it’s time to glue them securely to assure airtight connections. Apply PVC cement immediately after priming, then firmly hold the pieces together for at least 30 seconds to create a strong, airtight bond.
Make sure all parts are properly aligned before gluing to avoid air leaks. Once glued, let the joints cure for at least 24 hours—this guarantees the connections are fully set and airtight.
After curing, test the seals by gently blowing into the chamber or applying soapy water around the joints. Look for bubbles that indicate leaks. Fix any leaks before using your potato gun to keep it safe and efficient.
Prepare the Ignitor From a Grill Lighter
Although it requires careful handling, disassembling the grill lighter lets you access the piezoelectric ignitor inside. Start by gently separating the seams to reveal the ignitor components.
Extract the spark generator, making sure to keep the wires connected. Next, attach small metal tacks to the wires as contact points for creating sparks.
Secure the ignitor assembly to your potato gun’s chamber, positioning the tacks near the fuel source for effective ignition. Finally, cover all exposed wiring with electrical or duct tape to prevent accidental sparks and guarantee safety.
Imagine the ignitor setup as:
- Tiny metal tacks sparkling on thin wires
- Wires snuggly taped against the chamber
- The piezoelectric core ready to ignite
- A neat, safe assembly primed for sparking
This ignitor will reliably start your potato gun’s combustion.
Drill Screws to Create the Spark Gap
Start by drilling two small holes at a 45-degree angle close together to guarantee precise screw placement. Make sure the screws almost touch to create the right spark gap distance for ignition.
Don’t forget to wrap the screw tips with tape to keep everything safe while you test the spark. It’s a simple step but super important for safety.
Screw Placement Precision
How exactly do you position the screws to create an effective spark gap inside the PVC pipe? It all comes down to screw placement precision. You’ll drill two screws less than an inch apart at a 45-degree angle, ensuring their tips almost touch.
This close proximity is key to generating a strong spark when the ignitor triggers. Use a drill with a small bit for precise holes and consistent spacing.
After securing the screws, wrap wires tightly around their heads to complete the ignitor circuit. Finally, cover the screw ends with electrical or duct tape to avoid accidental contact and ensure safety.
- Drill screws at a precise 45-degree angle
- Keep screw tips nearly touching
- Wrap wires firmly around screw heads
- Tape screw ends to prevent shocks
Spark Gap Distance
Where you place the screws inside the PVC pipe directly affects the spark gap distance and the effectiveness of your potato gun’s ignition. Drill two screws less than an inch apart at a 45-degree angle to form the spark gap.
The distance between these screws controls the size of the spark: closer screws create a smaller, more focused spark, while too wide a gap can prevent ignition. Aim for about 1/8 to 1/4 inch apart for ideal results.
Make certain the screws are tightly secured and maintain good electrical contact with the wires to guarantee a reliable spark. If your ignitor doesn’t spark, adjust the gap accordingly.
This precise spark gap setup is essential for a consistent and powerful ignition every time you fire your potato gun.
Safety Tape Application
Although the screws form the critical spark gap, wrapping them with electrical tape is essential to prevent accidental contact and shorts. After drilling the screws into the PVC, carefully wrap electrical tape around their ends, insulating the metal tips.
Make sure the tape fully covers the screw tips to avoid exposed metal that might cause unintended sparks. Use multiple layers if needed, but keep the tips slightly exposed through the tape so the spark gap functions properly.
Before each use, inspect the tape for wear or peeling to maintain safety.
- Smoothly wrapped electrical tape covering screw ends
- Layered tape creating a secure insulating barrier
- Slightly exposed tip through tape for sparking
- Clean, intact tape preventing shorts and accidents
Connect and Test the Ignitor Wiring
Before you can fire up your potato gun, you’ll need to connect and test the ignitor wiring carefully. Start by extracting the ignitor component from the grill lighter, separating the seams to access the spark mechanism.
Next, attach thumbtacks or small metal wires to the ignitor’s wiring ends—these will act as your spark tips. Insert the thumbtacks into the chamber, spacing them at least 1 inch apart to create a proper spark gap.
Secure the wiring to the thumbtacks with electrical tape, making sure all connections are tight and insulated. Finally, test the ignitor by pressing its button in a safe direction and confirm that a spark jumps across the spark gap.
This guarantees your wiring is connected and working perfectly before moving forward. Easy, right? Just take it step by step and you’ll be set!
Load the Potato Into Your Potato Gun Barrel
When you’re ready, pick a medium-sized potato that fits snugly into your barrel. Use a broomstick to gently push it in no more than two inches deep. Make sure it’s centered for a smooth, consistent shot.
To properly load the potato into your potato gun barrel, follow these tips:
- Choose a potato that’s not too tight or loose in the barrel.
- Use a broomstick to push the potato evenly and gently.
- Avoid pushing the potato too far to prevent jamming.
- Trim any potato bits sticking out to guarantee a tight seal.
Add Fuel Safely to the Chamber
Since fueling your potato gun chamber properly is essential for safe operation, you’ll want to use a hairspray that resists turning into liquid quickly. Spray 3-4 seconds of this fuel directly into the chamber to provide enough ignition power without excessive buildup.
Make sure to keep the male coupling unscrewed during fueling so the hairspray stays moist and doesn’t dry out, sealing the chamber prematurely. Always spray before screwing on the cap to ensure proper ignition.
After fueling, wait at least 24 hours before firing to let the fumes dissipate and lower explosion risk. These steps guarantee your potato gun works efficiently and safely, with technical support by Autodesk helping you optimize every phase of assembly and fueling.
Fire Your Potato Gun and Follow Safety Tips
After fueling your potato gun chamber and letting the fumes settle, you’re good to fire safely. Always put fire safety first by aiming your gun in a safe direction. Make sure bystanders stay well away.
Load the potato snugly, but don’t push it too far into the barrel. Spray hairspray into the chamber for 3-4 seconds, then seal it before firing. Just don’t overdo the spray to keep the risk low.
Never look down the barrel or press the ignition button without taking precautions. After firing, wait 7-10 minutes to let fumes clear before trying the spark again.
- Aim your potato gun away from people, animals, and fragile objects
- Keep everyone at a safe distance before ignition
- Handle the gun carefully to avoid accidents
- Allow time for fumes to clear between shots
Frequently Asked Questions
What Is the Best Material for a Potato Gun?
The best material for your potato gun is metal, like aluminum or stainless steel. They’re durable, handle pressure well, and reduce cracking risk. You’ll want to reinforce and seal everything properly for safety and consistent firing.
How to Craft Potato Cannon in Create?
You’ll craft a potato cannon so powerful it could launch spuds to the moon! Grab PVC pipes, cut precisely, cement securely, install the ignitor, and prime with hairspray—then brace yourself for an epic spud blast!
What Is the Best Propellant for a Potato Gun?
You’ll want to use hairspray as the best propellant because its high alcohol content ignites easily and burns quickly. It gives you strong, consistent combustion, making your potato gun safer and more powerful than other sprays.
What Is a Spud Gun?
A spud gun is a device you use to launch potatoes by igniting fuel inside a chamber. It creates a quick explosion that propels the potato through a barrel using compressed air or combustion.
Conclusion
Now that you’ve built your potato gun, you’re ready to launch spuds like a pro. Just like a well-oiled machine, each step works together smoothly to create fun and excitement.
Remember, safety’s key—always wear protective gear and never aim at people or animals. Keeping safety in mind makes your potato gun experience enjoyable and worry-free.
With your trusty potato gun in hand, you’re set for hours of safe, thrilling fun. Enjoy every shot and keep your potato gun adventures popping!
Building and using a potato gun is a fantastic way to have fun outdoors while learning about basic physics and creativity. So grab your spuds, stay safe, and get ready for some exciting potato gun action!