How to Attach a Sling to a Rifle in 10 Easy Steps
To attach a sling to your rifle, first gather all the necessary tools and secure the rifle in a padded vise. This will keep your rifle steady and protect it while you work.
Next, you’ll want to measure and mark the sling mount points carefully. Aim for about 11 inches from the trigger guard and 2 1/4 inches from the butt plate.
Choosing the right drill bits and cutting screws to size is key for a solid fit. Drill pilot holes carefully to avoid damaging your rifle, then gradually enlarge them to the right diameter.
After that, attach the swivels using screws and apply thread locker to keep everything secure.
Finally, connect your sling and adjust it for comfort and quick adjustments on the go.
Stick around for detailed tips that will help you get a perfect fit every time!
Key Takeaways
- Secure the rifle upside down in a padded vise to stabilize the sling mount areas before installation.
- Measure and mark sling swivel mount points approximately 11 inches from the trigger guard and 2¼ inches from the butt plate.
- Drill pilot holes gradually enlarging from 1/16 inch to the appropriate size, maintaining a perpendicular angle to avoid damage.
- Attach swivels using screws with thread locker, ensuring screws fit snugly and are tightened without overtightening.
- Connect the sling ends to swivels, adjust length for comfort, and test sling fit in various shooting positions for optimal support.
Gather Tools for Sling Installation
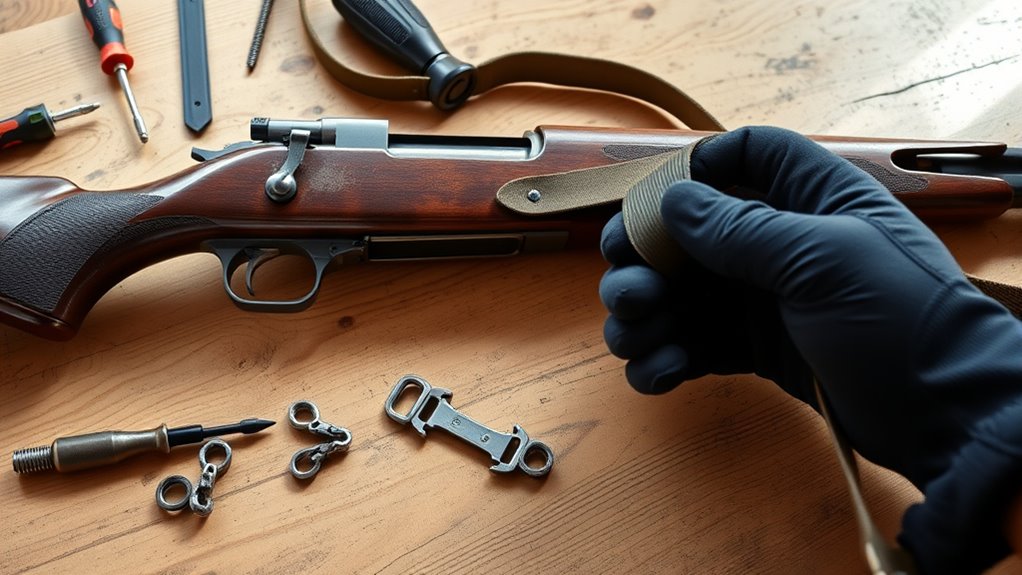
Before you begin attaching a sling to your rifle, gather all the necessary tools and materials to guarantee a smooth installation. Start with a power drill equipped with drill bits ranging from 1/16 to 3/16 inch, perfect for precise holes.
Gather the right tools, including a power drill with 1/16 to 3/16 inch bits, for smooth sling installation.
You’ll also need reliable sling hardware like QD swivels or HK clips that fit your rifle’s mounting points. Don’t forget superglue or Loctite to keep screws from loosening over time.
Use a center punch and hammer to accurately mark drilling spots if required. Additionally, have painter’s tape, a tape measure, and paper towels on hand to protect your rifle’s finish.
Collecting these essential tools and hardware upfront ensures your sling installation goes quickly and securely without unexpected hiccups. It really makes the whole process a lot easier!
Secure Rifle in Padded Vise for Sling Mounting
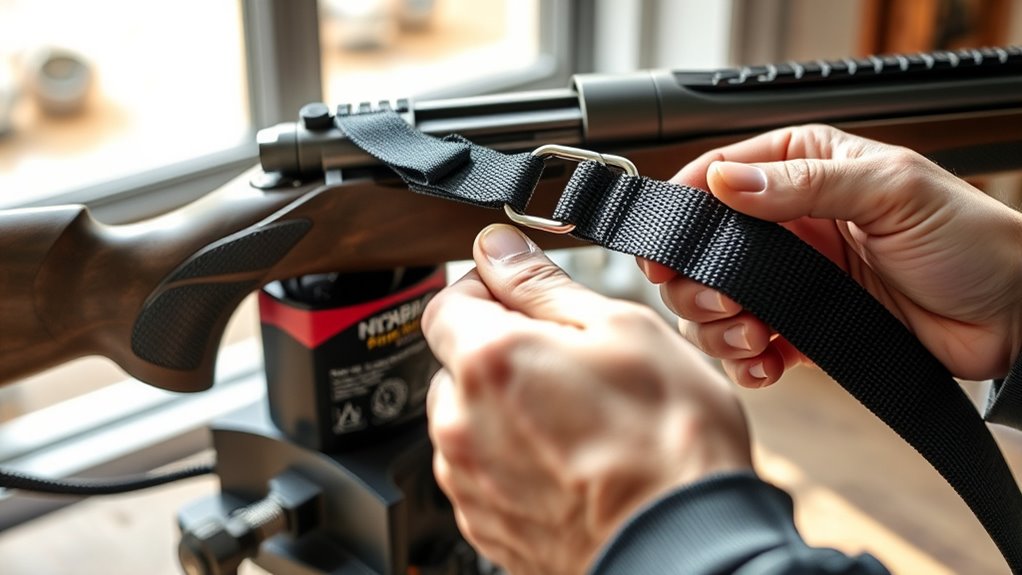
Once you’ve gathered your tools and hardware, the next step is to secure your rifle firmly in a padded vise to prepare for sling mounting. Flip the rifle upside down with the trigger guard facing upward, then position it in the vise.
Use padding—such as paper towels or a soft cloth—inside the vise jaws to protect the rifle’s finish from scratches. Make sure the barrel and stock are evenly supported so the rifle remains stable and accessible where you’ll mount the sling.
Clamp the rifle firmly but don’t overtighten, as this could damage the firearm. Double-check that the rifle is steady and correctly oriented, with the sling mount area fully accessible.
Taking these precautions guarantees a safe, secure setup for the next steps in attaching your sling. It’s all about making sure everything’s in place before you move forward.
Measure and Mark Sling Mount Points Accurately
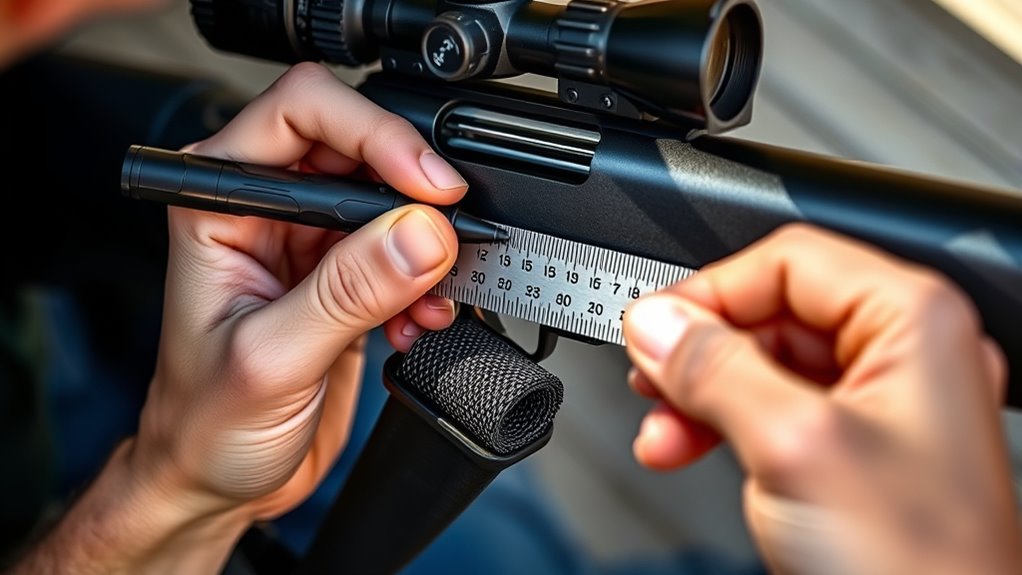
You’ll want to use a tape measure to find the exact spots for your sling mounts, typically about 11 inches from the trigger guard in front and 2 1/4 inches from the butt plate at the rear.
Mark these points carefully with painter’s tape to protect the stock and guide your drilling. Always double-check your measurements to make certain the sling sits comfortably and functions properly.
Taking a little extra time here really pays off. It makes sure everything lines up just right and feels good when you’re out in the field.
Precise Measurement Techniques
Although attaching a sling might seem straightforward, measuring and marking the sling mount points accurately is vital to guarantee comfort and functionality. Precise measurements ensure the sling supports your rifle properly and suits your shooting stance.
Follow these steps for correct placement before drilling:
- Use a tape measure to find the ideal front mount location, about 11 inches from the trigger guard.
- Measure roughly 2 1/4 inches from the butt plate for the rear mount.
- Mark these points lightly with painter’s tape or a pencil line for easy reference.
- Double-check all measurements to avoid misalignment during drilling.
Taking a little extra time here really pays off. You’ll be glad you did!
Marking Tips And Tools
When measuring sling mount points, using the right tools and marking techniques guarantees accuracy and prevents errors during installation. Start by using a tape measure to get precise measurements, like placing the front swivel about 11 inches from the trigger guard.
Mark these points clearly with painter’s tape to avoid slipping or misalignment during drilling. Always measure both sides of the rifle to confirm symmetrical sling attachment points.
For proper alignment, verify your markings with a square or level, especially if you’re marking multiple points. Double-check all measurements before drilling to prevent misplacement that could affect sling stability or damage the rifle stock.
Following these marking tips and tools will help you achieve perfect alignment and reliable sling mounting every time.
Choose Drill Bits and Screws
Choosing the right drill bits and screws is essential to securely attach your sling without damaging the rifle stock. Start by selecting drill bits sized from 1/16 inch to 3/16 inch to create pilot holes that match your screws.
Make sure the screw length won’t penetrate beyond the stock’s depth, preventing internal damage. This step is super important to keep everything safe inside the stock.
Keep these tips in mind: Begin drilling pilot holes with a 1/16-inch bit about 3/8 inch deep, using painter’s tape as a depth guide. It helps you drill to the right depth without guessing.
Then, gradually increase the drill bit size up to 3/16 inch for a clean, accurate hole. This way, the screws will fit perfectly.
Also, double-check your screw length carefully; it should fit snugly without overextending. Using the right drill bits helps you maintain a straight drilling angle, which is key for proper screw seating.
This preparation sets the stage for a secure, damage-free sling attachment. You’ll thank yourself later when everything holds tight and looks great!
Cut Screws to Protect Your Stock
Before fully installing your screws, you’ll want to cut them to the exact length needed to avoid damaging the rifle stock. Start by measuring the required screw length carefully, making certain it won’t extend beyond the depth of the stock.
Mark the desired length on the screw with tape or a marker to keep your cutting consistent. Use a Dremel or similar tool for cutting screws, taking care not to damage the threads.
Before final installation, test-fit the screw into the hole to verify the length. Cutting screws precisely protects your stock from internal damage and guarantees a secure, flush fit.
Taking these steps assures effective stock protection while attaching your sling. It’s a simple way to keep your rifle in top shape!
Drill Pilot Holes With Depth Guides
Before you start drilling, mark your desired depth on the bit with tape to avoid going too deep.
Begin with a small drill bit to create a precise pilot hole, then work up to the right size.
Keep the drill steady and straight to protect your rifle’s stock and guarantee accuracy.
Use Tape Depth Markers
When you drill pilot holes for attaching a sling, using tape as a depth marker really helps prevent drilling too deep into the stock. Just apply painter’s or masking tape on your drill bit and mark the depth you want—usually about 3/8 inch.
As you drill, stop once the tape reaches the stock’s surface. This way, you keep the drilling depth consistent. It’s a simple trick that makes screw insertion much more precise later.
- Wrap tape around the drill bit at the correct depth.
- Drill slowly, watching for the tape to reach the stock surface.
- Regularly check tape markers to avoid over-drilling.
- Remove tape after drilling to clear the hole for screws.
Using tape markers keeps your pilot holes accurate. Plus, it protects the stock and makes putting screws in way easier.
Start With Small Bit
Since precision is key, start by selecting a 1/16-inch drill bit to create pilot holes that match your screw size. Wrap painter’s tape around the drill bit to mark the depth, usually about 3/8 inch, serving as your depth gauge.
Insert the drill bit into the drill at low speed and drill carefully, stopping often to check the tape or depth gauge. Gradually increase the drill bit size up to 3/16 inch, maintaining accuracy for proper screw placement.
| Step | Tool/Item | Purpose |
|---|---|---|
| 1 | 1/16-inch drill bit | Start pilot hole |
| 2 | Painter’s tape | Mark drilling depth |
| 3 | Depth gauge | Avoid over-drilling |
| 4 | Power drill | Drill pilot hole |
| 5 | Larger drill bits | Enlarge hole as needed |
Maintain Straight Drill Angle
A steady hand and a consistent angle are essential as you drill pilot holes for your sling attachment. Maintaining a proper drill angle guarantees straight alignment, preventing angled or uneven holes that could weaken the sling mount.
To keep your pilot holes precise, follow these tips:
- Use painter’s or masking tape on the drill bit to mark the desired depth as a guide.
- Drill slowly, holding the bit perpendicular to the surface to maintain a straight drill angle.
- Start with a small bit (like 1/16 inch), then gradually increase to the final size without changing the angle.
- Wrap tape or use a depth stop on the bit to avoid drilling too deep.
Enlarge Holes Gradually Without Splitting
Although drilling holes may seem straightforward, enlarging them without splitting the wood requires patience and careful technique. To enlarge holes safely, start with a small 1/16-inch drill bit to create a pilot hole.
Gradually increase the drill bit size in small steps—3/32-inch, then 1/8-inch, and finally 3/16-inch—using a steady drilling technique. Apply consistent pressure and drill slowly to maintain control and prevent splitting.
Placing masking tape across the drilling area helps guide depth and diameter, reducing the risk of over-drilling. If you notice any cracking or splitting, slow the drill speed or pause to check the material.
Following this methodical approach guarantees you enlarge holes cleanly and maintain the wood’s integrity throughout the process. It might take a bit more time, but it’s definitely worth it!
Attach Swivels and Insert Screws With Thread Locker
When you’re ready to attach the swivels, start by inserting each screw through the swivel and aligning it with the pre-drilled hole in your rifle stock. Before tightening, apply a small amount of thread locker to the screw threads to prevent loosening during use.
Then, use a screwdriver or drill to secure the screw firmly without over-tightening. Make certain the screw sits perpendicular to the barrel for proper swivel function and to avoid damage.
Repeat this process for each mounting point. Remember to:
- Insert the screw through the swivel and align properly
- Apply thread locker to each screw thread
- Tighten screws securely but avoid over-tightening
- Make sure screws are perpendicular to maintain swivel function
This guarantees a safe, durable attachment of your sling swivels.
Attach and Adjust Sling for Comfort
After securely attaching the swivels with thread locker, you’ll want to focus on setting your sling for maximum comfort and functionality. Start by attaching the sling’s forward end to the left side of the rifle’s stock or handguard. Make sure the padded section rests over your shoulder for comfort.
Next, secure the rear end on the opposite side of the stock. Measure and adjust the sling length so it supports the rifle snugly against your shoulder without slack or tightness.
Use tri-glides or adjusters to weave the webbing and lock in the desired length. This lets you adjust quickly while keeping the rifle close to your body. Taking these steps guarantees your sling offers stable support and all-day comfort during use.
Test and Adjust Sling in Shooting Positions
To guarantee your sling provides both stability and comfort, test it in various shooting positions like prone, sitting, and standing. This helps you identify how well the sling supports your rifle in real use.
As you test, adjust the sling tension so the rifle stays snug against your shoulder without limiting movement. Make sure the sling length allows you to shift quickly and smoothly between positions.
Also, check that the sling doesn’t interfere with your gear or block your sightline. Focus on these key points when you test and adjust your sling:
- Stability in different shooting positions
- Comfort without restricting movement
- Smooth transitions between stances
- No interference with gear or sightline
Fine-tune your adjustments based on your shooting experience for optimal control. It’s all about finding what works best for you.
Frequently Asked Questions
How Does a Sling Attach to a Rifle?
You attach a sling to a rifle by clipping or threading its ends onto mounting points like QD swivels or loops on the stock and handguard. This keeps your rifle secure and easy to carry comfortably.
How to Apply a Sling Step by Step?
Imagine John securing his hunting rifle; first, you clip the sling’s front end to the QD swivel, then attach the rear. Next, adjust the length for comfort, tighten it snugly, and test for secure, easy carrying.
How to Install a 2 Point Rifle Sling?
You’ll attach the sling’s rear swivel to the stock and the front swivel to the handguard. Then, adjust the length for comfort and secure the webbing with tri-glides or buckles to keep it tight and stable.
How to Install a 3 Point Rifle Sling?
You’ll attach three swivels—front, rear, and mid-stock—secure them tightly, loop the sling through each point, adjust length evenly, and tighten buckles for comfort. Test stability by carrying the rifle, ensuring all connections hold firm.
Conclusion
Now that you’ve attached your sling, you’ll find it’s as steady and reliable as a well-trained companion. With each step, you’ve guaranteed your rifle is secure and comfortable for every shot.
Don’t forget to test and adjust the sling in different positions to get the perfect fit. This simple addition will make your shooting experience smoother and more enjoyable.
Attaching a sling to your rifle not only adds stability but also enhances comfort during long sessions. With the right adjustment, carrying your rifle becomes easier and more convenient, boosting your confidence every time you head out.
So, take a moment to fine-tune your sling setup. A properly attached and adjusted rifle sling is a game-changer for both novice and experienced shooters alike, making every shot count.