How to Load a Staple Gun in 3 Simple Steps
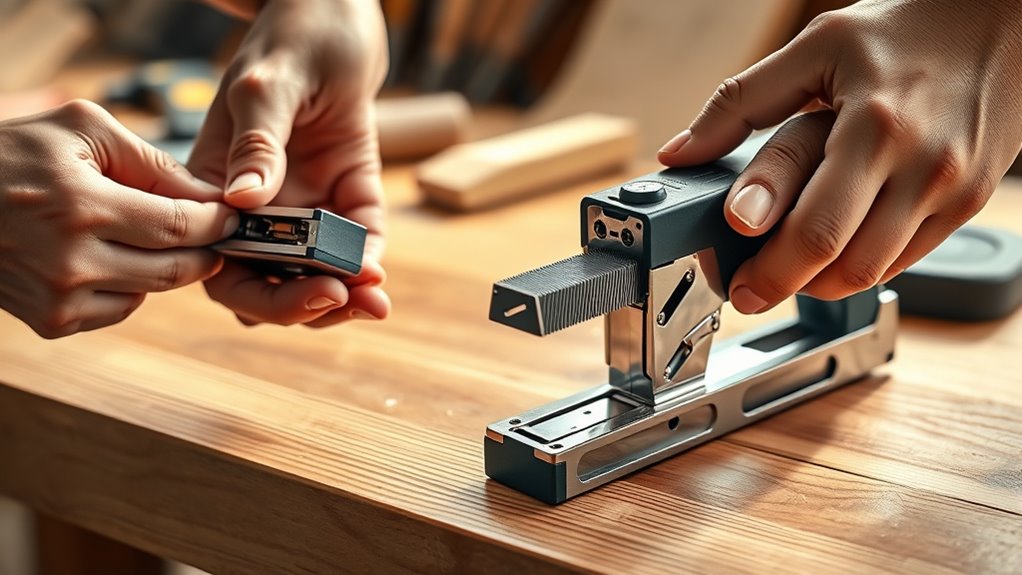
To load your staple gun, start by removing the chrome bracket. Just push it forward to release, then gently pull it away. This gives you easy access to the loading chamber.
Next, grab the correct fasteners—whether you’re using traditional staples, U-shaped staples, or T-head nails. Make sure they’re lined up properly and fit snugly inside the chamber.
Finally, push the plunger all the way in to secure the fasteners.
Before you get to work, test the gun on some scrap material to make sure it’s working smoothly.
Keep going to discover more tips for safe, effective stapling!
Key Takeaways
- Ensure the staple gun is unloaded and not pressurized before opening the loading chamber.
- Push the chrome bracket forward to unlock and carefully remove it to access the loading area.
- Insert the correct fasteners (staples or nails) properly aligned inside the loading chamber.
- Push the plunger fully to secure the fasteners, then release it slowly to check tension.
- Test the staple gun on scrap material to confirm proper loading and smooth firing.
Take Off the Chrome Bracket to Open the Loading Chamber
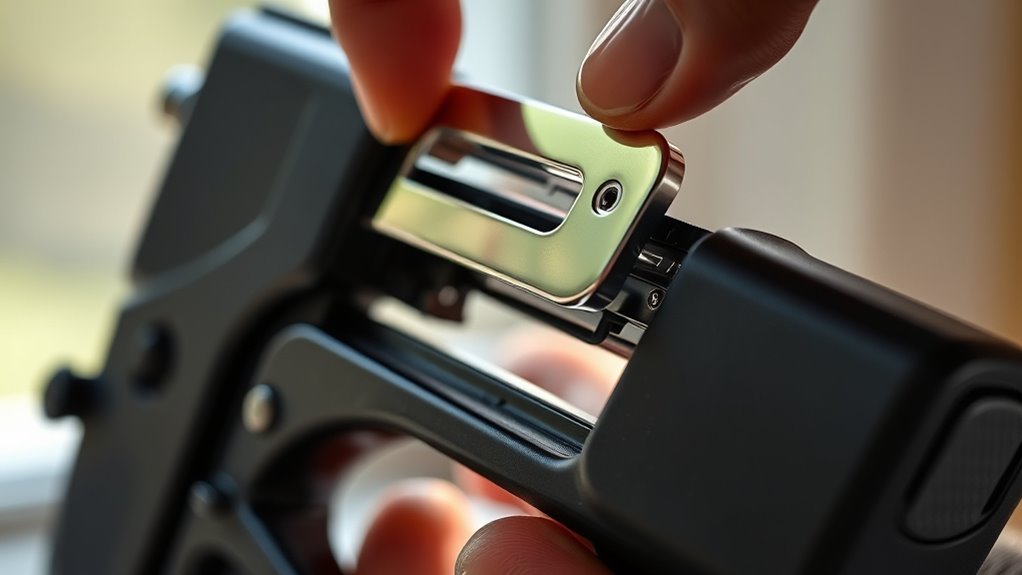
Before you begin, make sure the staple gun is neither loaded nor pressurized to avoid accidental injury. To take off the chrome bracket and open the loading chamber, make sure you hold the staple gun securely.
Always ensure your staple gun is unloaded and unpressurized before removing the chrome bracket safely.
Push the chrome bracket forward to release it from its locking position. Once it’s free, carefully pull the bracket away from the tool.
The chrome bracket contains a spring and staple shoe, so handle it gently to avoid damaging these parts. Make sure you store the removed chrome bracket safely if you plan to reattach it later for switching fastener types.
Removing this bracket gives you full access to the loading chamber, preparing your staple gun for the next step in loading. Easy, right? Just take it slow and steady.
Load Traditional Staples, U-Shaped Staples, or T-Head Nails
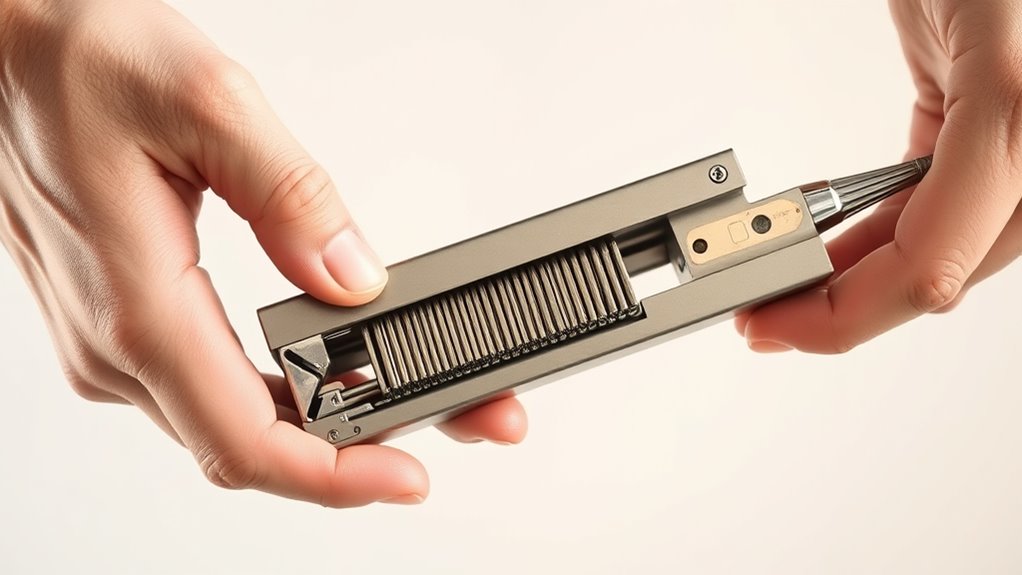
Once you’ve removed the chrome bracket, you can load traditional staples, U-shaped staples, or T-head nails by placing them carefully into their designated slots.
For traditional staples, slide them into the staple shoe, making sure they’re aligned properly within the tensioned channel. U-shaped staples go directly into the middle of the channel; position them so the staple shoe can secure them firmly.
If you’re loading T-head nails, insert them into their specific slot, ensuring they fit snugly. Align each fastener flush to avoid jamming or misfires.
Keep everything neat and in place so your staple gun functions smoothly when you’re ready to use it. This careful placement is key to proper operation and safety during your project.
Secure Fasteners With the Plunger and Test the Staple Gun
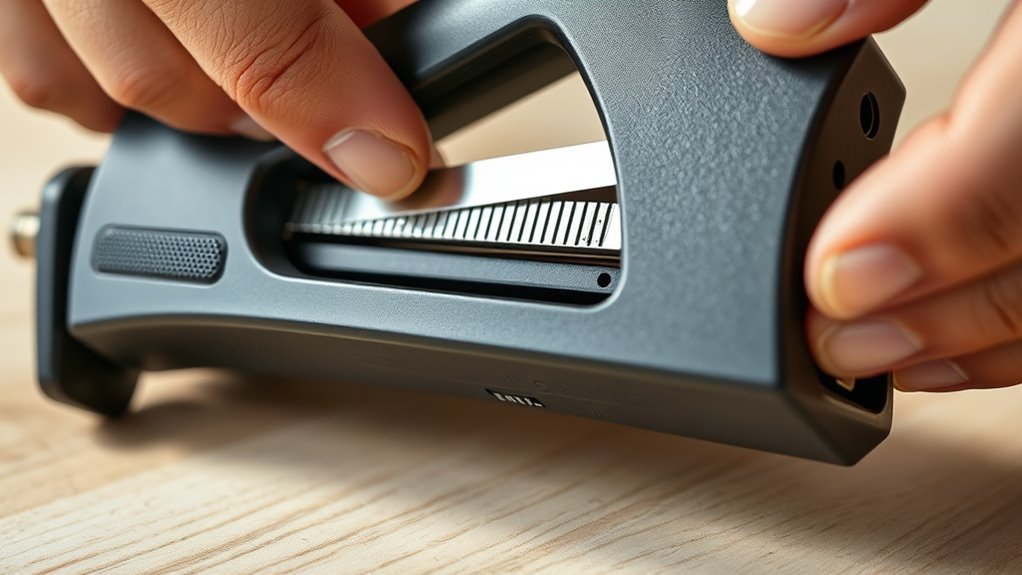
After loading your fasteners, push the plunger fully in to lock them securely in place within the staple gun. Release the plunger slowly to confirm the fasteners are properly tensioned and seated.
Before testing, check that the staple or nail is flush with the surface to avoid misfires. Then, follow these steps:
Ensure the staple or nail sits flush with the surface before testing to prevent misfires.
- Test the staple gun on a scrap piece of material to verify the fastener fires correctly and is properly placed.
- If the staple or nail doesn’t fire properly, adjust the tension or reinsert the fasteners.
- Repeat the test until the staple gun works smoothly and the fasteners sit flush.
This way, you make sure your tool is ready for the job. It helps prevent jams or misfires while you’re working.
Frequently Asked Questions
How to Load a Simple Staple Gun?
You push the chrome bracket forward and pull it out, insert staples into the staple shoe gaps, push the plunger to tension them, then slide staples into place. Finally, test it to make sure they’re securely loaded.
What Is a 3-Way Staple Gun?
A 3-way staple gun lets you quickly switch between staples, U-shaped staples, and T-head nails. You’ll find it perfect for wiring, upholstery, or carpentry, giving you versatile fastening options in one handy tool.
How to Load an Easy Shot Staple Gun?
Like revealing a classic secret, you slide the magazine open, insert staples aligned like puzzle pieces, then close it firmly. You’ll feel the tension set, ready to fire with precision and ease.
How to Refill a Manual Staple Gun?
To refill a manual staple gun, pull out the magazine, insert the staples carefully, align them properly, push the magazine back in, and test the gun on scrap material to guarantee it fires correctly and smoothly.
Conclusion
Now that you know how to load a staple gun in just three simple steps, you’re ready to tackle your next project with confidence. Did you know that over 60% of DIY enthusiasts prefer staple guns for their speed and efficiency?
By taking off the chrome bracket, loading your fasteners, and securing them properly, you’ll save time and avoid frustration. It’s really that easy!
Keep practicing, and your staple gun will quickly become an essential tool in your DIY kit. Whether you’re upholstering furniture or completing home repairs, mastering how to load a staple gun fast makes every task simpler. With a properly loaded staple gun, you’ll work more efficiently and get professional results every time. So, grab your staple gun, follow these steps, and enjoy the confidence that comes with using this handy tool like a pro!