How to Clean a Rifle in 10 Easy Steps
First, unload and secure your rifle to guarantee safety. This is the most important step before you start cleaning. Gather quality cleaning supplies like a one-piece rod, solvent, brushes, and patches to make the job easier and more effective.
Carefully disassemble the rifle, inspecting parts as you go. Take your time here—knowing your rifle well helps prevent damage. Apply solvent and brush the bore thoroughly to break down any fouling inside.
Then, use patches to remove fouling and dry the barrel. Don’t rush this part; clean patches should come out mostly clean.
Lightly lubricate moving parts before reassembling to keep everything working smoothly.
Finally, check function to confirm smooth operation. This quick test ensures your rifle is safe and reliable for the next use.
Follow these steps, and you’ll keep your rifle accurate and dependable, with more helpful tips to explore ahead.
Key Takeaways
- Ensure the rifle is completely unloaded and disassemble it according to the manufacturer’s instructions. This step is crucial for your safety, so take your time and double-check.
- Use a high-quality cleaning rod, solvent, and brushes to thoroughly clean the barrel and remove fouling. Make sure you get all the gunk out to keep your rifle in top shape.
- Apply a light coat of lubricant to all moving parts, focusing on key friction points without over-lubricating. You want just enough to keep things running smoothly, but not so much that it attracts dirt.
- Clean external surfaces and small recessed areas with appropriate cloths and solvent-dipped swabs. Don’t forget those tiny spots—they can really affect performance if neglected.
- Reassemble the rifle carefully and perform a function check to confirm proper operation before storage or use. Taking this final step ensures everything is working as it should.
Unload and Secure Your Rifle for Cleaning
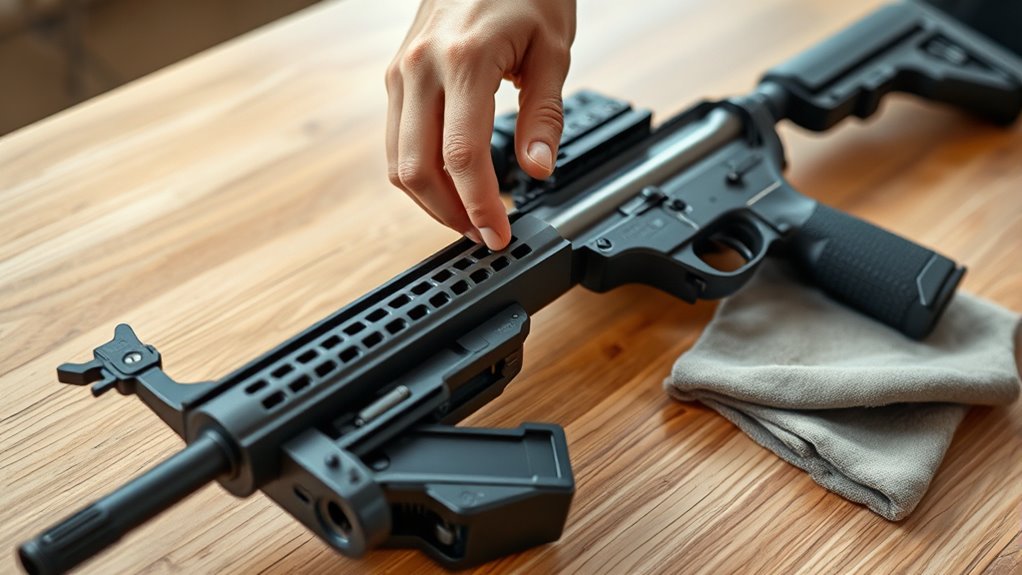
Before you begin cleaning, always double-check that your rifle is completely unloaded by inspecting the chamber, magazine, and bolt multiple times. This step is essential to avoid any accidental discharge.
Once you’re sure the rifle is safe, secure it firmly in a gun vise, positioning the barrel angled downward to prevent solvents from flowing into the action. Next, disassemble your rifle by removing the bolt, scope, and any accessories. This makes cleaning easier and protects delicate parts from damage.
Use nitrile or latex gloves to keep your hands safe from chemicals and to prevent transferring oils or dirt onto your firearm. Finally, lay out the disassembled parts on a towel-covered surface to keep everything organized and clean as you work.
Gather Essential Rifle Cleaning Gear and Supplies
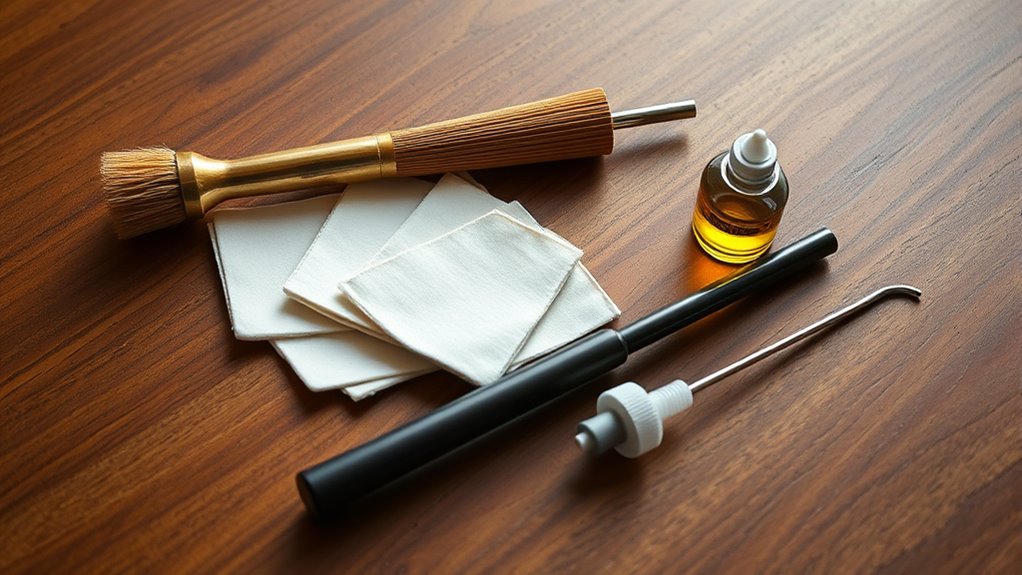
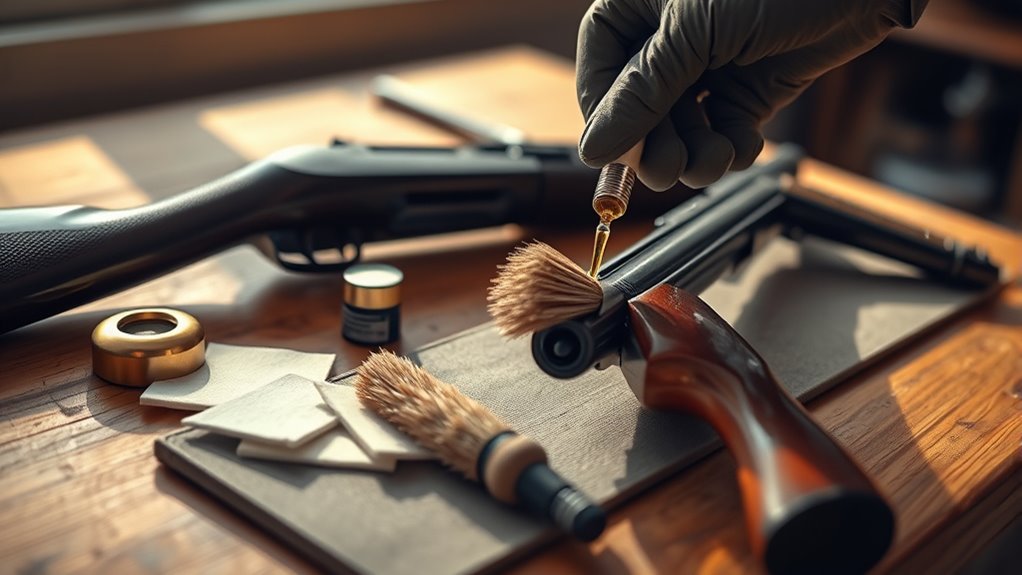
When you’re ready to clean your rifle, gathering the right gear and supplies guarantees the process goes smoothly and protects your firearm’s integrity. Start with a high-quality, one-piece cleaning rod made of carbon fiber or uncoated stainless steel to avoid bore damage.
Gather the right gear, starting with a quality one-piece rod, to protect your rifle during cleaning.
Choose properly sized, lint-free patches to clean effectively without leaving residue. Include a copper remover to break down fouling and maintain accuracy.
Use bronze or nylon brushes for thorough cleaning, and avoid sectionalized steel rods that can harm the crown and rifling. Bore guides help center your cleaning rods and keep debris out of the action.
Finally, maintain your brushes, jags, and patches by cleaning them regularly with brake cleaner. With these essentials, your rifle cleaning will be safe and efficient every time.
Disassemble Your Rifle Safely and Effectively
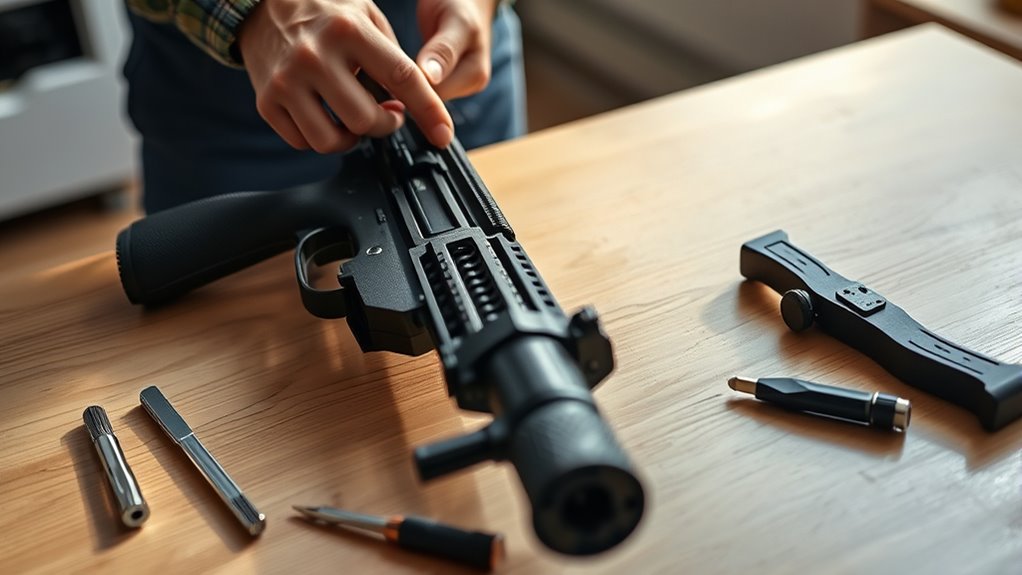
How do you guarantee your rifle is ready for a thorough cleaning without risking safety? First, confirm your rifle is completely unloaded by checking the chamber and magazine multiple times. Never skip this vital step before disassembly.
Next, consult your owner’s manual or the manufacturer’s website for model-specific disassembly instructions. Wearing nitrile or latex gloves protects your hands and prevents oils from transferring onto components.
Carefully remove the slide, guide rod, spring, and barrel, placing each part on a towel-covered surface. As you disassemble, conduct a thorough inspection of all components for wear, damage, or fouling.
This careful process guarantees you handle your rifle safely and prepares each part for effective cleaning.
Apply Solvent and Brush the Rifle Bore Thoroughly
Although cleaning the bore can seem intimidating, applying solvent and brushing it thoroughly is essential for maintaining accuracy and reliability.
Start by soaking a nylon bore brush with a high-quality solvent like KG #1 Carbon Remover. Run the solvent-soaked brush through the entire bore in one direction, applying firm, consistent pressure.
Scrub the bore about 20 times per pass, focusing on areas with visible fouling or carbon buildup. Repeat this cleaning process with fresh solvent on the brush until the debris loosens and patches begin to come out cleaner.
This step helps break down stubborn residue deep inside the bore. Always remember to follow up with dry patches to remove excess solvent and debris, ensuring the bore is ready for the next stage of cleaning.
Run Patches to Remove Fouling From the Rifle Bore
Start by running 3-4 wet patches soaked in solvent through the bore. Watch as the patches gradually get cleaner.
Keep passing patches until they come out free of fouling and residue. This shows the bore is properly cleaned and ready for the next step.
Wet Patches With Solvent
Why is running wet patches soaked in solvent through your rifle’s bore so important? Wet patches saturated with solvent help dissolve stubborn carbon and copper fouling inside the bore. This makes cleanup easier and way more effective.
Start by running 3-4 wet patches from the chamber toward the muzzle. These patches will pick up dirt and copper fouling loosened by the solvent. If fouling remains stubborn, use a bronze bore brush lightly soaked in solvent first to break it up.
Always keep the bore damp with solvent during this process to keep dissolving deposits. Replace each patch once it stops showing dirt or copper stains. This method makes sure the bore is thoroughly cleaned and prepped for the next steps without leaving harmful residue behind.
Observe Patch Cleanliness
As you run wet patches soaked in solvent through your rifle’s bore, pay close attention to the cleanliness of each one. You’ll notice how the patches gradually show less dirt and copper residue with each pass.
Using properly sized patches guarantees maximum contact with the bore. This makes the cleaning solvent more effective at loosening fouling.
After 3-4 wet patches, switch to dry patches to remove excess solvent and loosened debris. Be sure to regularly check these patches to assess the bore’s condition and track your progress.
Observing the patch cleanliness helps you figure out when fouling has been mostly removed. This way, you’re ready to continue with the next cleaning stage.
This careful observation is key for a thorough and effective rifle cleaning process. It really makes a difference in how well your rifle gets cleaned.
Continue Until Clear
Once you notice the patches showing little to no dirt or residue, keep running wet patches soaked in solvent through the bore until they come out completely clean. Pay close attention to the patches for any color changes like blue or brown stains, which indicate copper or carbon buildup.
If you spot these, continue the process, especially after heavy fouling, to guarantee the bore is thoroughly clean. After the patches come out clean, switch to dry patches to wipe out any remaining solvent and debris.
Run a few dry patches through the bore to confirm no residue remains. By repeating this cycle as needed, you’ll maintain a spotless bore, assuring your rifle functions reliably and safely every time you use it.
Treat Copper Fouling With Specialized Solvent
How do you effectively remove copper fouling from your rifle’s barrel? Use a copper-specific solvent like Sweet’s 7.62 or KG #12 Copper Remover. Soak patches in the solvent and run them through the barrel, letting it sit 15-30 minutes to loosen fouling.
Then, agitate with a bronze or nylon brush soaked in solvent 10-20 times, depending on how bad the fouling is. Check patches for blue staining and repeat the process until they come out clean.
Make sure to keep the bore wet with solvent during the whole treatment. When you’re done, rinse with clean patches to remove any leftover residue.
| Step | Action |
|---|---|
| 1 | Choose copper-specific solvent |
| 2 | Run solvent-soaked patches |
| 3 | Let solvent sit 15-30 minutes |
| 4 | Brush barrel 10-20 times |
| 5 | Check patches; repeat if needed |
Dry the Bore and Apply Protective Oil Coating
After thoroughly cleaning your rifle’s barrel, you’ll want to run several dry patches through the bore to remove any leftover solvent and debris. Attach a dry patch to your cleaning rod and push it through the barrel until it comes out clean.
Then, use a clean, lint-free cloth or patch to gently dry the interior, making sure no moisture remains inside. This step is important to prevent rust from forming.
Next, apply a thin, even coat of protective oil to a fresh patch. Run this lightly oiled patch through the bore with the cleaning rod to evenly coat all metal surfaces.
Lubricate Rifle Components Before Reassembly
Before you reassemble your rifle, make sure to apply a light coat of oil to all the moving parts like the slide rails and bolt body.
Focus on key areas such as the rear of the locking lugs, using a small amount of grease to prevent wear.
Proper Lubrication Techniques
When you lubricate your rifle components prior to reassembly, you guarantee smooth operation and prevent wear. To do this effectively, apply a small amount of gun oil to key parts, ensuring you don’t use excess oil that could attract dirt.
Use a cotton swab or lint-free cloth to lubricate slide rails, the recoil spring, and shiny moving parts carefully.
Remember to:
- Lightly coat the bolt body with oil to reduce friction and corrosion.
- Dab grease on the locking lugs’ rear to promote proper locking.
Avoid over-lubricating to prevent malfunctions. Also, make sure all parts are clean and free of excess oil before reassembly.
Following these steps helps your rifle function reliably and last longer. It’s a simple routine that really makes a difference!
Key Areas To Lubricate
Although proper cleaning is essential, focusing on key areas to lubricate guarantees your rifle operates smoothly and reliably. Start by applying a light coat of lubricant to the slide rails, recoil spring, and the exterior of the barrel to reduce friction and wear.
Use a cotton swab or a lint-free cloth to evenly spread the lubricant on shiny or moving parts, ensuring consistent coverage. Don’t forget to place a small dab of grease on the rear of the locking lugs to help with proper locking and disengagement during firing.
Once you’ve coated these critical components, double-check that no excess oil remains before you reassemble your rifle. Proper lubrication at these points ensures reliable function every time you use your firearm.
Avoiding Over-Lubrication
Applying lubricant to key rifle parts guarantees smooth operation, but you’ll want to avoid over-lubricating. Excess oil can attract dirt and debris, causing malfunctions and increasing cleaning needs.
So, focus on applying a light coat to moving parts like slide rails, recoil spring, and barrel before reassembly. Use a cotton swab or dry cloth to spread lubricant evenly, especially in small or recessed areas. This helps prevent buildup.
- Lightly coat locking lugs and bolt body
- Avoid pooling lubricant in small or recessed areas
- Wipe away excess oil after application
- Perform a function check to guarantee smooth operation
Clean Other Rifle Parts and Remove Debris
Since dirt and debris can accumulate in various parts of your rifle, you’ll want to use a microfiber cloth or mechanics rag to wipe down the exterior surfaces thoroughly.
Next, clean the magazine, magwell, and holster with a dry cloth. Avoid lubricants here to prevent attracting more dirt.
For small or recessed areas like the chamber, bolt face, and trigger assembly, use cotton swabs dipped in solvent to lift stubborn residue.
A dry, soft brush or old toothbrush works well to loosen fouling in hard-to-reach spots. Just remember to apply solvent sparingly on cotton swabs or brushes.
You want to remove debris without over-saturating parts. This careful cleaning keeps your rifle functioning smoothly and extends its lifespan.
Reassemble the Rifle and Check Function
Before reassembling your rifle, make sure all parts are completely dry and free from any cleaning residue to prevent corrosion. Follow the manufacturer’s instructions carefully during reassembly to guarantee each component fits perfectly.
Ensure all parts are dry and residue-free before reassembling to prevent corrosion and ensure proper fit.
Pay close attention to the guide rod, spring, and bolt placement. Once reassembled, perform a thorough function check to verify smooth operation and correct alignment.
During your function check, focus on these key points:
- Cycle the action to ensure smooth movement
- Dry fire to test trigger responsiveness
- Confirm the safety mechanism engages properly
- Test the magazine release for reliable operation
Completing these steps ensures your rifle functions safely and efficiently after cleaning. A final inspection will catch any leftover debris before storage or firing.
Frequently Asked Questions
How to Clean a Rifle Step by Step?
You start by unloading and securing your rifle, then apply solvent to patches and scrub the bore with brushes until clean. Next, dry the barrel, lightly oil it, reassemble carefully, and perform a function check before use.
What Is the Best Thing to Clean a Rifle With?
You’ll want to use specialized solvents like Hoppes Elite or Butch’s Bore Shine—they’re the knight’s sword against carbon and fouling. Avoid household cleaners; instead, finish with gun oil to keep your rifle’s barrel protected.
How to Clean a Gun for Beginners?
You start by unloading your gun and disassembling it carefully. Then, use a bore brush with solvent to scrub the barrel, follow with clean patches, and finish by applying a light coat of oil to protect it.
Does WD-40 Clean Guns?
No, WD-40 doesn’t clean guns effectively. You should use proper gun cleaning solvents to break down fouling and remove residue. WD-40 works better as a lubricant or rust inhibitor after you’ve thoroughly cleaned your firearm.
Conclusion
Cleaning your rifle might seem time-consuming, but following these 10 easy steps makes it quick and straightforward. You don’t need to be an expert or spend hours—just a little routine care guarantees your rifle stays reliable and accurate.
Skipping cleaning can lead to malfunctions or damage, but with this simple process, you’re protecting your investment and improving performance. Give it a try; you’ll be glad you did every time you take a shot.
Regular rifle cleaning is key to maintaining your firearm’s functionality and safety. By sticking to these easy steps, you ensure your rifle performs well and lasts longer. So, whether you’re a seasoned shooter or just starting out, taking the time to clean your rifle properly is well worth it. Keeping your rifle clean not only boosts accuracy but also prevents costly repairs down the line. Remember, a clean rifle is a reliable rifle!