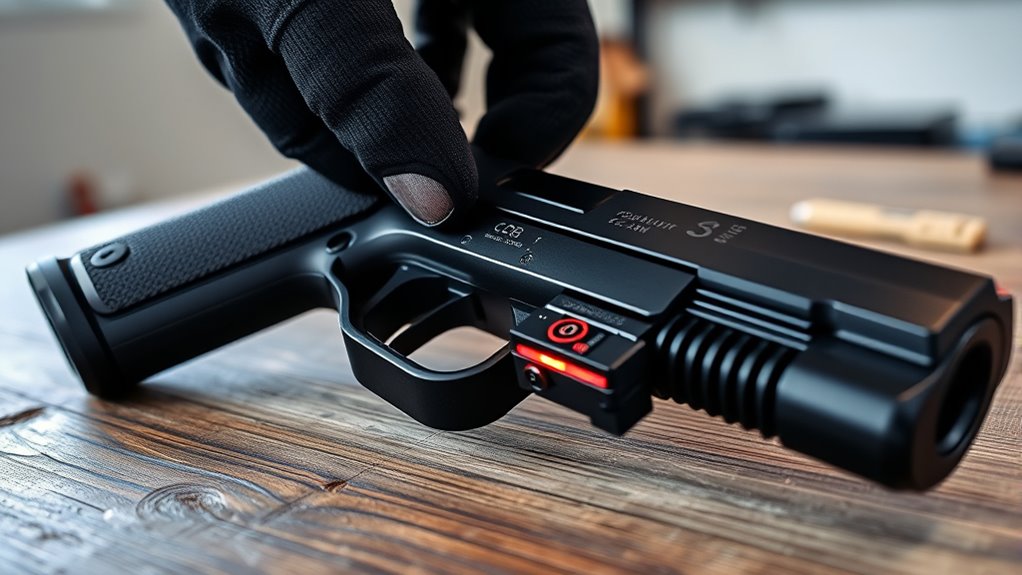
Adjust Laser Sight on Pistol in 3 Easy Steps
First, clear your pistol by removing the magazine and checking the chamber. Then, set up a safe, stable workspace free of live rounds. This step is crucial for safety before you start adjusting your laser sight on the pistol.
Next, align the laser with your iron sights at a known distance. Make small adjustments until the laser dot matches the front sight. It might take a few tries, but patience pays off here.
Finally, test fire a few shots using only the laser. Fine-tune the sight with each group to guarantee accuracy. Keep going to uncover more tips for maintaining precise laser zero.
Key Takeaways
- Ensure the pistol is unloaded, your workspace is clear, and the laser sight is securely mounted before you start making any adjustments.
- Next, align the laser dot with the front iron sight at a known distance, like 7 yards. This helps set a good baseline for your adjustments.
- Use the laser’s adjustment screws to move the laser dot toward the center of the iron sight picture. Take your time here to get it as close as possible.
- Fire three test shots at 7 yards to check if the laser dot matches where the bullets actually hit. This step is key for accuracy.
- If things don’t line up perfectly, just repeat the adjustments and test shots. Keep at it until the laser dot and bullet impacts match consistently.
Preparing Your Pistol and Workspace for Safe Laser Adjustment
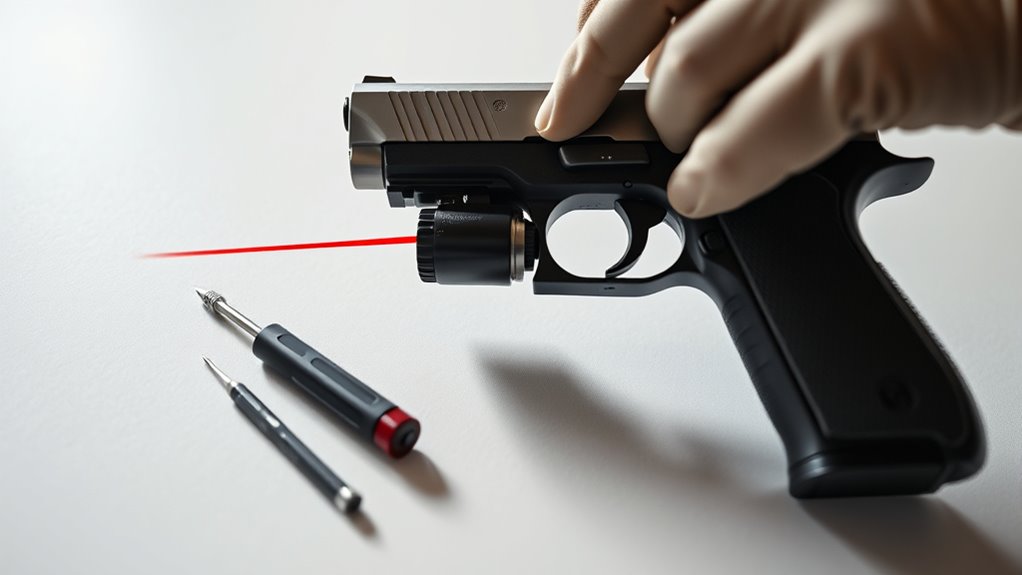
Before adjusting your pistol’s laser sight, make sure you’ve cleared the firearm by removing the magazine, racking the slide, and visually inspecting the chamber. This essential firearm clearance guarantees your safety throughout the process.
Next, set up a safe workspace free of live ammunition to prevent any accidental discharge. Confirm your laser attachment is securely mounted on the pistol to avoid misalignment during adjustments.
To maintain precision, use a stable rest or vise to achieve a steady hold on the pistol while working. Always keep trigger and muzzle awareness, keeping your finger off the trigger and pointing the muzzle in a safe direction.
Align the Laser Sight Using Iron Sights
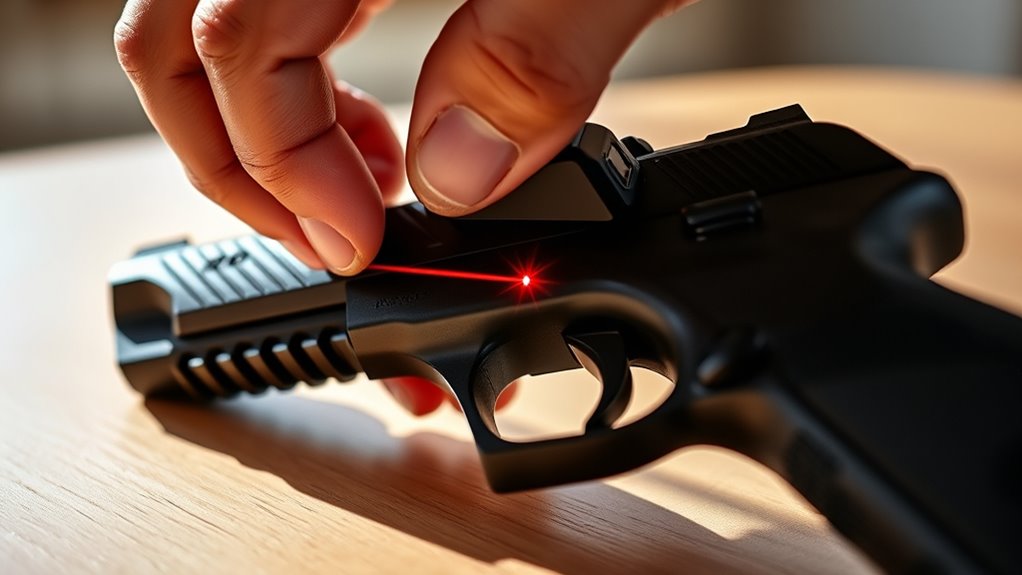
When you align your laser sight using the pistol’s iron sights, you create a consistent reference point that guarantees greater accuracy. Start by sighting your pistol at a known distance, like 7 yards, to establish a reliable sight picture.
Align the front and rear iron sights so they’re centered and level, assure proper sight alignment. Next, visually compare the laser dot to the front sight within the sight picture. If the laser isn’t roughly aligned, make small, incremental adjustments using the laser’s adjustment screws.
After each tweak, recheck the alignment with the iron sights to maintain accuracy. This methodical laser calibration ensures your laser sight complements your iron sights, providing a dependable aiming solution every time you draw your pistol.
Test Your Laser Sight With Live Fire and Fine-Tune the Zero
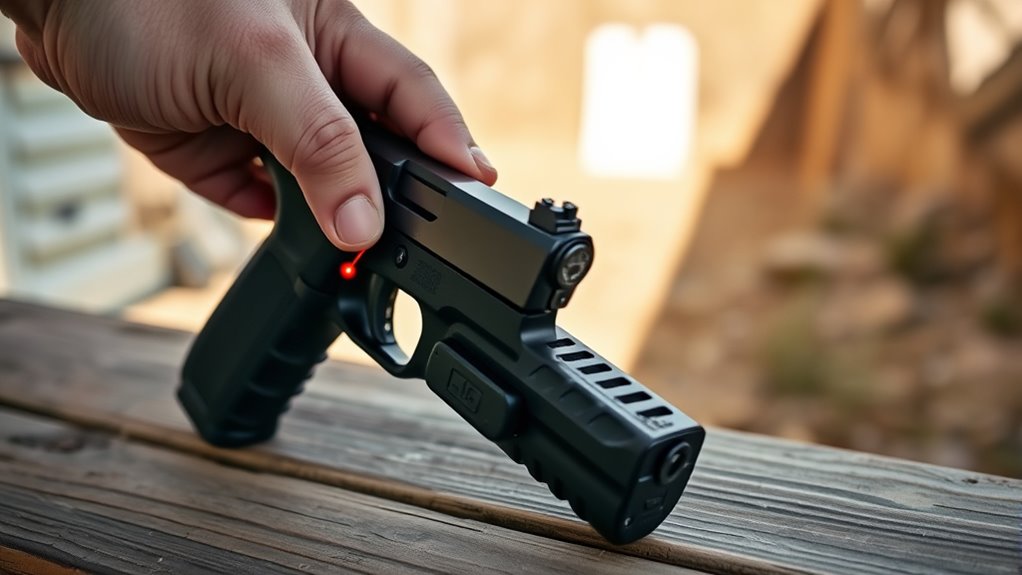
Though you’ve aligned your laser sight with the iron sights, you’ll need to test it with live fire to confirm the zero. Fire three shots at a 7-yard target using only the laser to check your initial laser zero and observe the shot grouping.
Test your laser zero with three shots at 7 yards, relying solely on the laser for accuracy.
To fine-tune the zero, follow these steps:
- Verify alignment by using footage or a witness to confirm the laser dot matches the point of impact.
- If the laser dot is off-center from the shot grouping, adjust the laser sight toward the shot holes.
- Repeat firing and adjusting until the laser dot and shot grouping perfectly align.
- Regularly practice this to maintain your laser zero.
- Consistent testing ensures reliable accuracy during actual use.
It’s a simple process, but doing it right makes all the difference when you’re out in the field.
Frequently Asked Questions
How to Adjust Laser Sight on Gun?
You secure your gun firmly, then use the windage and elevation screws to shift the laser sight. Make small turns, checking the laser’s point of aim closely, until it aligns perfectly with your target.
What Distance Should I Zero My Pistol Laser?
You should zero your pistol laser at 7 yards, like tuning a guitar before a gig—this distance guarantees your laser aligns with your point of impact, giving you reliable accuracy for close-range self-defense situations.
What Is the Basic Rule for Sight Adjustment Pistol?
The basic rule for sight adjustment on a pistol is to align your sights so the point of aim matches the point of impact at your chosen distance, typically 7 yards, ensuring accuracy when you fire.
How to Set a Laser on a Pistol?
You mount the laser securely, then align it roughly using your iron sights. Adjust windage and elevation screws to move the laser beam, fire test shots, and fine-tune until your shots group precisely where you want.
Conclusion
Now that you’ve adjusted your laser sight, you’re ready to hit the bullseye every time. Remember, practice makes perfect, so keep fine-tuning your aim to keep your shots on target.
With your pistol and laser sight working in harmony, you’ll cut through any doubts like a hot knife through butter. Stay safe, stay sharp, and enjoy the confidence that comes with knowing your laser sight is dialed in just right.
Adjusting your laser sight on your pistol might seem tricky at first, but with these simple steps, it becomes second nature. Regular practice not only improves your aim but also ensures your laser stays perfectly aligned.
So, keep your laser sight adjustment routine consistent, and you’ll notice the difference in every shot. Stay confident, stay focused, and let your laser sight guide you straight to the target every time.