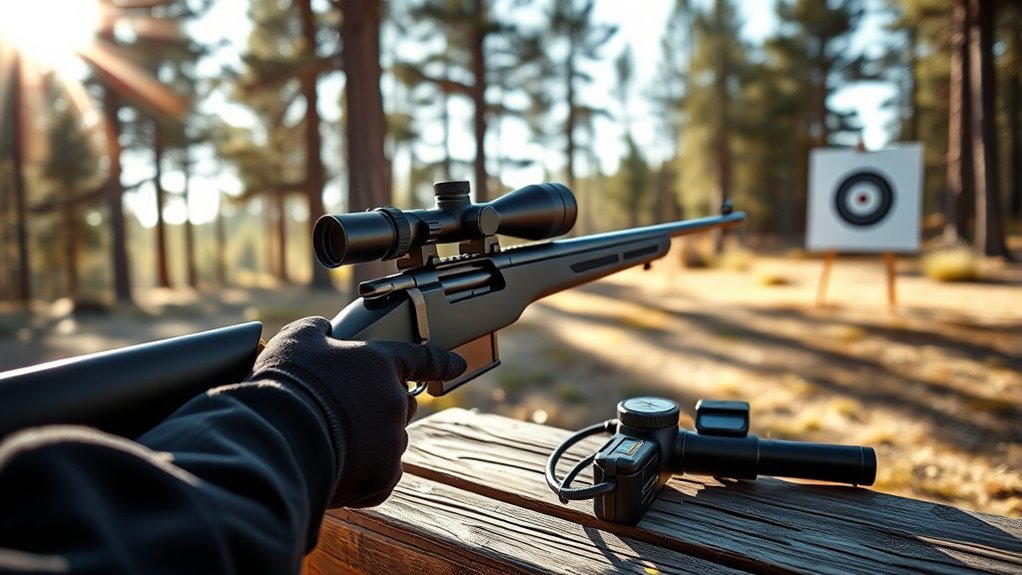
How to Zero a Rifle Scope in 7 Easy Steps
To zero your rifle scope in seven easy steps, start by securely mounting the scope with proper rings and rail. Make sure it’s positioned for correct eye relief, so you get a clear and comfortable view.
Next, choose a zero distance based on your typical shooting range. This will help you get the most accurate shots where it counts.
Then, set up a stable shooting position to minimize movement.
Fire initial shots and carefully measure where your group impacts on the target.
Adjust the turrets precisely for windage and elevation based on those impacts.
Finally, confirm your zero by grouping shots tightly at your chosen range.
Follow these steps, and you’ll soon gain a deeper insight into optimizing your rifle scope setup for consistent accuracy.
Key Takeaways
- Mount and align the scope securely using compatible rings and rails. Make sure you get the proper eye relief and level it before tightening everything down.
- Next, pick a zero distance based on where you usually shoot. Most folks go with 25 yards for close shots or 100 yards for longer-range accuracy.
- Find a stable shooting position using a bench, bipod, or sandbags. Keep your stance consistent and remember to control your breathing.
- Fire a three-shot group at your chosen zero distance. Then, measure how far off your shots are horizontally and vertically from the point of aim.
- Finally, adjust the elevation and windage turrets carefully. Confirm your zero by firing 10 shots that land within 1-2 inches at 100 yards.
Mount Your Rifle Scope Correctly
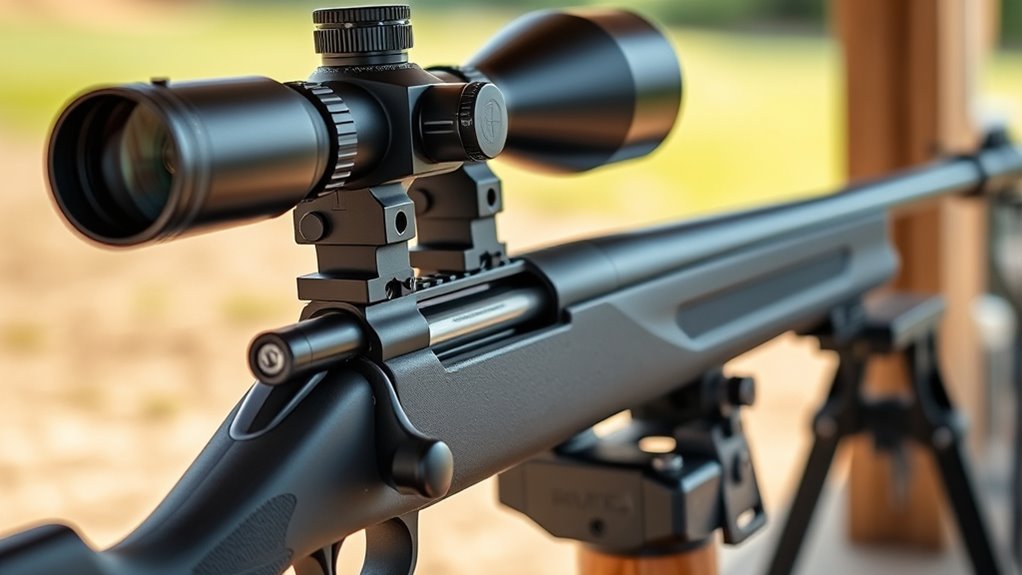
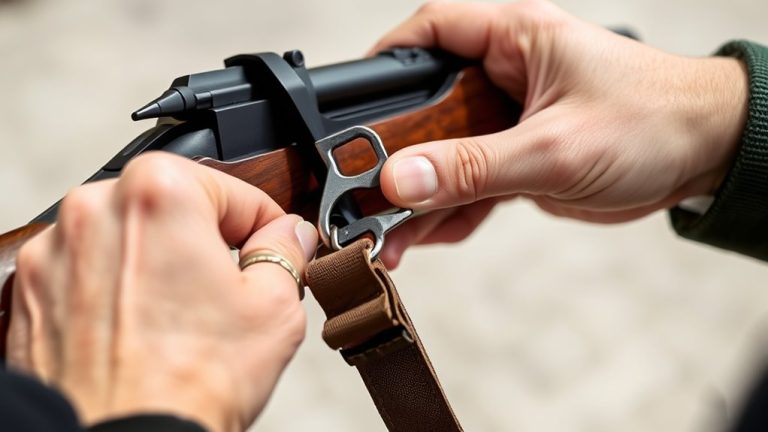
Before you begin zeroing your rifle scope, make sure you mount it correctly on a compatible rail, such as Picatinny or Weaver. Start by selecting rings that match your scope’s diameter—either 1″ or 40mm—and attach them securely to the rail.
Place the scope into the rings and adjust its position for proper eye relief. Use a leveling tool to align the scope horizontally, ensuring perfect leveling before tightening.
When securing the rings, apply the recommended torque—typically around 15 in-lb for the rings and up to 65 in-lb for rail nuts—to prevent any movement without damaging the scope. Avoid over-tightening, as this can deform the scope tube or cause internal damage.
A properly mounted and aligned scope stays secure, making your zeroing process more accurate and consistent. It really pays off to take your time with this step!
Choose Your Zero Distance
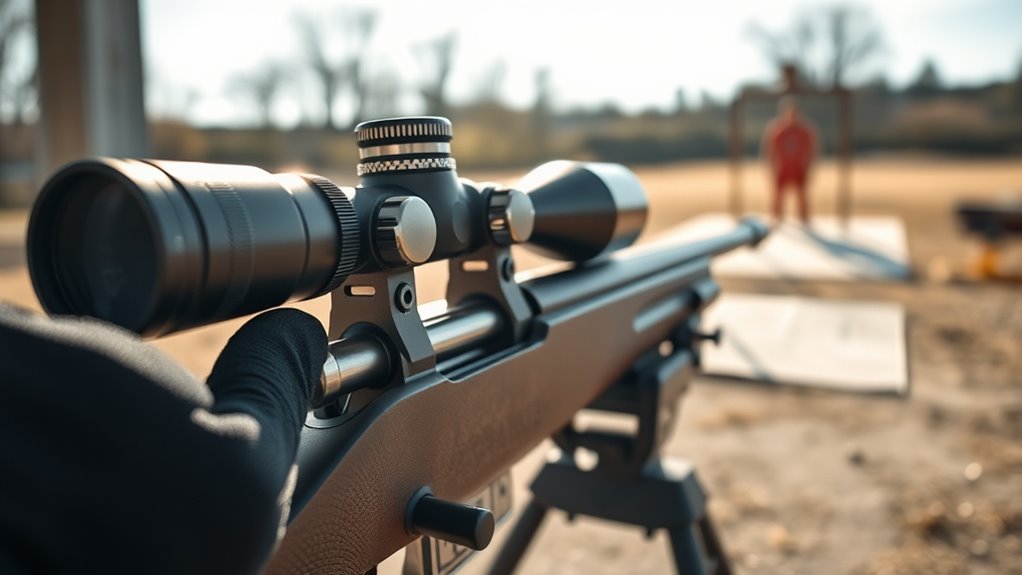
Although zeroing distances vary, choosing the right one depends largely on how and where you plan to use your rifle. The most common zero distances are zero at 25 yards for close-range shooting and zero at 100 yards for standard long-range accuracy.
If you zero at 25 yards, it offers a quick start but expect to adjust for bullet drop at longer distances. Zeroing at 100 yards is ideal if your shooting range often exceeds close quarters, providing a reliable baseline for most scenarios.
Use a ballistic calculator to understand bullet drop and environmental effects on your rounds. Ultimately, your zero distance should match your typical shooting range and intended use, ensuring your scope zeroing delivers precise hits every time you pull the trigger.
Set Up a Stable Shooting Position for Zeroing
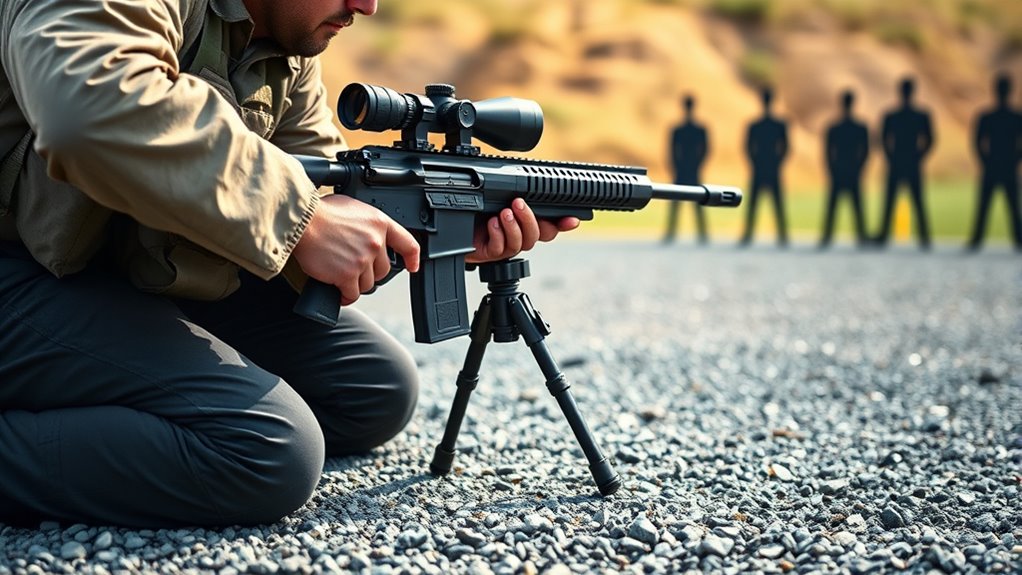
Once you’ve chosen your zero distance, the next step is to set up a stable shooting position that keeps your rifle steady and consistent. A solid foundation helps minimize breathing movement and body sway, which is essential for accurate zeroing.
Follow these steps:
- Use a sturdy bench, bipod, or sandbags for support to stabilize your rifle and reduce movement.
- Adopt a consistent stance—prone or seated—that feels natural and comfortable. This will allow repeatable positioning without fatigue.
- Align your aiming line with the target, making sure your shooting position lets you have a steady, controlled trigger pull without disturbing the rifle.
Fire Initial Shots and Measure Group Impact
How do you know where your shots are hitting in relation to your target? First, fire a three-shot group at your chosen zero distance, using a stable rest to guarantee a consistent shooting position.
Then, measure the horizontal and vertical deviations of your shot group from the point of aim with a ruler or reticle markings. Recording these measurements helps identify the point of impact relative to the target.
| Shot Number | Horizontal Deviation (in) | Vertical Deviation (in) |
|---|---|---|
| 1 | +0.5 | -0.3 |
| 2 | +0.4 | -0.4 |
| 3 | +0.6 | -0.2 |
Use this data to plan your scope adjustment and zero your rifle accurately. It’s a simple step but super important for getting on target.
Adjust Your Scope Turrets for Windage and Elevation
Because your shots landed off target, you’ll need to modify your scope turrets for windage and elevation to bring your point of impact in line with your point of aim. To zero your scope effectively, make small, precise adjustments using the clicks on your turrets.
Turn the elevation turret clockwise to raise the point of impact, or counterclockwise to lower it. Then, adjust the windage turret left or right to align the reticle with your bullet strike.
After each adjustment, fire a group to verify the changes. Make sure to note the number of clicks you used.
These precise adjustments on your scope turrets ensure your rifle shoots accurately. And always record the clicks for consistent zeroing in the future.
Confirm Your Zero With a Solid Group
Why is firing a solid group essential when confirming your zero? A solid group lets you verify zero by showing consistent shot placement and point of impact. It proves your scope adjustment is accurate and that shooting conditions are stable.
To confirm your zero, fire 10 shots at your zero distance using a stable rest like a bipod or sandbags. Your group should ideally be within 1-2 inches at 100 yards, indicating excellent accuracy and proper zeroing.
| Factor | Importance |
|---|---|
| Group Size | Tight groups confirm consistent shot placement |
| Shooting Conditions | Stability improves accuracy |
| Scope Adjustment | Verify zero after changes to point of impact |
This method ensures your zero holds true for reliable shooting performance. It’s all about consistency and confidence in your setup.
Maintain and Verify Your Zero Regularly
Firing a solid group confirms your zero, but keeping it that way requires regular attention. To maintain accuracy, you need to verify zero often and re-zero periodically, especially when environmental changes occur or after you make adjustments.
Always consult your scope’s manual for guidance. Here’s how to stay on target:
- Before critical sessions, verify zero using consistent shooting positions and support to avoid errors.
- Document zero settings and environmental conditions during zeroing to streamline future checks.
- After switching ammo or adjusting your scope, confirm zero immediately to maintain precision.
Frequently Asked Questions
What’s the Easiest Way to Zero in a Scope?
The easiest way to zero your scope is to start close, like 25 yards, shoot a group, adjust turrets based on impact, then confirm at 100 yards. Use stable positions and repeat until your shots consistently hit the target.
What Distance Should I Zero My Rifle Scope?
You should zero your rifle scope at 100 yards for general use since it balances close and long-range shooting. If you shoot mostly close or far, adjust accordingly to 25 or 200 yards for better accuracy.
How to Set a Rifle Scope Back to Zero?
To set your rifle scope back to zero, turn the turrets to their original zero positions, use the zero stop if available, then confirm by shooting groups at your zero distance and fine-tune adjustments as needed.
How to Zero a Scope Without Firing at Home?
You can zero your scope without firing by using a bore sighter or looking through the barrel to align the reticle with a distant target. Adjust the scope until the reticle matches the bore’s line of sight precisely.
Conclusion
Now that you’ve zeroed your rifle scope step by step, you’re almost ready to experience that perfect shot. But don’t rush—there’s one final thrill waiting for you.
When you confirm your zero and see your shots land exactly where you aimed, you’ll realize all the effort was worth it. It’s an amazing feeling that makes all those adjustments worthwhile.
Keep maintaining your zero regularly, because every time you pull the trigger, you’ll feel that exciting confidence only a perfectly zeroed scope can bring. Remember, a properly zeroed rifle scope not only improves accuracy but also boosts your shooting experience.
So take your time, trust the process, and enjoy the satisfaction of knowing your rifle scope is zeroed just right for every shot.