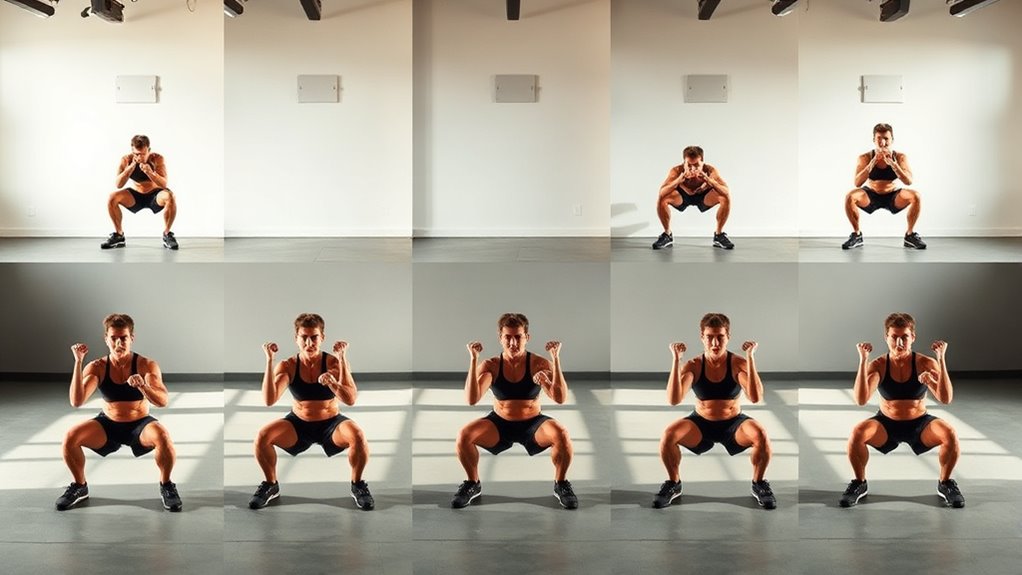
10 Steps to Work Up Pistol Squats
To work up to pistol squats, start by practicing balance and building single-leg strength with support like a pole or bench. These exercises help you get comfortable with the movement and improve stability early on.
Next, master the hip hinge by pushing your hips back and keeping your knee aligned over your toes. This helps protect your joints and sets a solid foundation for the squat.
Don’t forget to build ankle mobility and strengthen your core and glutes for better control and stability. These areas play a huge role in making pistol squats smoother and easier to perform.
Begin with slow, controlled descents, pausing at the bottom to really engage the muscles. Gradually add reps or weight as you get stronger and more confident.
Stick with proper form throughout your practice, and you’ll notice your pistol squats becoming deeper and more fluid over time. Keep at it, and the progress will come!
Key Takeaways
– Begin with seated single-leg exercises to build strength and control before standing pistol squat attempts.
Using a chair or bench can really help you get comfortable with the movement. It’s all about laying a solid foundation first.
– Use a pole or stable support to practice balance and hinge mechanics safely.
This way, you can focus on your form without worrying about falling over. It’s like training wheels for your pistol squats.
– Master hip hinge and maintain knee alignment over toes before progressing to full pistol squats.
Getting these basics right will protect your knees and improve your squat depth. Take your time with this step.
– Perform slow, controlled descents with a 3-5 second lowering phase and pause briefly at the bottom.
Slowing down helps build strength and control. Plus, that pause at the bottom challenges your stability.
– Improve ankle mobility, core stability, and glute strength through targeted drills and single-leg exercises.
These areas are key for a smooth, strong pistol squat. Keep working on them consistently, and you’ll see progress.
What Is a Pistol Squat? Why Is It Hard?

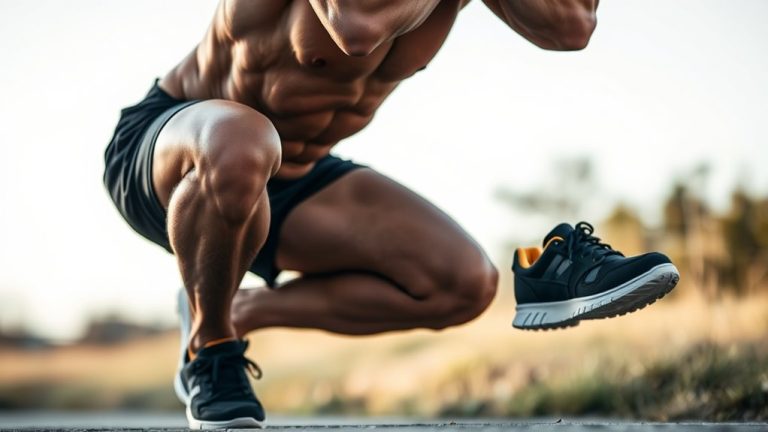
A pistol squat is a challenging single-leg exercise where you lower yourself on one leg while holding the other straight out in front. You keep one foot firmly planted on the floor as you descend and rise, demanding strong balance and mobility.
The exercise requires extreme control of your ankle, knee, and hip joints, plus strong hip flexors and hamstrings to stabilize your torso, which leans forward. Since you rely on one foot without any help from the other, your supporting leg must generate significant force.
Keeping your front leg extended increases this load, so any small misalignment can throw off your balance. Most people struggle not just from strength limits but because they can’t maintain proper knee tracking and stability throughout the movement.
Get Strong on One Leg With Support

Building the strength and balance needed for pistol squats starts with supported exercises that let you focus on form without risking injury. Use a pole or rigid support to hold on to while practicing the pistol pattern on one leg.
Alternatively, use a bench or box to lightly tap as you lower, keeping the other leg extended and off the floor. Start seated, then progress to standing on one leg with support, aiming for controlled reps and proper knee alignment.
This approach builds solid strength before you attempt unsupported pistol squats. Take your time and focus on quality over quantity—it’s all about building a strong foundation.
| Step | Key Focus |
|---|---|
| TAKE HOLD | Use pole/rigid support |
| HAVE A SEAT | Tap box lightly when lowering |
| Hip Hinge | Push hips back |
| Knee Tracking | Knee over toes, no collapse |
| Controlled Reps | Smooth lowering and pressing |
Nail Your Hip Hinge and Balance First

Before you start into full pistol squats, mastering your hip hinge and balance is essential. Begin by lifting your front leg and hinging at the hips—push your hips back as your supporting knee bends, letting your torso fold forward without rounding your back.
Keep your knee stacked over your toes to avoid collapsing inward. Reach your arms forward and brace your core to anchor your balance.
Lower yourself slowly over 2–3 seconds, pausing briefly at the bottom to feel the hip hinge rather than turning it into a knee-dominant squat. Check that your lifted leg stays off the floor, your weight remains over the midfoot, and your spine stays neutral.
This control builds the foundation you need before progressing further.
Practice Assisted Pistol Squats Using a Pole
Once you’re comfortable with your hip hinge and balance, use a stable pole to assist your pistol squats. Stand facing the pole, gripping it with both hands for balance.
Place all your weight on one foot while extending the other leg straight out, lifted off the floor. Reach forward and hinge at the hips, bending the supporting knee to lower yourself under control without letting your extended leg touch down.
Keep your bent knee tracking over your toes and maintain a tall torso throughout the movement. Pause briefly at the lowest point where you can stay balanced, then press back up by straightening the supporting leg.
Use the pole only for support, not to pull yourself up. Start with small, controlled reps to build strength and stability. You’ll get better with practice!
Progress to Box or Bench Sit-to-Stand Variations
After getting comfortable using a pole for balance, you can move on to practicing pistol squats with the support of a box or bench. Start with the “Have a Seat” variation: sit on a box with one foot flat and the other extended and lifted.
Press through the supporting foot to stand, keeping the lifted leg off the ground, then hinge hips back to tap the box lightly. Keep your bent knee tracking over toes for stability. Once comfortable, progress to performing the sit-to-stand pattern from standing, hinging back and lowering with control, using the same box height for consistent reps.
| Step | Focus | Tip |
|---|---|---|
| Sit-to-Stand | Control & balance | Keep knee aligned over toes |
| Box Tap | Depth control | Tap box lightly before standing |
| Standing Sit-to-Stand | Progression | Maintain consistent box height |
Improve Ankle and Knee Mobility for Pistol Squats
Because ankle and knee mobility directly impact your ability to perform deep pistol squats, focusing on improving these joints is essential. Start with ankle mobility drills like knee-to-wall exercises, aiming to get your knee about 1–2 inches past your toes while keeping your heel down.
If your heel lifts during squats, use a small wedge or elevated heel temporarily. Then, lower it as your dorsiflexion improves.
Practice controlled knee tracking with split squats or supported single-leg squats. Make sure your knee stays over the midfoot without collapsing inward.
Incorporate hip-to-ankle mobility flows, such as ankle rocks in a lunge, for 2–3 sets of 8–12 reps per side. This helps build ankle tolerance.
For limited knee mobility, try gentle terminal knee bends and slow eccentric knee-focused movements. These improve flexion control over time.
Strengthen Core and Glutes for Pistol Squat Stability
To nail pistol squat stability, you need to engage your core and activate your glutes effectively. Focus on core exercises like hollow-body holds to keep your torso steady.
Also, include glute exercises such as single-leg bridges to build strength. These moves help maintain balance and control throughout the entire squat.
It’s all about keeping everything tight and strong so you can move smoothly and confidently. Give these a try, and you’ll notice the difference in your pistol squats!
Core Engagement Techniques
When performing pistol squats, brace your core like you’re about to be punched. Keep your ribs down and apply slight abdominal tension—this prevents your pelvis from pitching forward during the descent.
Actively squeeze your glutes on the standing leg side to boost hip stability, especially as you hinge your hips before bending the knee. Keep a “tall-toe” alignment by holding the lifted leg straight and the standing knee tracking over your toes. This helps reduce torso sway and supports consistent core engagement.
Use a smooth hinge-to-squat changeover—hips back first, then knees bend—so your core and glutes counterbalance the forward pull, keeping you steady. If you wobble, shorten your range of motion using a box or support. But don’t forget to keep bracing your core and squeezing your glutes for stable, controlled reps.
Glute Activation Exercises
Although pistol squats demand balance and strength, starting with targeted glute activation exercises will build the foundation you need. Begin with single-leg hip hinges, keeping your lifted leg straight in front to feel your supporting glute fire up—this strengthens hip extension and trunk stability.
Use “take hold” tempo reps by slowing the lowering phase, then driving up through your heel to control femur alignment while your core resists twisting. Progress to bench or box “have a seat” exercises, lightly tapping the box as you hinge back, reinforcing glute engagement without losing balance.
Finally, practice pistol sets focusing on hip hinge, knee tracking, and an upright torso to avoid hamstring dominance. Aim for 2–4 sets of 5–8 controlled reps per side with minimal knee wobble. This way, you’ll build strength and control step by step.
Practice Full Pistol Squats With Controlled Descents
When practicing full pistol squats, focus on lowering yourself slowly and with control to build strength and stability. Keep your balance by hinging at the hips and leaning your torso slightly forward. This helps prevent your knee from collapsing inward.
Use a steady cadence to maintain smooth movement. Also, make sure your supporting knee tracks over your toes throughout the descent. It’ll help keep everything aligned and reduce the risk of injury.
Slow Lowering Technique
To master the slow lowering technique, start in a supported full pistol squat position and lower yourself down steadily over 3 to 5 seconds, keeping your extended leg off the floor and straight ahead.
Begin by hinging at the hips, then bend your supporting knee, making sure it tracks over your toes without collapsing inward. Descend only as deep as you can while maintaining control.
Use support like a box or pole to avoid dropping into the bottom. Pause briefly at the lowest controlled point for about one second to reinforce stability.
Then, drive back up smoothly through your foot. Aim for 5 to 8 slow, controlled reps per set, focusing on consistency before increasing depth or removing your support.
This builds strength and control essential for full pistol squats. Keep practicing, and you’ll get there!
Maintain Balance Control
Maintaining balance during full pistol squats demands deliberate control throughout the descent, so keep your lifted leg rigid and slightly forward to stop your torso from drifting. Lower yourself slowly—about three seconds—by hinging at the hips first and bending your supporting knee, ensuring it tracks directly over your toes.
Fix your gaze on a single point and keep your arms active in front of your body to fine-tune your balance as you descend. Aim for a consistent depth where your heel stays firmly on the ground, then pause for about one second before driving back up.
If you start to wobble or lose balance, reduce your range but maintain the slow, controlled tempo. Gradually increase depth only once you can complete multiple reps steadily.
Fix Common Balance and Form Mistakes
Addressing common balance and form mistakes early will help you master pistol squats safely and effectively. Keep your hips hinging back and chest angled slightly forward to avoid collapsing upright.
Always track your supporting knee over your toes to maintain proper alignment. For balance, hold your lifted leg straight in front and lightly reach toward a stable object until you feel controlled.
Use a box or balance seat to tap each rep, preventing heel lift and depth cheating. Drive through your entire supporting foot when standing up.
If you wobble, slow your tempo—lower over 2–3 seconds, pause at the bottom, then push up smoothly without letting your pelvis rotate or your lifted knee drift sideways. Widen your stance slightly if needed but keep consistent knee alignment and hip height.
Progress Your Pistol Squat With More Weight or Reps
Challenge your pistol squat by gradually adding weight or increasing reps once you can perform bodyweight reps with solid balance and depth.
Start by holding a dumbbell or kettlebell at your chest, adding 2–5 lb increments. Increase reps in small sets (3–5 reps per side), adding one rep each session until you hit 8–12 reps before upping the weight.
Keep a steady tempo—like lowering for 3 seconds and pausing for 1 second—to maintain control. If full depth is tough, use a box and lower the height gradually.
| Progress Method | Tips |
|---|---|
| Add Weight | Increase 2–5 lb at a time |
| Increase Reps | Add 1 rep every session |
| Use Box Assistance | Lower box height weekly |
Frequently Asked Questions
How Often Should I Train Pistol Squats Each Week?
You should train pistol squats about 2-3 times a week to build strength and balance without overdoing it.
Make sure to rest between sessions so your muscles recover and you avoid injury.
It’s all about finding that balance, you know? Don’t push too hard, and listen to your body.
Can Pistol Squats Help With Other Sports or Activities?
Want to gain hidden power? Pistol squats improve your balance, strength, and coordination, boosting performance in sports like running, basketball, and skiing.
You’ll move with more control and agility, making every activity smoother and stronger. It’s pretty amazing how just one exercise can have such a big impact on how you move.
What Shoes Are Best for Performing Pistol Squats?
You’ll want shoes with a flat, firm sole to keep stability during pistol squats. Minimalist or weightlifting shoes work best since they provide support without cushioning that can throw off your balance and form.
It’s all about staying grounded. Shoes with too much cushion can make you feel wobbly, so keeping it simple is key. Trust me, your ankles and knees will thank you!
How Long Does It Typically Take to Master a Pistol Squat?
It typically takes you 3 to 6 months to master a pistol squat, depending on your strength and mobility. Studies show 60% of beginners achieve full form within this timeframe when practicing consistently and focusing on proper technique.
Are There Any Common Injuries to Watch Out for With Pistol Squats?
You might experience knee pain, ankle sprains, or lower back strain if you don’t maintain proper form during pistol squats.
Focus on controlled movements and flexibility to prevent these common injuries and stay safe while training.
Conclusion
You’ve built strength, balance, and control step by step—but here’s the secret no one tells you: mastering pistol squats isn’t just about muscle. It’s about patience and persistence when your body screams to quit.
Keep pushing through those shaky reps, because the moment you nail that perfect, controlled descent, you’ll gain a whole new level of power and confidence.
Are you ready to take the leap and own your pistol squat? Remember, the key to mastering pistol squats lies in consistent practice and mental toughness. Stick with the 10-step work-up, stay patient, and celebrate each small victory along the way. With time, your strength, balance, and control will come together, making pistol squats feel natural and empowering. Keep grinding, and you’ll unlock a new level of fitness and self-belief.