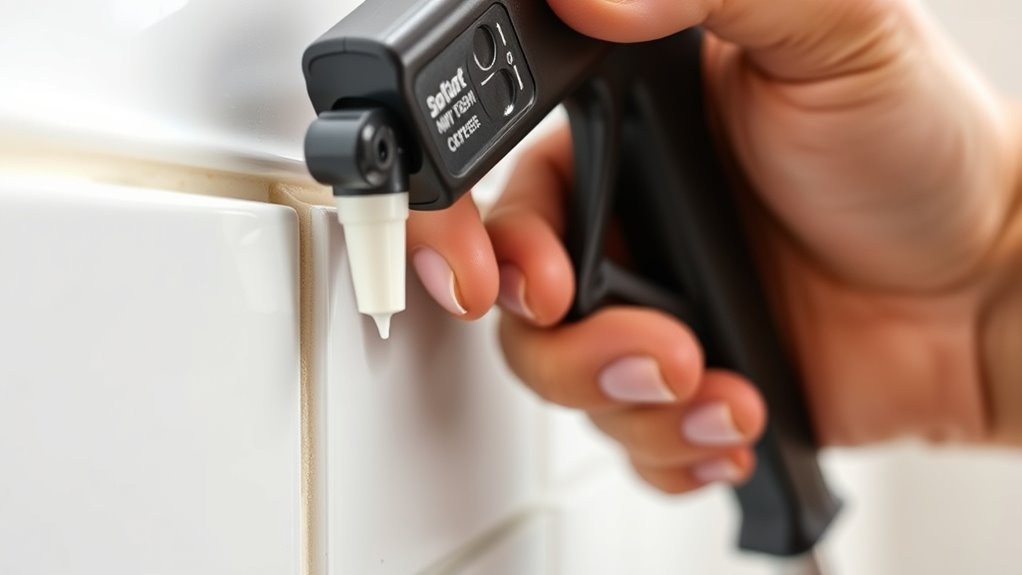
How to Use a Caulking Gun in 3 Easy Steps
First, prepare your surfaces by removing old caulk and cleaning thoroughly. This step ensures better adhesion and a smooth finish.
Then, load your caulking gun by cutting the nozzle at a 45-degree angle and seating the cartridge properly.
Next, apply caulk smoothly with controlled pressure. Hold the gun at a steady angle and move evenly along the joint for a clean bead. It helps to go slow and steady for the best results.
Finally, stop drips by releasing pressure immediately after finishing. Clean up any excess caulk with a damp cloth to keep things neat.
Keep going to discover tips for a flawless finish!
Key Takeaways
- Remove old caulk and clean the surface thoroughly before starting. This helps the new caulk stick better and last longer.
- Cut the cartridge nozzle at a 45-degree angle to match the joint width. It makes applying the caulk easier and more precise.
- Hold the gun at a 45-degree angle and apply steady, controlled pressure while moving smoothly. Remember to release the trigger immediately at the end of each section to stop the flow.
- Clean excess caulk promptly with a damp cloth for a neat finish. Doing this right away saves you a lot of hassle later.
Prepare Surfaces and Load Your Caulking Gun
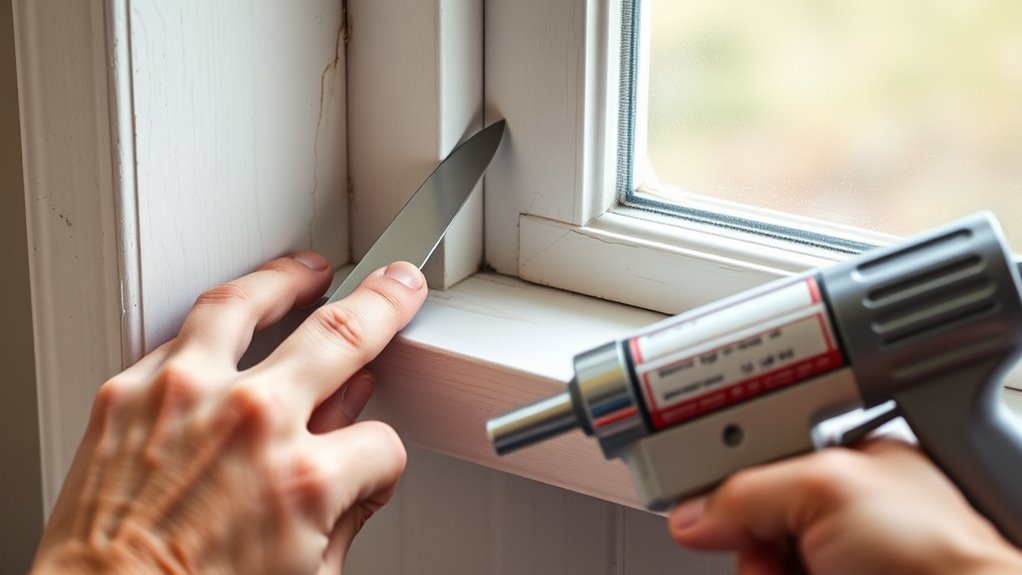
How do you guarantee your new caulk sticks properly? Start by removing old caulk with a scraper or utility knife to ensure a clean surface.
Ensure your new caulk sticks by first removing all old caulk with a scraper or utility knife.
Then, clean the area thoroughly using rubbing alcohol, warm water, and a mild bleach solution to remove dirt, grease, and mildew.
Before you load your caulking gun, use a cartridge remover or puncture tool to pierce the inner seal of the new caulk cartridge. Cut the nozzle at a 45-degree angle, matching the joint width for precise application.
Next, insert the cartridge into the caulking gun, making sure the plunger is fully retracted. Finally, seat the tip securely and press the release to prepare for smooth caulk application.
This preparation guarantees your caulk adheres perfectly to the surface. Easy, right?
Apply Caulk Smoothly With Controlled Pressure
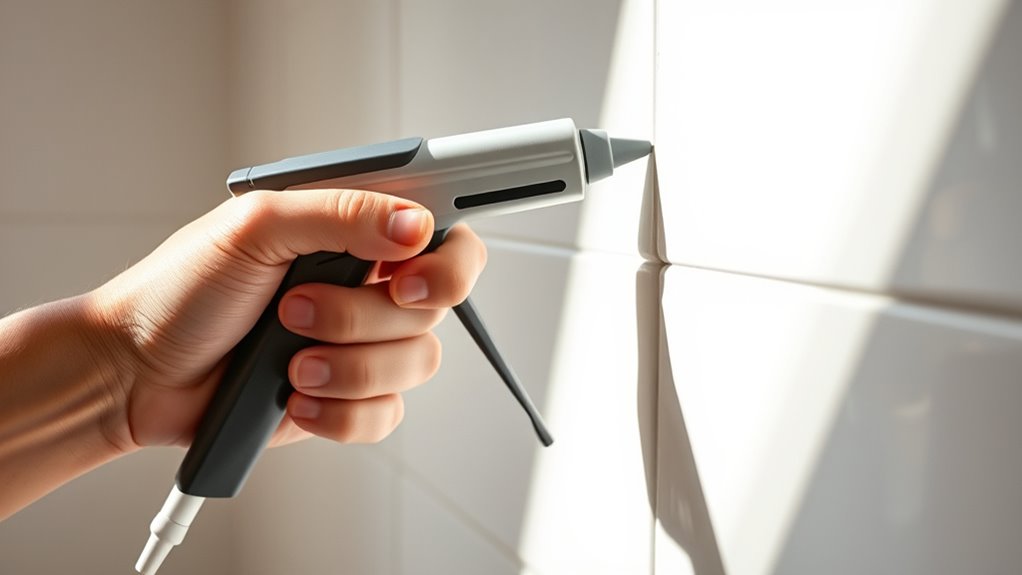
Once you start applying caulk, keep consistent, gentle pressure on the trigger to guarantee a steady flow and avoid uneven or excessive beads. Hold the caulk gun at a 45-degree angle to the surface for better control and smooth bead formation.
Begin to squeeze the trigger gradually to build pressure, then maintain a steady, controlled pressure as you move along the joint. This steady flow ensures uniform bead formation without gaps or lumps.
If you notice uneven flow, adjust your grip to keep control. When you finish each section, release the trigger immediately to stop the caulk from oozing out.
Applying caulk with this controlled pressure technique helps you achieve a neat, professional finish every time. It’s really about keeping things steady and smooth throughout.
Stop Caulk Drips and Clean Up Neatly
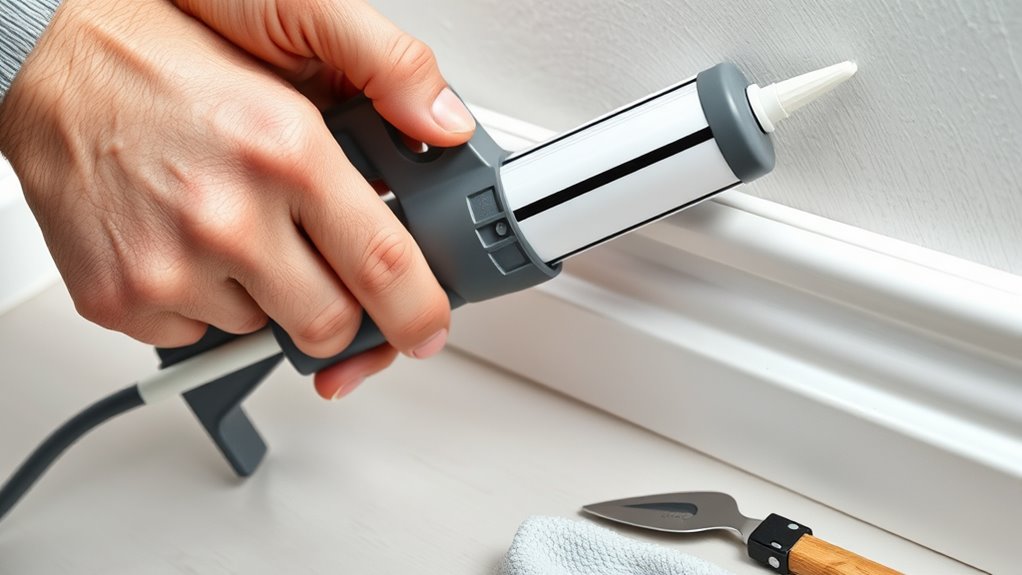
To stop caulk drips and keep your work area tidy, press the release catch immediately after finishing to halt the flow of caulk. This prevents excess caulk from oozing out when you release the trigger.
Press the release catch right after finishing to stop caulk drips and keep your workspace clean.
To further avoid mess, try these tips:
- Use a dripless caulking gun. It helps reduce drips caused by pressure build-up.
- Puncture the cartridge base carefully and cover it with foil to control the flow.
- Always release pressure before removing the cartridge to prevent leftover caulk leaks.
- Keep a damp cloth handy to clean up drips and excess caulk as you go.
Following these steps helps you stay in control of your caulk gun and clean up quickly. That way, you get a neat, professional finish every time.
Frequently Asked Questions
Why Is It so Hard to Use My Caulk Gun?
It’s hard because you might not be cutting the nozzle right or squeezing the trigger evenly. You could also be loading the cartridge wrong or not controlling pressure well, causing drips and uneven caulk flow.
How to Caulk Step by Step?
First, cut the nozzle at a 45-degree angle. Load the tube, squeeze the trigger steadily while moving along the joint, release to stop, then smooth the caulk with your finger or tool for a clean finish.
Is There an Easy to Use Caulk Gun?
Yes, you’ll find dripless caulk guns with ergonomic grips and adjustable triggers easy to use. Models like the Octogun 930-GTD even have built-in puncture tools and smooth application, making your job simpler and less messy.
Do You Push or Pull a Caulking Gun?
You push a caulking gun like a painter strokes a brush—steady and forward. Pulling? That just makes a mess. Keep your hand moving smoothly, and you’ll create a neat, perfect seal every time.
Conclusion
Using a caulking gun is like painting a small masterpiece—each stroke matters. Just like an artist preps their canvas, you prepare your surfaces carefully.
Applying caulk with steady pressure is your brushstroke, creating a smooth finish. Remember, even pros clean up to keep their tools sharp.
With these simple steps, you’ll seal gaps like a pro, saving time and avoiding costly repairs. Using a caulking gun correctly ensures a clean, professional seal that protects your home.
Your home will thank you for the perfect seal! So grab your caulking gun, follow these easy steps, and enjoy a neat, effective finish every time.