How to Put a Sling on a Rifle in 7 Easy Steps
First, gather your rifle, sling, and tools, making sure everything’s clean and in good shape. Having all your gear ready will make putting a sling on a rifle much easier and faster.
Next, remove the swivel or buttplate screw where needed. This step is important to create the right attachment points for your sling.
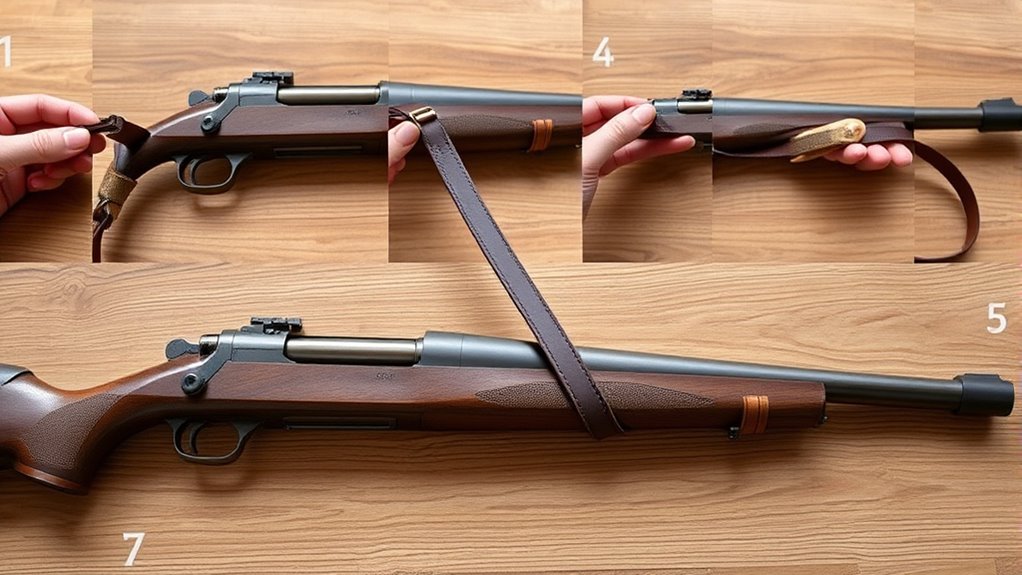
Thread the sling through the attachment points, paying close attention to the direction of the hooks or ends. You want them facing the right way so the sling sits comfortably.
Reattach swivels or screws securely, but be careful not to over-tighten. Over-tightening can damage your rifle or the sling hardware.
Adjust the sling length to suit your comfort and control preferences. A properly adjusted sling makes carrying and shooting your rifle much easier.
Finally, test the sling for stability and tighten any loose parts. Practice attaching and detaching smoothly to build confidence and master quick, reliable sling handling techniques.
Keep practicing, and you’ll get the hang of it in no time!
Key Takeaways
- Ensure the rifle is unloaded and secure before starting sling attachment for safety.
- Remove or identify sling attachment points like swivels or M-LOK mounts for correct sling placement.
- Thread the sling end through the attachment point, ensuring hooks or clips face and lock correctly.
- Adjust sling length for comfortable fit and control, then tighten hardware securely without over-tightening.
- Test sling stability by gently pulling the rifle and practice quick, smooth attachment and detachment.
Gather and Prepare Rifle and Sling Parts
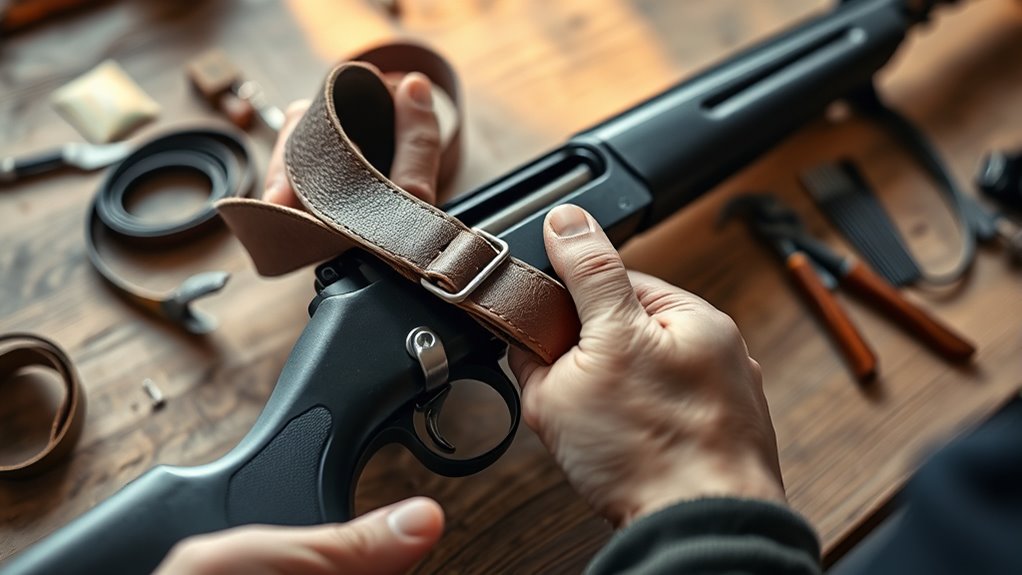
Before you begin attaching the sling, make sure you have the right sling for your rifle, whether it’s leather, nylon, or polymer. Check that all fittings and hooks are in good condition.
Choose the appropriate sling material and ensure all fittings and hooks are in perfect condition before attachment.
Inspect the sling components closely for any wear or damage. Replace anything defective to avoid problems once the sling is attached.
Next, identify your rifle fittings, such as swivels, M-LOK mounts, or sling loops, where the sling will connect. Gather necessary tools like screwdrivers or punches in case you need to adjust or secure the fittings.
Finally, familiarize yourself with the sling’s length adjustment mechanisms so you can set an initial size before installation. Preparing everything carefully guarantees a secure, functional sling attached to your rifle.
Remove Rear Swivel or Buttplate Screw for Sling Installation
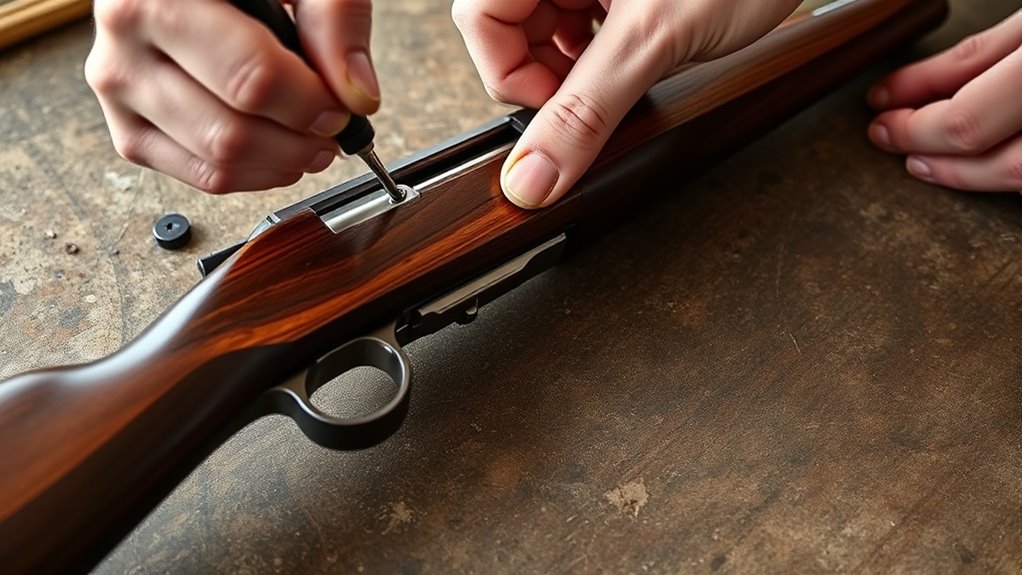
Before you start, make sure your rifle is unloaded and secure for safety. Use the right screwdriver to carefully remove the rear swivel or buttplate screw without losing any parts.
Once the screw is out, you’ll be ready to attach the sling in the proper spot. It’s pretty straightforward from here! Just take your time and keep track of everything.
Removing Rear Swivel
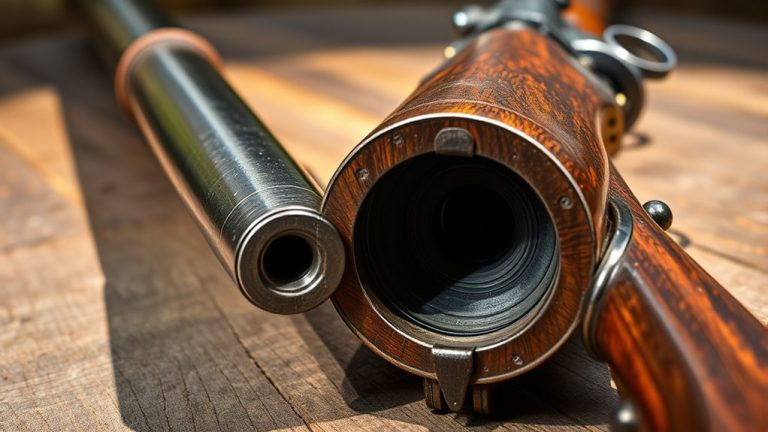
How do you remove the rear swivel on your rifle to install a sling? Start by locating the screw or pin holding the rear swivel to the stock. Use the right tool—a screwdriver or punch—to carefully drive it out.
Keep track of any washers or spacers to avoid losing parts. If the swivel is stuck, gently tap it or apply penetrating oil to loosen it without damaging your rifle.
Remember, the rear sling must be securely attached for your rifle to run smoothly during use.
- Use proper-sized tools to avoid damage
- Handle leather or metal fittings gently
- Keep washers and spacers organized
- Reinstall by reversing removal, tightening securely but not too much
This guarantees a safe, functional rear sling installation.
Unscrewing Buttplate Screw
Once you’ve located and removed the rear swivel, you’ll need to unscrew the buttplate screw to continue installing your sling. Use a screwdriver that fits the buttplate screw snugly to avoid stripping its head.
Turn the screw counterclockwise, carefully loosening it without damaging the wood stock. If the screw is stuck, just apply a small amount of penetrating oil and wait a few minutes before trying again.
Make sure to keep track of the buttplate screw and any other fittings you remove. This way, everything goes back properly.
Preparing Rifle For Sling
When you prepare your rifle for sling installation, start by removing the rear swivel or unscrewing the buttplate screw, depending on your rifle’s design. This step *guarantees* a secure and functional attachment point. Use appropriate tools like a screwdriver or punch to prevent damage to the rifle stock or screws.
Remember, the sling helps stabilize your rifle, especially during shooting prone. So, taking the time to do this right really pays off.
Keep these tips in mind:
- Unscrew the rear swivel screw or pin carefully
- If there’s a buttplate screw, remove it gently
Also, clean the area around built-in swivels before attaching the sling. And don’t forget to store all removed screws or pins safely for reassembly later.
Proper preparation makes sling installation easier and enhances your shooting prone experience. It’s a small step that can make a big difference!
Thread the Sling Through Attachment Points
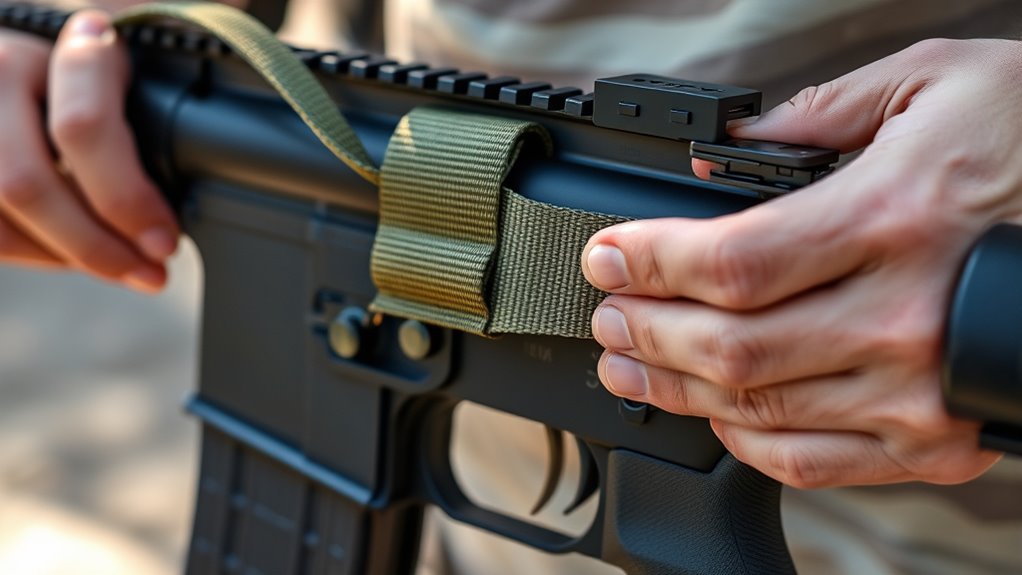
Where do you start threading your sling through the rifle’s attachment points? Begin by removing any swivels or fittings if needed to create enough space for your two-point sling.
Pass one end of the sling through the attachment point, whether it’s a swivel or an M-LOK QD mount. Make sure the metal hook or end faces the right way.
For leather slings, feed the strap through the designated loop or feed-through slot. Then secure it by threading it back through itself or a keeper.
If you’re using a metal or quick-detach sling, insert the hook or snap into the attachment point. Make sure it locks with a click.
Always double-check that the sling sits properly and is tight to prevent slipping during use. You don’t want it coming loose when you least expect it!
Reattach the Swivel or Screw Securely
Before reattaching the swivel or screw, make certain it’s clean and properly aligned with the mounting hole to prevent cross-threading and guarantee a secure fit. You want your sling attachment to be reliable and safe.
Follow these steps for a secure fit:
- Remove any damaged swivel or screw before reinstalling.
- Clean the swivel or screw thoroughly to remove debris.
- Use the correct tool, like a screwdriver or wrench, to tighten without over-tightening.
- Align the swivel or screw carefully with the mounting hole to avoid cross-threading.
Once reattached, apply slight pressure to ensure the swivel or screw doesn’t wiggle or loosen. This guarantees your sling attachment stays firm and your rifle is ready for use.
Adjust Sling Length for Comfort and Control
Since a properly adjusted sling enhances both comfort and control, you’ll want to set the length so your rifle rests naturally in your shoulder pocket without causing muscle strain. Aim for a snug fit—not too tight or loose—to stabilize the rifle while allowing free movement.
Use quick sling adjustment tools like buckles or keepers to fine-tune tension based on your shooting position, whether standing or prone. Make certain the rifle stays close to your body without discomfort or restricting airflow.
Remember to check and readjust the sling length regularly during your session, especially if your position or terrain changes. Proper sling adjustment plays an essential role in maintaining control and comfort throughout your shooting experience.
Test and Tighten Sling for Stability
Once you’ve adjusted the sling length for comfort and control, it’s important to test and tighten it to guarantee stability. Start by gently pulling or shaking the rifle to see if it stays securely in place without wobbling.
Gradually tighten the sling until you feel increased control, but avoid discomfort or restricted movement. You want it snug, not too tight.
To keep things stable, remember these steps:
- Check that the rifle rests snugly in your shoulder pocket with minimal muscle effort.
- Use sling tension to support various shooting positions like prone or sitting.
Also, don’t forget to periodically recheck and tighten the sling during extended use or movement. It’s key to confirm the sling maintains consistent tension to reduce rifle movement.
Following this process will give you a stable, reliable sling setup that improves your shooting performance.
Practice Attaching and Detaching the Sling Smoothly
Start by mastering quick attachment to guarantee your sling connects securely every time. Then, focus on smooth detachment to avoid fumbling when you need to remove it fast.
With regular practice, you’ll build confidence and speed in both actions. It gets easier the more you do it, trust me.
Master Quick Attachment
How quickly can you attach and detach your rifle sling under pressure? Mastering quick attachment on your service rifle means practicing until it becomes second nature.
Focus on smooth, rapid switches to avoid fumbling in critical moments. To sharpen your quick attachment skills:
- Familiarize yourself with sling connectors like QD swivels to guarantee swift engagement.
- Maintain consistent grip and hand movements to streamline the process.
- Adjust sling length beforehand to minimize adjustments during action.
- Practice dry runs in various positions—standing, prone, seated—to build muscle memory.
Develop Smooth Detachment
Although attaching your sling quickly is essential, developing smooth detachment is just as important to keep control and stay efficient. Start by practicing attaching and detaching the sling slowly. Focus on proper threading and making sure the connection is secure.
This slower, deliberate approach helps you line up hooks, clips, or buckles just right, which cuts down on fumbling when you need to detach quickly. Try adding detachment drills to your routine. This builds muscle memory and boosts your confidence, especially for those high-pressure moments.
Don’t forget to regularly inspect and clean the sling hardware. This helps prevent sticking or jamming, so everything works smoothly every time. By fine-tuning your detachment skills with consistent practice, you’ll move more fluidly and stay in control. That way, sling management becomes effortless and reliable when it really counts.
Frequently Asked Questions
How to Properly Put a Sling on a Rifle?
You attach the sling to the rifle’s swivels, thread it through properly, then adjust the length for comfort and stability. Make sure it’s secure and won’t slip, so your rifle stays supported and ready to use.
How to Put on a Sling Step by Step?
Attach the sling to your rifle’s swivels, secure both ends if it’s two-point, or loop a single-point sling over your head on your dominant shoulder. Adjust the length for comfort and quick movement, then double-check security.
How to Properly Set up a Sling?
You’ve got to tighten that sling like it’s holding the weight of the world—secure, balanced, and snug. Adjust it so your rifle stays rock solid on your shoulder, ready for anything without flopping or slipping.
Which Side of Rifle to Mount Sling?
You’ll want to mount the sling on your dominant hand’s side for easier control. Right-handed shooters usually attach it on the left side, but ambidextrous users might prefer bottom or dual-side mounting for flexibility.
Conclusion
Now that you’ve got your sling on tight, you’re ready to hit the ground running. Remember, practice makes perfect—so don’t be afraid to get your hands dirty and make adjustments until it feels just right.
With these steps, you’ll have your rifle slung comfortably and securely, giving you the upper hand when it counts. Keep at it, and soon attaching and detaching your sling will be second nature.
Putting a sling on a rifle might seem tricky at first, but with a little practice, it becomes effortless. A properly attached rifle sling not only improves your comfort but also enhances stability and quick access in the field. So, keep practicing these simple steps for putting a sling on a rifle, and you’ll be ready for any situation. Your confidence and skill will grow, making your rifle sling a reliable part of your gear.