How to Do Pistol Squats to Build Muscle
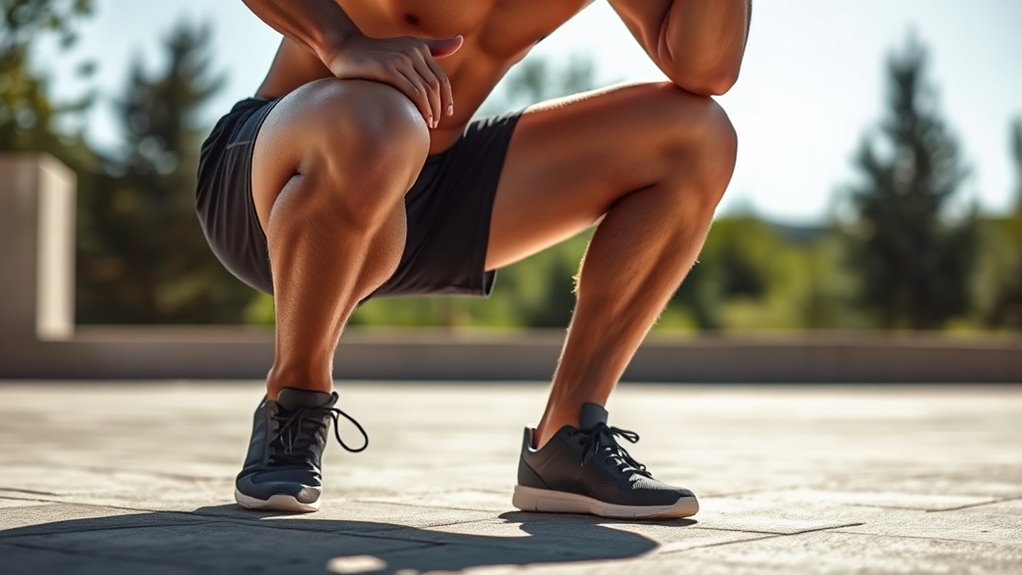
To build muscle with pistol squats, start by standing with your feet hip-width apart. Shift your weight onto one leg and extend the other leg straight out in front of you. This move targets your quads, glutes, and hamstrings, making it a fantastic exercise for building lower body strength.
Lower yourself slowly over 2–3 seconds with a controlled descent. Make sure to keep your heel down and your knee tracking over your toes. This helps protect your joints and maximizes muscle engagement.
Pause briefly at the bottom of the squat and brace your core to maintain balance. Then, drive up through your heel to return to the starting position.
If pistol squats feel challenging at first, don’t worry. Use progressions and mobility work to gradually improve your strength and form. Keep practicing to unlock tips for perfecting your balance, increasing flexibility, and progressing safely.
Key Takeaways
- Perform slow 2–3 second descents with controlled depth to maximize muscle tension and avoid momentum. This helps you get the most out of each rep.
- Keep the working heel grounded and maintain knee-to-toe alignment for joint safety and effective muscle activation. It’s all about protecting your joints while working hard.
- Brace the core and maintain a long torso with a slight forward lean to enhance balance and stability. Staying tight in your midsection really makes a difference.
- Progress gradually using assisted or box tap variations before attempting strict pistol squats to build strength and control. Don’t rush it—building up slowly keeps you safe.
- Integrate pistol squats into workouts with 2–4 sets of 3–8 reps per leg, emphasizing slow tempo and brief pauses at the bottom. This approach maximizes muscle engagement and helps you build strength over time.
How to Perform a Basic Pistol Squat
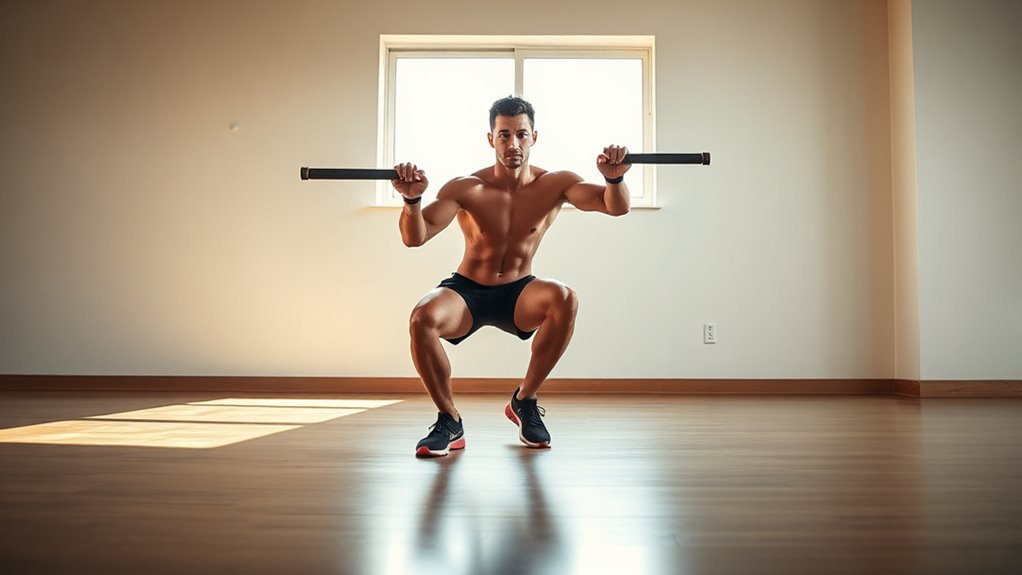
How do you perform a basic pistol squat safely and effectively? Start by standing with your feet hip-width apart or slightly wider. Shift your weight fully onto one foot while extending the other leg straight out in front, toes pulled up.
Reach your arms forward to help with balance. As you descend, control the descent with a slow 2–3 second tempo, bending your hip, knee, and ankle together. Keep your torso long with a slight forward lean, and ensure your working knee tracks in line with your toes—no inward collapse.
Make sure to keep your heel grounded to maintain stability and avoid ankle stress. Squat only as deep as you can without touching the raised foot down or using your hands. Pause briefly at the bottom before standing back up.
Mastering Safe and Strict Pistol Squat Form
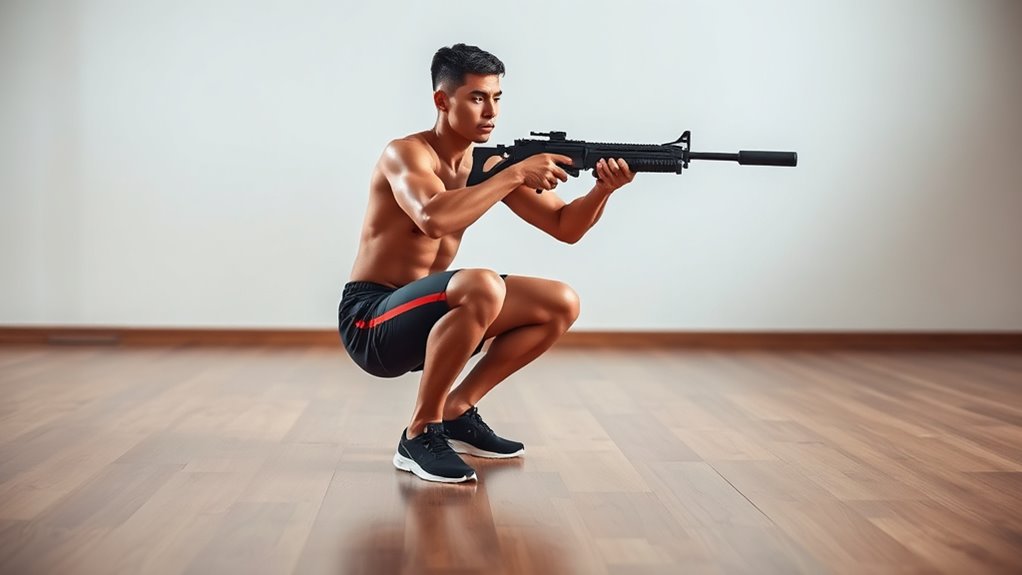
To master a safe and strict pistol squat form, focus on keeping your working knee aligned with your toes throughout the movement and pausing briefly at the bottom to prevent bouncing. This alignment avoids inward knee collapse and reduces injury risk.
Maintain knee-to-toe alignment and pause at the bottom to ensure safety and prevent injury during pistol squats.
Keep your heel grounded firmly on the floor during the entire rep. Lifting it shifts stress to your ankle and compromises stability.
Maintain a slight forward lean with a long spine, bending your hip, knee, and ankle smoothly over 2–3 seconds. Keep your non-working leg straight and parallel to the floor.
Start with support until you can maintain proper alignment independently. Practice near sturdy support until you can perform controlled reps without assistance.
Make sure your knee and heel positions stay consistent before you progress. This way, you build strength and safety in your pistol squat.
Controlling Momentum and Balance in Pistol Squats
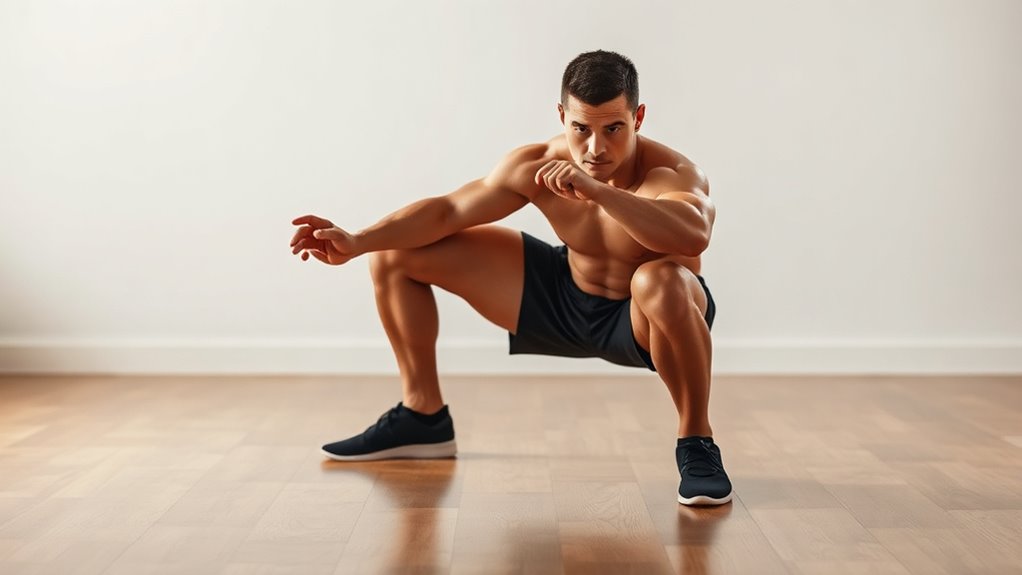
To control momentum, slow your descent to 2–3 seconds with no bouncing and pause briefly at the bottom. Keep your core tight and your torso steady to maintain stability throughout the movement.
If you feel your balance drifting, use a nearby support and focus on clean, controlled reps before increasing depth. It’s all about staying steady and making each movement count.
Managing Descent Speed
Mastering your descent speed in pistol squats is crucial for building muscle while maintaining control and balance. Lower yourself with a slow 2–3 second tempo, avoiding any bouncing to keep your quads and knee stabilizers engaged.
Keep your working heel firmly planted to prevent shifting your center of mass forward. That shift can compromise ankle and knee stability.
Maintain a strict range of motion where your knee stays straight over the middle toes. This helps prevent inward collapse and wobble.
Pause briefly—about one second—at the bottom before driving upward. This pause stops momentum from taking over.
If you struggle to control the bottom position, reduce your depth or use an assisted variation. This disciplined descent will protect your joints and maximize muscle engagement throughout the movement.
Maintaining Core Stability
Brace your core firmly before you descend, stacking your ribs over your pelvis to keep your torso long and slightly leaning forward. This alignment is key for maintaining core stability, preventing tipping or rounding as you lower yourself.
Control your body weight by descending over 2–3 seconds, pausing briefly at the bottom to avoid momentum that disrupts balance. Keep your knee tracking over your toes while driving your hips down; this prevents inward knee collapse that would force your torso to compensate and destabilize you.
Extend your non-working leg straight and reach your arms forward at shoulder height to enhance balance. And don’t forget to maintain tripod contact with your planted foot—heel, base of big toe, and base of little toe—for solid support throughout the movement.
Correcting Balance Drift
Maintaining core stability sets the foundation, but keeping your balance steady during pistol squats takes focused control over momentum. To correct balance drift and avoid bouncing back uncontrolled, make sure you:
- Use a slow 2–3 second controlled descent with a 1-second pause at the bottom to stop momentum-driven sway.
- Keep your working heel grounded and knee aligned with your toes to prevent inward collapse that shifts your center of mass.
- Drive through your heel to push up, using arms only as a counterbalance—not to create momentum.
- Reset if tipping by limiting your depth to what you can control, like touching a box or pistol tap, instead of forcing a deeper rep.
Practice near sturdy support until you can maintain a stable, near-parallel non-working leg without wobbling. It’s all about building confidence and control, step by step.
Pistol Squat Progressions: From Beginner to Assisted and Elevated
Before attempting a full pistol squat, you’ll want to build balance and strength gradually through specific progressions. Start with bench-supported single-leg squats, shifting weight onto the working leg to develop leg strength and control.
Then, move to single-leg squats on the way down and add light weights held at chest level to increase load safely. Incorporate band-assisted pistols, using just enough support to guide your ascent without relying on it fully.
Next, practice box tap pistol squats, tapping without sitting and driving through your working heel. Finally, advance to assisted pistol squats to hamstring-calf depth, then elevated pistol squats, where your free leg travels below floor level for added stability.
Only attempt strict pistol squats once you can control reps with a parallel non-working leg. Taking it step by step really helps you nail the form and avoid injury.
Mobility and Flexibility Tips for Pistol Squat Success
To nail pistol squats, focus on improving ankle mobility with exercises like knee-to-wall stretches and boost hip flexibility through targeted drills.
Don’t forget to stretch your hamstrings regularly to increase straight-leg tolerance and control.
These mobility moves help you maintain balance and proper alignment throughout the movement.
Ankle Mobility Exercises
Why does ankle mobility play such a pivotal role in mastering pistol squats? Without proper ankle mobility, your heel lifts, throwing off balance and knee alignment.
To improve, focus on ankle mobility exercises that help keep the heel grounded throughout the movement.
Try these four essential drills:
- Perform daily dorsiflexion drills like kneeling toe-to-wall stretches—keep the heel down and drive the knee forward until you feel a stretch. Hold for 10–20 seconds and do 2–3 reps per side.
- Add calf stretches with straight-leg and bent-knee positions against a wall. Hold each stretch for 30–45 seconds and repeat for 2–3 rounds.
- Practice controlled heel-down squats near support. Use a small wedge under the heel temporarily if needed.
- Train single-leg ankle rocks by moving the knee forward over the toes while keeping heel and toe tripod contact. Do 8–12 slow reps.
These exercises build the ankle strength and flexibility pistol squats demand. Give them a try and watch your form improve!
Hip Flexibility Drills
Although pistol squats demand strength, your hip flexibility plays an equally essential role in hitting full depth without losing balance or form.
Incorporate hip flexibility drills like the couch stretch (a key hip flexor stretch) and 90/90 hip switches to enhance mobility and control. These drills prepare your hips to rotate and extend properly, preventing compensations during the squat.
Dynamic movements such as hip airplane preps and kneeling hip flexor rocks improve coordination and strengthen hip stability.
Here’s a quick reference table to guide your routine:
| Drill | Recommendation |
|---|---|
| 90/90 Hip Switches | Hold 60–90 sec per side |
| Couch Stretch | 2–3 rounds, 30–60 sec per side |
| Kneeling Hip Flexor Rocks | 2 sets of 8–12 reps per side |
| Banded Hamstring Stretch | 2–3 sets, 30–45 sec per side |
| Hip Airplane Preps | 1–2 sets, 5–8 reps per side |
Use these consistently for pistol squat success.
Hamstring Stretch Techniques
When working on pistol squats, improving your hamstring flexibility directly impacts your ability to reach full depth with control. A solid hamstring stretch routine enhances mobility, making your leg workout more effective and injury-free.
Try these four key techniques:
- Perform the 90/90 hamstring stretch, keeping your spine long and hinging gently for 30–45 seconds per side, 2–3 rounds.
- Use banded hamstring slides or active hamstring scoops with light resistance for 6–10 slow, controlled reps to build control.
- Incorporate seated or standing hamstring stretches with a strap, moving gradually and holding for 20–30 seconds.
- Practice isometric hamstring holds lying on your back with tension against a strap to improve stability during descent.
Pair these with ankle-dorsiflexion support to maximize pistol squat success. Give it a try and notice the difference!
Muscles Worked by Pistol Squats
In performing pistol squats, you engage a complex network of muscles that work together to control movement and maintain balance. The primary movers are your quadriceps and glutes, powering knee and hip extension.
Your adductors play a crucial role in stabilizing the knee and preventing inward collapse. You also recruit hamstrings to control the descent and calves to stabilize the ankle.
Your deep core muscles brace your torso, keeping it upright as you lift the free leg.
| Muscle Group | Function | Role in Pistol Squat |
|---|---|---|
| Quadriceps | Knee extension | Main driving force |
| Adductors | Hip stabilization | Prevent knee collapse |
| Glutes | Hip extension | Power hip drive |
| Core & Calves | Stability & balance | Maintain torso & ankle control |
Common Pistol Squat Form Mistakes and Fixes
Mastering pistol squats requires precise form to make certain safety and effectiveness, but common mistakes often undermine your progress. Watch out for these issues to avoid muscle fatigue and injury:
Master precise pistol squat form to ensure safety and effectiveness while avoiding common mistakes that hinder progress.
- Keep the heel of the working leg grounded. If it lifts, your weight shifts forward, causing instability. Use a wedge or shorten your range to fix this.
- Don’t let the knee cave inward. Keep it aligned over your 2nd or 3rd toe to protect the joint.
- Avoid bouncing at the bottom. Lower yourself slowly over 2–3 seconds and pause briefly to maintain control.
- Keep your free leg straight. Bending it too much causes torso collapse and bad mechanics.
Correcting these will improve your strength and reduce muscle fatigue. Just focus on these tips, and you’ll see better results in no time!
Integrating Pistol Squats Into Your Calisthenics Workout
Before adding pistol squats to your calisthenics routine, make sure you’ve built a solid lower-body foundation with exercises like bodyweight squats and lunges. This helps ensure your knees and ankles can handle the single-leg demand.
Try integrating pistol squats using a ladder approach: start with split squats or Bulgarian split squats. Then progress to single-leg step-downs or partial pistols, and eventually try elevated or assisted pistols.
For muscle-building, aim for 2–4 sets of 3–8 controlled reps per leg. Focus on a slow 2–3 second descent and a brief pause at the bottom when your form allows.
Train near support to keep proper alignment and make sure your working heel stays grounded. Assisted versions are great to maintain training density while you build leg strength and perfect your pistol squats.
Frequently Asked Questions
How Often Should I Train Pistol Squats for Optimal Muscle Growth?
You should train pistol squats 2-3 times per week, allowing at least 48 hours of rest between sessions. This frequency helps your muscles recover and grow stronger while preventing overtraining or injury.
It’s all about balance, really. Giving your body enough time to heal means you’ll get better results and stay injury-free. So, stick to that schedule and listen to how your body feels!
Can Pistol Squats Help Improve Running Performance?
Pistol squats quietly boost your running by strengthening your legs and improving balance. When you work on them consistently, you’ll notice your stride becoming more powerful and your endurance quietly sneaking up on you.
Keep pushing! You’ll be surprised at how much they help over time.
Should I Use Weights or Resistance Bands With Pistol Squats?
You can use weights or resistance bands with pistol squats to increase resistance and build more muscle. Start with bodyweight first, so you get the form down.
Then, add bands or light weights as you get stronger. This way, you avoid injury and keep your balance in check.
How Long Does It Take to Master a Full Pistol Squat?
It usually takes you 4 to 8 weeks to master a full pistol squat, depending on your strength and balance.
Stay consistent, practice regularly, and focus on proper form to progress safely and effectively.
Keep at it, and you’ll see improvements before you know it!
Are Pistol Squats Safe for People With Knee Injuries?
You might think pistol squats are unsafe with knee injuries, but if you avoid pain and progress slowly, they can strengthen your muscles and support your knees.
Always check with a doctor before starting, though. It’s better to be safe and get professional advice.
Conclusion
Mastering pistol squats is like sculpting a masterpiece—each rep chisels strength, balance, and control. By focusing on proper form, controlling momentum, and progressing step-by-step, you’ll build muscle and confidence.
Don’t rush; give your body the mobility and flexibility it needs to perform safely. Keep practicing, fix common mistakes, and soon pistol squats will become a powerful part of your calisthenics routine.
With consistent effort, pistol squats can dramatically improve your lower-body strength, muscle tone, and overall balance. Remember, building muscle through pistol squats takes patience and dedication, but the payoff is worth it. Stick with the process, and you’ll unlock your full potential in strength, stability, and muscle development. So, keep working on your form and mobility, and watch your gains grow with every rep!