How Do You Set Up a Fishing Rod in 7 Easy Steps?
To set up your fishing rod in 7 easy steps, start by gathering your essential fishing gear and tools. Assembling your fishing rod carefully and attaching the reel securely are crucial first steps. This preparation ensures a smooth and successful fishing experience.
Next, spool the fishing line onto the reel and thread it through the rod guides. Attach your leader, add sinkers, and secure your bait or lure properly. These steps help create a functional and efficient fishing setup.
Finally, test your setup by casting and fine-tuning for smooth performance. Follow these simple steps, and you’ll be ready to fish like a pro while uncovering expert tips along the way. With this method, setting up your fishing rod becomes easy and enjoyable.
Gather Your Essential Fishing Gear
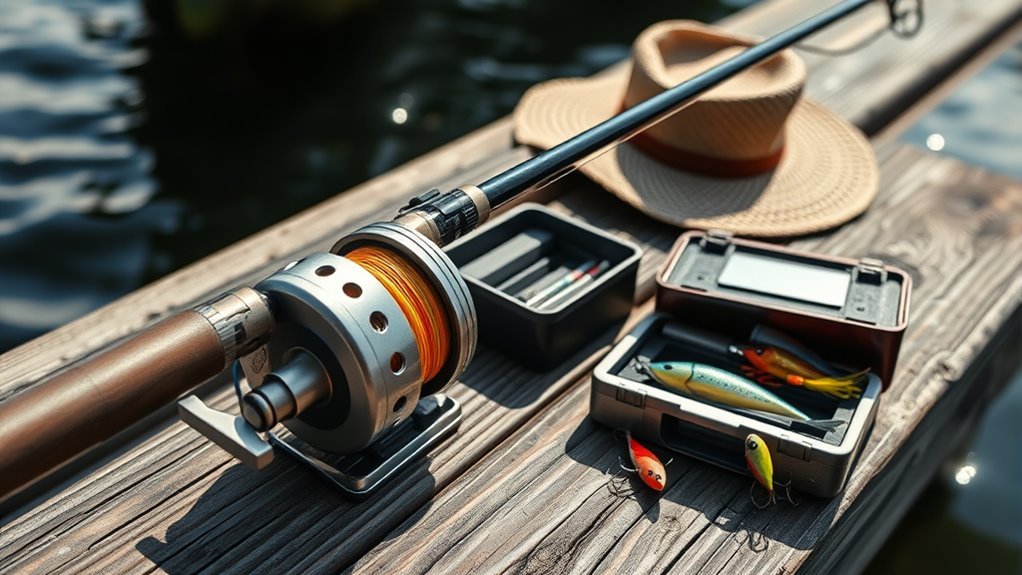
Before you begin fishing, gather all your essential gear to make certain of a smooth experience. Start by collecting your fishing gear, including a spinning or baitcasting rod and reel, and inspect them for any damage.
Begin by collecting and inspecting your fishing rod and reel for a smooth fishing experience.
Choose the right fishing line—braided, fluorocarbon, or monofilament—based on your target fish and water conditions.
To spool your reel correctly, have a pencil or pen handy to assist during the line setup.
Don’t forget to prepare accessories like hooks, lures, sinkers, and leaders to cover different fishing scenarios.
Also, gather tools such as pliers and scissors to make adjustments easier.
While you don’t assemble your rod yet, make sure your rod rings are intact and ready for the line.
Gathering gear thoughtfully sets you up for success before you assemble your rod.
Assemble Your Fishing Rod Correctly
Start by aligning the rod sections carefully, making sure the guides form a straight line.
Next, secure the reel tightly to prevent any wobbling while fishing.
Finally, double-check that everything is properly connected and aligned before you head out.
Align Rod Sections
How do you guarantee your fishing rod performs perfectly once assembled? Start by carefully aligning the rod sections, paying close attention to the ferrules. These connectors must fit snugly without forcing, ensuring the guide rings line up in a straight line along the entire rod.
When you assemble the sections, push them together gently without twisting to avoid damaging the blank. Once inserted fully, twist the sections just enough to connect securely, but don’t apply excessive force that might break the rod.
Double-check that all guides form a perfect straight line from handle to tip. Taking these steps to align the rod sections properly sets a solid foundation before moving on to reel attachment or line setup.
Secure Reel Attachment
Once you’ve aligned the rod sections, you’ll need to secure the reel firmly to guarantee smooth casting and retrieval. Start by inserting the reel foot into the reel seat, making sure the reel aligns perfectly with the rod guides. For spinning reels, position the handle on your preferred side; for baitcasting reels, mount the reel on top of the seat.
Then, tighten the reel seat lock or screws securely to ensure a solid attachment. Check that the reel doesn’t wobble and stays stable during movement.
| Step | Action | Tip |
|---|---|---|
| Insert Reel Foot | Place into reel seat | Align with rod guides |
| Position Reel | Adjust handle side | Left or right preference |
| Tighten | Secure reel seat lock | Ensure no wobble |
Check Guide Alignment
Although assembling your fishing rod sections might seem straightforward, checking the guide alignment is essential to guarantee smooth casting and accurate control. Proper guide alignment ensures the line flows freely through the rod guides without snagging or twisting.
Follow these steps during assembly:
- Match the alignment dots on each section to position the rod guides in a straight line.
- Gently twist the ferrules to lock sections together, ensuring no gaps or misalignment.
- Confirm all guide rings form a continuous, straight line along the rod’s length.
- Visually inspect the entire rod after assembly for any crooked or twisted rod guides.
Attach and Secure Your Fishing Reel
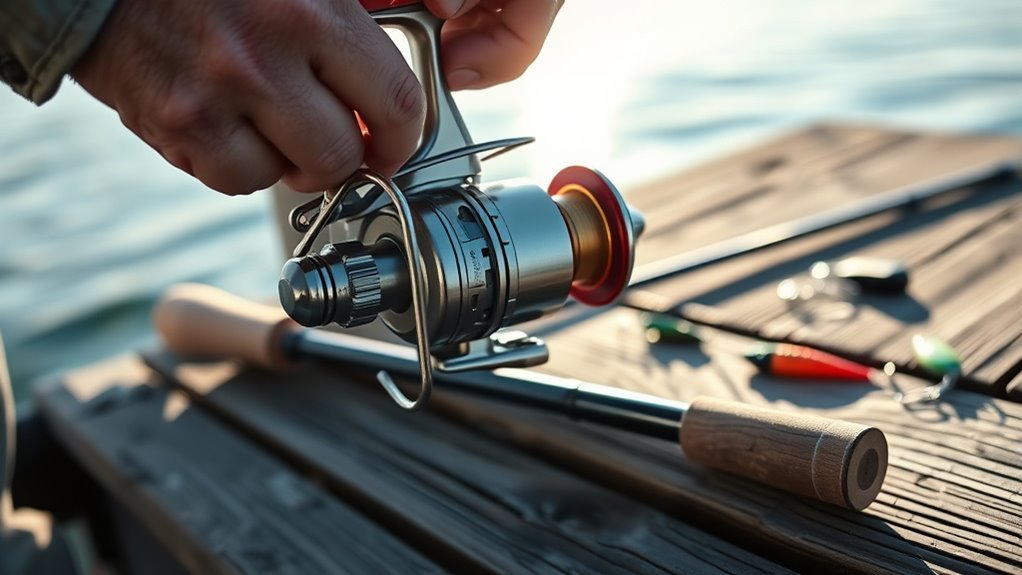
Start by sliding the reel foot into the reel seat and tightening the locking mechanism securely.
Make certain the reel sits flat and doesn’t wobble when you give it a gentle shake.
Properly securing your reel guarantees smooth casting and reliable performance on the water.
Reel Attachment Process
Before attaching your reel, pick the correct reel seat on your rod and slide the reel foot into place, making sure it fits snugly. The reel foot must sit firmly in the reel seat to guarantee stability.
Here’s how to secure it:
- For spinning reels, place the reel foot under the reel seat and tighten the locking nut clockwise until secure.
- For baitcasting reels, position the reel foot on top and tighten the mounting screws firmly.
- Use your fingers to check that the reel doesn’t wobble or slide during gentle shaking.
- Confirm the reel handle is on the correct side for your dominant hand and test for smooth rotation.
Tightening properly prevents movement and keeps your reel secure during casting and retrieval.
Ensuring Reel Stability
Once you’ve attached the reel to the rod, make certain it’s firmly secured to prevent any movement while casting. Start by fitting the reel foot snugly into the reel seat. Then, tighten the locking mechanism or screws to secure the reel tightly.
For spinning reels, slide the reel foot under the reel seat and turn the locking ring clockwise. After securing the reel, check for any wobbling by gently moving it; it should remain stable. Also, verify the reel handle aligns properly and the spool spins freely without excessive play.
Proper reel stability improves casting accuracy and prevents damage.
| Step | Action |
|---|---|
| Fit Reel Foot | Place firmly into reel seat |
| Tighten Locking Ring | Turn clockwise until tight |
| Check Stability | Confirm no wobbling or play |
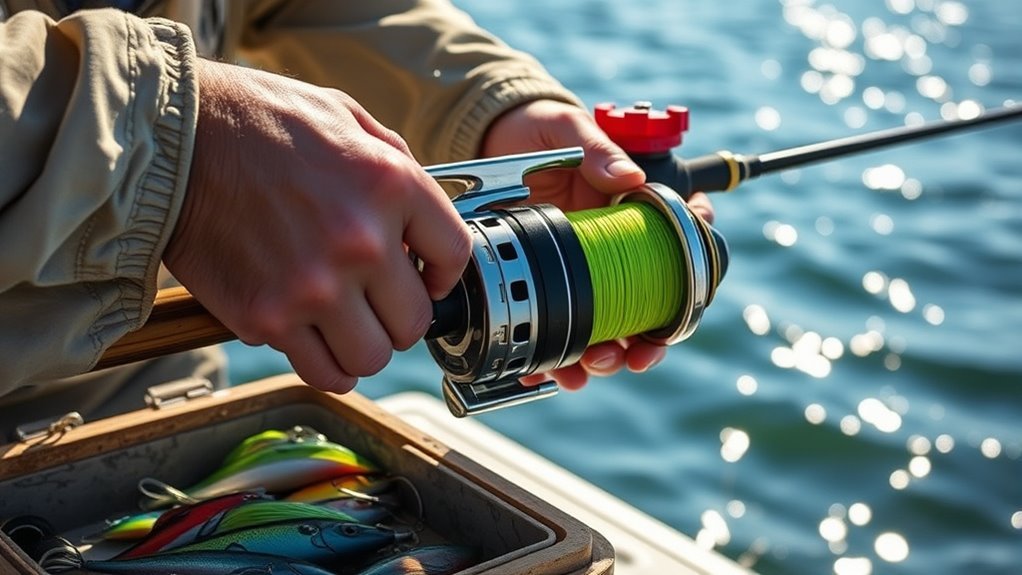
Spool the Fishing Line Onto the Reel
How do you guarantee your fishing line winds evenly and securely onto the reel? Start by wrapping the fishing line around the spool grooves and tie it with an arbor knot to prevent slipping.
Then, follow these steps:
- Insert a pencil or spooler horizontally through the line container to maintain tension as you unwind the line.
- Hold the line taut while you or someone else slowly turns the reel handle.
- Keep spooling evenly to avoid slack or overlaps.
- Stop when the spool is about ¾ full, leaving roughly 1/8 inch below the spool’s rim.
Maintaining proper tension and even spooling ensures smooth casts and prevents tangles.
Proper tension and even spooling are key to smooth casts and tangle-free fishing.
This method sets you up for success every time you prepare your reel.
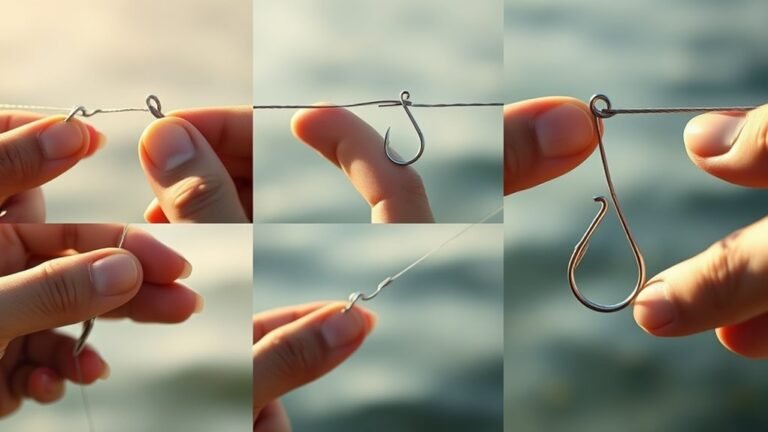
Thread the Line Through Rod Guides and Attach the Leader
With your fishing line properly spooled onto the reel, the next step is threading it through each guide on the rod. Start near the reel and carefully pass the line through every rod guide, moving toward the tip. Make sure the line passes smoothly without twisting or tangling to maintain control and casting accuracy.
Once threaded, it’s time to attach the leader. Use a tapered leader and connect it to your main line with a loop-to-loop knot, which offers a secure, streamlined join. Lubricate the knot with line conditioner or water to help it slide tight and hold firm.
Double-check that the leader is properly attached, with no slack or twists, before moving on. This ensures smooth casting and better lure presentation.
Attach Sinkers and Secure Your Lure or Bait
Although attaching sinkers might seem straightforward, placing them correctly on your line is essential for controlling your lure’s depth and casting distance. To properly attach sinkers and secure your lure or bait, follow these steps:
Correct sinker placement is key to controlling your lure’s depth and improving casting distance.
- Use pliers to pinch a split shot sinker onto your line, placing it at the right distance from the hook or lure.
- Securely close the split shot with pliers, ensuring it won’t slide or fall off during casting.
- Attach your lure by threading it onto the hook or using its attachment point firmly.
- For live bait, hook through the mouth or body, then tightly close the leader tab to keep it secure.
Adjust sinkers and bait position to balance depth and casting for the best fishing results.
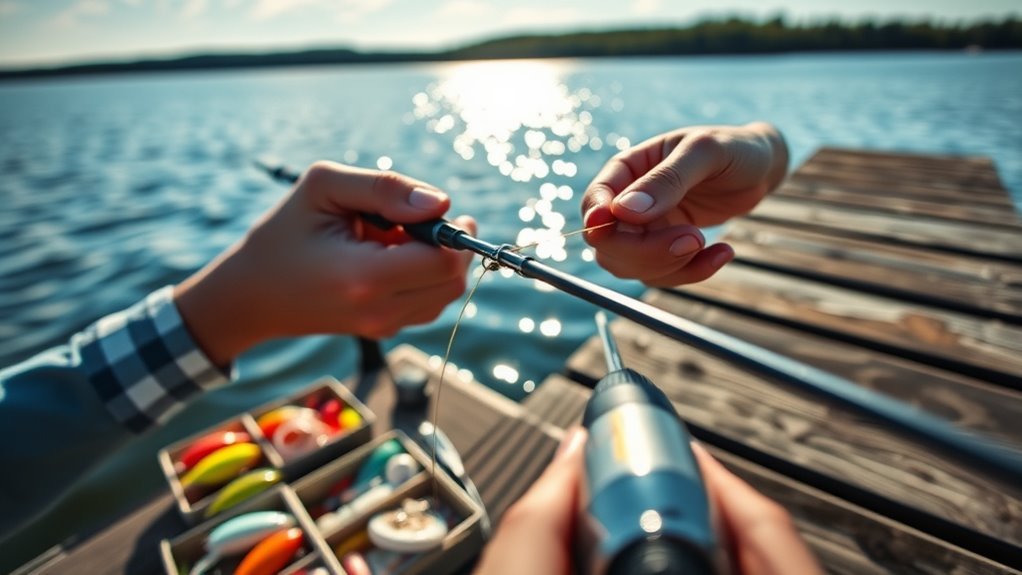
Test Your Fishing Setup and Practice Casting
Before you head out to fish, test your setup by casting into an open, calm area. Focus on line flow, reel function, and guide alignment to guarantee everything runs smoothly. Practice casting using the correct grip and hold the line about 3 inches from the reel, releasing it smoothly.
This helps reduce line slack and improves casting rhythm. Adjust drag tension to prevent line slippage or breakage. Observe how the line unspools to spot tangles or uneven spooling, correcting them before fishing.
Consistent practice casting sharpens your accuracy and timing.
| Aspect | What to Check | Tip |
|---|---|---|
| Line Flow | Smooth, tangle-free | Watch for snags |
| Reel Function | Smooth drag, no slipping | Adjust drag as needed |
| Guide Alignment | Line runs through guides | Align guides properly |
Frequently Asked Questions
How to Set up a Fishing Rod for Beginners?
You start by assembling the rod, attaching the reel firmly, and spooling the line evenly.
Then, thread the line through the guides, tie your bait securely, and test everything to guarantee smooth casting and reeling.
How to Make a Fishing Rod Step by Step?
Like assembling a puzzle, you connect rod sections, attach the reel, spool the line, thread it through guides, and tie your lure.
Each step locks your fishing rod into a ready, smooth-casting companion for your adventure.
How to Cast a Fishing Rod for Beginners Step by Step?
Hold the rod firmly, open the reel, pull the line slightly with the tip, swing the rod backward, then forward smoothly, releasing the line with your finger.
Keep the rod tip high to guarantee a smooth, accurate cast.
What Is the Simplest Fishing Setup?
The simplest fishing setup uses a spinning rod with a lightweight reel pre-spooled with monofilament line.
Just tie a hook or lure on with an improved clinch knot, skip extras, and you’re ready to cast.
Conclusion
Now that you’ve set up your fishing rod in just seven easy steps, you’re ready to conquer the waters like a fishing legend! With your gear assembled, line threaded, and bait secured, you’ll cast with confidence and reel in the big one in no time.
Remember, practice makes perfect, so keep casting until you feel like you could outfish a thousand anglers. Setting up your fishing rod correctly is the first step to a successful fishing trip.
Get out there and enjoy the thrill of the catch, knowing your fishing rod setup will help you make the most of every moment on the water!