How to Attach a Sling to a Rifle in 5 Easy Steps
To attach a sling to your rifle, start by making sure it’s completely unloaded. Safety first! Then, gather some handy tools like screwdrivers and lubricants to make the process smoother.
Next, secure the rifle upside down in a padded vise. This will protect the finish while you work on it. Mark your attachment points carefully—about 11 inches forward of the trigger guard and 2¼ inches from the butt plate. Using painter’s tape here helps avoid any damage to your rifle’s surface.
Now, drill pilot holes with care, so you don’t mess up the wood or metal. Once that’s done, cut your screws to size to get the perfect fit.
Finally, screw in the swivels tightly, attach your sling, and double-check that everything feels secure. Keep going for detailed tips to get that perfect fit on your rifle sling!
Key Takeaways
- Ensure the rifle is unloaded and gather necessary sling hardware and tools for attachment. Safety first, always double-check that the rifle is clear before you start.
- Secure the rifle in a padded vise with attachment points accessible. This will keep it steady and make your job easier.
- Measure and mark front and rear sling attachment points accurately on the stock. Taking your time here means fewer mistakes later.
- Drill pilot holes carefully, then enlarge to size and cut screws to proper length. Go slow and steady to avoid damaging the stock.
- Attach swivels or QD mounts securely to the rifle, then connect and lock the sling in place. Give everything a good check to make sure it’s tight and secure before you’re done.
Prepare Your Rifle and Gather Sling Installation Tools
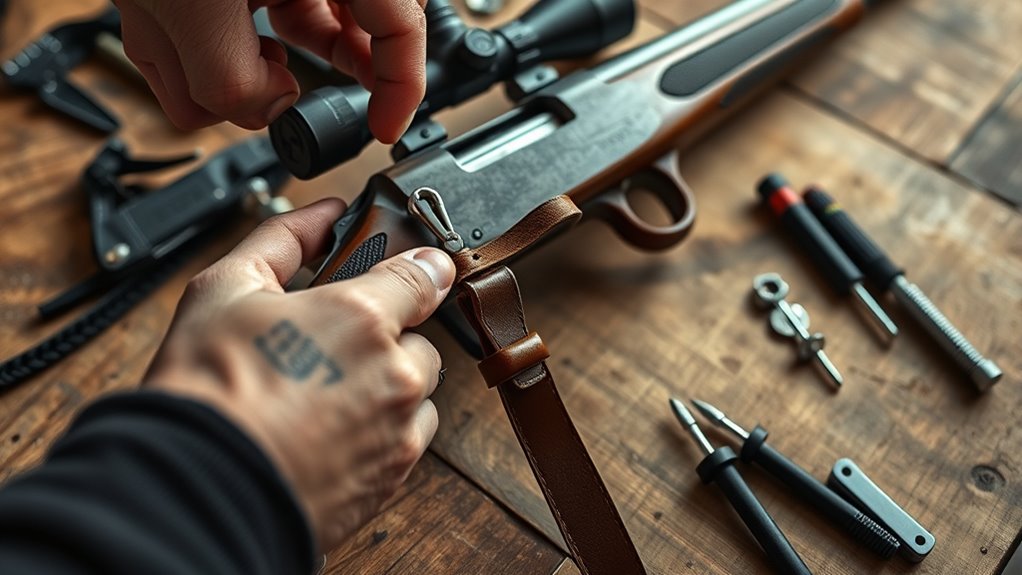
Before you begin attaching your sling, make sure your rifle is completely unloaded and safe by clearing both the chamber and magazine. Handling an unloaded rifle guarantees your safety throughout the process.
Always ensure your rifle is fully unloaded and safe before starting any sling attachment process.
Next, gather all the necessary tools, such as screwdrivers, Allen wrenches, and light lubricants, depending on your sling hardware. Identify the proper attachment points on your rifle—these might be swivel studs, M-LOK slots, or Picatinny rails.
Confirm that your sling hardware matches these points, whether you’re using swivels, QD cups, or adapters. Set up a clean, well-lit workplace to enhance precision and maintain safety.
Having the right tools and a safe environment prepares you for a smooth, secure sling installation without unnecessary risks or delays. It’s always better to be prepared and take your time.
Clamp Your Rifle Securely in the Vise
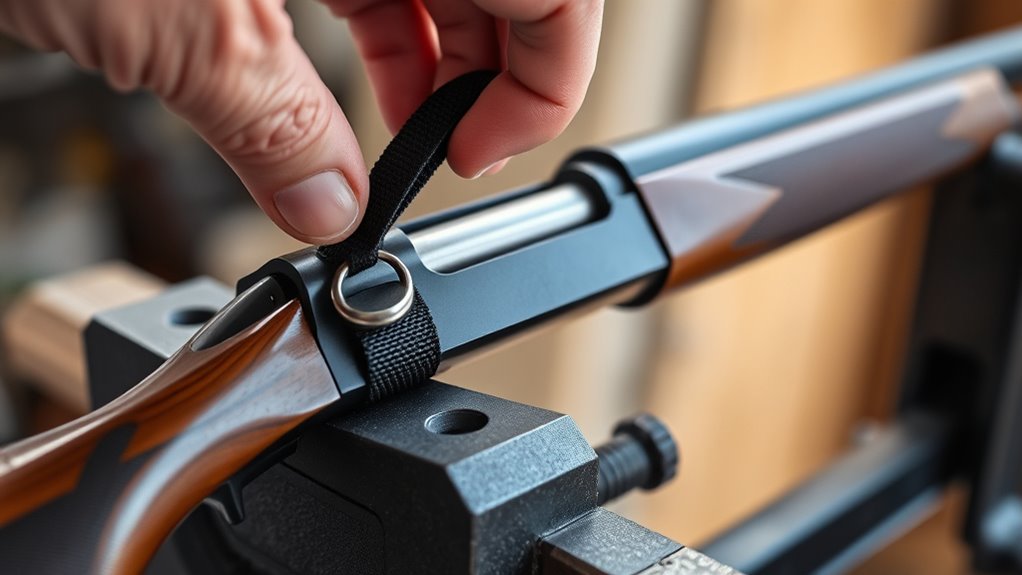
Once you flip your rifle upside down with the trigger guard facing up, you can easily access the sling attachment points. To work safely and efficiently, clamp your rifle securely in a padded vise.
Use paper towels or soft cloth as padding between the rifle and vise jaws to protect the finish from scratches. Position the rifle so the area around the attachment points is accessible and well-supported.
Apply enough pressure on the vise to prevent any movement, ensuring stability while you work, but don’t overtighten—it could damage the stock or metal parts. A padded bench vise or gun vise is ideal for holding your rifle firmly without compromising its condition.
This setup guarantees a steady platform for the next steps in attaching your sling. It makes the whole process smoother and safer.
Mark Where You’ll Attach the Sling
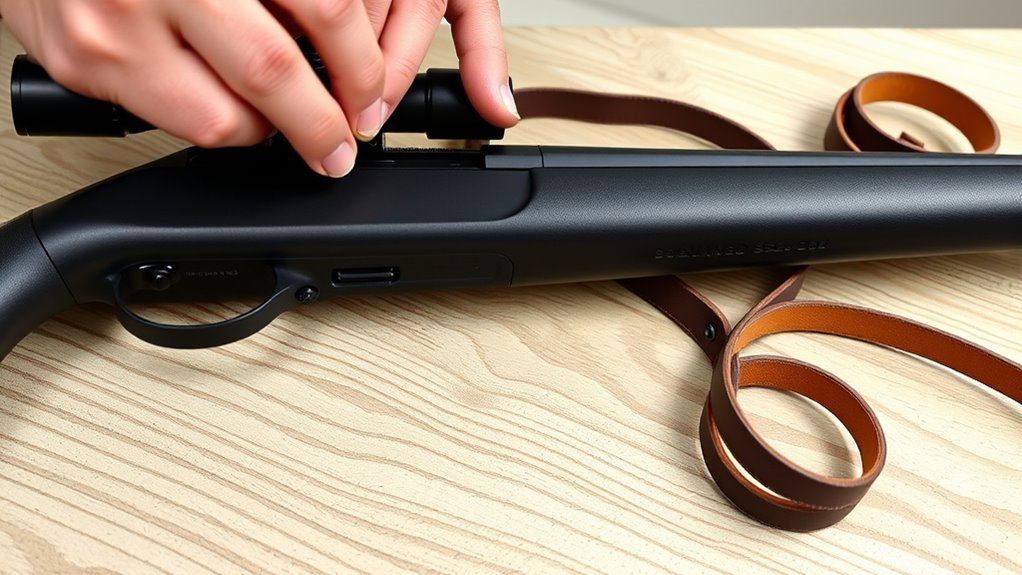
When you position your rifle with the stock raised as if shooting, you can accurately mark where to attach the sling. Start by measuring approximately 11 inches forward from the trigger guard to identify the front sling attachment point.
For the rear, mark about 2 1/4 inches from the butt plate to ensure stable placement. To protect the rifle’s finish, apply painter’s tape over the stock before marking your attachment points.
Use a pencil or fine marker to clearly mark the exact spots for the sling attachment. Double-check all measurements to avoid mistakes that could affect balance or sling function.
This careful marking ensures precise placement before drilling, setting you up for a smooth drilling process and secure sling attachment. Just take your time with this step—it really pays off!
Drill Pilot Holes and Cut Screws to Size
After marking the exact spots for your sling attachment, you’ll want to drill pilot holes carefully to avoid splitting the wood. Start with a 1/16-inch drill bit and drill about 3/8 inch deep into the stock.
Begin with a 1/16-inch drill bit to carefully create pilot holes about 3/8 inch deep.
Use tape on the bit to mark your depth, making sure you don’t go too far. Gradually increase the drill size up to 3/16 inch, keeping the hole straight and centered.
Next, measure your screw length against the stock’s depth to prevent internal damage. If the screw is too long, cut it to size with a Dremel or suitable cutter.
Wrap tape around the screw to mark the cut line, protecting the threads. These steps guarantee a secure, precise fit for your sling attachment.
Screw in the Swivels and Attach Your Sling
Although you’ve prepared the pilot holes and screws carefully, you’ll still want to guarantee the swivels attach securely to your rifle. Start by selecting the correct swivel or QD mount compatible with your rifle’s attachment points, like swivel studs or M-LOK slots.
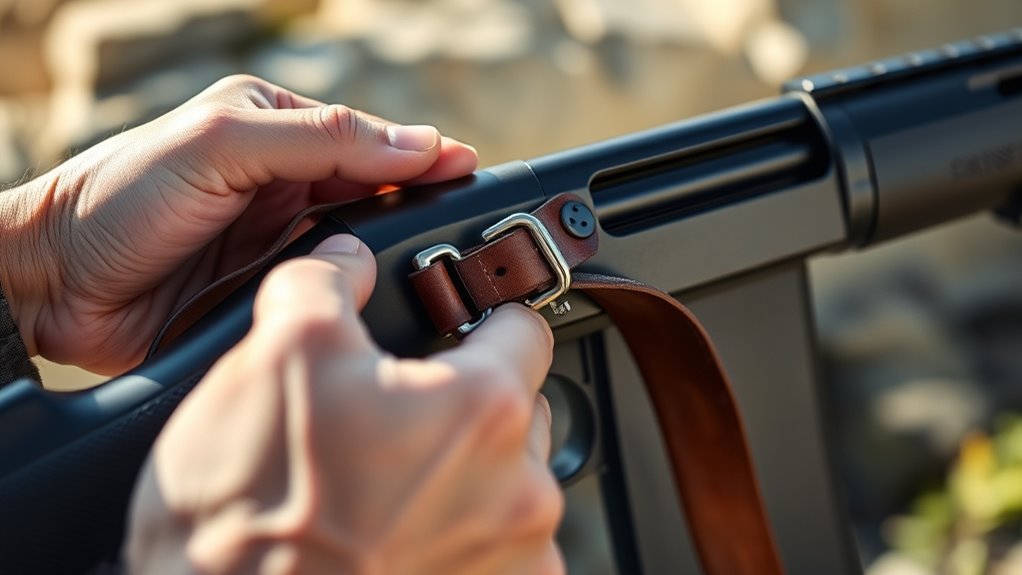
Thread the swivel onto the sling webbing or insert the QD swivel into its socket, making sure the hardware is oriented for easy access. Screw the swivel tightly onto the rifle’s attachment point, preventing any movement.
For QD mounts, press the button to lock the swivel firmly in place, then pull to test the connection. Finally, double-check all hardware is tight and properly seated to assure a secure, safe sling attachment that won’t loosen during use.
Frequently Asked Questions
How Does a Sling Attach to a Rifle?
A sling attaches to a rifle by connecting its swivels or clips to your rifle’s attachment points like swivel studs, QD mounts, or M-LOK slots. You’ll secure it firmly for stability and easy access on the move.
How to Put a Sling on Correctly?
You put the sling on correctly by securing it to the rifle’s attachment points, adjusting the length for comfort, and ensuring it’s snug but not tight. Always double-check the connections for safety before use.
How to Tie a Sling Step by Step?
Start by threading the sling through the attachment point, loop it securely, then adjust the length for comfort. Tie a knot or use a buckle to secure it, and finally, tug gently to make certain it won’t slip.
How to Hold a Rifle With a Sling?
You hold a rifle with a sling by slipping your support arm through the sling loop, positioning it high on your bicep. Keep the sling taut, wrap your support hand around the forend, and lock the rifle into your shoulder pocket.
Conclusion
Now that you’ve gracefully outfitted your rifle with a sling, you’re ready for enhanced comfort and control on your next outing. This simple upgrade subtly elevates your shooting experience.
Carrying your rifle now feels less like a chore and more like a seamless extension of your adventure. With just a bit of patience and care, you’ve turned a routine task into a refined touch of practicality and style.
Attaching a sling to your rifle not only improves comfort but also adds stability and ease during movement. It’s a small change that makes a big difference, helping you carry your rifle effortlessly while staying ready for action.
So, whether you’re heading out for hunting, target practice, or any outdoor activity, this sling attachment is your key to a better shooting experience. Enjoy the blend of function and style that comes with this simple yet effective upgrade.