How to Level a Scope on a Rifle in 5 Easy Steps
To level a scope on your rifle in five easy steps, start by securing your rifle in a stable rest and making sure your workstation is flat and clean. This foundation is key for accurate adjustments.
Next, mount the scope loosely using quality rings and adjust for eye relief so you get a clear view without straining.
Now, level the rifle and align the reticle vertically using bubble levels. This helps ensure your shots are true and on target.
After that, verify the reticle’s squareness and make any fine-tune adjustments needed to get it perfect.
Finally, tighten the rings gradually, double-check your eye relief, and confirm the scope stays level. This step locks everything in place for consistent and accurate shooting.
Keep practicing to perfect your setup and enjoy improved precision every time you take a shot!
Key Takeaways
- Secure the rifle in a stable rest and make sure the work surface is flat using a bubble level. This helps keep everything steady while you work.
- Loosely mount the scope rings and position the scope so you get comfortable eye relief. You want to be able to see clearly without straining.
- Level the rifle using a bubble level. Then, align the reticle vertically with a plumb line or a scope level to get it just right.
- Rotate the scope within the rings until the reticle is perfectly square. Double-check this with a reticle level to be sure.
- Gradually tighten the rings in a crisscross pattern. Keep rechecking your eye relief and make sure the scope stays level throughout.
Prepare Your Rifle and Workstation for Leveling
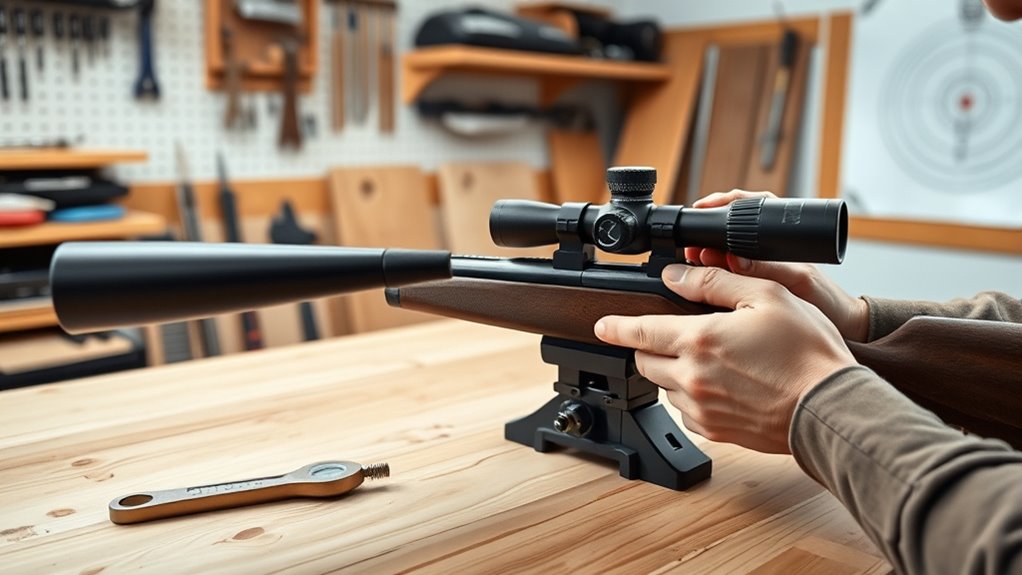
Before you begin leveling your scope, make sure to secure your rifle firmly in a stable vice or rest to prevent any movement. Setting up your workstation correctly is vital for precise leveling.
Use a bubble level to ensure your work surface is perfectly flat, providing a consistent baseline for the scope mount installation. Check that the rifle’s receiver or base is clean and free of debris to avoid alignment issues.
Gather all necessary tools, including a torque wrench and additional bubble levels, to streamline the setup process. Position the rifle and scope comfortably with good lighting to help you focus on small adjustments.
Mount the Scope With Proper Rings and Initial Alignment
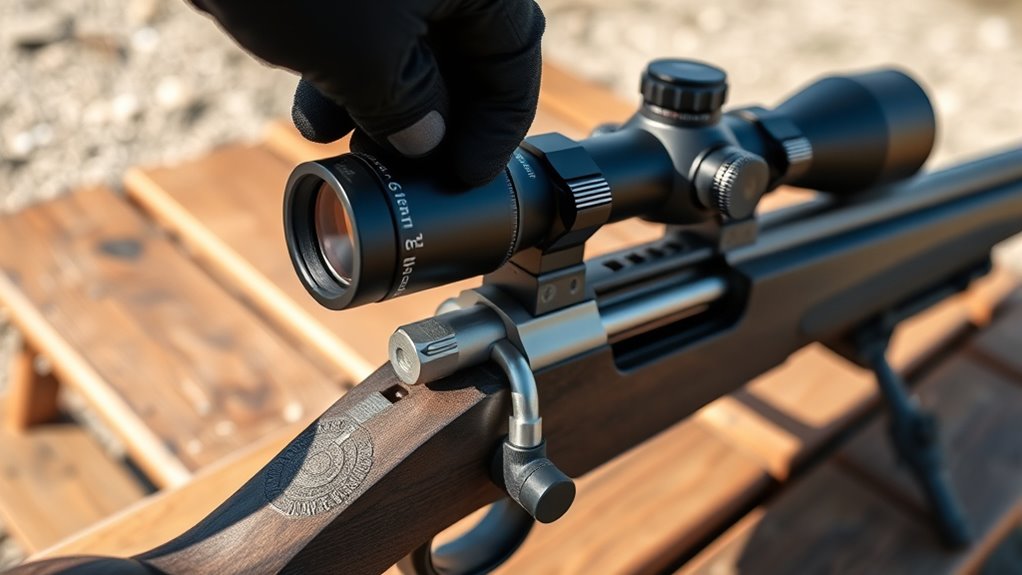
When you mount your scope, choosing high-quality rings from trusted brands like Vortex or Seekins guarantees a secure and precise fit. Start by selecting scope rings with the right ring height to provide at least 0.25 inches of clearance between the objective lens and the barrel for proper eye relief and movement.
Choose quality rings with the right height to ensure proper clearance and secure scope mounting.
During scope mounting, attach the rings loosely at first to allow for initial alignment adjustments. Position the scope on a rifle ensuring comfortable eye relief and correct placement.
Once aligned, tighten the ring screws gradually in a crisscross pattern to the manufacturer’s recommended torque. This secure mounting prevents shifting and damage.
Avoid loose rings by double-checking the scope’s position before final tightening. This sets a solid foundation for the next leveling steps.
Level the Rifle and Align the Scope Reticle Vertically
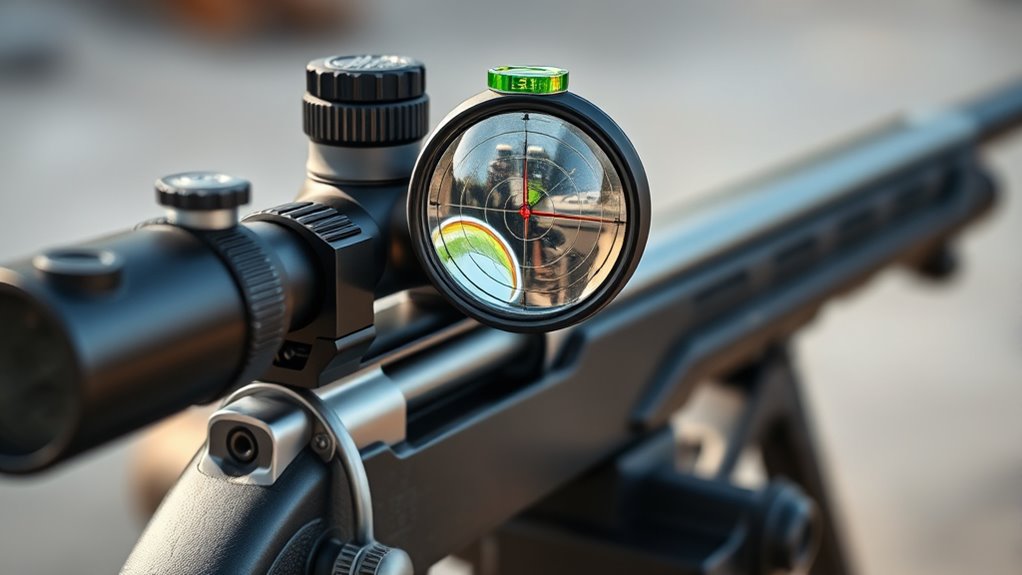
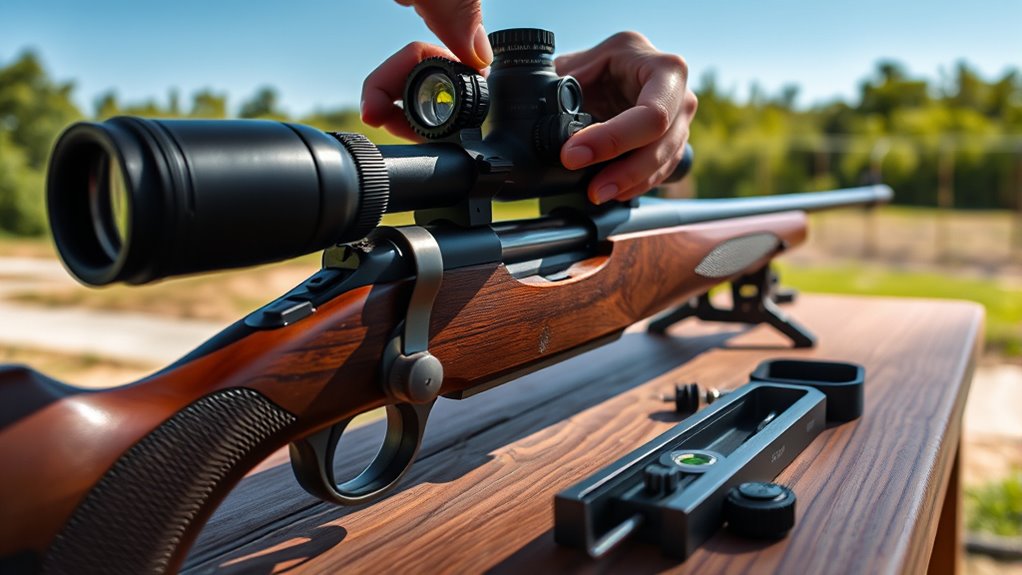
After securing your scope with the proper rings and initial alignment, the next step is to level your rifle and align the scope’s reticle vertically. Start by placing a bubble level on the rifle’s receiver or stock. This helps ensure the rifle is properly level before you mount the scope.
Next, loosely attach the rifle scope in the scope rings. Adjust the reticle’s vertical crosshair until it lines up perfectly with a vertical reference, like a plumb line.
Finally, use a scope level on the scope or mounting base to confirm vertical alignment. You might need to rotate the scope within the rings a bit. Then, tighten the rings gradually while checking that the reticle stays upright.
Don’t forget to double-check the vertical alignment after tightening everything. This will make sure your scope is properly level and free of any canting.
- Level rifle using bubble level
- Align reticle with plumb line
- Verify vertical alignment with scope level
Adjust the Scope and Verify Reticle Squareness
Although you’ve aligned the scope roughly, you’ll need to adjust the windage and elevation turrets to center the reticle perfectly and guarantee it sits squarely within the scope housing.
Use a bubble level on the scope or rifle to verify the reticle alignment is perpendicular. Rotate the scope in the mount rings to check for any misalignment and correct scope rotation as needed.
Attach a reticle level to confirm reticle squareness. After making turret adjustments, tighten the scope screws lightly and recheck the reticle square.
Keep fine-tuning until the reticle level confirms perfect reticle squareness. This ensures precise scope leveling and consistent accuracy.
Tighten Scope Rings, Check Eye Relief, and Confirm Level
Once you’ve confirmed the reticle is perfectly square, it’s time to secure the scope by tightening the rings. Begin by tightening scope rings gradually in a crisscross pattern, following the manufacturer’s torque screws specifications to avoid shifting the reticle alignment.
After confirming the reticle is square, tighten the scope rings gradually in a crisscross pattern per torque specs.
Before fully tightening, check eye relief to ensure proper scope positioning for a clear, shadow-free sight picture. Use a bubble level on the scope or rifle to level the scope accurately, and verify the reticle remains plumb by comparing it to a plumb line or vertical reference.
- Tighten scope ring screws evenly using the recommended torque.
- Check eye relief for comfort and clarity.
- Confirm the scope’s level and reticle alignment before final tightening.
Make sure to recheck everything after mounting the scope to keep precision and comfort just right.
Frequently Asked Questions
What Is the Best Way to Level a Rifle Scope?
The best way to level a rifle scope is to use a quality bubble or digital level mounted on your scope or rail. Adjust until the bubble centers, then verify vertical alignment with a plumb line for perfect accuracy.
How to Level a Scope Without a Vice?
Imagine cradling your rifle like a painter steadying a brush. Use sandbags or a shooting rest to hold it firm, then adjust the scope carefully until your bubble level sings perfectly horizontal—no vice needed.
Does a Rifle Scope Have to Be Perfectly Level?
No, your rifle scope doesn’t have to be perfectly level, but you should align it with your rifle’s bore. Slight canting is okay, especially if it suits your shooting stance or technique without hurting accuracy.
How to Level a Scope With a Flashlight?
Imagine shining a flashlight onto your scope’s reticle in a dark room. You’ll adjust the mount until the crosshairs align perfectly with the flashlight’s beam, ensuring the reticle stays level when you rotate the scope slightly.
Conclusion
Now that you’ve leveled your scope, you’re set for accurate shots every time. Remember, “measure twice, cut once” applies here—taking your time guarantees precision.
Keep your rifle steady, align carefully, and double-check your work. With these five easy steps, you’ll improve your shooting confidence and consistency.
So, don’t rush the process; a well-leveled scope makes all the difference between a good shot and a great one. Leveling a scope properly ensures that your shots hit exactly where you aim, boosting your overall shooting performance.
Taking the time to level your scope on a rifle not only improves accuracy but also helps build your confidence every time you pick up your firearm. Happy shooting!