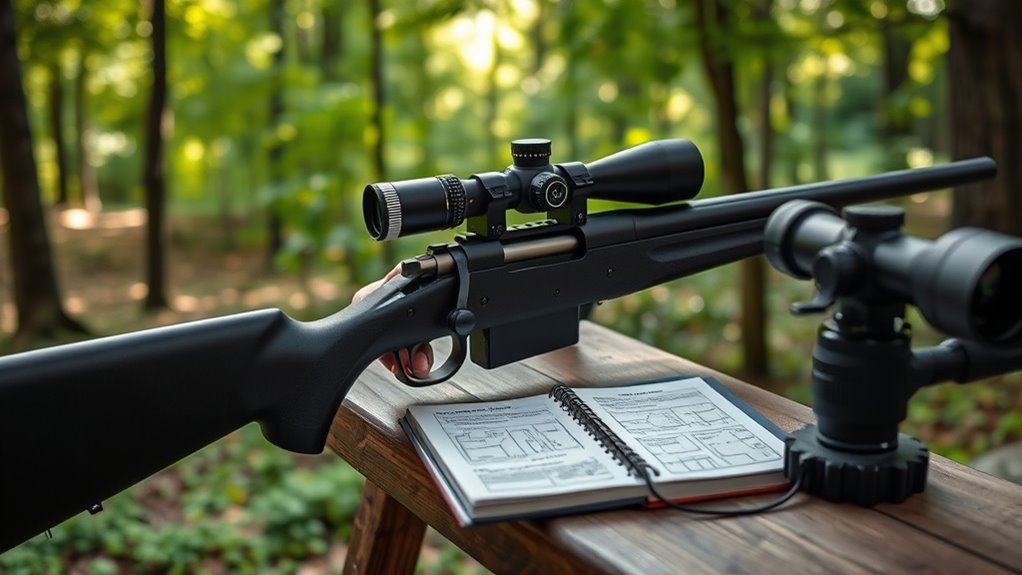
How to Sight a Rifle Scope in 10 Easy Steps
To sight your rifle scope in 10 easy steps, start by securely mounting your rifle on a stable rest and bore-sighting to align the scope roughly. This initial setup is crucial for getting your scope on target quickly and accurately.
Next, focus the reticle against a clear background. Set the magnification and adjust the parallax to get a sharp, clear target image. These steps help ensure what you see through the scope matches where your bullet will hit.
Take careful shots and analyze your shot groups. Then, make precise adjustments to the scope based on your results.
Finally, confirm your zero with multiple shots before locking the turrets to secure your settings.
Follow this process closely, and you’ll fine-tune your accuracy quickly and confidently.
Key Takeaways
– Secure the rifle on a stable rest and bore-sight to align the scope reticle roughly with the barrel.
This helps get you on the right track before you start fine-tuning.
– Adjust the scope focus and parallax for a sharp, clear reticle and target image at the desired distance.
You want everything crisp so you can aim precisely.
– Take slow, controlled shots while maintaining steady aim to form consistent shot groups for accurate analysis.
Don’t rush—steady shots give you the best data to work with.
– Measure shot group deviations from the target center and adjust windage and elevation turrets accordingly.
Make those small tweaks to bring your shots closer to the bullseye.
– Confirm zero by firing multiple shots, lock turret settings, and verify consistent shot placement over time.
This final step ensures your adjustments hold up when it counts.
Prepare Your Rifle and Gear for Sight-In
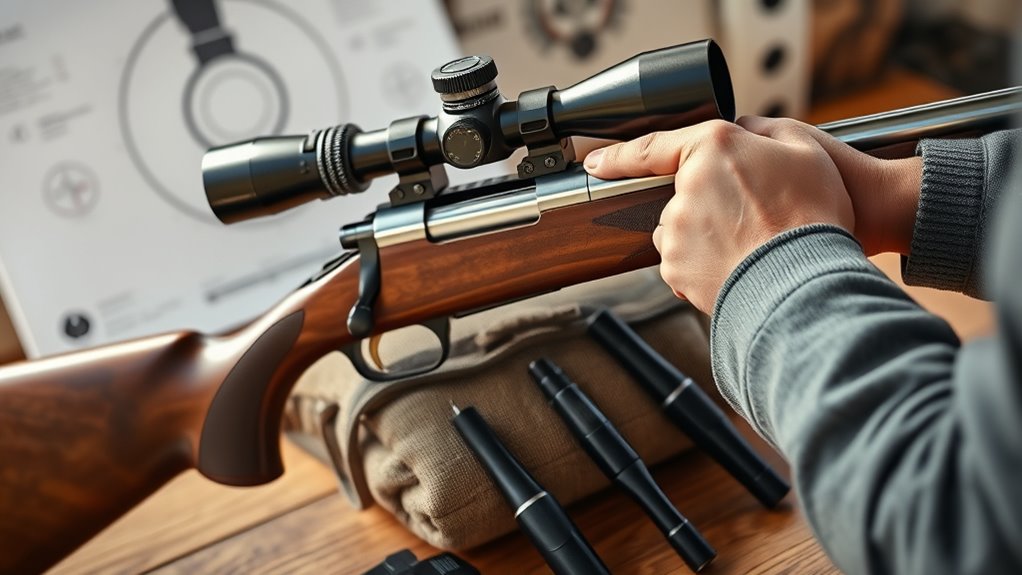
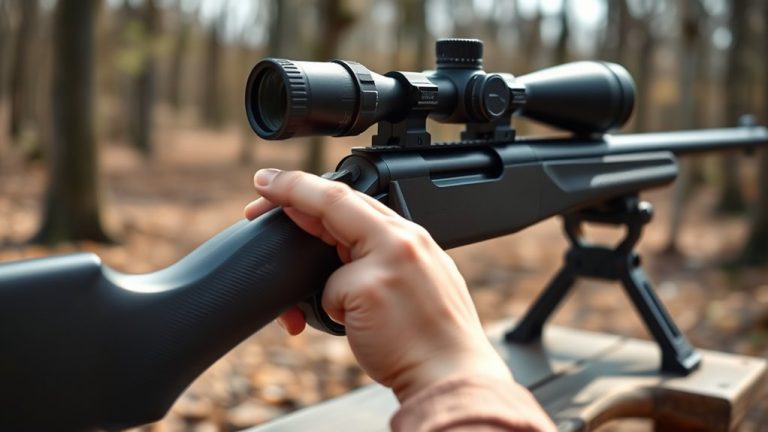
Before you begin sighting in your rifle scope, make sure you’ve gathered a stable setup with a front rest or bipod and a rear rest like a sandbag to keep your aim steady. This stability is essential for accurate long range shooting.
Ensure a stable setup with front and rear rests to maintain steady aim for precise long-range shooting.
You’ll want to have the appropriate ammunition ready for testing during the sight-in process. Don’t forget to wear proper eye and ear protection to safeguard your senses throughout your shooting session.
Confirm that your rifle bore is correctly bore-sighted before starting the actual sight-in to save time and ammunition. Using reliable stabilization methods like sandbags or bipods helps maintain a consistent position, ensuring your long range shots are precise and your scope adjustments are effective.
Preparation sets you up for success. So, take your time getting everything ready—it really makes a difference!
Bore Sight the Rifle
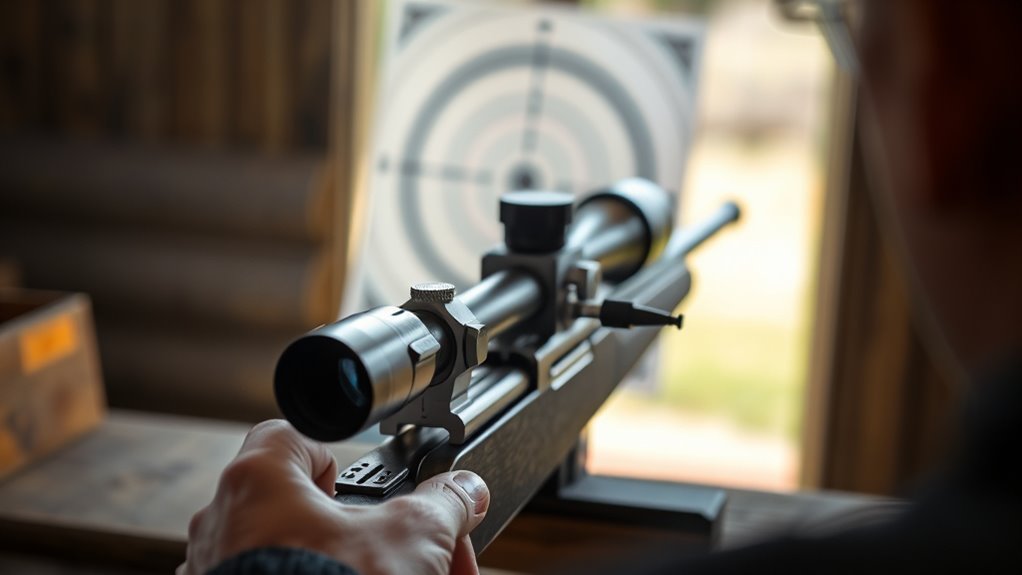
How do you guarantee your rifle scope is accurately aligned before heading to the range? Start by bore sighting your rifle. Remove the bolt and look directly down the barrel to center the bore on a target or sighting device.
Use a bore sighter tool or laser device to help with this step. Next, adjust your scope’s windage and elevation turrets so the reticle aligns perfectly with the bore’s point of aim, usually at about 25 yards.
Confirm that the reticle and bore line up on the same point. Once aligned, reinstall the bolt and fire a few test shots at a short distance. Make minor adjustments to the scope as needed to finalize your initial sight-in.
This ensures your scope is as close to zeroed as possible before you start shooting at longer ranges.
Focus the Scope Reticle on a Clear Background
After bore sighting your rifle and making initial adjustments, the next step is to focus the scope reticle on a clear background. Find a plain, high-contrast surface like a clear sky or sandbank to make the reticle stand out.
Make sure your scope is securely mounted to avoid any movement. Hold the rifle steady or use a stable support to prevent blurry images.
Now, slowly adjust the scope’s focus ring until the reticle looks sharp and crisp against the background. Check that the reticle remains clear and doesn’t shift when you move your head slightly.
This confirms proper focus, helping you aim precisely. Taking these steps ensures your scope is ready for accurate shooting before you move on to setting magnification for your distance.
Set Scope Magnification for Your Distance
You’ll want to adjust your scope’s magnification based on how far your target is. Higher magnification works best for longer distances, while lower settings help you track closer targets more easily.
Make sure your scope’s power matches your shooting range before you start zeroing in. It’ll make your shots more accurate and your experience a lot smoother.
Adjust Magnification Settings
When setting your scope’s magnification, start by turning it to the highest level to get a clear view of your target at longer distances. Use the magnification ring to adjust between low and high power depending on your shooting range.
At longer distances, like 300 yards or more, full magnification helps with precision. For shorter ranges, lower magnification offers a wider field of view, speeding up target acquisition.
Always double-check your magnification before making adjustments or taking a shot to maintain accuracy.
| Distance Range | Magnification Setting | Benefit |
|---|---|---|
| Under 100 yards | Low | Wider field of view |
| 100-200 yards | Medium | Balanced clarity |
| 200-300 yards | High | Clear target image |
| 300+ yards | Maximum | Precision at distance |
Match Distance To Power
Although it might be tempting to always use maximum magnification, matching your scope’s power to the shooting distance guarantees better accuracy and clarity.
For longer shots, set your scope to full magnification—usually between 12x and 20x, depending on your model—to clearly see your target and the reticle.
Use the scope’s reticle subtensions calibrated for specific ranges, adjusting magnification so the target and reticle are sharp. For example, use around 4x for 100 yards and 10x for 300 yards.
Remember, lower magnifications give you a wider field of view, ideal for close-range targets, while higher magnifications enhance precision at longer distances.
Adjusting your scope’s power this way assures you’ll hit your target with confidence every time.
Adjust Parallax for a Clear Target View
Since a clear target view is essential for accurate shooting, adjusting the parallax on your rifle scope is a crucial step. Start by setting the parallax knob at the highest range, then slowly decrease it while watching the target.
Stop when the image is sharp and free from blurriness or double images. Make sure your scope is set to your shooting distance for the best focus.
To fine-tune, shift your head slightly and confirm the target doesn’t move or blur. Proper parallax adjustment minimizes aiming errors caused by image shift and helps maintain consistent shots.
| Step | Action | Purpose |
|---|---|---|
| 1 | Set parallax to highest range | Start with maximum adjustment |
| 2 | Gradually reduce knob | Find clearest image |
| 3 | Match shooting distance | Optimize focus |
| 4 | Shift head slightly | Check for image movement |
| 5 | Confirm sharp target | Ensure accuracy and consistency |
Load Single Rounds and Take Slow, Deliberate Shots
Load one round at a time to keep control and avoid accidental double shots. Focus on steady aim and slow, deliberate trigger pulls to boost your shot consistency.
Taking your time helps you make every shot count. It’s all about being patient and precise.
Load One Round
When you chamber a single round at a time, you maintain better control and safety during sighting. Loading one round reduces the risk of accidental discharge and lets you focus on each shot.
Take slow, deliberate shots by controlling your breathing and squeezing the trigger smoothly. Don’t rush—pause briefly after each shot to evaluate where it landed.
Use a consistent stance and grip to minimize variables that might throw off your accuracy. Keep track of each shot’s position to monitor your grouping and make precise scope adjustments.
This careful approach helps you fine-tune your aim efficiently, ensuring that every shot counts as you zero your rifle scope.
Maintain Steady Aim
Focusing on one round at a time keeps you centered and reduces distractions, setting the stage for steady aim.
To maintain control and precision, follow these key steps:
- Load only a single round to guarantee your full attention is on each shot. This helps prevent rushed or careless firing.
- Take slow, deliberate shots by carefully aligning the reticle with your target. Then, gently squeeze the trigger to avoid jerking the rifle.
- Keep a steady grip and controlled breathing to minimize movement. Hold the rifle stable after each shot to assess the impact.
Prioritize Shot Consistency
Although it might be tempting to fire quickly, prioritizing shot consistency by loading single rounds and taking slow, deliberate shots will greatly improve your accuracy.
Loading one round at a time helps you stay focused and reduces distractions that can cause movement. Taking your time lets you maintain proper sight alignment and breathing, ensuring each shot is deliberate.
This method minimizes recoil impact and reveals true shot patterns, guiding precise adjustments. Consistent, deliberate shooting also reinforces good habits like a steady trigger pull and stable hold.
Analyze Shot Groups and Identify Outliers
Since your shot group reveals the rifle’s true performance, you’ll want to carefully spot any shots that fall outside the main cluster. These outliers can mislead your adjustments if not properly analyzed.
Before making changes, figure out whether these are caused by shooter error, equipment issues, or environmental factors. It’s a good idea to record their positions relative to the main group to decide if you should accept them or retake shots for consistency.
To effectively analyze shot groups:
- Identify shots outside the main cluster as potential outliers.
- Assess causes—shooter, equipment, or environment—before reacting.
- Use the main group’s pattern to understand your rifle’s true point of impact, ignoring inconsistent outliers.
Consistently analyzing shot groups helps you tell the difference between random errors and actual inaccuracies needing correction. This way, you make smarter adjustments and improve your shooting over time.
Calculate and Make Precise Scope Adjustments
Now that you’ve analyzed your shot groups, it’s time to determine how far off your shots are from the target center. Use that deviation to calculate the exact number of clicks needed based on your scope’s MOA or mil values.
Make small adjustments, then fire again to confirm your zero is spot on. Taking it step by step like this really helps dial in your accuracy.
Determine Shot Group Deviations
When you measure your shot group deviation from the target center in MOA (minutes of angle), you’ll know exactly how far and in which direction your shots are off. This step is essential for precise scope zeroing.
Here’s how to determine your group deviations:
- Measure the horizontal and vertical distance from the target center to your shot group in MOA.
- Record these deviations carefully; for example, 2 MOA right and 1 MOA high.
- Use these values to calculate the needed adjustments before dialing your scope.
It’s pretty straightforward once you get the hang of it! Just take your time with the measurements, and you’ll be zeroed in no time.
Calculate MOA Click Adjustments
Although determining your shot group deviations is essential, the next step is to convert those MOA measurements into precise clicks on your scope. One MOA equals about 1.047 inches at 100 yards, so a 3 MOA correction means roughly 3.14 inches.
Most scopes adjust in quarter MOA increments, meaning each click shifts your point of impact by 0.25 MOA. To figure out how many clicks to dial, divide your total MOA correction by 0.25.
For example, if you need a 2 MOA correction, you’ll dial 8 clicks (2 ÷ 0.25). Remember to check your scope’s specific calibration, as some adjust in smaller increments like 1/8 MOA per click.
This guarantees you make accurate, precise adjustments for better shooting results.
Confirm Zero After Changes
Since making accurate adjustments is essential, you should fire a group after each change to confirm your scope’s zero matches the intended point of impact. This step guarantees your adjustments are precise and your shots stay on target.
To maintain accuracy, follow these steps:
- Calculate the total clicks needed by measuring your shot’s deviation and using your scope’s increments (e.g., 1/4 MOA per click).
- Fire a group to verify the new zero, then shoot additional groups at the same distance to ensure consistency.
- Secure your adjustments by reapplying turret caps or locking adjustment screws and keep a record of clicks for future reference.
Confirming zero after every change guarantees your scope remains reliable and your shooting stays accurate. It’s a simple habit that pays off every time you take a shot.
Confirm Zero Accuracy With Multiple Verification Shots
To confirm your zero accuracy, fire a group of 3 to 5 shots at the target after your initial adjustments. Check that your shot group stays within the acceptable MOA range for your shooting distance.
Fire 3 to 5 shots at the target to ensure your zero is accurate within the acceptable MOA range.
If the group is off, use these verification shots to decide whether you need more fine-tuning. Record the group size and shot placement to monitor your zero accuracy over time.
It’s a good idea to repeat this process at different distances or whenever you make adjustments. This way, you ensure your zero remains consistent.
This multiple-shot approach gives you confidence in your scope’s precision and helps maintain reliable accuracy for every shot you take.
Lock Your Zero by Resetting Turrets
After confirming your zero accuracy with multiple verification shots, the next step is to lock your zero by resetting the turrets. This process makes sure your adjustments stay consistent and protected during use.
Here’s how you do it:
- Remove the turret caps and use a coin or tool to loosen the turret screw.
- Re-align the turret so the zero mark matches the indicator line, then securely tighten the screw.
- Replace the turret caps to protect your settings and keep your zero intact.
Once you’re done, fire a few more test shots to check that the point of impact stays consistent. Locking your zero this way gives you peace of mind knowing your scope won’t shift.
That way, your accuracy stays reliable out in the field.
Frequently Asked Questions
How to Easily Sight in a Scope?
You’ll start by stabilizing your rifle and aiming at a plain target. Fire test shots, note where they hit, then adjust the scope’s turrets in small increments until your point of impact matches your aim perfectly.
What Distance Should You Sight in a Rifle Scope?
Think of your scope as a compass—sight it at 100 yards for general use, 200 yards for hunting, or farther if you’re chasing distant horizons. Match your zero to where your bullet’s path meets your true aim.
Do You Chase the Bullet When Sighting in a Rifle Scope?
No, you don’t chase the bullet when sighting in a rifle scope. Instead, you make small, deliberate adjustments based on shot patterns, avoiding overcorrection to establish a consistent, reliable zero for accurate shooting.
What Are Common Scope Sighting Mistakes?
You often make mistakes like ignoring reticle focus, skipping parallax adjustment, over-correcting without checking shots, neglecting consistent shooting positions, and forgetting environmental factors. These lead to inaccurate zeroing and missed shots, so avoid them carefully.
Conclusion
Sighting your rifle scope is like tuning a finely crafted instrument—each adjustment brings your vision into perfect harmony. By following these steps, you’ll transform your scope from a simple lens into a precise extension of your skill.
Just as a painter sharpens focus on a blank canvas, you’re setting the stage for every perfect shot to come. Trust the process, and you’ll hit your mark with confidence every time.
Remember, sighting a rifle scope properly is key to improving your accuracy and making every shot count. With patience and practice, these 10 easy steps will help you master your scope adjustment quickly.
So, whether you’re a seasoned shooter or a beginner, taking the time to sight your rifle scope right will boost your shooting precision and overall experience. Keep at it, and you’ll see the difference in every shot you take.