10 Essential Steps for Sighting a Rifle
To sight your rifle accurately, start by cleaning it thoroughly and making sure your ammo matches the rifle’s caliber. This is crucial for safety and performance.
Next, mount and level your scope securely to avoid any misalignment.
Using a bore sighter helps with initial alignment before you start shooting.
Take steady shots at a short range to see where your bullets hit.
Then, adjust windage and elevation to improve impact accuracy.
As you get more comfortable, gradually increase the shooting distance and fine-tune your zero.
Always use stable rests to minimize movement and maintain consistency.
Finally, confirm your zero at your typical hunting distance.
Don’t forget to keep records of your adjustments for future reference.
Keep going to uncover key tips that improve your rifle’s accuracy and consistency!
Key Takeaways
- Clean the rifle and confirm your ammunition caliber. Make sure to securely mount and level the scope. Don’t forget to use proper safety gear before you begin.
- Bore sight the rifle using a laser or an optical tool. This helps align the scope with the barrel’s line of sight.
- Take your initial shots at 25 yards. Then, analyze the impacts and adjust the windage and elevation turret clicks accordingly.
- Gradually increase your shooting distance to 100 yards. Keep refining your scope adjustments until your groupings are consistent and centered.
- Finally, confirm your zero with multiple shots at your typical hunting distance. Record your settings, and remember to re-zero if you make any changes or if environmental conditions shift.
Prepare Your Rifle and Equipment for Sighting
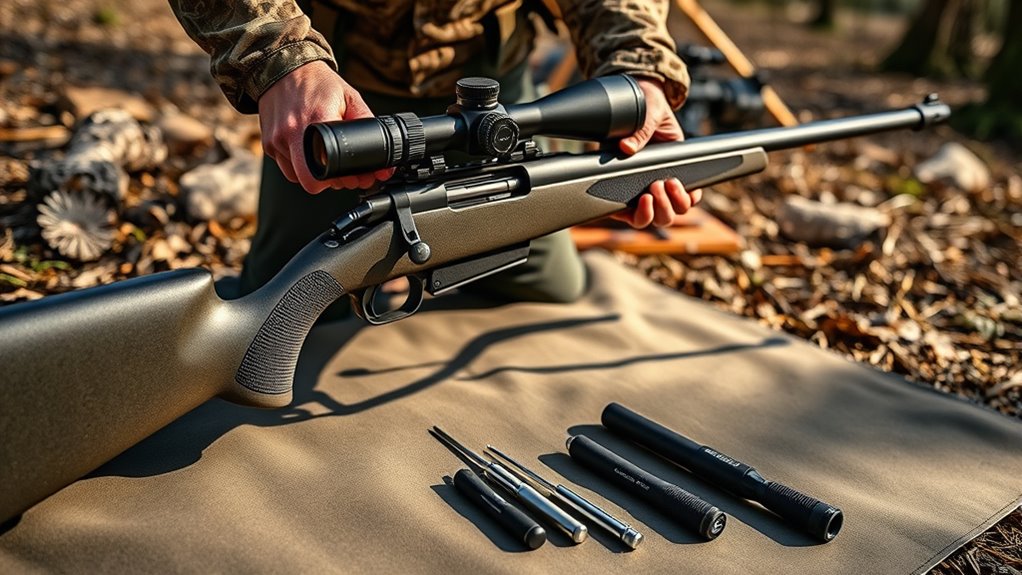
Before you begin sighting your rifle, make sure it’s clean and free of debris to maintain accuracy. Dirt or residue can affect your shot and throw off your sighting.
Next, confirm your rifle’s caliber matches the ammunition you plan to use—identical bullet weight, shape, and brand are essential for consistent impacts.
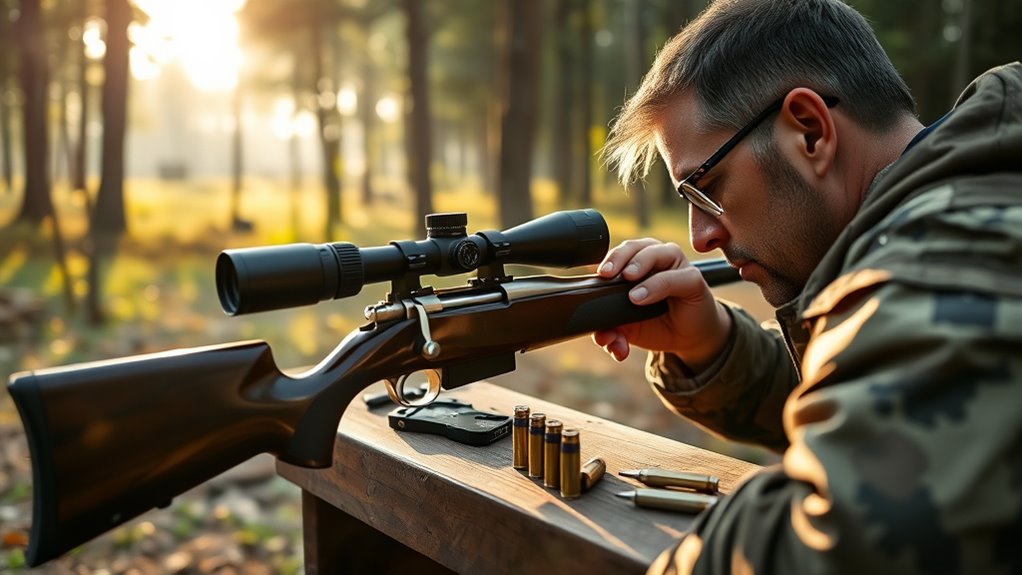
Securely mount your scope, checking that all screws, rings, and bases are tightened to manufacturer specs to prevent any shifts. Use a stable rest, like sandbags or a bench rest, to steady your rifle during sighting.
Don’t forget to level your scope with a bubble level or leveling tool—canting errors can drastically reduce accuracy.
Proper preparation of your rifle and equipment lays the foundation for precise sighting and reliable shooting. So, take your time and get everything set up right before you start.
Wear Eye and Ear Protection for Safety
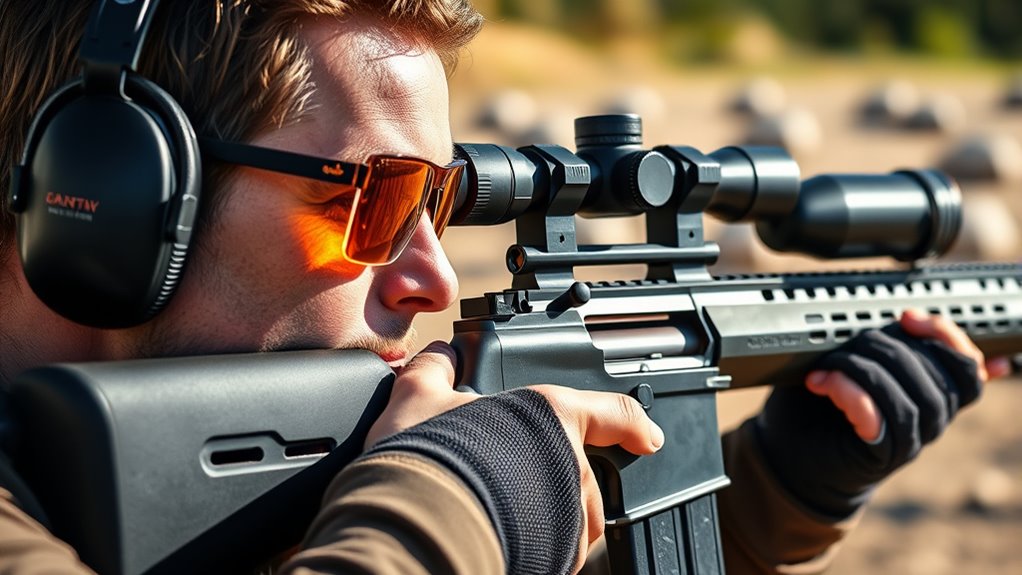
Since shooting exposes you to loud noises and flying debris, wearing proper eye and ear protection is essential for your safety. Always use ANSI-rated shooting glasses as eye protection to shield against ricochets, debris, and spent cartridge ejections.
Look for impact resistance and UV protection to guarantee complete coverage. For ear protection, choose well-fitted earmuffs or earplugs that provide at least 20 decibels of noise reduction to prevent hearing damage from gunfire.
Your safety gear should be comfortable and not interfere with your aiming or shooting stance, helping you maintain focus. Opt for ear protection that’s easy to adjust or remove briefly for communication without compromising safety.
Prioritizing quality eye and ear protection ensures you stay safe throughout your shooting session. It’s just a simple step that makes a big difference.
Choose a Safe and Stable Shooting Position
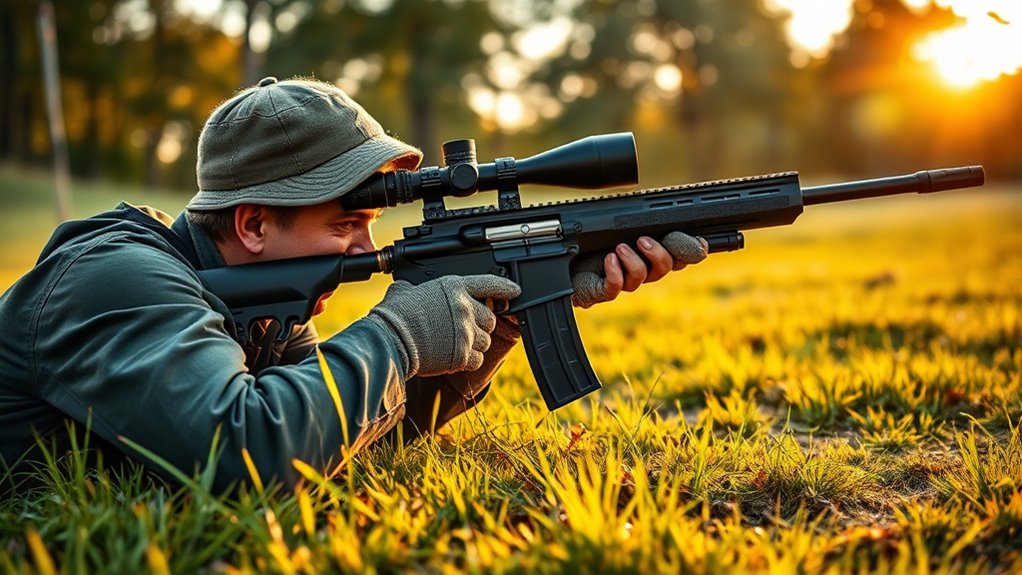
Wearing proper eye and ear protection keeps you safe, but your shooting position plays a big role in accuracy and control. Choose a stable shooting stance like prone, sitting, or bench rest to minimize movement.
Make sure your body is in a supported position, using a sturdy surface or shooting bag to maintain consistent positioning. Keep your feet shoulder-width apart and evenly distribute your weight for better stability.
Use a proper grip on the rifle without excessive tension to avoid unnecessary movement during the shot. Maintain a natural, relaxed posture with elbows tucked in to reduce muscle fatigue and improve shot consistency.
Start Boresighting to Align Your Scope
Start by removing the bolt or opening the action so you can look straight down the barrel and align it with your target.
Next, use an optical bore sighter or laser tool to project a beam through the bore, helping you center the scope’s crosshairs accurately. This step saves time by getting your scope roughly aligned before you take any live shots.
It’s a simple way to make sure you’re on the right track before heading to the range.
Aligning Bore and Scope
Before you take your rifle to the range, you’ll want to align the bore with your scope’s crosshairs to guarantee initial accuracy. Start by removing the bolt and looking down the barrel to assure the bore is centered on your target at a fixed distance, usually between 10 and 25 yards.
This bore sight step helps you achieve proper scope alignment before firing. Position your rifle steadily and adjust the scope’s crosshairs to match the bore’s line of sight on the target.
Once aligned, double-check the bore sight at your actual zeroing distance to confirm accuracy. This process minimizes wasted ammo and ensures your rifle is ready for precise zeroing when you begin live firing.
Using Optical Boresighters
One of the quickest ways to align your scope with your rifle’s bore is by using an optical boresighter. This device uses a laser or LED to project a beam down the barrel, helping you bore sight before firing.
Start by removing the bolt or opening the action, then insert the boresighter into the chamber or barrel. Aim the laser at a distant, eye-level target, ensuring it’s stable and centered.
Next, adjust your scope’s turrets to bring the reticle in line with the laser beam. This initial alignment considerably reduces the shots needed for zeroing, saving you time and ammunition.
Using an optical boresighter streamlines scope adjustment, making the sighting process more efficient and accurate. It’s a handy tool that can really speed things up for you.
Take Initial Shots and Read Your Target
Start by taking three steady shots at the bullseye from a close, stable rest to get an initial reading. Carefully analyze where your bullets hit compared to your point of aim, noting any consistent deviations.
Use this information to adjust your scope’s crosshairs and improve your accuracy before moving to longer distances. This way, you’ll have a better idea of how your shots are grouping early on.
Start At Close Range
Begin your sighting process at around 25 yards to make initial adjustments easier and safer. Setting up at this close range lets you zero at 25 yards efficiently, helping you see where your bullets hit without risking safety.
Use a shooting rest to keep your rifle steady and fire 3-5 controlled shots at a clear target with a visible bullseye. Carefully observe the point of impact for each shot and note whether the group lands high, low, left, or right of the bullseye.
Based on these observations, make precise scope adjustments. Then, repeat this process until your shots consistently cluster near the center.
This methodical sighting in at close range saves time and ammo before moving to longer distances for fine-tuning. It’s a smart way to get on target quickly without any hassle.
Analyze Bullet Impact
How well did your shots group on the target? Start by taking 3 to 5 shots, aiming for a consistent point of aim each time.
Afterward, carefully measure the distance of each bullet impact from the bullseye using a ruler or reticle markings. Check if your impacts are tightly clustered or spread out—that grouping tells you about your shot consistency.
Next, observe if the impacts are mostly high, low, left, or right of the bullseye. This directional information is essential for future scope adjustment.
Record each impact point and measurement to compare with previous results. This data helps you understand how far off your shots are from your point of aim and guides your next steps in refining accuracy.
Adjust Crosshairs Accordingly
Once you’ve analyzed your bullet impacts, take an initial shot and carefully note where it lands in relation to your crosshairs. Observe the impact point and measure its deviation from the target center to understand how to modify your scope.
You’ll want to move the turrets in the opposite direction of the bullet’s impact—for example, if the shot lands right, adjust windage left. Use the scope’s clicks to make precise, consistent changes. After adjusting, fire again to verify your zero and refine alignment.
Visualize this process: bullet impacts slightly above the center—adjust elevation down. Shot lands left of crosshairs—turn windage turrets right. Count clicks carefully to know how much you’ve adjusted.
This method ensures your scope is zeroed accurately.
Adjust Windage and Elevation to Zero Your Rifle
When your shots consistently stray from the target, you’ll need to adjust your scope’s windage and elevation turrets to zero your rifle.
Turn the windage turret opposite to the bullet’s deviation (left if shots hit right) and use the elevation turret to raise or lower the impact point.
Make small scope adjustments—typically 1/4 MOA per click—and fire test shots after each change to track impact shifts.
| Adjustment Type | Direction to Turn Turret |
|---|---|
| Windage | Opposite bullet deviation |
| Elevation | Up to raise impact point |
| Click Value | 1/4 MOA (~0.25 inches at 100 yards) |
| Confirmation | Multiple shots centered on target |
Keep adjusting until your shots consistently hit the center.
That’s how you confirm a proper zeroing of your rifle.
Increase Distance and Fine-Tune Your Rifle’s Zero
After you’ve zeroed your rifle at close range, increasing the distance helps you fine-tune the scope settings for greater accuracy. Start by moving your target from 25 to 50 yards, making minor scope adjustments to refine zero distance.
Then, extend your shooting distance to 100 yards, firing groups to confirm and fine-tune your zero. For longer ranges, adjust elevation and windage based on bullet drop and wind drift.
Keep these tips in mind as you increase distance: watch for target movement carefully to maintain consistent aim. Make small, precise scope adjustments instead of large changes.
Also, confirm each shot group is tight and centered before moving farther. This process sharpens your rifle’s zero and boosts confidence at every shooting distance.
Reduce Human Error With Stable Rests and Consistent Shooting
To reduce human error and improve shot consistency, you need a stable shooting rest and a reliable technique. Using a rifle rest, sled, or bags stabilizes your rifle, minimizing movement and boosting shot accuracy.
Try not to mount the rifle to your shoulder during sighting. This helps you keep a consistent position and prevents aim variations.
Focus on steady shooting by lightly squeezing the trigger instead of jerking it. This way, you avoid twisting the rifle and disturbing your shot placement.
Keeping the same shooting posture and technique every time reduces human error and makes your shots more repeatable.
Securing your rifle firmly on a stable rest takes care of many human factors that cause shot dispersion. It makes your sighting process way more precise and reliable.
Troubleshoot Common Accuracy Problems and Shot Grouping
Even with a stable rest and consistent shooting technique, you might still face accuracy issues or inconsistent shot grouping. To troubleshoot, start by checking your mounting hardware—loose screws on scope rings or bases can cause accuracy problems. Make sure everything is tight to stabilize rifle alignment.
Next, consider environmental factors: vertical stringing often comes from barrel heat, so always begin with a cold barrel. On the other hand, horizontal stringing could indicate wind or inconsistent fore-end support.
Finally, verify your ammunition matches your rifle’s rifling twist and bullet weight to avoid poor shot grouping. Proper scope adjustments also play a key role in refining your shot placement.
- Cold barrel prevents vertical stringing caused by expansion
- Tight mounting hardware to maintain scope stability
- Consistent ammo matched to rifle specifications
Addressing these will help sharpen your accuracy.
Confirm Your Final Zero at Hunting Distance and Maintain Your Setup
When you confirm your final zero at hunting distance, typically around 100 yards, you’ll want to fire multiple shots to guarantee your group stays within a tight 1-inch cluster. Use a stable shooting position and proper support to reduce human error during this critical step.
Carefully observe your shot group and make scope adjustments opposite the direction of any deviation to fine-tune your accuracy. Record your final zero along with environmental conditions like wind and temperature, so you can replicate or adjust your setup in the future.
Remember to re-zero regularly whenever you change ammunition, adjust your scope, or encounter different environmental conditions. Maintaining this routine ensures your rifle remains precisely aligned for consistent, reliable performance in the field.
Frequently Asked Questions
What Should You Do When Sighting in a Rifle?
You should use a stable rest, start at close range, fire groups to check your zero, adjust your scope precisely, gradually increase distance, and record conditions to guarantee your rifle sights in accurately and consistently.
What Should You Sight Your Rifle in At?
You should sight your rifle in at a distance matching your typical shooting range—commonly 25 yards for initial zeroing and 100 yards for final zero. Use your hunting ammo to guarantee consistent, accurate impact points.
What Are the Five Fundamentals of Rifle Shooting?
The five fundamentals of rifle shooting are stance, grip, sight alignment, sight picture, and trigger control. You’ll want to master these to improve your accuracy and consistency every time you take a shot.
Do You Chase the Bullet When Sighting in a Rifle?
No, you don’t chase the bullet when sighting in a rifle. Instead, adjust your scope opposite the shot deviation. Avoid overcorrecting and rely on multiple shots to guarantee consistent, accurate zeroing.
Conclusion
Sighting your rifle is like tuning a finely crafted instrument—each adjustment brings you closer to perfect harmony between you and your shot. By preparing carefully, aiming steadily, and fine-tuning with patience, you transform uncertainty into confidence.
Remember, every step you take sharpens your focus, turning the chaos of the wild into a clear, steady path. Keep your sight true, and your aim will always find its mark. When sighting a rifle, it’s all about precision and patience.
By following these essential steps, you build a strong connection with your rifle, making every shot count. So take your time, adjust carefully, and trust the process. With practice, your sighting skills will improve, and your rifle will perform at its best every time you step out into the field.