How to Adjust Rifle Scope in 3 Simple Steps
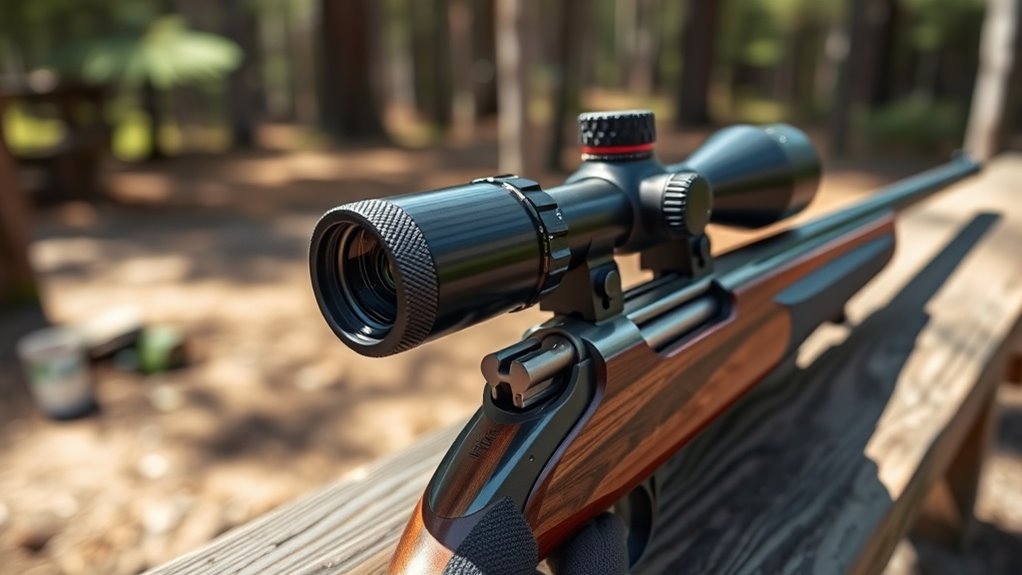
To adjust your rifle scope in three simple steps, start by securing and leveling the scope using a bubble level. This step guarantees precise alignment, which is crucial for accurate shooting. Getting this right sets a solid foundation for the rest of the adjustments.
Next, set your eye relief by positioning the scope so you comfortably see a clear reticle with about 3-4 inches of distance. This ensures you have a full sight picture without straining your eye or risking injury. It’s all about comfort and clarity here.
Finally, focus the eyepiece by turning the ring until the reticle is sharp and crisp. This makes sure your aim is as precise as possible.
Mastering these basics sets you up for accurate shooting, and there’s more to fine-tune for ultimate precision.
Key Takeaways
- Level the rifle and scope using a bubble level to ensure accurate adjustments.
- Loosely mount the scope and align the reticle with the bore line before tightening rings.
- Adjust eye relief by moving the scope forward or backward for a clear, centered reticle.
- Focus the eyepiece by adjusting the focus ring until the reticle appears sharp and clear.
- Perform final checks on mount tightness, alignment, eye relief, and reticle clarity for precision.
It might seem like a lot, but taking it step by step really helps. Just take your time and double-check each part before moving on.
Secure and Level Your Rifle Scope for Accurate Adjusting
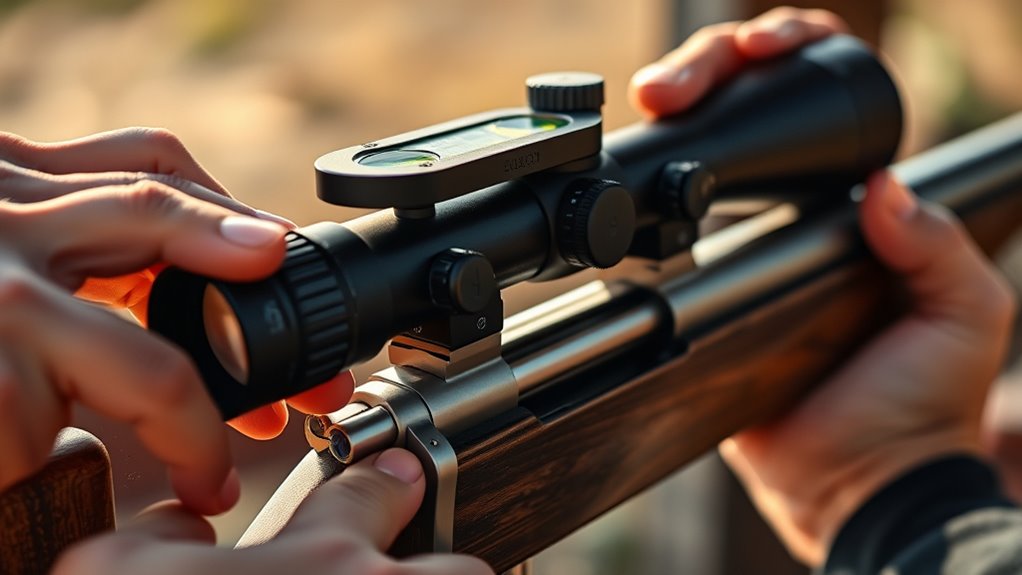
Before you begin adjusting your rifle scope, make sure the rifle’s action is perfectly horizontal by using a bubble level or precision leveling tool. This precision leveling is essential for accurate scope adjustment later.
Ensure your rifle’s action is perfectly horizontal using a bubble level before adjusting the scope for precision.
Start the mounting process by loosely attaching the scope rings to the scope mounts. Then, position the scope so the reticle aligns with the bore line, ensuring proper ring alignment.
Place a small bubble level on the scope’s main tube or mount base to check scope leveling relative to the rifle. As you tighten the scope rings, do so gradually in a star pattern to avoid canting.
Keep monitoring the bubble level throughout to maintain perfect alignment. After tightening, recheck the levelness to confirm your rifle setup is secure and ready for precise scope adjustment.
Set Eye Relief for Comfortable Viewing
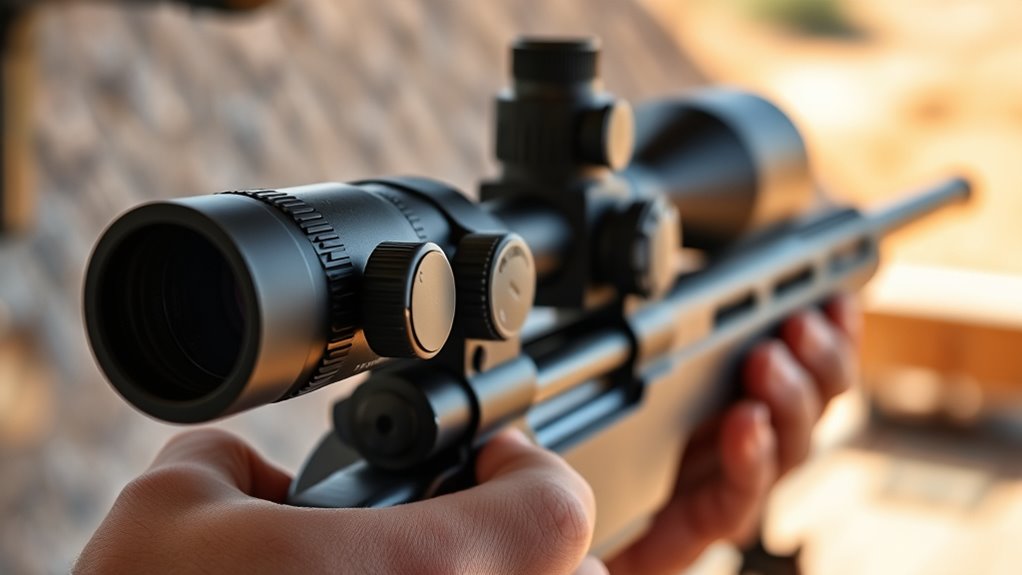
When you adjust your scope in the rings, shift it forward or backward until you see the entire reticle clearly without any black edges, ensuring a complete sight picture. Mount your rifle in your normal shooting stance, then close and open your eyes to check if the reticle stays centered and comfortable.
Adjust the scope position until you achieve ideal eye relief, usually around 3 to 4 inches. This will let you see the full image without straining.
Test this at your preferred magnification, making sure no black edges appear around the reticle or target. Fine-tune the scope position to maintain consistent eye relief and comfort across all magnifications.
This way, you’ll get a clear sight picture and a relaxed shooting stance every time.
Focus the Eyepiece for a Sharp Reticle
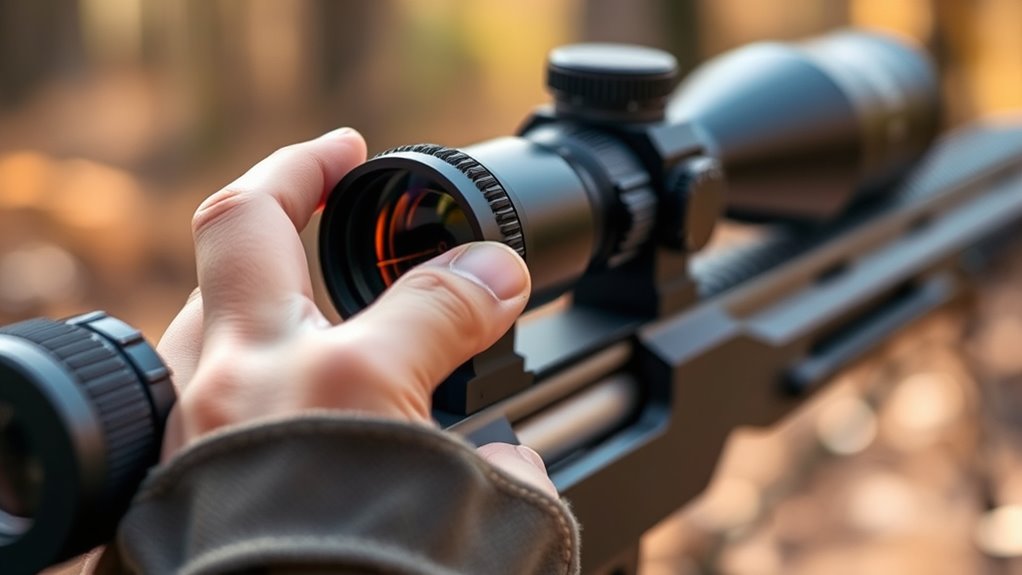
Although your scope may look properly mounted, you won’t get a clear shot until you focus the eyepiece to make the reticle sharp. Start by turning the focus ring on the eyepiece while looking through your dominant eye.
Focus the reticle on a bright, plain background at your typical shooting distance to guarantee clarity. Keep both eyes open to avoid strain and verify the reticle’s sharpness.
Once the reticle is crisp and free of blurriness, lock or mark the focus ring to prevent accidental movement. Remember to recheck and refine the focus periodically, especially if you notice double images or blurriness during use.
Properly focusing the eyepiece ensures your reticle stays sharp and improves your shooting accuracy. It’s a simple step that makes a big difference!
Frequently Asked Questions
What Way to Adjust a Rifle Scope?
You adjust a rifle scope by turning the elevation turret up or down to move the reticle vertically, and the windage turret left or right for horizontal shifts. Make small turns, test shots, and confirm direction with your scope’s markings.
What Is the Basic Rule for Sight Adjustment?
You turn the turret in the direction you want your shot to move. If you want it higher, turn elevation turret counterclockwise; for left or right, adjust windage accordingly. Always make small adjustments and check your impact.
What Are the Three Adjustments on a Scope?
You won’t believe it, but the three adjustments on a scope are elevation, windage, and focus. You tweak elevation for bullet drop, windage for side drift, and focus to sharpen your view—making your shots hit just right.
Do I Adjust the Scope up or Down?
You adjust the scope up if your shots hit low and down if they hit high. Turn the elevation turret toward the “UP” marking to raise impact or “DOWN” to lower it, testing at a known distance.
Conclusion
Now that you’ve secured and leveled your scope, set your eye relief, and focused the eyepiece, you might wonder if these steps really make a difference. The truth is, proper adjustment drastically improves your accuracy and shooting confidence.
Don’t underestimate the power of a clear, stable sight picture—it’s the key to hitting your target consistently. So, take the time to fine-tune your scope; your aim will thank you every time.
Adjusting your rifle scope correctly isn’t just about making things look right—it’s about boosting your accuracy and making every shot count. When you follow these simple steps, you’ll notice a big difference in your shooting performance. Clear sight picture, proper eye relief, and a focused eyepiece all come together to help you hit your target with confidence. So, invest a little time in adjusting your scope, and watch your shooting skills improve dramatically.