How to Wear a Rifle Sling in 10 Essential Steps
To wear a rifle sling properly, start by choosing secure attachment points near the handguard and stock. These points are crucial for stability and safety. Make sure to attach the sling with reliable hardware, avoiding any areas near the barrel to prevent damage or accidents.
Next, adjust the length of the sling for both comfort and quick access. It should be snug enough to hold your rifle securely but not so tight that it restricts movement or feels uncomfortable.
When wearing the sling, drape it over your support-side shoulder or wear it across your body for a tactical carry style. This setup helps distribute the weight evenly and allows for easier handling.
Use the sling to stabilize your shot by tightening it around your arm, giving you more control and accuracy. Be mindful to avoid common mistakes like loose hardware or an improper fit, which can compromise your safety and effectiveness.
Keep following along to discover deeper tips and techniques that will enhance how you carry and use your rifle sling every day.
Key Takeaways
- Attach the sling securely at two stable points: near the buttstock and the handguard or gas block. This helps keep your rifle steady and balanced.
- Adjust sling length for a snug but comfortable fit. You want it tight enough to hold the rifle close, but loose enough to move quickly. A quick-adjust mechanism makes length changes easy.
- Wear the sling over the support-side shoulder. This way, you naturally carry the rifle and keep it close for better control.
- Use the sling diagonally or backpack-style for hands-free carry. Just make sure the rifle stays snug without restricting your movement.
- Regularly inspect the hardware and sling tension. Adjust as needed to keep things comfortable, stable, and ready for quick access.
What Is a 2-Point Rifle Sling and Why Use One?
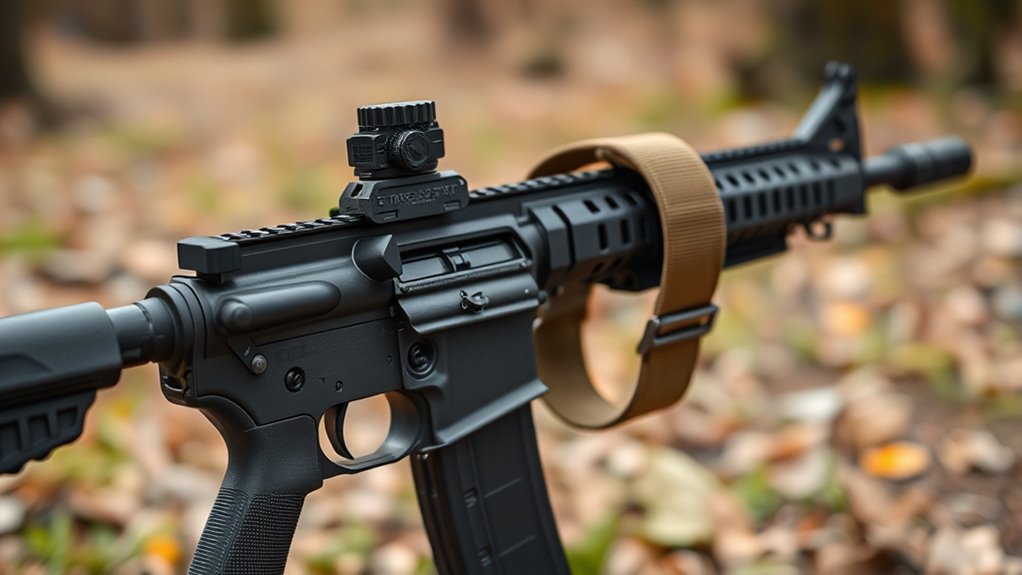
While a 2-point rifle sling might seem simple, it offers significant benefits by attaching your firearm at two points—usually near the buttstock and handguard. This design improves weight distribution, making it easier for you to carry your rifle comfortably over long periods without strain.
The 2-point sling’s attachment points provide stability, helping you control the firearm better during movement or aiming. You’ll appreciate its versatility, as it lets you go hands-free while keeping quick access to your weapon.
Plus, many 2-point slings feature quick adjust mechanisms, so you can easily change the sling’s length on the fly for different shooting positions or carrying styles. Whether you’re hunting, shooting sports, or on duty, a 2-point sling enhances comfort and functionality.
Pick the Best Attachment Points on Your Rifle
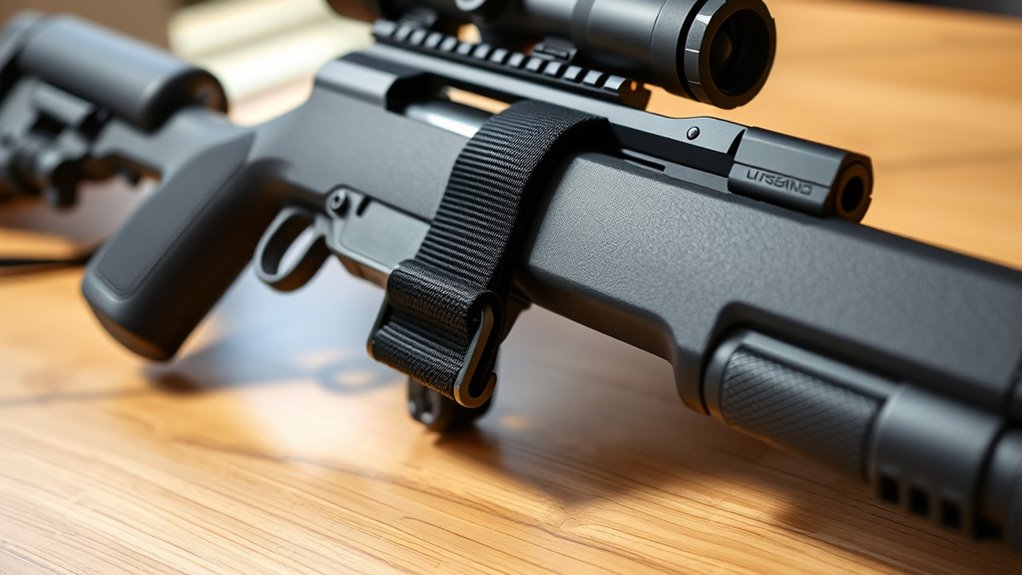
You’ll want to attach the front of your sling to a stable point like the handguard, gas block, or front swivel for balanced weight distribution.
For the rear, options include the stock swivel, receiver endplate, or QD socket on AR-style rifles to keep it secure and accessible.
Choosing the right spots guarantees quick adjustments and smooth shifts while you’re on the move.
Optimal Front Attachment
Where you attach the front of your rifle sling makes a big difference in how stable and balanced your rifle feels. For maximum rifle stability, secure the front attachment on the handguard, gas block, or front swivel. These points distribute weight evenly, letting your support hand comfortably manage the rifle without excessive muzzle sway.
Attaching to the front swivel near the barrel or gas system also provides quick sling adjustments and versatile carry options. Just make sure to avoid mounting the sling on the barrel nut or unsupported areas, as this risks damage and reduces durability.
Positioning the front attachment so the rifle rests flat against your chest or side while standing ensures a comfortable sling setup. This setup enhances both control and ease of carry during movement.
Rear Attachment Options
After securing the front attachment for stability, focus on choosing the best rear attachment point for your rifle sling. The rear attachment is essential for comfort and control during carry.
Consider these options:
- Stock swivel – Offers a traditional, secure mounting point with easy sling removal.
- Receiver endplate – Provides a robust, fixed option allowing quick adjustments.
- Quick-detach (QD) socket – Enables fast sling attachment and removal for versatility.
- Buffer tube or stock rails – Raises the sling’s carry position for improved maneuverability.
Make sure the rear attachment is firmly installed to avoid unwanted movement or detachment. Alternative points like the rear gas tube exist, but prioritize stability and ease of use.
Picking the right rear attachment really boosts your rifle’s functionality and makes your overall experience better.
Secure the Sling to Your Rifle Properly
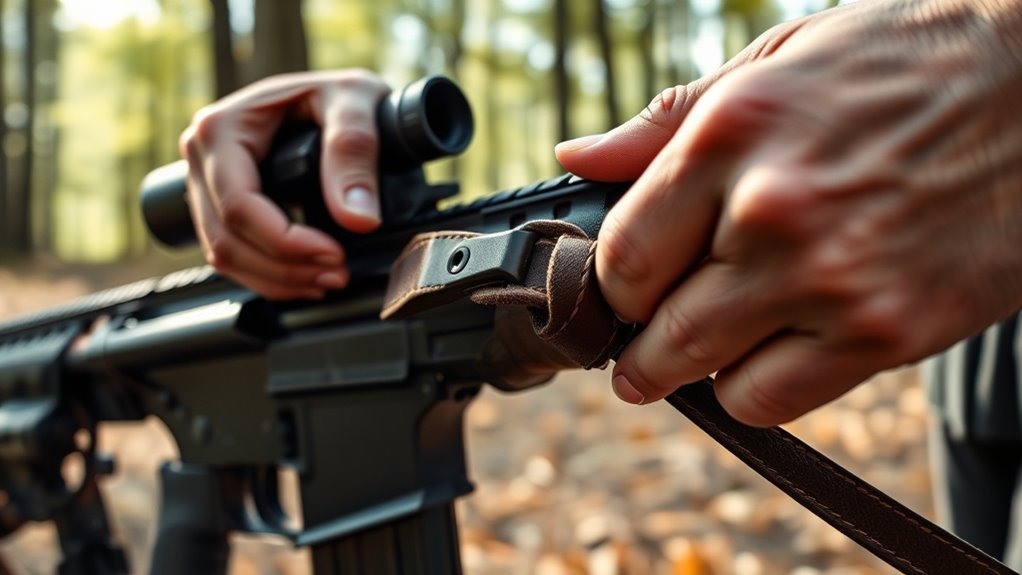
Though attaching a rifle sling may seem straightforward, securing it properly is essential for stability and safety. Start by connecting the front sling swivel to a secure point like the handguard, gas block, or barrel nut.
Attaching a rifle sling properly ensures stability and safety; begin with a secure front swivel connection.
For the rear, attach the sling swivel to the stock swivel, receiver endplate, or a quick-detach (QD) mount. Use reliable sling attachments with locking mechanisms to prevent accidental release.
Always verify the secure points are clean and free from debris before fastening the sling. It’s a small step, but it makes a big difference.
Regularly inspect all swivels and attachment hardware for signs of wear or looseness. This helps you maintain a firm connection and avoid surprises out in the field.
Properly secured sling attachments keep your rifle stable and ready. That way, you’ll have better comfort and control when it counts.
Adjust Sling Length for Comfort and Quick Access
You’ll want to adjust the sling length so your rifle rests comfortably against your chest or side, balancing easy access with stability. Quick-adjust mechanisms let you change the length on the fly, making shifts smooth between carrying and shooting.
Keep the sling snug enough to steady your rifle but loose enough to move freely without delay. It’s all about finding that sweet spot where comfort meets readiness.
Optimal Sling Length
When adjusting your rifle sling, make sure it holds the rifle flat against your chest or side for comfortable carry while standing. Finding the ideal sling length ensures both comfort and quick access.
Here’s how to fine-tune it:
- Adjust the sling length so your support hand easily reaches the rifle’s forend without overstretching.
- Tighten the sling just enough to stabilize the rifle without restricting your movement or causing shoulder discomfort.
- Use sling length adjustments during practice to balance quick maneuverability with stable carry.
- Regularly test and tweak the sling adjustment to maintain comfort over long periods.
Quick-Adjust Mechanisms
Fine-tuning your sling length is key, but quick-adjust mechanisms take that convenience a step further by letting you change the length instantly with one hand. These systems use a cam lock or slide buckle that lets you pull the strap through to tighten or loosen on the fly.
Engage the dedicated tab or lever to release tension swiftly without tools. This lets you customize sling length immediately based on your activity or terrain, maintaining the right tension for stability or flexibility.
To get the most from your quick-adjust, practice regularly to develop muscle memory for fast, reliable changes under pressure. Mastering this feature ensures your sling stays secure and ready, giving you quick access and comfort whenever you need it.
Comfort Versus Accessibility
Although comfort is essential for extended wear, you don’t want to sacrifice quick access to your rifle. Adjusting your sling length is key to balancing these needs.
Here’s how to optimize it:
- Set the sling length so the rifle rests comfortably against your chest or side to reduce fatigue.
- Shorten the sling for quick access, allowing rapid shoulder shifts and faster shooting.
- Use a longer sling length for comfort during all-day carry but expect slightly slower access.
- Find a medium sling length that offers stable support with swift, natural movement.
Put the Rifle Sling Over Your Dominant Shoulder
Because your dominant shoulder offers better control and comfort, place the rifle sling over it so the rifle hangs naturally along your side or chest. This positioning helps you maintain a comfortable carry while ensuring quick access when needed.
Make sure to adjust the sling length so the rifle rests flat against your body when standing upright. This avoids any awkward angles that could hinder movement.
Check that the sling’s attachment points are secure for balanced weight distribution. This prevents unnecessary strain.
Keep the sling snug enough to stabilize the rifle but loose enough to allow smooth adjustments.
Finally, confirm the sling runs smoothly over your dominant shoulder without twisting or pinching. This helps you avoid discomfort during extended use and keeps the rifle ready for action.
Try the Traditional Sling Carry Along Your Body
Now, place the sling over your support-side shoulder so the rifle hangs comfortably along your body.
Adjust the sling length to keep the rifle snug against your chest or side without restricting movement.
Make sure the sling attaches securely at both ends for balanced stability and quick access.
Shoulder Placement Tips
When you position the sling over your support-side shoulder, the rifle naturally hangs along your body. This creates a comfortable and balanced carry. Proper shoulder placement is key to making your slings work effectively.
Here are some tips to adjust your sling for comfort and control:
- Position the sling so it rests comfortably on your support-side shoulder. Avoid pressure points that can cause discomfort.
- Adjust the sling length to keep the rifle flat against your chest or side when standing upright. This helps with both comfort and control.
- Center the sling on your shoulder to prevent slipping. This also helps maintain stability during movement.
- Use quick-adjust tabs to fine-tune the sling. This is especially handy for different clothing layers or activity levels.
Following these steps will help you keep your rifle secure and comfortable throughout your activities. Give them a try and see how much easier carrying your rifle can be!
Rifle Positioning Basics
How should you position your rifle for both comfort and quick access? Try the traditional sling carry by placing the sling over your support-side shoulder, letting the rifle hang naturally along your body. This rifle positioning keeps the firearm close and ready without compromising comfort.
Attach the sling’s front point near the handguard or gas block and the rear point on the stock swivel or receiver endplate for stability. Adjust the sling length so the rifle rests flat against your chest or side while standing upright, balancing the weight evenly.
Make sure the sling is snug enough to prevent excessive movement but loose enough to let you move smoothly into shooting positions. It’s a good idea to regularly check and adjust the sling tension as you move to keep that secure, comfortable carry going strong throughout.
Adjusting Sling Length
Getting the sling length right plays a big role in keeping your rifle secure and accessible during the traditional carry. To adjust the sling length for a perfect fit, follow these steps:
Use the quick-adjust tabs to tighten or loosen the sling so the rifle rests comfortably against your chest or side. Make sure it feels just right—not too tight and not too loose.
Confirm the sling isn’t too tight to restrict your movement or too loose to cause excessive swinging. You want it snug but still easy to move around in.
Position the rifle’s buttstock near your support-side shoulder for better comfort and control. This helps keep things steady and makes handling easier.
Regularly check and adjust the sling length during practice, especially when wearing different clothing layers or moving through varied terrain. That way, you’ll always be comfortable no matter what you’re doing.
Carry the Sling Across Your Body for Tactical Use
Although it might take some adjustment, carrying the sling diagonally across your body distributes the rifle’s weight evenly. This makes it comfortable for long-term wear.
This cross-body carry method keeps your rifle secure and close while allowing quick access. That’s critical for tactical movement.
Adjust the sling tension so the rifle hangs at a slight angle. This provides stability and makes it easier to switch smoothly between ready and carry positions.
Wearing the sling this way reduces snagging on obstacles and keeps your weapon in a ready stance. That means you can deploy it quickly when needed.
Set Up the Sling Backpack-Style for Hands-Free Carry
When you set up your rifle sling backpack-style, you free up your hands while keeping your weapon secure and accessible. This method offers excellent support and comfort for extended carry.
Here’s how to do it:
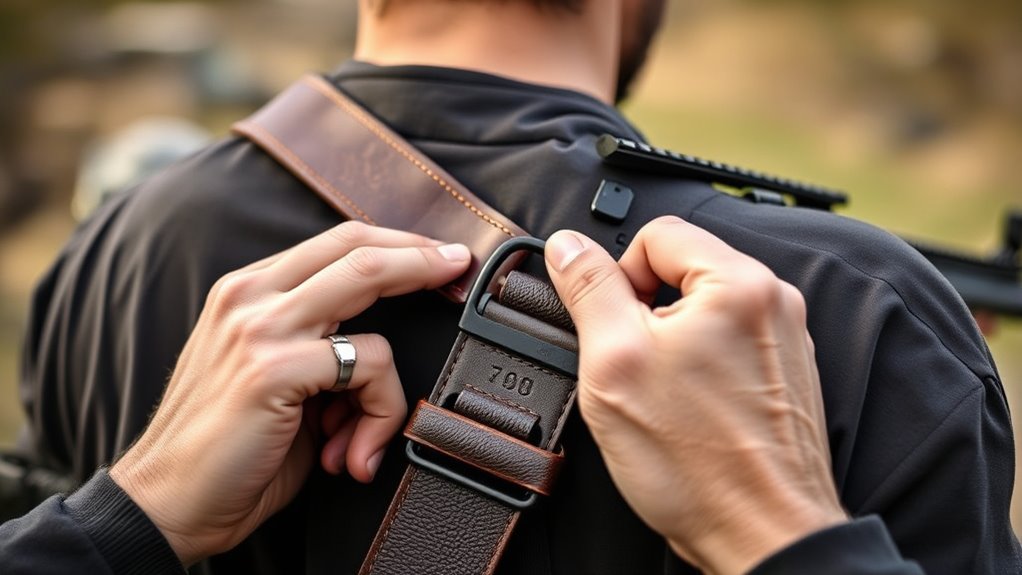
- Attach the rear point of the sling securely to the stock swivel or QD mount. Then, connect the front point to the handguard, gas block, or front swivel.
- Wear the sling over both shoulders, crossing it at the back to form the backpack-style carry. It’s comfy and keeps your rifle close.
- Adjust the sling length and tension with quick-adjust tabs so the rifle rests snugly on your back without restricting movement. Easy to tweak on the go!
Use the Rifle Sling to Stabilize Your Shot
Once you’ve mastered carrying your rifle backpack-style with the sling, you can put that same sling to work stabilizing your shot. Wrap your support arm through the sling and pull it tight to stabilize the rifle in various shooting positions.
Adjust sling tension to create a firm contact point that reduces muzzle wobble and enhances your aim. Use quick-adjust tabs to tighten the sling when aiming, especially in prone or supported shooting positions.
Pull the sling snug against your shoulder or support arm to lock the rifle in place and prevent unwanted movement. This small adjustment makes a big difference in keeping your shot steady.
| Action | Purpose | Tip |
|---|---|---|
| Wrap support arm | Stabilize rifle | Tighten sling tension |
| Adjust sling tension | Reduce muzzle wobble | Use quick-adjust tabs |
| Pull sling snug | Lock rifle in place | Press against shoulder or arm |
| Transition sling tight | Improve consistency & aim | Practice from loose carry |
Avoid Common Rifle Sling Mistakes
If you want your rifle sling to perform reliably, you need to avoid common mistakes that can compromise comfort and stability. Ensuring the sling is properly attached is the first step.
Here’s how to get it right:
- Attach the sling at the correct points, like the front swivel on the handguard and rear swivel on the stock, for balanced support.
- Don’t loosen the sling too much—excess movement reduces control; but make sure it’s not too tight enough to restrict movement or cause fatigue.
- Regularly check quick-adjust tabs to ensure you can change sling tension swiftly when needed.
- Verify sling hardware is secure and clean to prevent malfunctions.
Mastering the correct way to wear your sling keeps it reliable and comfortable. It really makes a difference when you’re out in the field.
Frequently Asked Questions
What Are Common Mistakes When Using a Sling?
You often make mistakes by leaving the sling too loose, attaching it improperly, ignoring quick-adjust features, skipping regular hardware checks, and not practicing enough. These errors reduce stability and slow your response during critical moments.
How to Put on a Sling Step by Step?
First, attach the front swivel near the handguard. Next, connect the rear swivel to the stock or receiver. Adjust the sling length so it fits comfortably against you. Finally, tighten the sling and test for secure, comfortable wear.
How Tight Should a Rifle Sling Be?
You should tighten your rifle sling just enough to keep the rifle within 2-3 inches of your chest, ensuring stability without restricting movement. Don’t over-tighten—it’ll cause fatigue and slow your reaction time during shooting.
What Side Should a Rifle Sling Be On?
You should wear your rifle sling on your support side, usually the non-dominant hand side, for easier access and better control. But feel free to choose the side that feels most comfortable and suits your shooting style.
Conclusion
Now that you’ve mastered the art of wearing a rifle sling, imagine it as a silent partner—comfortably cradling your rifle, ready for action at a moment’s notice. With each step, your sling moves seamlessly with you, offering both stability and freedom.
By following these steps, you’re not just carrying a rifle; you’re embracing a tool that enhances your precision and readiness. Wear it right, and your sling becomes an extension of your own strength.
A properly worn rifle sling improves your shooting accuracy and helps you stay prepared in any situation. It provides comfort during long carries and keeps your weapon secure yet easily accessible. So take the time to get it right and enjoy the confidence that comes with knowing your rifle sling supports you every step of the way.