How Do You Attach a Rifle Sling in 7 Easy Steps?
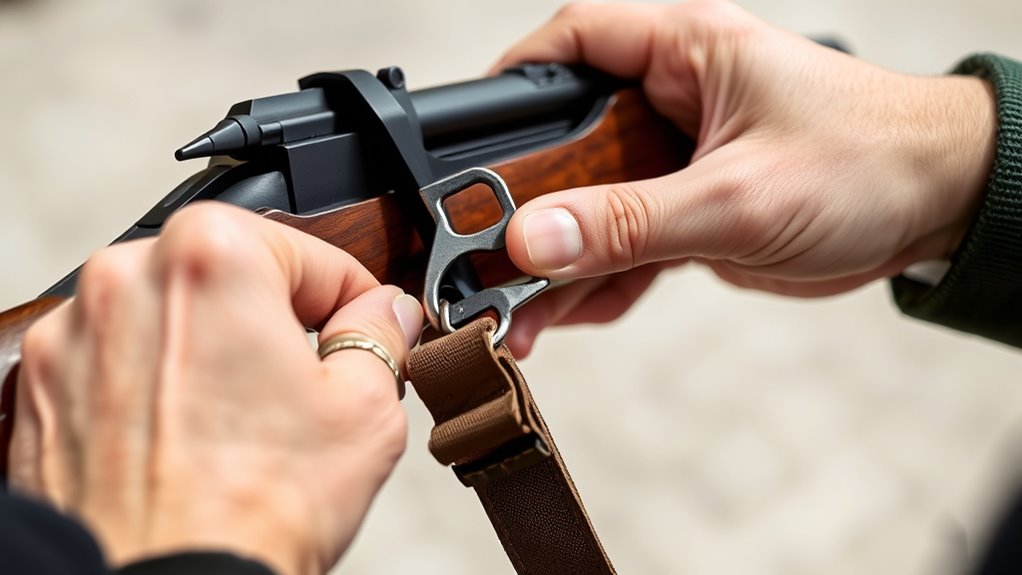
To attach a rifle sling in 7 easy steps, start by identifying your rifle’s sling attachment points like swivels or slots on the stock or handguard. These points are where your sling will connect securely, so it’s important to know where they are.
Next, thread the sling through these points, weaving it carefully to secure it and prevent any slipping during use. This step ensures your sling stays in place no matter how you move.
Adjust the length using tri-glides or buckles for comfort, making sure it fits just right for your shooting style.
Then tighten the sling to stop any unwanted rotation, so it feels stable and reliable.
Now, test your setup in different shooting positions to see how comfortable and functional it is.
Secure any excess strap neatly, so nothing gets in your way.
Lastly, add comfort features like padding if needed to make carrying your rifle easier.
Keep practicing to master quick adjustments and improve your carry efficiency every time you head out.
Key Takeaways
- Identify and locate sling attachment points on the rifle’s stock, handguard, or receiver with swivels or slots.
- Thread and weave the sling through the attachment points, securing it tightly to prevent rotation and slippage.
- Adjust sling length using buckles or tri-glides for a comfortable and stable fit tailored to your shooting position.
- Add comfort features like shooter’s loops or cushions to reduce fatigue and improve grip during carrying.
- Test the sling setup at the range, making fine adjustments for stability and comfort in various shooting positions.
Identify Your Rifle’s Sling Attachment Points
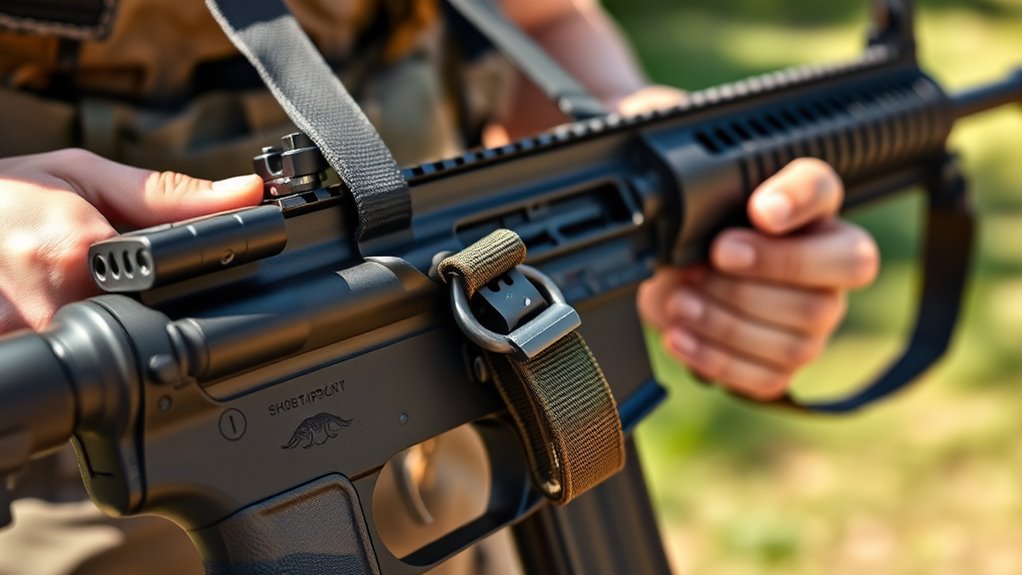
Before you attach your rifle sling, you need to identify where the sling attachment points are located. These points are usually found on the stock, handguard, or receiver, often featuring swivels or designated mounting slots.
Some rifles come with built-in sling mounts, while others may require you to add aftermarket accessories like quick-detach swivels or fabric slits. Start by examining your rifle’s stock closely for any existing swivels or drilled holes designed specifically for sling hardware.
The placement of these points affects how comfortably and securely your sling will carry your rifle. Since different rifle models have varying configurations, you’ll want to tailor your sling setup to fit your specific firearm’s sling attachment points for maximum stability and ease of use.
Thread the Sling Through or Around the Stock Slits
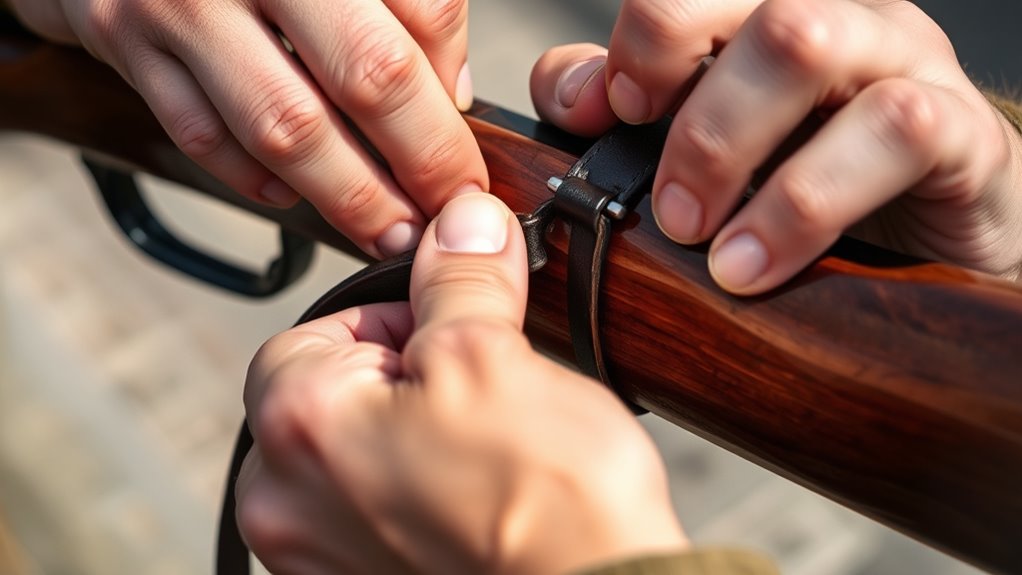
Now it’s time to thread your sling through the stock slits, either horizontal or vertical. You’ll want to weave or fold the sling over the edges to create a secure hold.
This technique lets you adjust the sling length for comfort without needing extra hardware. Pretty handy, right?
Stock Slit Weaving
When you thread the sling through the horizontal and vertical slits in your rifle’s stock, you create a secure attachment without needing QD swivels. This stock slit weaving method provides a low-profile, reliable rifle sling attachment that fits various stock designs.
By weaving the sling over or through the slits, you can customize the positioning and adjustable tension to suit your comfort and shooting needs. Tight weaving prevents unwanted rotation or slippage, ensuring stability during use.
You can also adjust the sling length easily by repositioning the tri-glide or re-weaving it through different slits for the perfect fit. Stock slit weaving offers a simple, effective way to keep your sling firmly in place while maintaining versatility and control.
Sling Threading Techniques
Although you can attach a rifle sling using various methods, threading it through or around the stock slits offers a straightforward and dependable option.
Begin sling threading by passing the sling through horizontal or vertical slits in the rifle stock, creating a secure attachment without needing QD swivels. You can weave the sling over or under these slits to adjust tension and stability based on your preference.
For a more secure attachment, loop the sling multiple times to prevent slipping or rotation during use. Position the sling so it aligns comfortably with your grip and shoulder for ideal control.
Finally, manage any excess sling by tucking it around the stock or securing it with zip ties or tape to avoid shifting while you move. It’s a simple trick but really helps keep things snug.
Adjust the Sling Length With Tri-Glides or Buckles
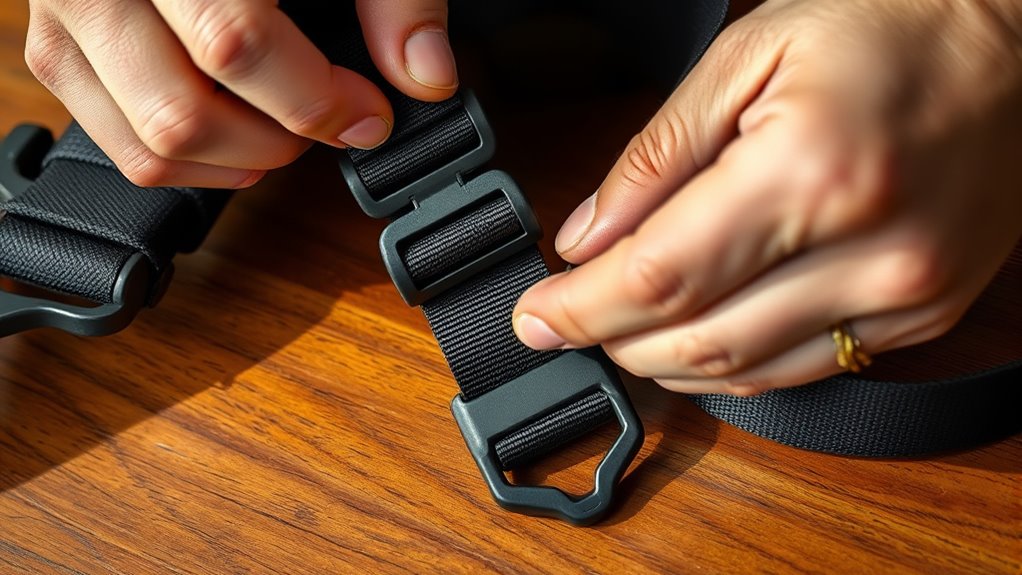
Since the sling’s length affects both comfort and stability, you’ll want to modify it using the tri-glides or buckles. These components let you easily change the length of your rifle sling by sliding them along the strap.
To shorten the sling for a more secure fit, move the tri-glide closer to the rifle. For a longer, more comfortable carry, slide it further away.
Always make sure the tri-glide or buckle is locked firmly after adjusting to prevent slippage during use. Properly adjusting these parts helps maintain the right sling tension, improving both comfort and stability while shooting.
Secure the Sling to Prevent Rotation and Slippage
To keep your sling from rotating and slipping, make sure it’s tightly secured around the stock or threaded through multiple slits. Use tri-glides or weaving techniques to lock the strap in place and prevent twisting during movement.
It’s a good idea to regularly check and adjust the sling to maintain a snug fit. This helps keep your rifle stable and ready to go.
Prevent Sling Rotation
When you secure the sling tightly and position the tri-glides close to the stock, you’ll prevent unwanted sliding and rotation during use.
To further prevent sling rotation, make sure to weave or wrap the sling firmly through stock slits or attachment points. This creates a secure attachment that resists movement.
Tighten the tension so the sling stays snug against the rifle, eliminating slack that could cause rotation. Position the sling’s attachment points on opposite sides or at angles that counteract twisting forces.
For extra security, consider using electrical tape or shrink wrap on the sling or hardware to lock components in place.
Minimize Strap Slippage
Preventing sling rotation goes hand in hand with minimizing strap slippage, as both guarantee your sling stays secure during use. To reduce sling slippage, start by firmly securing the tri-glides on your sling, ensuring they don’t move under tension.
Wrap or weave the sling tightly through stock slits or around attachment points to keep everything stable. You can also reposition tri-glides closer to the stock to cut down on slack and improve stability.
If you have excess strap, use electrical tape or shrink wrap to stop it from slipping through buckles or tri-glides. For extra security, add knots or paracord loops at attachment points—these resist slippage and keep your sling firmly in place, so it won’t rotate or shift during use.
Test and Fine-Tune Sling Setup for Prone, Sitting, and Standing Shots
Although attaching the sling correctly is important, you’ll need to test and fine-tune its setup to make certain your rifle stays steady in prone, sitting, and standing positions. Adjust the sling length so the rifle rests comfortably in your shoulder pocket, providing stability across all shooting positions.
Keep the sling tension consistent to support the rifle without restricting your movement. This way, you can quickly shift between stances without hassle.
Test your sling setup at the range, making small adjustments to the attachment points and tension. Do this until the rifle remains steady even when your muscles relax.
Also, remember to incorporate body positioning techniques. Rest your elbow on your knee or use support bags to complement sling stability and improve accuracy in each shooting position.
Secure Excess Sling Strap With Tape or Knots
After fine-tuning your sling setup for stability across shooting positions, managing the excess strap becomes the next step to keep your gear streamlined. You can secure excess sling strap by wrapping electrical tape or shrink wrap tightly around the loose end, preventing it from flapping or getting tangled.
Alternatively, tying knots like bowline or half-hitches with the extra strap creates a fixed loop that stops slipping or dragging. Both methods are quick, inexpensive, and perfect for field adjustments without specialized tools.
Make certain you check your tape or knots regularly, especially after handling or shooting, to keep everything secure and tidy. Properly securing the sling strap with tape or knots ensures your rifle stays functional and hassle-free during use.
Tips for Comfortable Carry and Quick Adjustments
How can you carry your rifle comfortably while still keeping it ready for quick adjustments? Use an adjustable sling with a quick disconnect to easily change length one-handed. Proper sling tension keeps the rifle snug in your shoulder pocket, reducing fatigue and improving access.
Carry your rifle comfortably and ready by using an adjustable sling with quick disconnects for easy one-handed length changes.
Position the sling over your shoulder to stabilize the rifle without discomfort during long carries. Attach the sling at balanced points like the rear stock and front swivel to distribute weight evenly.
- Choose a wider adjustable sling for comfort
- Use quick disconnects for fast length changes
- Adjust sling tension for a secure, fatigue-free fit
- Position sling to avoid pressure points or pinching
- Add shooter’s loops or cushions to enhance comfort during movement
These tips ensure you carry efficiently and adjust swiftly. Easy, right?
Frequently Asked Questions
How Do You Attach a Gun Sling?
You attach a gun sling by securing it to the rifle’s attachment points, either using quick-detach swivels or weaving the strap through stock slits. Adjust the length and tension to guarantee stability and comfort while carrying.
How Do You Put on a Sling Step by Step?
First, loop the sling through attachment points or swivels. Adjust the length for comfort, then slip your arm through the sling. Position it to stabilize your rifle, and secure any loose ends to keep it tidy.
Which Way Does a Sling Go on a Rifle?
Secure the sling so it smoothly stretches from the rifle’s rear to the front, slipping over your support shoulder. For righties, sling it left-side, snugly stabilizing your shot, so tension tames recoil and tightens your target tracking.
How to Install a 3 Point Rifle Sling?
You attach the sling’s ends to the rifle’s front and rear swivels, then connect the middle strap to your shoulder or body armor. Adjust the lengths so the rifle rests comfortably and securely for quick movement and stability.
Conclusion
Attaching your rifle sling is like weaving a thread that connects you to your gear—steady, secure, and ready. Once you’ve threaded, adjusted, and tightened, your sling becomes an extension of your arm, easing your load and sharpening your aim.
Remember, a well-set sling dances with your movements, not against them. So, fine-tune it, lock it down, and carry your rifle like a trusted partner through every shot and stride.
A properly attached rifle sling makes all the difference in comfort and performance. It helps distribute the weight evenly, freeing your hands when you need them, and stabilizes your rifle for better accuracy. Taking the time to attach and adjust your sling correctly ensures it works with you, not against you, whether you’re stalking game or navigating rough terrain. So follow the steps carefully, and you’ll have a sling that’s secure, comfortable, and ready for action every time.