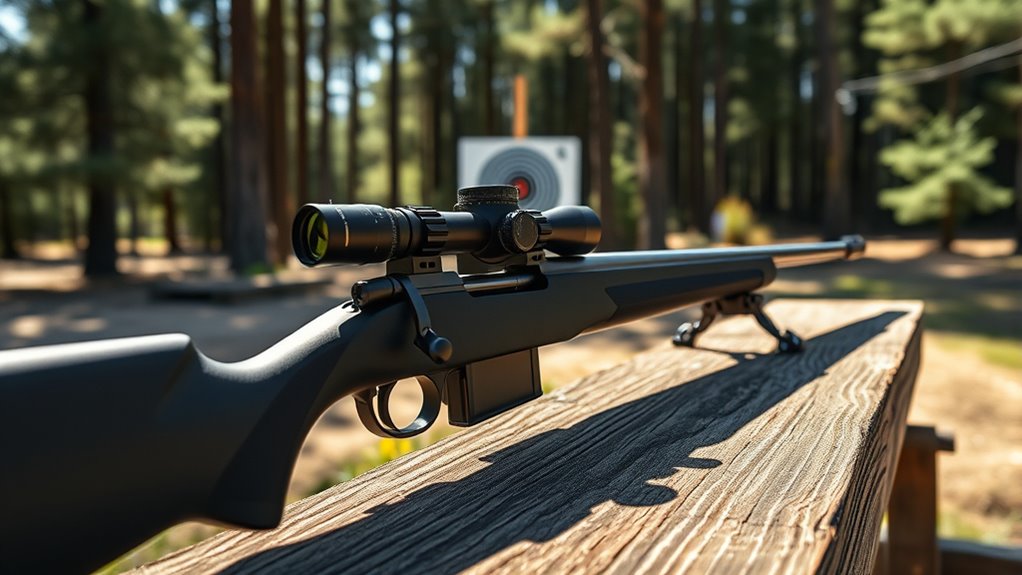
How to Bore Sight a Rifle in 5 Easy Steps
First, make sure your rifle is unloaded and set it on a stable rest. This is a crucial safety step before you start any bore sighting process.
Next, set up a target at 25 yards and remove the bolt to look down the bore or use a laser bore sight.
Then, adjust your scope’s windage and elevation turrets to align the reticle with the bore sight. This step helps get your scope roughly on target before firing.
Fire test shots to fine-tune your zero, aiming about one inch low at 25 yards.
Finally, confirm and adjust your zero at 100 yards for accuracy. This final step ensures your rifle is properly sighted in for real-world shooting.
Keep going to master precise adjustments and improve your shooting skills.
Key Takeaways
– Ensure the rifle is unloaded and securely rested on a stable platform. Safety first, always.
Make sure everything is steady before you begin.
– Remove the bolt and look directly down the bore at a target 25 yards away. This helps you get an initial line on your target.
Take your time to get a clear view down the barrel.
– Use a bore sight or laser tool to align the bore with the target bullseye. It’s a handy way to get your aim close without firing.
This step saves you ammo and frustration later on.
– Adjust the scope’s windage and elevation turrets to align the reticle with the bore. Don’t worry if it takes a few tries to get it right.
Be patient, small tweaks make a big difference.
– Fire test shots at 25 yards and fine-tune scope settings for accurate zeroing. This final step ensures your rifle shoots true.
Keep adjusting until your shots consistently hit the target.
Get Your Rifle Ready and Set Up a Stable Rest
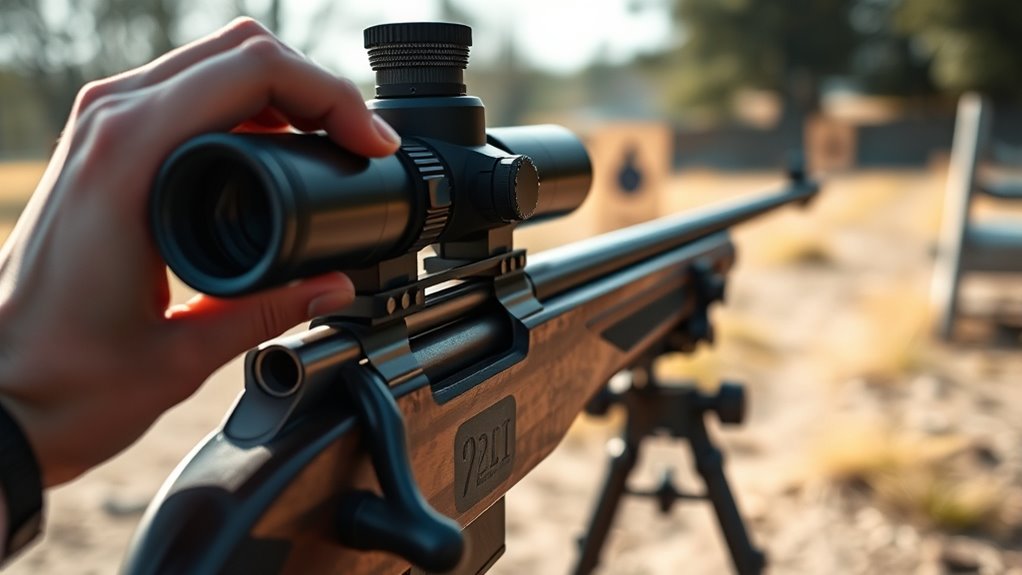
Before you begin bore sighting, make sure your rifle is completely unloaded and safe to handle. Safety first, always.
Next, focus on your setup by selecting a stable rest to support the rifle. You want a platform that keeps the rifle steady and minimizes any movement.
A bench or tripod works well as a solid platform for positioning the rifle. Once you have your rest in place, position the rifle so it’s securely supported and aligned as best as possible.
Ensuring the scope is properly mounted and tightened is vital; any shift can throw off your alignment. A stable setup and rest allow you to maintain consistent positioning, which is key for accurate bore sighting.
This initial preparation sets the foundation for precise adjustments later on. Taking the time here really pays off.
Bore Sight: Align the Rifle at 25 Yards
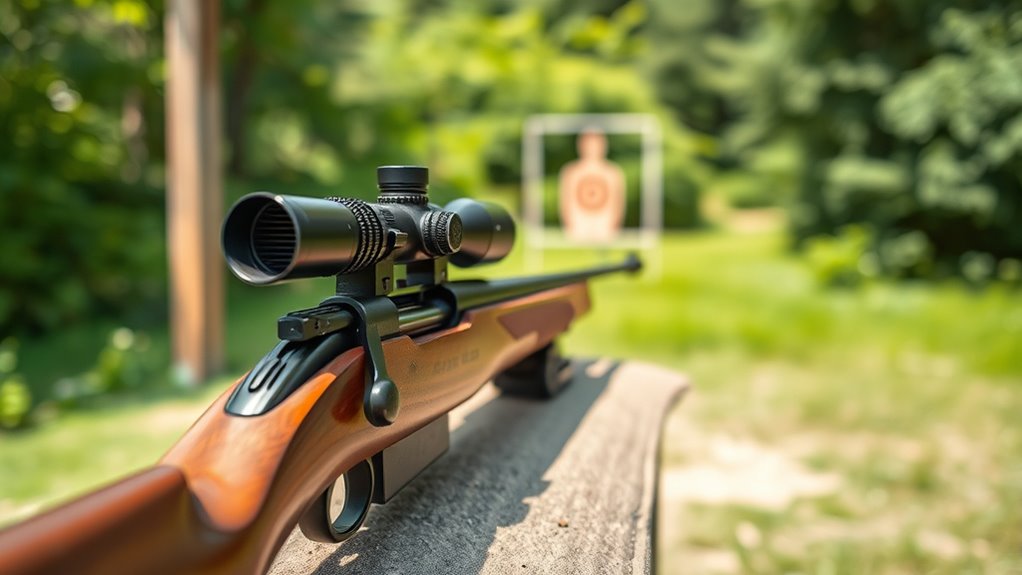
With your rifle securely rested and the scope firmly mounted, you’re ready to begin aligning it at 25 yards. Start by setting up a target with a clear bullseye at that distance.
Remove the bolt to look directly down the bore, making certain it’s centered on the target. Next, use a bore sight or laser tool to project a laser down the barrel, making initial alignment easier.
Now, adjust your scope’s windage and elevation turrets to align the reticle with the bore’s point of aim. This sighting process guarantees the scope and bore are centered on the target.
At 25 yards, your impact should be roughly 1 inch low, setting you up for an effective zero at 100 yards. It’s a simple step that makes a big difference down the line.
Adjust Windage and Elevation to Center the Reticle
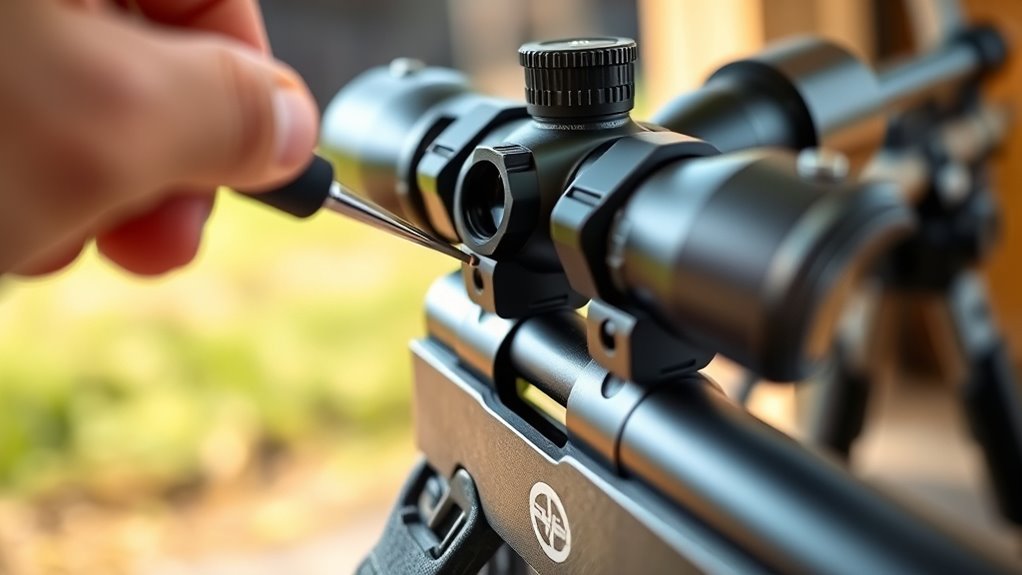
Once you’ve positioned your rifle and set your target, start adjusting the windage turret to shift the reticle left or right until it lines up with the bore center. Next, turn the elevation turret to raise or lower the reticle, aligning it vertically with the bore’s point on the target.
Make small, incremental adjustments to avoid overshooting and check the reticle after each turn. Use a bore sighter or laser to visually confirm the reticle’s position relative to the bore before fine-tuning.
After each adjustment, always recheck both windage and elevation to guarantee the reticle remains centered. These careful adjustments help you precisely align the reticle with the bore center, setting a solid foundation for accurate shooting.
Verify Zero With Initial Test Shots
After you’ve centered the reticle through careful windage and elevation adjustments, it’s time to confirm your alignment by firing a group of test shots at 25 yards. These initial test shots help you verify zero by showing the actual impact point of your bullets relative to your aim.
Aim to have the bullets hit about 1 inch low at 25 yards, which is a standard for deer rifle zeroing. This helps with accuracy downrange. Measure where your shots land, then use that data to fine-tune your scope settings.
Make precise adjustments to windage and elevation based on the shot group’s location. Validating zero at this stage ensures your rifle is properly zeroed before moving on to longer distances. This sets the foundation for consistent accuracy in the field.
Check Your Shots and Make Final Adjustments at 100 Yards
Though you’ve already bore sighted and tested at 25 yards, you’ll want to fire a shot at 100 yards to see exactly where your bullet lands relative to your scope’s reticle. This step is essential to check your shots and confirm the actual impact point.
If your shot is low or off-center, use the scope turrets to make precise scope adjustments—windage for horizontal and elevation for vertical corrections. Remember, a one-inch miss at 25 yards could translate to about four inches at 100 yards, so adjust accordingly.
Keep your rifle stable and verify the scope is securely mounted to maintain accuracy. Repeat zeroing and shot placement checks at 100 yards, making final adjustments until your impact point aligns within 1-2 inches of the bullseye.
Frequently Asked Questions
What Distance Should I Bore Sight My Rifle At?
You should bore sight your rifle at 25 yards for most hunting rifles to get an accurate initial zero. For long-range shooting, bore sight at 50 yards or more to better approximate your final zero point.
How to Correctly Bore Sight a Rifle?
You remove the bolt, look down the bore, and align the barrel with your target; you use a bore sighter, adjust your scope’s turrets, and stabilize your rifle to correctly bore sight it for accurate shooting.
What Are the Common Bore Sighting Mistakes?
You’ll often make mistakes like not unloading the rifle fully, skipping a stable rest, ignoring lighting, using the wrong adapter, or rushing adjustments. Avoid these to guarantee accurate and safe bore sighting every time.
Can You Bore Sight a Rifle at Home?
Yes, you can bore sight a rifle at home. Just make sure it’s unloaded, use a laser bore sighter or remove the bolt for visual alignment, and set up a target at a safe distance for accurate adjustments.
Conclusion
Now that you’ve bore sighted your rifle, you’ll see how much easier zeroing becomes. By aligning your sights early, you save time and ammo at the range.
Some believe bore sighting isn’t necessary, but this method proves it’s a smart first step—cutting guesswork and boosting accuracy.
Give these five simple steps a try, and you’ll quickly notice improved confidence and precision when you take your shots at longer distances. Bore sighting your rifle helps you get on target faster, making your shooting sessions more efficient and enjoyable.
Trust me, once you start bore sighting, zeroing your rifle will feel less like a chore and more like a straightforward process. It’s a simple technique that can seriously upgrade your shooting accuracy and overall experience.