How to Draw a Rifle in 5 Easy Steps
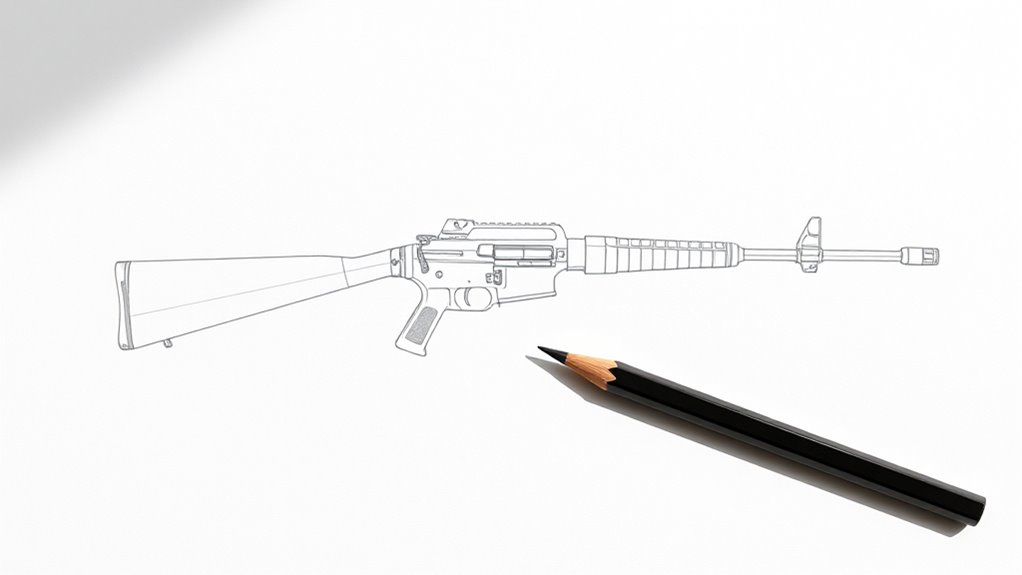
To draw a rifle in five easy steps, start by sketching a long, straight barrel and a connected rectangular main body with the grip and trigger guard. This basic outline sets the foundation for your rifle drawing and helps keep proportions accurate.
Next, add the stock at the rear, making sure it fits snugly with the barrel.
Then, draw the trigger and its guard beneath the main body to bring the rifle to life.
After that, add a scope and sights on top of the barrel for detail. These small features really make your rifle drawing look more realistic and complete.
Finish with shading and highlights to bring depth and realism to your drawing. Keep following to explore more detailed techniques and improve your rifle sketches step by step!
Key Takeaways
– Start by sketching the barrel and main body using straight lines and simple rectangular shapes for balanced proportions.
This helps keep everything in the right place from the beginning.
– Draw the rifle stock with a wider rear end and connect it smoothly to the barrel.
It should look natural and flow nicely.
– Add the trigger and guard beneath the main body, using curved and oval shapes for detail.
These small touches really bring the drawing to life.
– Sketch the scope on top of the barrel, including adjustment knobs and aligned sights for accuracy.
Don’t worry about getting it perfect right away—you can tweak it as you go.
– Finish with shading and highlights to create depth, emphasizing contours and fine details for realism.
This step is what makes your rifle look three-dimensional and real.
Sketch the Barrel and Main Body of the Rifle
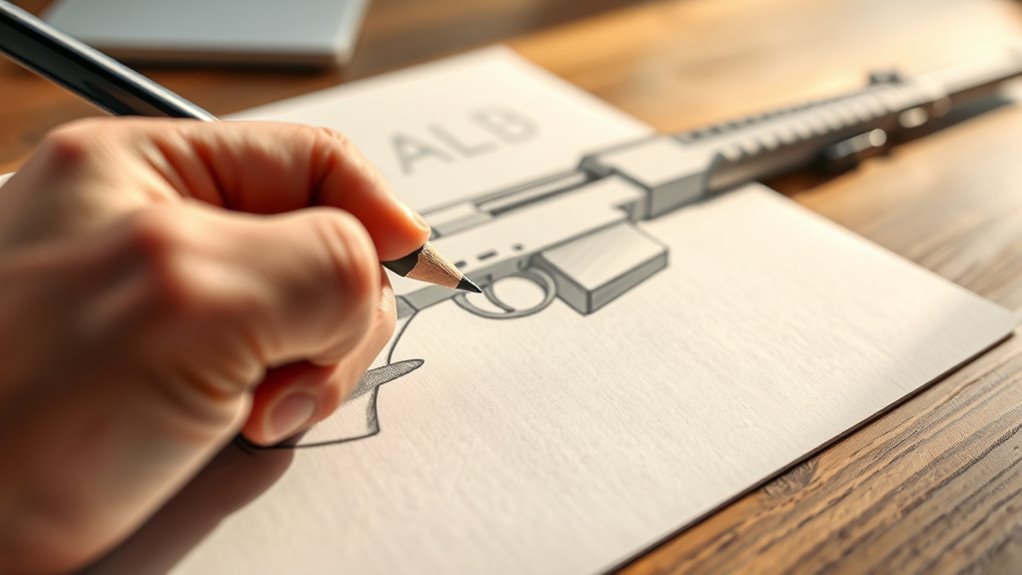
When you begin, draw a long, straight horizontal line to form the barrel of the rifle. Next, add a slightly thicker rectangular shape at the end of this line to represent the muzzle. This gives the barrel a clear, defined tip.
Now, sketch the main body of the rifle by drawing a larger rectangular shape connected to the barrel. This shape will form the bulk of the rifle’s frame. Inside the main body, include smaller details like the trigger guard and grip to add realism and depth.
Use straight, clean lines throughout, ensuring the proportions between the barrel and main body look balanced. Keeping your lines precise will help create a solid, basic rifle shape that’s easy to recognize.
Draw the Rifle Stock Connecting to the Barrel
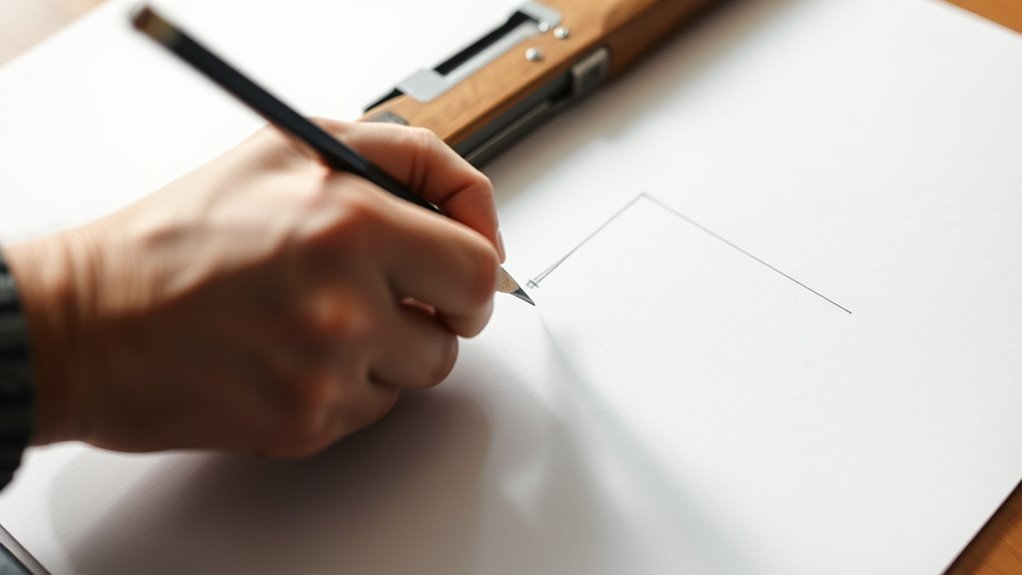
After sketching the barrel and main body, focus on drawing the rifle stock that connects to the barrel. Start by sketching a rectangular shape for the stock, making it slightly wider at the rear to represent the butt of the rifle.
Then, draw a straight line extending from the front of the stock to form the connection point for the barrel. Add a small curve or notch at this joining area to clearly show where the stock and barrel meet.
Make sure the connection looks proportionate, with the barrel fitting snugly into the stock’s front end. Finally, shade or outline the connection area to emphasize the link between the stock and barrel, giving your drawing a more realistic and cohesive appearance.
Draw the Rifle’s Trigger and Guard
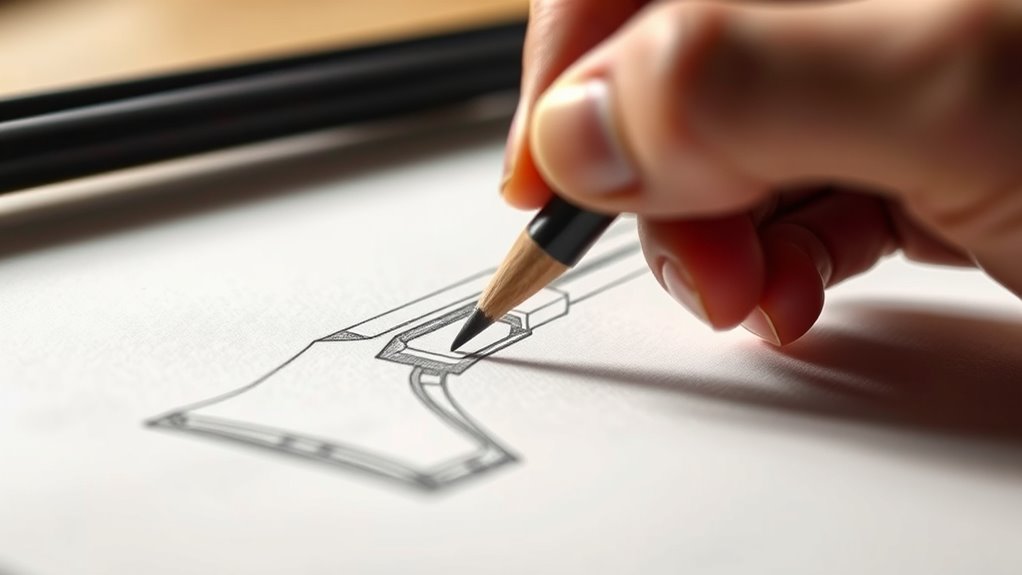
Because the trigger is a key functional element, start by sketching a small, curved shape beneath the rifle’s main body to represent it. Next, draw a guard around the trigger—choose a rectangular or oval shape that connects smoothly to both the stock and barrel.
Make sure the guard fully encloses the trigger and has a slight outward curve for a natural look. To add realism, detail the trigger by drawing a small, narrow rectangle with rounded edges inside the curved shape.
Finally, shade or outline the trigger and guard to clearly separate them from the rest of the rifle, giving your drawing depth and definition. These steps will help you create an accurate and functional trigger and guard on your rifle sketch.
Draw the Rifle’s Scope and Sights
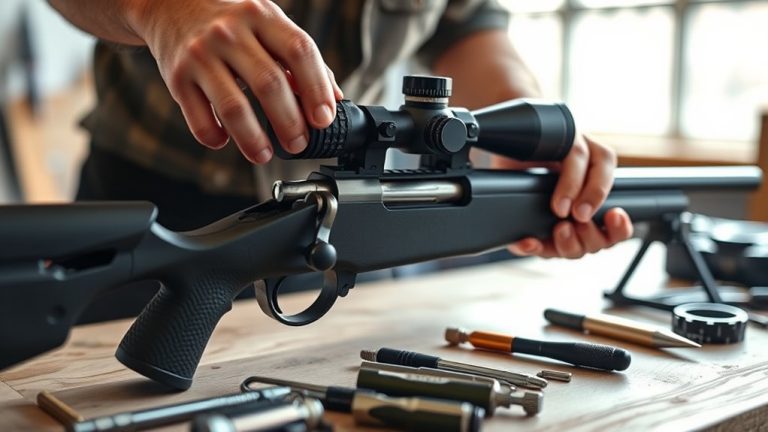
Although the rifle’s scope may seem complex, you can start by sketching a small rectangular shape on top of the barrel to represent it. Next, add a larger cylindrical tube around the rectangle to give the scope depth and realistic proportions.
For the rifle sights, draw two small aligned lines or dots at the front and rear ends of the barrel. Connect them with a straight or slightly curved line to illustrate the aiming line.
To add realism, include adjustment knobs or crosshairs inside the scope.
| Step | Key Detail |
|---|---|
| 1. Scope base | Small rectangular shape |
| 2. Scope body | Larger cylindrical tube |
| 3. Front sight | Small line or dot at barrel front |
| 4. Rear sight | Small line or dot at barrel rear |
| 5. Aiming line | Straight or curved connection |
Add Shading and Final Touches to Complete Your Drawing
Once you’ve added the scope and sights, you’ll want to bring your rifle drawing to life with shading and final touches. Start by applying light, consistent shading to define the contours and give your rifle a three-dimensional feel.
Darken the edges and areas where shadows naturally fall to create depth and contrast. Use an eraser or white pencil to add subtle highlights on reflective metal parts, making them stand out.
Smooth out your shading with a blending stump or tissue for a polished finish. Finally, reinforce your outlines and add fine shading details to intricate parts like the trigger, barrel, and stock.
These final touches will give your drawing a realistic, complete look, showcasing your effort and skill. It’s the little details that really make your artwork pop!
Frequently Asked Questions
What Are the 5 Steps of Drawing?
You start by sketching basic shapes, then refine details. Next, you add shading for depth, outline the final form, and finish with highlights or textures to complete your drawing, making it look realistic and polished.
How to Shoot a Rifle Step by Step?
You grip the rifle firmly, align your sights with the target, take a deep breath, slowly exhale, and gently squeeze the trigger. Maintain your stance and follow through to guarantee accuracy and safety throughout the process.
What Should a 12 Year Old Boy Draw?
You should draw things you enjoy, like animals, superheroes, or nature scenes. Start with simple shapes, practice regularly, and don’t worry about mistakes. Drawing what excites you keeps it fun and helps you improve faster.
What Gun Is Best for Quick Draw?
You’ll want a compact, lightweight handgun like the Glock 19 or SIG Sauer P365 for quick draw. Their snag-free designs and balanced weight help you draw fast, but remember, proper holster placement and practice are key.
Conclusion
Now that you’ve sketched your rifle, you’ve forged a tool of precision from mere lines and curves. Like a craftsman shaping steel, you’ve brought form and function to life on paper.
With each stroke, you’ve breathed motion into stillness, turning a simple drawing into a story of power and focus. Keep practicing, and watch your art sharpen like the rifle you’ve drawn—ready to hit its mark every time.
Drawing a rifle may seem tricky at first, but with these easy steps, you’re mastering the basics. The more you practice, the better your skills will get, and your rifle sketches will look more detailed and realistic.
So keep at it! Your dedication will pay off, and soon your rifle drawings will capture the precision and strength that make this firearm so iconic. Keep refining your technique, and enjoy the creative journey of drawing a rifle step by step.