How to Mount a Rifle Scope in 10 Easy Steps
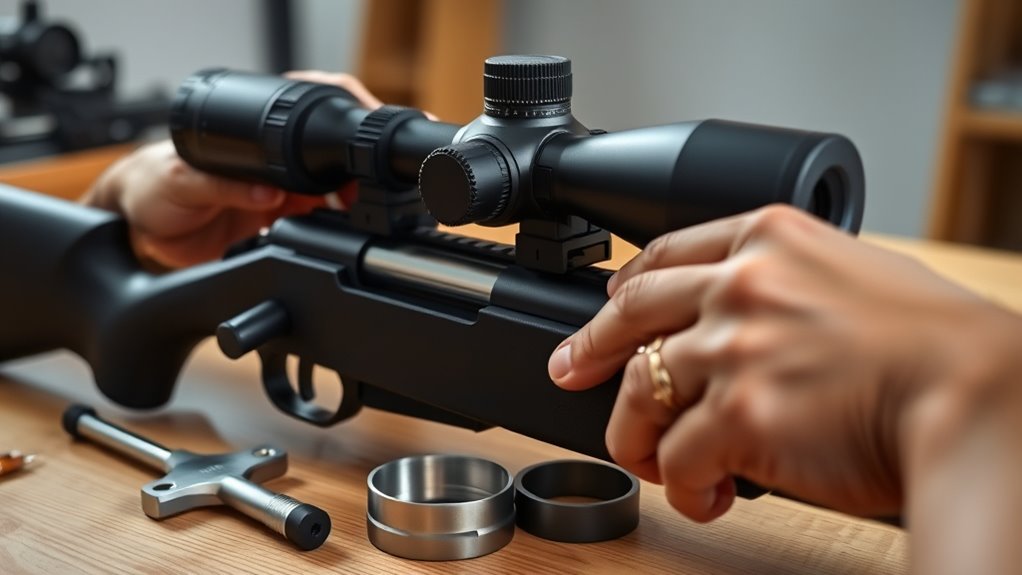
To mount a rifle scope in 10 easy steps, start by choosing the right scope and mounting hardware that fit your rifle perfectly. Having the correct equipment is key to a successful scope installation.
Next, prepare a clean, well-lit workspace with all the necessary tools within reach to make the process smooth and efficient.
Secure your rifle in a padded vise to keep it steady while you work.
Then, install the bases and bottom rings, making sure to apply thread locker and use the proper torque settings. This ensures your scope stays firmly in place.
Position the scope for ideal eye relief—it’s important for comfort and accuracy.
Attach the top rings and tighten the screws evenly to keep the scope level. Don’t rush; a balanced fit makes all the difference.
Before you finish, check the reticle alignment and overall stability.
Once everything looks good, finalize the setup.
Follow these basics, and you’ll soon master a precision scope setup with confidence.
Key Takeaways
- Choose the right scope and mounting hardware that matches your rifle and shooting style. This ensures a proper fit and durability.
- Secure the unloaded rifle in a padded gun vise. Then, make sure it’s level by using bubble levels on both the receiver and scope.
- Install the bases and rings by first cleaning the surfaces. Apply thread locker, and tighten screws gradually in a crisscross pattern.
- Position the scope for ideal eye relief, which is usually about 3-4 inches. Center the reticle before loosely tightening the rings.
- Finally, tighten the scope ring screws using a torque wrench set to the manufacturer’s specs. Alternate screws slowly while keeping everything aligned and level.
Choose the Right Scope and Mounting Hardware
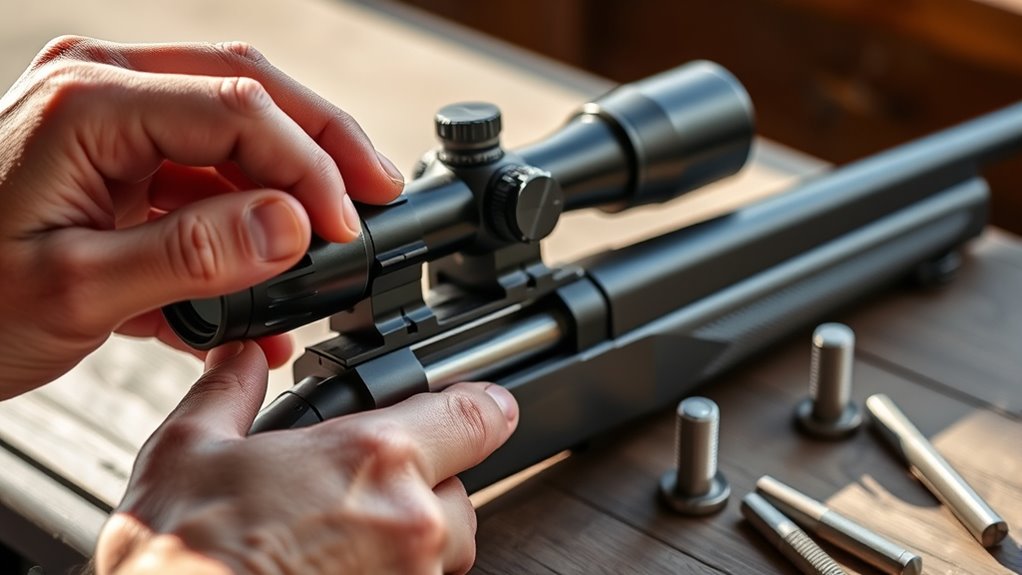
How do you guarantee your rifle scope fits perfectly? Start by selecting a scope with the right magnification and objective size for your shooting style, ensuring it’s compatible with your rifle.
Begin by choosing a scope with the ideal magnification and objective size tailored to your rifle and shooting needs.
Next, match the scope tube diameter—whether 1-inch or 30mm—to the correct ring size. This ensures a secure fit during mounting.
Choose mounting hardware, including rings and bases, designed specifically for your rifle model and scope specs. Don’t overlook hardware quality; it must handle your firearm’s recoil and stress reliably.
Finally, consider ring height carefully to maintain proper eye relief and avoid contact with the barrel or other components while shooting. Following these steps ensures your scope and mounting setup is precise, durable, and ready for accurate use.
Prepare Tools and Workspace for Mounting
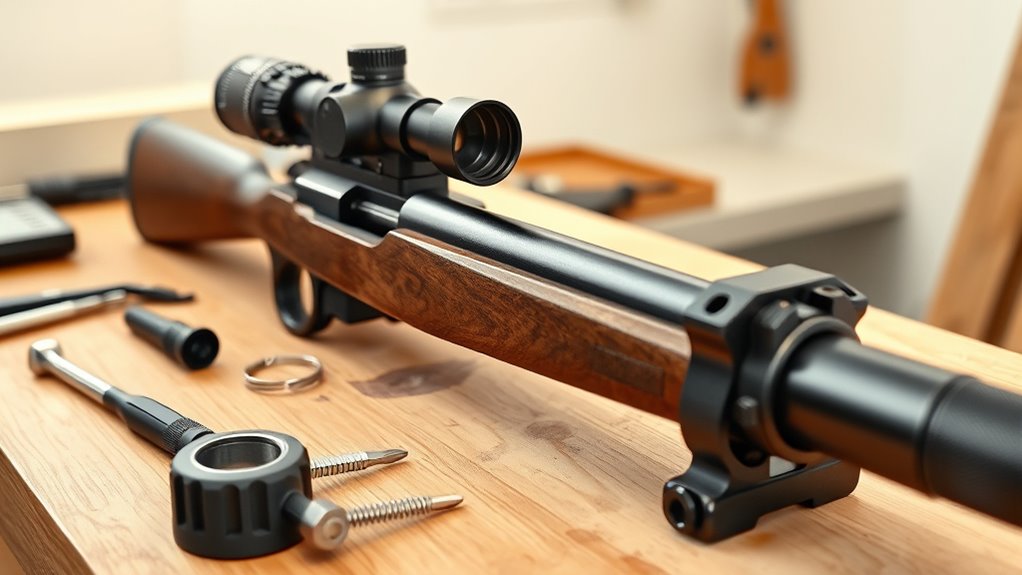
Set up a clean, well-lit workspace with a sturdy bench and a secure gun vise to keep your rifle steady. Gather essential tools like a torque wrench, bubble levels, and the correct scope rings before you start.
Organize everything neatly to work efficiently and stay safe during the mounting process. It really helps to have everything within reach and ready to go!
Essential Mounting Tools
Before you begin mounting your rifle scope, gather all the essential tools you’ll need, such as a torque wrench, bubble levels, and screwdrivers. This will guarantee a precise and secure installation.
Using the proper tools prevents damage to your mounting accessories and ensures the screws are tightened correctly.
Here’s what you should have on hand:
- A torque wrench to apply the exact pressure on screws without over-tightening.
- Bubble levels to keep your scope perfectly aligned.
- Screwdrivers suited to your mounting screws for a secure fit.
Also, make sure to clean all mounting surfaces thoroughly with alcohol. This helps avoid dirt interfering with the installation.
Organize your screws, thread locker, and mounting accessories before you start. It’ll keep the process smooth and efficient.
Workspace Setup Tips
Although mounting a rifle scope requires careful attention to detail, preparing your workspace properly will make the process smoother and safer. Start by choosing a well-lit, flat work area with a stable surface to prevent any unwanted movement.
Use a dedicated workbench or mounting station to secure your firearm, ensuring maximum stability throughout the process. Gather all essential tools beforehand—like a torque wrench, bubble levels, a gun vise, and mounting hardware—and organize them logically for easy access.
Clear the space of distractions and remove any ammunition or live rounds to prioritize safety. By setting up your work area thoughtfully and having your tools ready, you’ll create an efficient, safe environment that helps you mount your rifle scope accurately and confidently.
Secure Rifle for Scope Mounting in a Vise or Rest
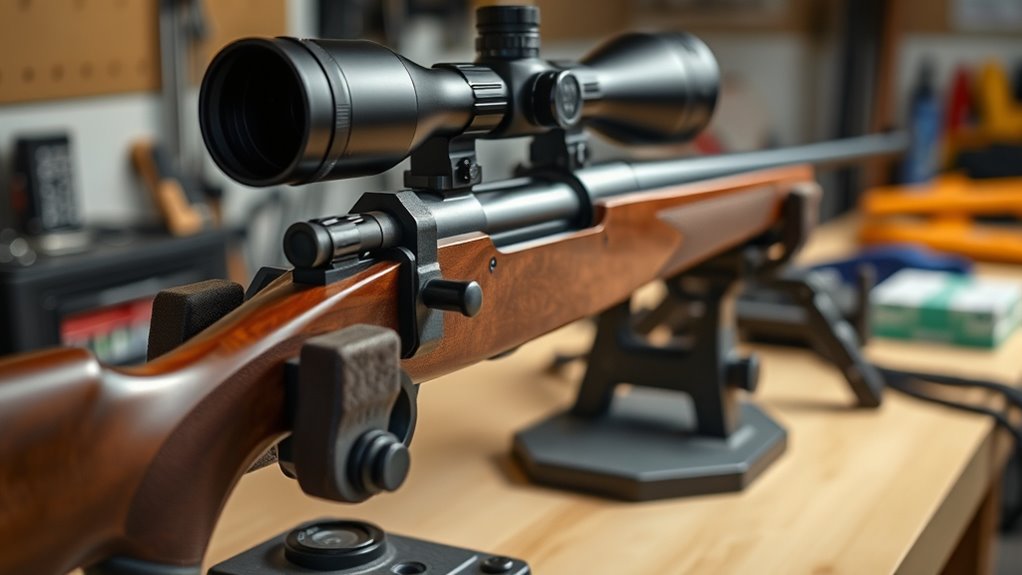
When you secure your rifle in a sturdy vise or rest with padded jaws, you protect the firearm from damage while keeping it stable for mounting the scope. Stability is essential to guarantee precise alignment and prevent unwanted movement during installation.
Securing your rifle with padded jaws ensures stability and protects it from damage during scope installation.
Follow these steps to secure your rifle properly:
- Place the rifle in a gun vise or rest with adjustable clamps, making sure the padded jaws don’t apply excessive pressure on the stock or barrel.
- Position the rifle so the scope mounting area is easily accessible and at a comfortable height to work on.
- Double-check that the firearm is unloaded and stable before you begin tightening rings or adjusting the scope.
Install Scope Bases and Bottom Rings
With your rifle firmly secured, you’re ready to install the scope bases and bottom rings. Start by selecting the correct scope base that matches your rifle’s receiver screw hole pattern. Dry fit the base onto the receiver, aligning the screw holes to ensure it’s properly mounted.
Next, clean both the receiver and base contact surfaces with alcohol to remove oils and debris. Apply a small amount of thread locker to the mounting screws to prevent loosening.
Position the base and tighten screws using a torque wrench, following the manufacturer’s recommended torque—usually 35-45 in.lbs—in a crisscross pattern for even pressure. Once the bases are securely in place, install the bottom halves of your scope rings.
Make sure everything is properly secure before moving on to the next step. It’s important to double-check so your scope stays steady and reliable.
Position the Scope for Proper Eye Relief
Now it’s time to position your scope for proper eye relief by measuring the ideal distance between your eye and the ocular lens. Adjust the scope forward or backward in the rings until you get a clear sight picture without straining your neck.
Make sure you can see the full field of view comfortably in your normal shooting stance. You want it to feel natural, so take your time adjusting until it feels just right.
Measure Optimal Eye Distance
How far should your eye be from the scope to get a clear, full sight picture? Proper eye relief usually means positioning your eye about 3 to 4 inches from the ocular lens.
To measure the best eye distance, follow these steps:
- Use your dominant eye to find where the reticle is sharp and centered by moving your head back and forth.
- Adjust the scope position in the rings until you get a full sight picture without any blackouts or shadowed edges.
- Check eye relief at high magnification. The ideal distance might shift slightly to keep everything clear.
Adjust Fore-Aft Scope Position
Once you’ve found the most suitable eye distance for a clear sight picture, the next step is to modify the scope’s fore-aft position in the rings. Slide the scope forward or backward until you achieve comfortable eye relief, typically 3 to 4 inches from the eyepiece to your eye. Use a ruler or tape measure to verify this distance for consistent accuracy.
While adjusting the scope position, look through it at a target or reticle to ensure the entire field of view is visible without blackouts or excessive head movement. Fine-tune the scope’s fore-aft placement so you can easily acquire the reticle and maintain proper eye alignment.
Remember to recheck eye relief at different magnifications, as some scopes shift slightly when zoomed. It’s a small step that makes a big difference in your shooting comfort and accuracy.
Verify Clear Sight Picture
Where exactly should you position your rifle scope to get a clear sight picture? Proper positioning is key to achieving comfortable eye relief and a crisp sight picture.
Here’s how to verify it:
- Adjust the scope forward or backward in the rings until your eye naturally reaches the full field of view without straining or excessive movement.
- Confirm the reticle is centered and not cut off when you assume your shooting stance. This confirms your eye relief is correct, usually around 3 to 4 inches.
- Use a flashlight or bright background to check for any obstructions or contact points that might hinder a clear sight picture.
Keep fine-tuning your scope adjustment until the sight picture is sharp and comfortable. That way, you’ll get consistent accuracy every time.
Level Rifle and Scope Using Bubble Levels and Leveling Kits
Before mounting your rifle scope, you’ll want to make certain both the rifle and scope are perfectly level to maintain accuracy. Start by attaching a bubble level to the rifle’s receiver or use a dedicated leveling kit to level the rifle horizontally.
You can also clamp a barrel level on the barrel to establish a true horizontal reference, confirming the rifle isn’t canted. Next, place a bubble level on top of the scope or its turret to check that it matches the rifle’s level.
Adjust the scope or rifle position until both bubble levels center, confirming proper horizontal alignment. Keep double-checking the levels during scope mounting, especially after tightening screws, to preserve consistent horizontal alignment and guarantee precision in your shots.
Attach Top Rings and Begin Tightening Screws
Place the top rings evenly over the scope and loosely tighten the screws by hand. Make sure they’re sitting right before you move on.
Next, alternate tightening the screws in a crisscross pattern. This helps apply even pressure and keeps everything aligned.
Finally, use a torque wrench to secure each screw to the recommended setting. Just be careful not to over-tighten!
Align Rings Evenly
Once you loosely attach the top halves of the scope rings to the bottom halves, you’ll want to make certain the scope stays centered and properly aligned.
To align the rings evenly and set your scope just right, follow these steps:
- Check that the rings are evenly spaced and the scope is centered for proper eye relief.
- Begin tightening screws in small, alternating increments to maintain even pressure and avoid shifting the scope.
- Use a torque wrench to tighten screws to the manufacturer’s recommended torque, usually between 15-20 in-lbs.
Alternate Screw Tightening
After confirming your scope is centered and the rings are evenly spaced, you’ll want to start attaching the top halves of the rings. Begin by loosely placing the top rings over the scope tube.
Then, start tightening the screws using an alternate tightening method. This means you tighten screws on opposite sides in small increments. It helps distribute pressure evenly and prevents the scope from warping.
Use a torque wrench to gradually work each screw in a zig-zag pattern. This maintains even tension across all screws. As you tighten, keep checking the scope’s level and position to make sure it stays aligned.
This careful alternate tightening method sets the foundation for a secure, well-aligned mount. It also avoids over-stressing any one area before you apply the final torque.
Apply Proper Torque
Although you’ve already positioned the scope and loosely fitted the top rings, you’ll need to use a torque wrench to tighten the screws to the manufacturer’s specified range, usually between 15 and 20 in-lb. This guarantees you apply the proper torque without damaging the scope.
Follow these steps:
- Apply a small amount of thread locker to each screw to prevent loosening during recoil.
- Tighten the screws gradually in a crisscross pattern, alternating to distribute pressure evenly.
- Check the scope’s alignment and level after each adjustment to maintain proper positioning.
Be careful not to overtighten. Too much torque can deform the scope tube or damage internal components.
Using a torque wrench makes sure you get consistent, safe tightening for the best scope performance.
Torque Scope Ring Screws to Manufacturer Specs
When you torque your rifle scope ring screws, you need to follow the manufacturer’s specifications carefully to avoid damage or misalignment. Always check the torque specs in the scope or mounting system manual.
Use a calibrated torque wrench to tighten the screws gradually in an alternating pattern. This guarantees even pressure, preserving proper eye relief and preventing tube damage.
| Step | Action |
|---|---|
| 1 | Refer to manufacturer’s torque specs |
| 2 | Use a calibrated torque wrench |
| 3 | Tighten screws alternately |
| 4 | Recheck torque after settling |
Avoid over-tightening or using uncalibrated tools. Doing so can strip threads or misalign your scope.
Proper torque guarantees a secure, reliable mounting system for consistent performance. So, take your time and do it right!
Make Sure Your Reticle and Scope Are Level
Ensuring your reticle and scope are perfectly level is essential for accurate shooting. So, use a bubble level on both the scope and rifle receiver before tightening the rings. Proper leveling prevents canting that throws off your shot.
Here’s how to get it right:
- Place a bubble level on your scope turret or tube. Adjust the scope until the bubble is centered, showing the scope is level.
- Use a Level-Right Pro or a similar system to project a grid. Then, visually align your reticle so it appears parallel to the horizontal grid lines at high magnification.
- Double-check that the reticle stays level as you tighten the rings. This helps maintain consistent leveling throughout.
Check Final Eye Relief and Stability
How do you know if your scope’s eye relief is just right? After mounting the scope, shoulder your firearm and check if the eye relief feels comfortable and offers a full field of view without strain.
Ensure your scope’s eye relief is comfortable and provides a full, strain-free field of view when shouldered.
Adjust the scope forward or backward in the rings until the reticle centers perfectly in your sight picture at your preferred shooting distance. Test scope stability by pressing lightly on it to confirm it doesn’t shift.
Once you’re satisfied with the position, make your final adjustments, then tighten screws on the rings to the recommended torque. After tightening, double-check your eye relief and scope stability to guarantee nothing moved during the process.
This guarantees a secure, comfortable setup for accurate shooting every time.
Frequently Asked Questions
Is It Easy to Mount a Scope on a Rifle?
Yes, it’s easy to mount a scope on a rifle if you take your time, use the right tools, and follow clear steps. You’ll get better with practice and guarantee your scope stays aligned and secure for accurate shooting.
How Far Apart Should Scope Rings Be?
You should space your scope rings about 4 to 6 inches apart, matching your scope tube length. For larger scopes, place rings near the ends to support it properly and prevent stress or movement during use.
Do You Need a Gun Vise to Mount a Scope?
You don’t need a gun vise to mount a scope, but it’s like having a trusty abacus for precise calculations—it keeps your rifle steady, freeing your hands and ensuring better accuracy, especially if you’re new to the task.
What Are the Types of Scope Mounts?
You’ll find three main types of scope mounts: ring mounts that clamp around the scope, rail mounts like Picatinny for versatile positioning, and one-piece mounts offering solid stability and alignment. Choose based on your rifle and needs.
Conclusion
Now that you’ve mounted your scope following these steps, you’re ready to shoot with confidence. Imagine Jake, a hunter who struggled with blurry shots until he properly aligned his scope using this guide.
After mounting it right, his accuracy improved drastically on the first trip. By taking your time and double-checking every step, you’ll enjoy clearer, more precise shots every time you head out.
Just remember—patience and precision pay off! Properly mounting a rifle scope is key to better shooting performance. With the right setup, you’ll experience improved accuracy and consistency on every hunt or range session.
So, follow these easy steps carefully, and your rifle scope will be perfectly aligned, helping you hit your target every single time.