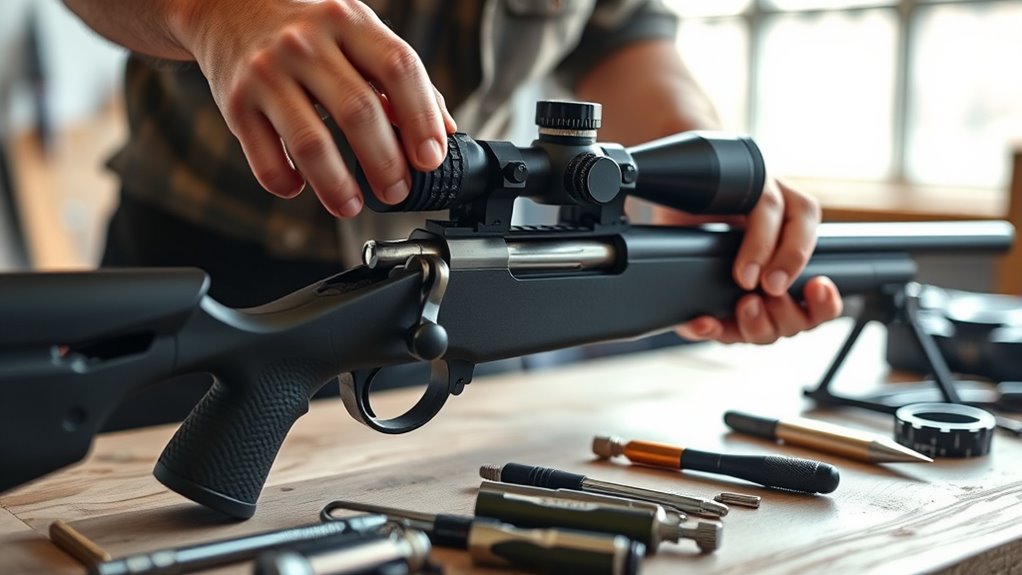
How to Mount a Rifle Scope in 10 Easy Steps
To mount your rifle scope in 10 easy steps, start by choosing the right scope and hardware that perfectly match your rifle. It’s important to gather all essential tools like a torque wrench and bubble levels before you begin. Having everything ready makes the process smoother and helps avoid mistakes.
Secure your rifle firmly to keep it steady while you work. Then, carefully install the bases and bottom rings.
Position the scope so you get proper eye relief — this is key for comfortable and accurate shooting.
Next, level the entire setup using bubble levels. Tighten the screws to the correct torque to ensure everything stays in place.
Double-check the reticle alignment and stability — you want your scope perfectly aligned for precision.
Finally, perform all the last checks to guarantee accuracy and comfort. Follow these steps, and you’ll be set up for precise shots and reliable use every time you hit the range.
Key Takeaways
– Choose a scope with the right magnification, tube size, and compatible mounts for your rifle and shooting needs.
It’s important to pick one that matches what you’ll be using it for.
– Secure the unloaded rifle on a stable surface and use bubble levels to ensure horizontal positioning.
This helps keep everything steady and straight while you work.
– Attach scope bases and ring halves, tightening screws evenly to recommended torque for proper alignment.
Go slow and make sure everything lines up right.
– Position the scope for 3-4 inches of eye relief, loosely install rings, and level the scope before final tightening.
Don’t tighten it all the way just yet—this step is about getting it comfortable for your eye.
– Tighten ring screws alternately with a torque wrench, rechecking levels and reticle alignment for stability and accuracy.
Double-checking here makes sure your scope stays put and shoots straight.
Choose the Right Scope and Mounting Hardware
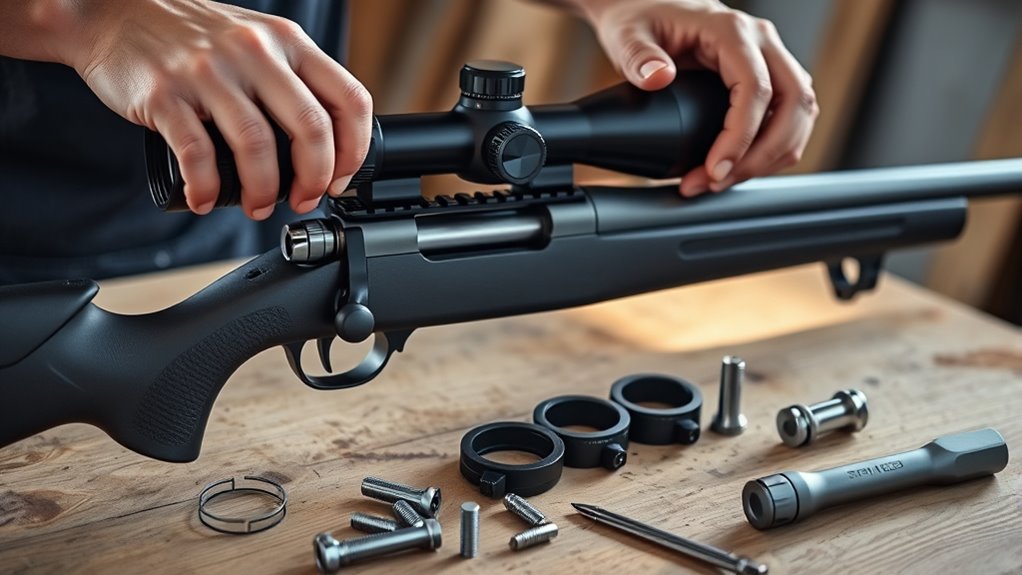
How do you pick the right scope and mounting hardware for your rifle? First, select a scope with the right magnification and objective size to suit your shooting needs.
Choose a scope with the appropriate magnification and objective size tailored to your shooting requirements.
Check that the scope tube diameter—commonly 1-inch or 30mm—matches compatible rings and mounts. When choosing mounting hardware, consider dovetail, Picatinny, or Weaver rails that fit your rifle securely.
Make certain the scope rings or mounts provide the proper height for ideal eye relief, preventing the scope from hitting the barrel or other parts. Also, confirm your mounting hardware is high quality and rated for your rifle’s recoil strength, so it stays aligned during use.
Paying attention to these details guarantees a solid setup and comfortable shooting experience.
Gather Essential Tools for Mounting
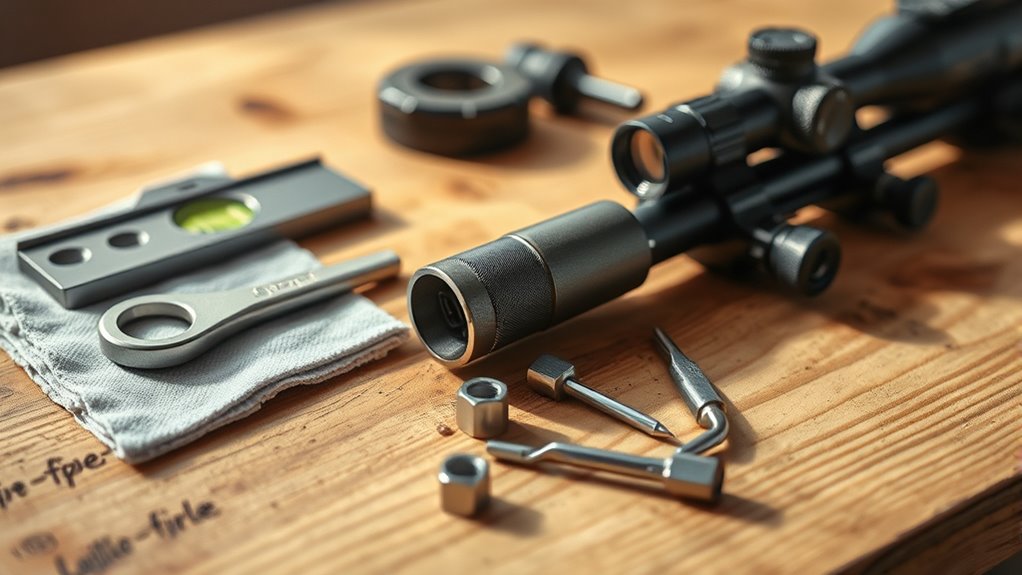
Before you start mounting your rifle scope, gather all the essential tools to guarantee a smooth and accurate installation. You’ll need a torque wrench to apply the correct pressure without damaging screws or scope rings.
Screwdrivers are necessary for tightening screws, so make sure they’re the right size and in good condition. Also, select scope rings and bases that are compatible with your rifle and scope tube diameter.
Don’t forget bubble levels to keep your scope perfectly aligned. Have cleaning supplies ready to prep the mounting surfaces.
It’s best to work in a stable area with a secure vise or rest to hold your rifle steady during the process. Finally, consider thread locker for screws to prevent loosening from recoil.
Having these tools ready will make mounting your scope efficient and precise. It really helps to be prepared before you dive in!
Secure Your Rifle for Scope Mounting
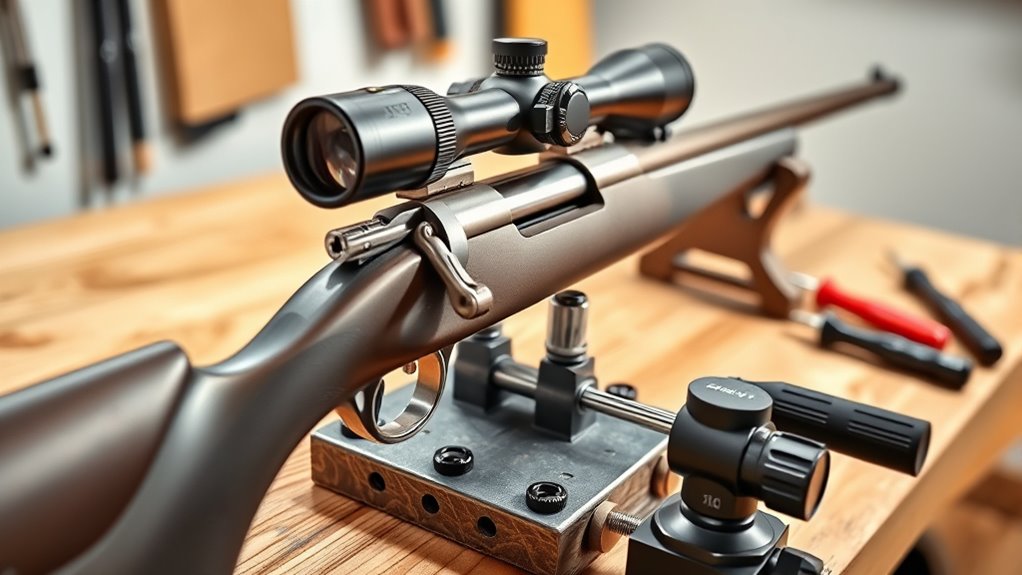
Although mounting your scope is an exciting step, you’ll need to secure your rifle firmly to guarantee accuracy and safety throughout the process. Start by placing your rifle on a stable work surface using a gun vise, bipod, or sandbags to prevent any movement during mounting.
Always confirm the firearm is unloaded and free of ammunition before proceeding. Use a level or leveling tools to position the rifle horizontally and maintain stability.
Once your rifle is secure and stable, you can gradually tighten the mounting hardware evenly to avoid shifting or misalignment. Double-check the rifle’s stability before you begin mounting the scope to ensure precision and safety throughout the entire process.
Install the Scope Bases and Bottom Ring Halves
Once you’ve confirmed your rifle’s receiver is clean and clear of debris, you can begin installing the scope bases. Start by dry fitting the scope bases to check alignment and fit. This guarantees a smooth installation without surprises.
Next, follow these steps: Position the scope bases carefully, confirming they’re oriented correctly for your setup. Secure the bases using the mounting screws, tightening them gradually with a torque wrench to the recommended 20-30 in.lbs.
If your setup uses two-piece bases, install the bottom ring halves, making sure both halves align perfectly to avoid scope misalignment.
Proper alignment during installation is vital to prevent zeroing issues later. Take your time with the mounting screws and ring halves to ensure a solid, reliable foundation for your scope.
Position the Scope for Proper Eye Relief
How far should you position your rifle scope to guarantee comfortable and effective shooting? Adjust the scope forward or backward in the rings until you achieve proper eye relief—usually about 3 to 4 inches from your eye to the ocular lens.
Make sure your eye naturally lines up with the reticle without straining or shifting your head. Use a ruler to measure consistent distance, ensuring the scope position provides full field of view and clear reticle alignment.
Fine-tune while looking through the scope at a target until the reticle is centered with no shadows. This way, you’ll get the best shooting experience without discomfort.
| Step | Action | Result |
|---|---|---|
| 1 | Measure eye relief distance | Comfortable shooting distance |
| 2 | Adjust scope forward/backward | Proper placement achieved |
| 3 | Check reticle alignment | Clear, centered reticle |
| 4 | Confirm full field of view | No need to shift eye position |
| 5 | Fine-tune while aiming | Ideal scope position |
Attach and Loosely Tighten the Top Ring Halves
Place the top halves of the rings over the scope and loosely tighten the screws to keep it in place. Make sure the scope stays aligned while you alternate tightening each screw a little at a time to apply even pressure.
Don’t fully tighten them yet—you want room to adjust before securing everything. Take your time with this part; it’ll make the next steps easier.
Align Top Rings
Where should you start when aligning the top rings on your rifle scope? First, attach the top halves of the rings over the scope tube, making sure they’re correctly positioned.
Then, follow these steps to align everything perfectly:
- Loosely tighten the ring screws in an alternating pattern. This helps keep the scope position adjustable as you work.
- Confirm the scope is centered and aligned with your rifle’s bore. Also, make sure it’s level to prevent canting—that can really mess with your accuracy.
- Finally, use a torque wrench to gradually tighten the screws to the manufacturer’s recommended torque. Usually, that’s between 15-20 in-lb. Just take it slow and steady!
Alternate Screw Tightening
Once you’ve positioned the scope and placed the top halves of the rings over the tube, attach them loosely to keep adjustments easy. This way, you can still move things around without much hassle.
To guarantee even pressure and avoid tube distortion, use an alternate tightening method by tightening screws diagonally in a crisscross pattern. This prevents uneven stress and helps keep everything properly aligned.
Gradually tighten screws with a torque wrench, following the manufacturer’s torque specs, usually 15-20 in-lbs. Don’t tighten one side all the way before the other — take turns.
Keep checking the scope’s position as you go to maintain good eye relief. Little tweaks now will save you headaches later.
| Step | Action |
|---|---|
| 1 | Loosely attach top halves |
| 2 | Tighten screw A |
| 3 | Tighten screw B (diagonal) |
| 4 | Repeat alternate tightening |
| 5 | Final torque per specs |
Maintain Even Pressure
Before fully tightening the top halves of the rings, you’ll want to attach them just enough to hold the scope securely while still allowing for adjustments. This step is essential to maintain even pressure on the scope rings and avoid damaging the scope tube.
Here’s how to do it right:
- Attach the top halves with screws, tightening them just enough to hold the scope without fully securing it.
- Tighten screws in an alternating pattern on each side of the rings to ensure uniform pressure.
- Leave enough slack for final adjustments of eye relief and alignment before the final tightening.
Doing this prevents distortion, keeps the scope centered, and prepares you for precise final tightening. It’s a simple step that makes a big difference!
Level the Rifle and Scope With Bubble Levels
To get your scope perfectly aligned, start by placing a bubble level on the rifle to guarantee it’s stable and flat. Then, attach a second bubble level to the scope and adjust it horizontally with the rifle.
Keep checking both levels as you tighten everything to avoid any canting. It might take a little patience, but it’s worth it for a perfectly leveled shot.
Using Bubble Levels
How do you guarantee your rifle and scope are perfectly aligned for accurate shooting? Using bubble levels is key to achieving proper alignment and secure mounting.
Here’s how to do it:
- Place a bubble level on the rifle receiver’s flat surface or use a dedicated leveling device to ensure the rifle is perfectly horizontal before attaching the scope mount.
- Attach a bubble level to the scope turret or top of the scope to verify the reticle aligns with the rifle’s horizontal plane.
- Use a second bubble level on the scope base or rail to cross-check alignment in both axes. Adjust until all bubbles center. Then, continuously recheck levels while tightening screws to prevent misalignment.
This method ensures your scope mount and rifle are correctly positioned for consistent, accurate shots.
Aligning Scope Horizontally
Why is keeping your rifle and scope perfectly level so essential? Proper horizontal alignment ensures accurate shots and consistent performance.
Start by placing bubble levels on both the rifle receiver and the scope. Use a reliable leveling system, like the Level-Right Pro, to project a grid onto the reticle, helping you visually confirm perfect alignment.
Adjust the rifle or scope until the bubbles center, signaling true horizontal alignment. As you tighten the scope rings, do it gradually and alternately. Keep an eye on the bubble levels to make sure everything stays level.
After securing all screws, double-check the bubble levels to ensure your scope remains perfectly horizontal. This careful process ensures your scope is mounted accurately and maximizes your shooting precision.
Ensuring Rifle Stability
Although mounting the scope properly is essential, guaranteeing your rifle itself is perfectly level provides the foundation for accurate alignment. You need to maintain rifle stability by using bubble levels on both the rifle and the scope.
Follow these steps:
- Place a bubble level on the rifle’s receiver or rail to ensure it’s horizontal.
- Use a second bubble level on top of the scope or rings to verify the scope aligns horizontally with the rifle.
- Adjust your rifle’s position until both bubble levels are centered, indicating proper alignment.
As you secure the scope by tightening the rings, keep checking the bubble levels to maintain rifle stability. It’s a good habit to recheck after tightening to make sure the scope stays level.
This way, your setup guarantees precise, consistent accuracy every time you shoot.
Torque the Ring Screws to Manufacturer Specs
When you torque the ring screws, make sure to follow the manufacturer’s recommended specifications, usually between 15 and 20 in-lbs. Using a calibrated torque wrench is essential to apply the correct torque evenly without causing damage.
Tighten the ring screws in a crisscross or alternating pattern to distribute pressure uniformly on the scope tube. This method helps prevent misalignment and potential deformation.
Avoid overtightening, as excessive torque can damage the scope or rings, compromising performance. After your initial tightening, recheck the torque to ensure the screws remain secure during use.
Sticking to the manufacturer specs with a calibrated torque wrench guarantees your scope stays properly mounted and performs reliably in the field. It’s a simple step that really makes a difference.
Confirm Reticle Alignment and Recheck Leveling
After mounting your rifle scope, you’ll want to confirm the reticle alignment and recheck leveling to guarantee precise accuracy. Proper reticle alignment ensures your shots land where you aim, and an off-level scope can throw off your point of impact.
Confirm reticle alignment and leveling after mounting your rifle scope for precise, reliable shooting accuracy.
Here’s how to confirm reticle alignment and leveling:
- Use a bubble level or leveling kit on the scope turret to check the scope level and adjust until perfectly horizontal.
- Recheck reticle alignment after tightening all ring screws, as torque can shift the scope slightly.
- Employ a projected grid system like the Level-Right Pro to visually verify the reticle’s alignment against a grid pattern.
It’s a good idea to regularly recheck the leveling and reticle alignment before each shooting session. That way, you keep your accuracy and consistency on point every time you shoot.
Perform Final Checks for Eye Relief and Scope Stability
Once you’ve confirmed the reticle alignment and leveling, it’s important to perform final checks for eye relief and scope stability. Shoulder your rifle to check if the eye relief feels comfortable, offering a full field of view without forcing you to crane your neck.
Adjust the scope position if needed to guarantee proper focus and verify alignment with your typical shooting distance. Gently move the rifle side to side and up and down to confirm the scope remains securely mounted without any shifting.
Finally, tighten the screws firmly to ascertain scope stability. Double-check that everything is properly torqued before moving on to bore sighting or shooting tests. These steps ensure your scope stays reliable and comfortable during use.
Frequently Asked Questions
Is It Easy to Mount a Scope on a Rifle?
Yes, it’s easy to mount a scope on a rifle if you have the right tools and follow clear steps. You’ll want to align and level everything carefully, using a torque wrench and bubble levels for precision.
How Far Apart Should Scope Rings Be?
You should space your scope rings about 3 to 4 inches apart on the tube. This provides proper support, prevents pressure damage, and helps keep your scope stable and aligned for consistent, comfortable shooting.
Do You Need a Gun Vise to Mount a Scope?
You don’t need a gun vise to mount a scope, but using one makes the process easier and more precise. It keeps your rifle steady, prevents damage, and helps you align and torque the rings accurately for better results.
What Are the Types of Scope Mounts?
Think of scope mounts like shoes—ring mounts hug your scope snugly, rail mounts let you switch styles easily, and integrated bases are custom-fitted kicks. You’ll choose based on your firearm, scope, and how you want to shoot.
Conclusion
Mounting your rifle scope correctly isn’t just about following steps—it’s about trust. When you take the time to choose the right hardware, level your scope, and secure everything properly, you’re trusting that your shots will be accurate when it counts.
This process proves the theory that precision comes from preparation. So, don’t rush. Each careful step you take builds confidence, ensuring your scope and skills work together perfectly in the field.
Remember, mounting a rifle scope is key to improving your shooting accuracy. Taking the time to properly align and secure your scope makes all the difference when you’re out there aiming for that perfect shot. By following these steps carefully, you set yourself up for success every time you pick up your rifle.